Introduction
This manual provides detailed instructions for the safe installation, operation, and maintenance of your LEDIARY 20-inch Caged Ceiling Fan. Please read this manual thoroughly before installation and keep it for future reference.
The LEDIARY 20-inch Caged Ceiling Fan is designed to blend rustic farmhouse charm with modern industrial aesthetics. It features a low-profile, flush-mount design, making it suitable for rooms with lower ceiling heights. The enclosed bladeless design ensures safety while providing efficient airflow. It includes a remote control for convenient operation of fan speed, timing, and reversible modes.
Safety Information
WARNING: To reduce the risk of fire, electric shock, or personal injury, always follow these basic precautions:
- Read all instructions carefully before installing the fan.
- Ensure the power is turned off at the circuit breaker before installation or maintenance.
- All electrical connections must be in accordance with local codes, ordinances, and the National Electric Code (NEC). If you are unfamiliar with proper electrical wiring, consult a qualified electrician.
- The fan must be mounted to a ceiling joist or support structure capable of supporting a fan weight of at least 35 lbs (15.9 kg).
- Do not operate the fan with a damaged power cord or plug.
- Do not insert fingers or any objects into the fan's enclosure while it is operating.
- This fan is designed for indoor and covered outdoor use. Do not expose to direct water spray.
Package Contents
Verify that all components are present before beginning installation:
- Ceiling Fan Unit (with integrated motor and light fixture)
- Remote Control
- Mounting Plate
- Hardware Kit (screws, wire nuts, etc.)
- User Manual
Specifications
| Feature | Detail |
|---|---|
| Brand | LEDIARY |
| Model | B0F93HV6GT |
| Color | Black |
| Electric Fan Design | Ceiling Fan (Caged, Flush Mount) |
| Power Source | AC |
| Style | Farmhouse |
| Product Dimensions | 20"D x 20"W x 6.9"H |
| Room Type | Bedroom, Kitchen, Dining Room, Covered Outdoor |
| Special Features | Bladeless, Quiet Operation, Remote Controlled, Timer, Reversible Mode |
| Recommended Uses | Indoor, Outdoor (Covered) |
| Finish Type | Brushed |
| Control Method | Remote |
| Item Weight | 8.53 pounds |
| Bulb Base | E26*4 (Bulbs not included) |
| Max Incandescent Bulb Wattage | 60W |
| Max LED Bulb Wattage | 10W |
Installation Guide
Follow these steps for proper installation. It is recommended to have a second person assist during certain steps.
-
1. Prepare for Installation
Before starting, ensure the power is completely disconnected at the main circuit breaker. Clear the work area and gather all necessary tools (screwdriver, wire strippers, ladder, etc.).
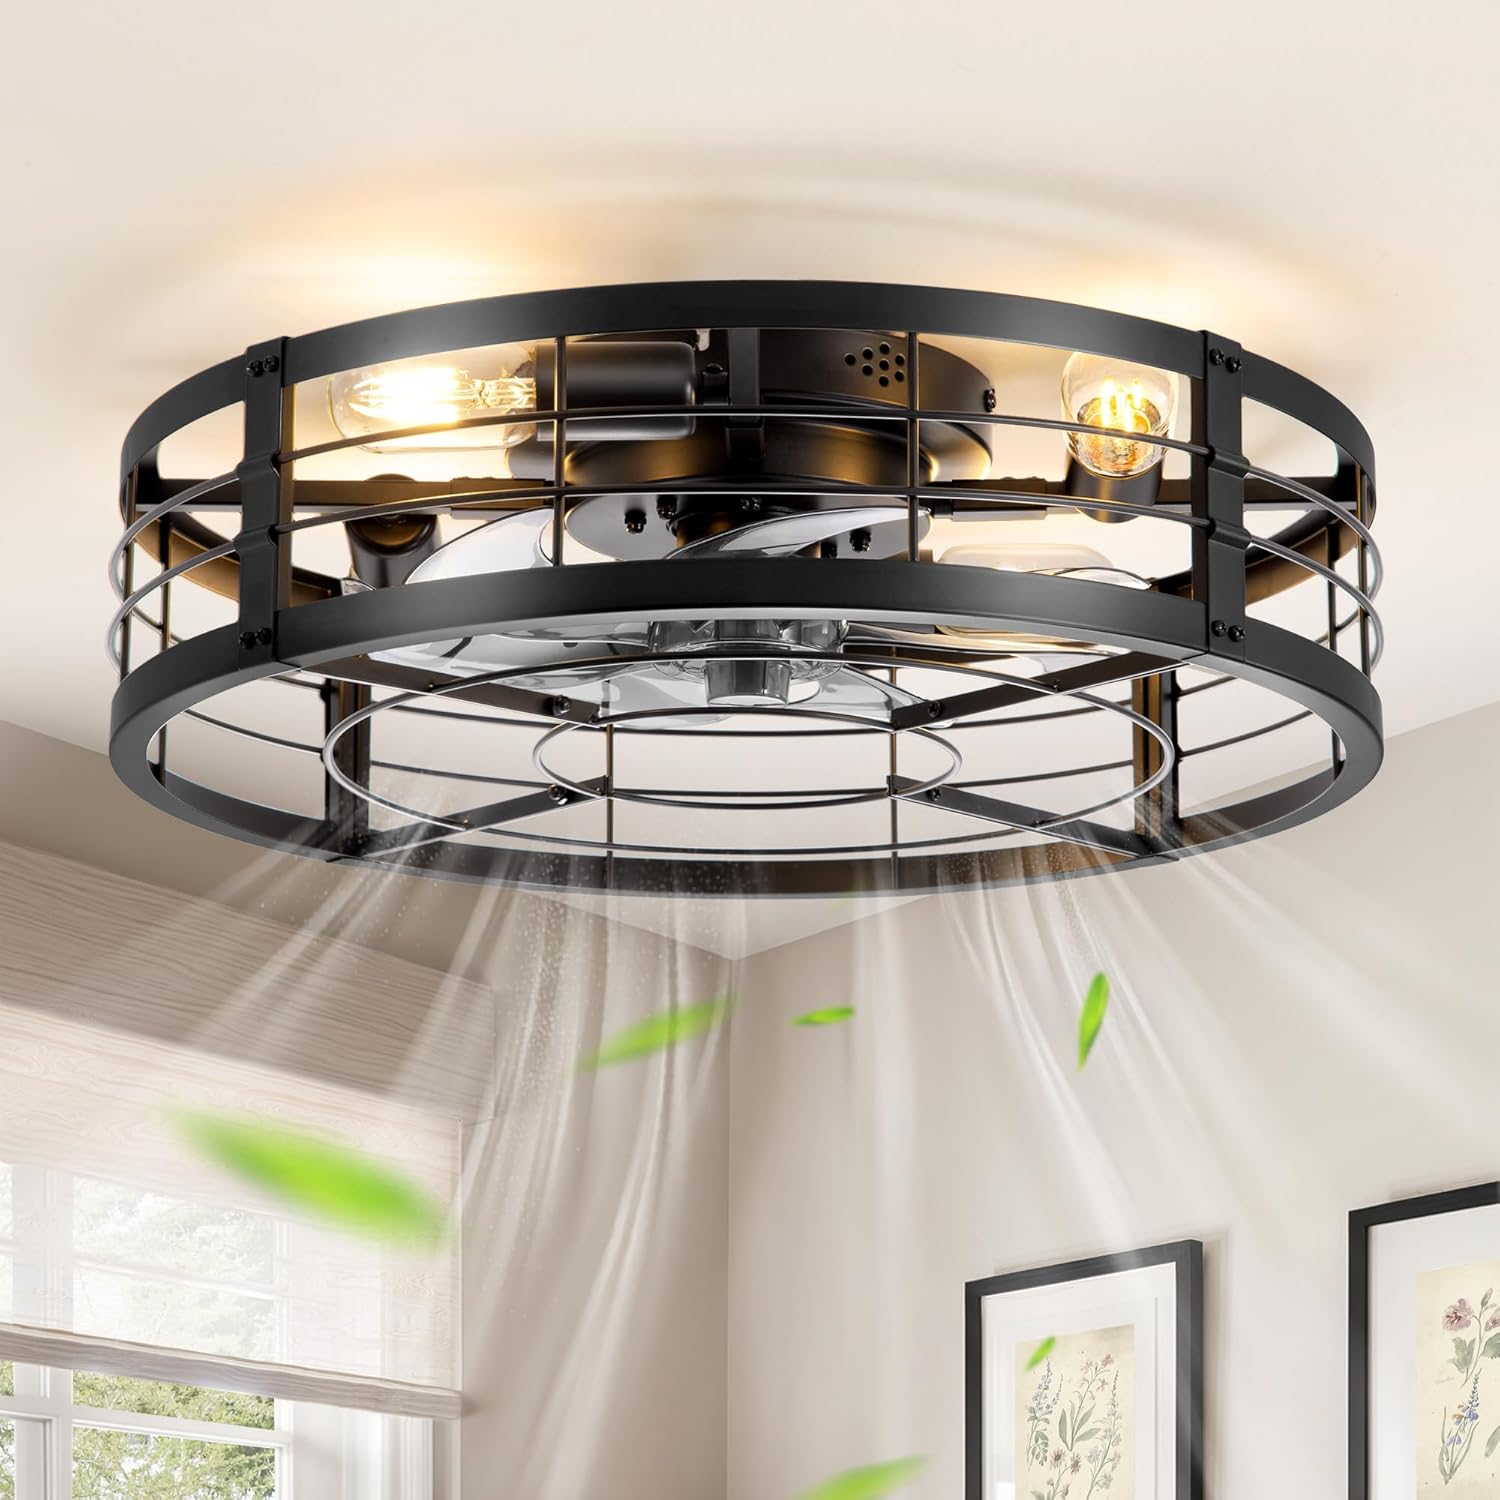
Image: The LEDIARY 20-inch Caged Ceiling Fan with light and remote, installed and operating, demonstrating its airflow. This image provides a visual reference of the product in a typical setting.
-
2. Install the Mounting Plate
Secure the mounting plate to the ceiling junction box. Ensure the plate is firmly attached to a structural support capable of holding the fan's weight.

Image: A hand installing the mounting plate into the ceiling, illustrating the first step of physical installation.
-
3. Assemble the Fan Body
Attach the fan blades and light sockets to the main motor unit as per the instructions provided in the package. Ensure all connections are secure.

Image: A close-up view of the fan's frame and body being assembled, showing the internal components and light sockets.
-
4. Make Electrical Connections
Connect the fan's electrical wires to the household wiring according to the wiring diagram in your package. Use appropriate wire nuts and ensure all connections are tight and insulated. This fan requires a standard single-pole wall switch.

Image: A person connecting the fan unit to the ceiling's electrical wiring, highlighting the importance of secure connections.
-
5. Mount the Fan to the Ceiling
Carefully lift the assembled fan unit and attach it to the mounting plate. Secure it with the provided screws, ensuring it is flush with the ceiling.

Image: The assembled fan unit being lifted and connected to the ceiling, showing the final mounting step.
-
6. Install Light Bulbs
Screw in four E26 base light bulbs (not included) into the sockets. Ensure bulbs do not exceed the maximum wattage of 60W for incandescent or 10W for LED.
-
7. Restore Power and Test
Once installation is complete, restore power at the circuit breaker and test the fan and light functions using the remote control.
Operating Instructions
Your LEDIARY ceiling fan comes with a remote control for convenient operation. Ensure the remote has fresh batteries installed.
Remote Control Functions:
- Light ON/OFF: Toggles the light fixture on or off.
- Fan Speed Control: Adjusts the fan speed through 6 levels.
- Timing Function: Set the fan to turn off automatically after 1, 4, or 8 hours.
- Summer/Winter Reversible Mode:
- Summer Mode (Clockwise Rotation): Creates a downward airflow, providing a cooling effect.
- Winter Mode (Counter-clockwise Rotation): Creates an upward airflow, circulating warm air trapped near the ceiling to help balance room temperature.
- Mute Function: Silences the remote control's beep sounds.
- Natural Mode: Simulates natural breeze by varying fan speeds.

Image: A diagram illustrating the dimensions of the fan (20" diameter, 6.7" height) and a visual of the remote control and a standard wall switch. This helps users understand the product's size and control methods.

Image: A visual representation of the fan's reversible motor function, explaining how clockwise rotation provides a cooling downdraft for summer and counter-clockwise rotation circulates warm air for winter.
Maintenance
Regular maintenance will ensure the longevity and optimal performance of your ceiling fan.
- Cleaning: To clean the fan, wipe with a soft, damp cloth. Do not use abrasive cleaners or solvents that may damage the finish. Ensure power is off before cleaning.
- Light Bulbs: Replace light bulbs only after they have cooled down. Always use bulbs that match the specified E26 base and do not exceed the maximum wattage.
- Tightness: Periodically check all screws and connections to ensure they are secure. Loose connections can cause noise or malfunction.
Troubleshooting
| Problem | Possible Cause | Solution |
|---|---|---|
| Fan does not start | No power to the fan; Loose wire connections; Remote control battery low or not paired. | Check circuit breaker and wall switch. Ensure all wire connections are secure. Replace remote batteries or re-pair the remote (refer to remote pairing instructions in your package). |
| Light does not work | Bulb is faulty; Loose wire connection; Light switch is off. | Replace bulb. Check light wire connections. Ensure light switch on remote or wall is on. |
| Fan is noisy | Loose screws on mounting bracket or fan housing; Fan not properly balanced. | Tighten all screws. Ensure the fan is securely mounted. |
| Remote control not responding | Low battery; Remote not paired with fan. | Replace batteries. Follow remote pairing instructions (usually involves pressing a button on the remote within a few seconds of turning on the fan power). |
Warranty and Support
LEDIARY offers a 2-year after-sales warranty for this product. If you encounter any issues, such as remote pairing difficulties or installation queries, please contact our customer service team.
Our customer service is available 24/7 and aims to respond within 24 hours.
For support, please visit the LEDIARY Store on Amazon or refer to the contact information provided in your product packaging.

Image: The official LEDIARY brand logo, representing the manufacturer and their commitment to customer support.