Introduction
Thank you for choosing the XTU S6 Remote Control. This device is designed to provide convenient wireless control over your XTU S6 camera, enhancing your remote shooting experience. Please read this manual carefully before use to ensure proper operation and to maximize the performance and lifespan of your remote control.
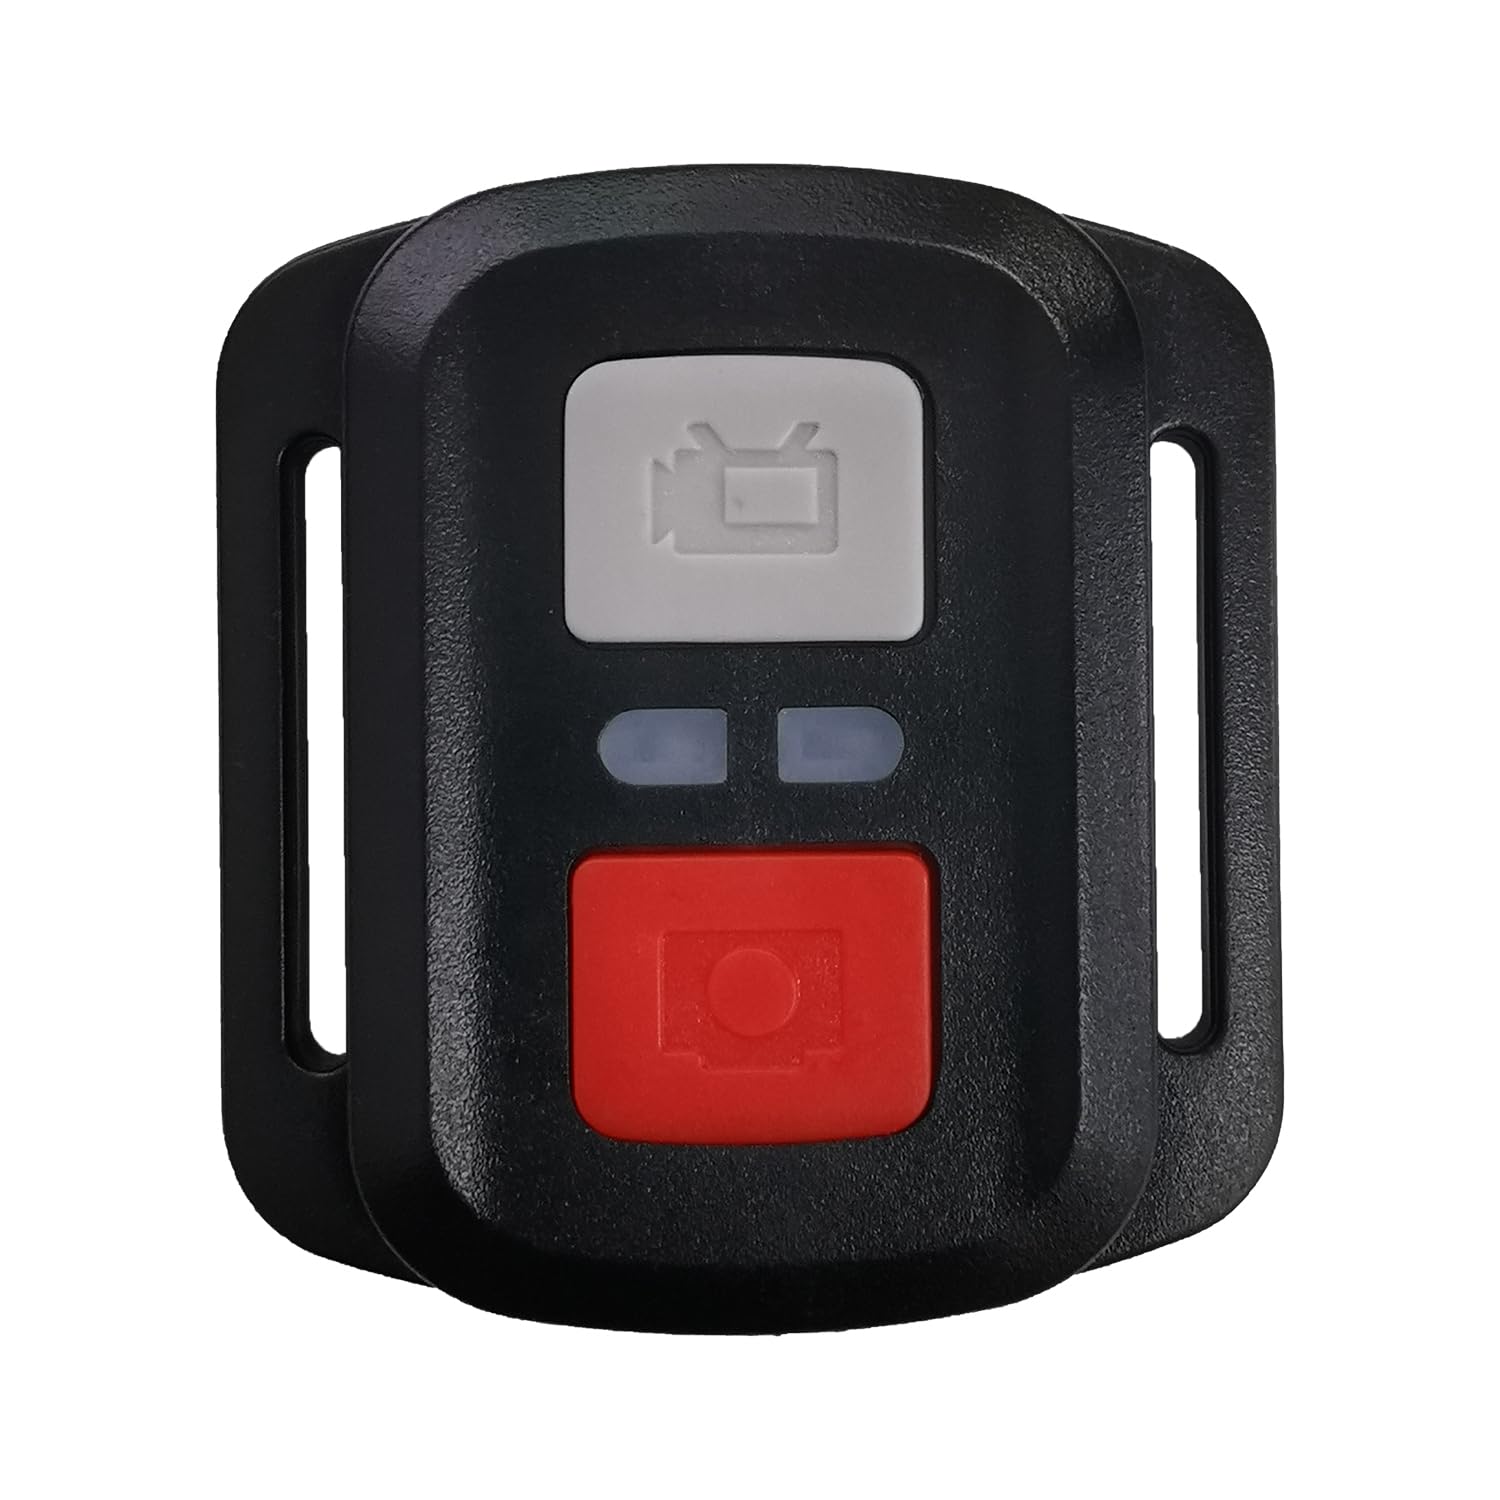
Figure 1: XTU S6 Remote Control. This image displays the compact black remote control with its array of buttons, designed for easy handling and intuitive operation of the XTU S6 camera.
Setup
Follow these steps to set up your XTU S6 Remote Control with your XTU S6 camera:
- Battery Installation: Open the battery compartment on the back of the remote control. Insert the required batteries (type not specified, refer to product packaging) ensuring correct polarity. Close the compartment securely.
- Power On: Press and hold the power button on the remote control until the indicator light illuminates.
- Pairing with XTU S6 Camera:
- Ensure your XTU S6 camera is powered on and in pairing mode (refer to your camera's user manual for specific instructions on enabling remote control pairing).
- On the remote control, press the designated pairing button (if available) or follow the camera's instructions to initiate the connection.
- Once successfully paired, the indicator light on the remote control may change or stop blinking, and the camera should acknowledge the connection.
- Test Connection: Attempt to take a photo or start recording using the remote control to confirm successful pairing.
Operating Instructions
The XTU S6 Remote Control features 15 buttons for various functions. While specific button assignments may vary, general operations include:
- Power Button: Turns the remote control on/off.
- Shutter/Record Button: Activates photo capture or starts/stops video recording.
- Mode Button: Switches between different camera modes (e.g., Photo, Video, Playback).
- Navigation Buttons (Up/Down/Left/Right/OK): Used to navigate camera menus and confirm selections.
- Zoom Buttons: Adjusts the camera's zoom level (if supported by the camera).
- Settings/Menu Button: Accesses camera settings or menu options.
- Indicator Light: Provides feedback on power status, pairing status, and command transmission.
For detailed functionality of each button, please refer to your XTU S6 camera's user manual, as remote control functions are often integrated with camera features.
Maintenance
To ensure the longevity and optimal performance of your XTU S6 Remote Control, follow these maintenance guidelines:
- Cleaning: Use a soft, dry cloth to wipe the remote control. Do not use liquid cleaners, solvents, or abrasive materials, as they may damage the surface or internal components.
- Storage: Store the remote control in a cool, dry place away from direct sunlight, extreme temperatures, and high humidity.
- Battery Care: If the remote control will not be used for an extended period, remove the batteries to prevent leakage and potential damage.
- Avoid Impact: Protect the remote control from drops and impacts, which can damage internal circuitry.
Troubleshooting
If you encounter issues with your XTU S6 Remote Control, try the following solutions:
- Remote Not Responding:
- Check if the batteries are correctly installed and have sufficient charge. Replace them if necessary.
- Ensure the remote control is powered on.
- Verify that the remote control is within the operating range of the camera.
- Unable to Pair:
- Make sure both the remote control and the camera are in pairing mode.
- Restart both the remote control and the camera, then attempt pairing again.
- Ensure there are no strong interferences (e.g., other wireless devices) nearby.
- Intermittent Connection:
- Check battery levels in both devices.
- Reduce the distance between the remote control and the camera.
- Ensure there are no physical obstructions between the remote and the camera.
If these steps do not resolve the issue, please contact XTU customer support for further assistance.
Specifications
| Brand | XTU |
| Model Number | Remote |
| Color | Black |
| Number of Buttons | 15 |
| Manufacturer | XTU |
| ASIN | B0F93BZKJP |
| First Available Date | 2025/05/19 |
Warranty and Support
For information regarding warranty coverage, technical support, or service, please refer to the warranty card included with your product packaging or visit the official XTU website. Keep your purchase receipt as proof of purchase for warranty claims.
XTU Official Website: XTU Store on Amazon.co.jp


