1. Introduction
This manual provides essential information for the safe and efficient operation, maintenance, and troubleshooting of your MZK 40V 16" Cordless Electric Push Lawn Mower. Please read this manual thoroughly before initial use and retain it for future reference.
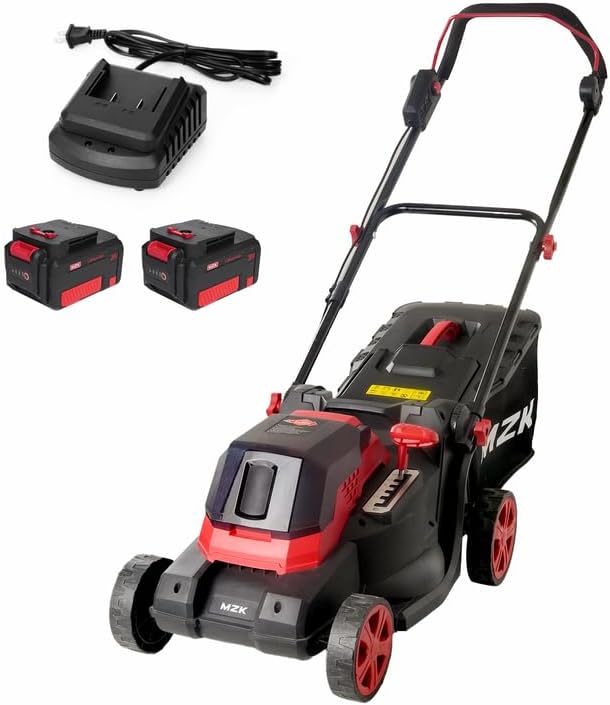
Figure 1: MZK 40V 16" Cordless Electric Push Lawn Mower with included batteries and charger.
2. Safety Information
Always observe basic safety precautions to reduce the risk of fire, electric shock, and personal injury. Failure to follow these instructions may result in serious injury or property damage.
- Read all instructions before operating the appliance.
- Wear appropriate personal protective equipment (PPE), including eye protection, hearing protection, and sturdy footwear.
- Keep children and bystanders away from the mowing area.
- Inspect the area for objects that could be thrown by the blade before mowing.
- Do not operate the mower in wet conditions or rain.
- Ensure the battery is fully charged before use and remove it when not in use or during maintenance.
- Never attempt to clear the discharge chute or blade area while the mower is running.
- Maintain a firm grip on the handle during operation.
- Store the mower in a dry, secure location, out of reach of children.
3. Components Overview
Familiarize yourself with the main components of your lawn mower:
- Handlebar: For steering and control.
- Motor Housing: Contains the electric motor.
- Cutting Deck: Encloses the blade.
- Blade: For cutting grass.
- Grass Collection Bag: Collects grass clippings.
- Height Adjustment Lever: Adjusts cutting height.
- Battery Compartment: Holds the 40V battery.
- Wheels: For mobility.
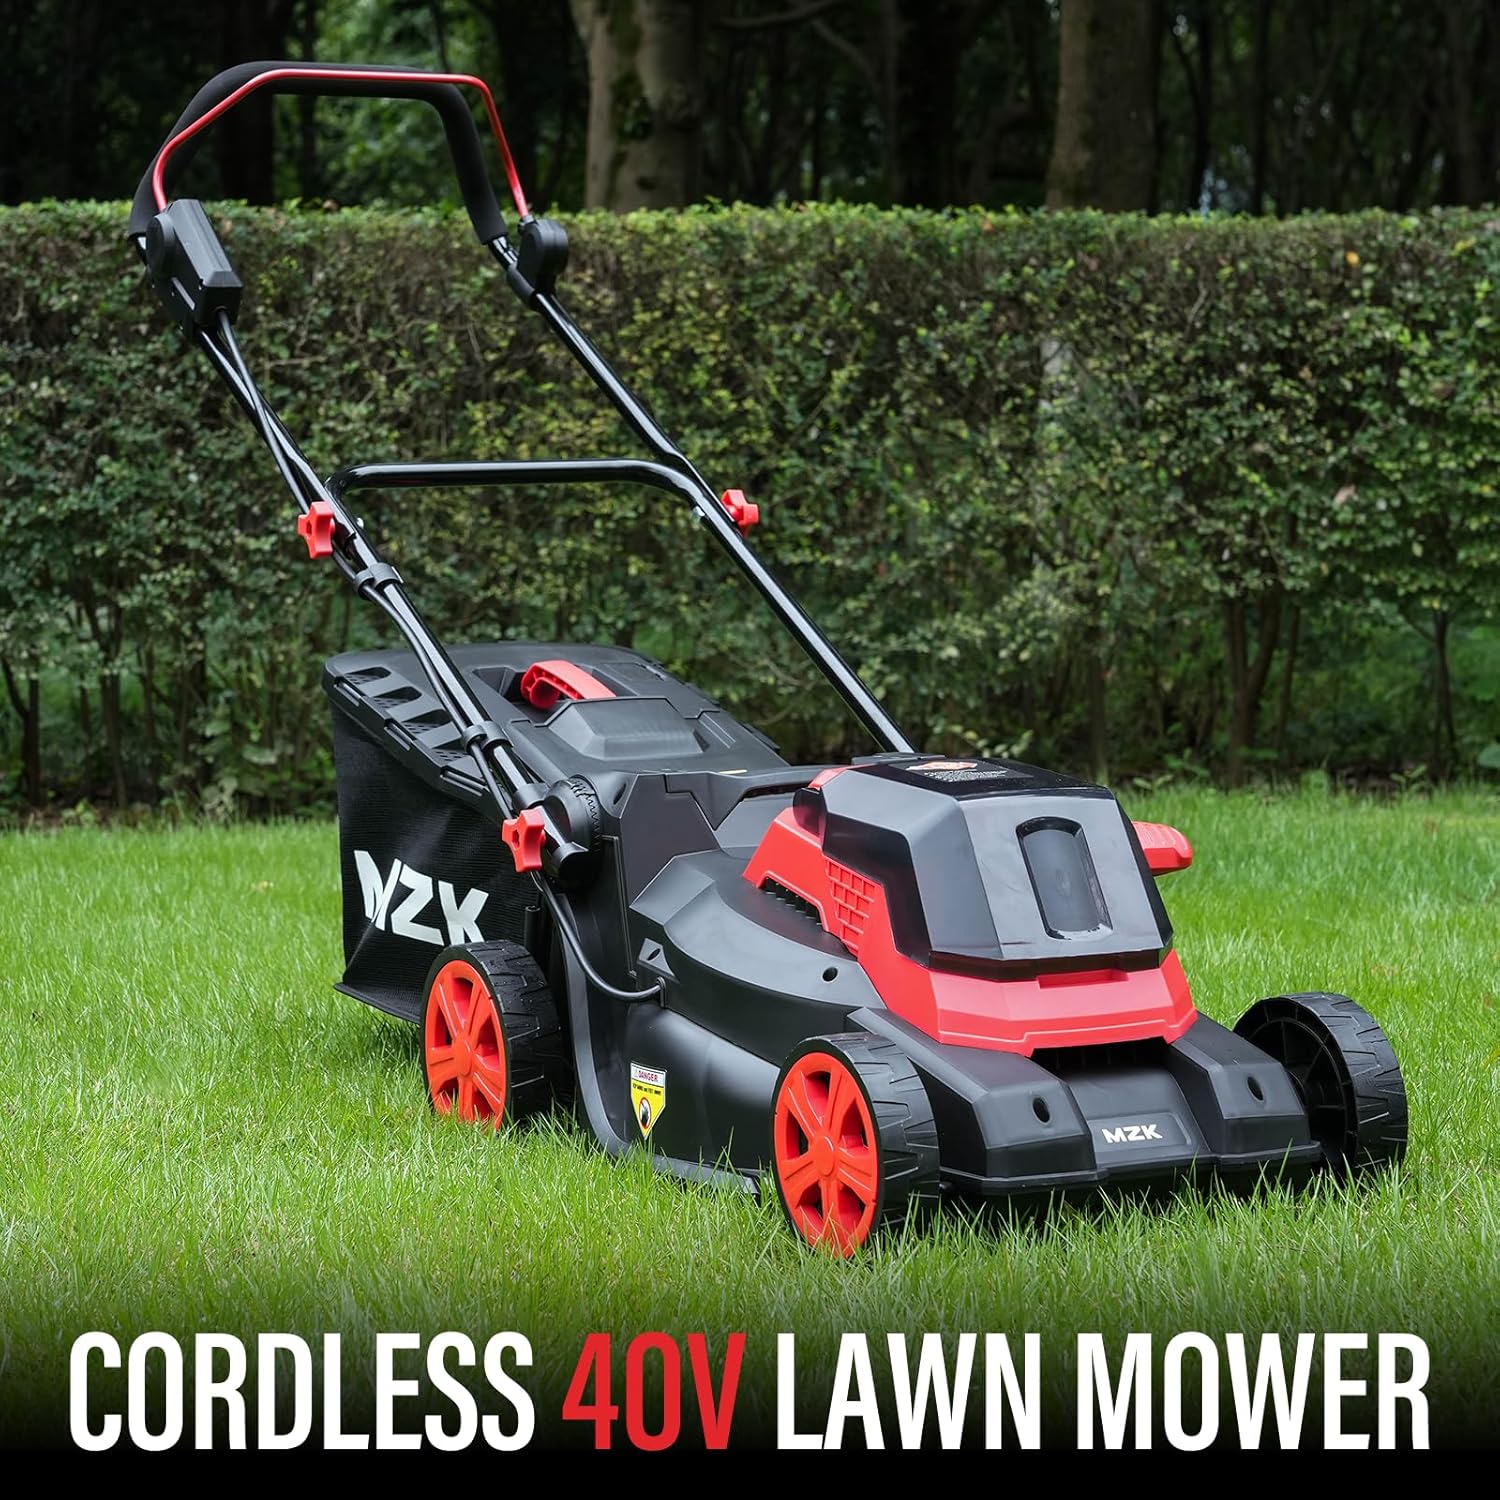
Figure 2: Overview of the MZK Cordless Lawn Mower.
4. Setup
4.1 Unpacking
Carefully remove all components from the packaging. Inspect for any damage. Ensure all parts listed in the manual are present.
4.2 Handle Assembly
Attach the upper handle to the lower handle using the provided knobs and bolts. Ensure the handle is securely fastened and aligned.
4.3 Grass Collection Bag Assembly
Assemble the grass collection bag according to the instructions. Typically, this involves attaching the fabric bag to the frame. Once assembled, lift the rear discharge flap and hook the grass bag onto the mower's rear discharge opening.
4.4 Battery Charging and Installation
Before first use, fully charge the 40V battery using the supplied charger. Connect the charger to a standard power outlet and insert the battery. The indicator light on the charger will show charging status. Once fully charged, insert the battery into the battery compartment on the mower until it clicks into place.
5. Operating Instructions
5.1 Adjusting Cutting Height
The MZK lawn mower offers 6 adjustable cutting height settings, ranging from 0.98 inches to 2.76 inches. To adjust the cutting height, locate the height adjustment lever on the side of the mower. Pull the lever outwards and move it to the desired position. Ensure all wheels are at the same height setting for an even cut.
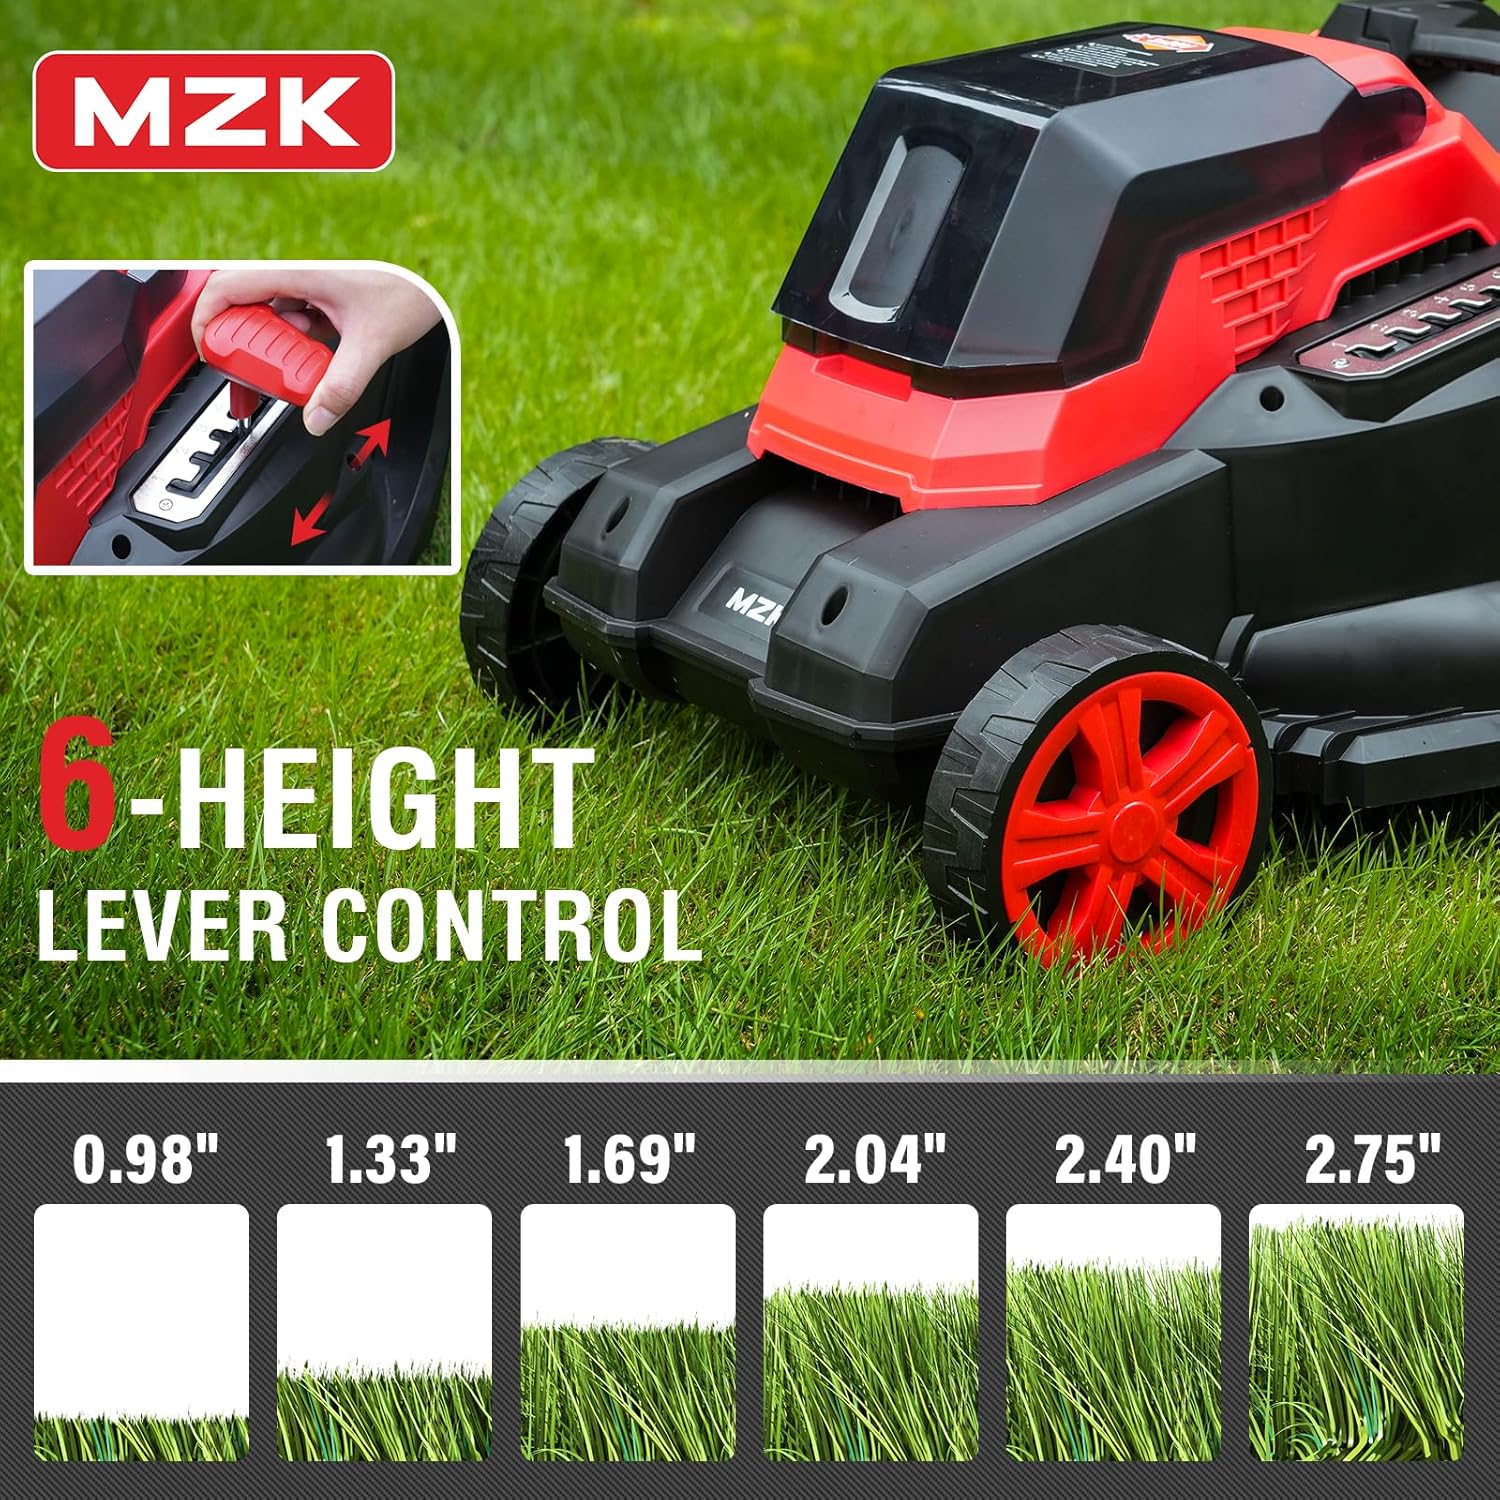
Figure 3: Adjusting the cutting height using the lever.
5.2 Starting the Mower
Ensure the battery is securely installed. Press and hold the safety button, then pull the bail switch lever towards the handle. The motor will start. Release the safety button once the motor is running.

Figure 4: Easy start mechanism for the cordless mower.
5.3 Mowing Techniques
For best results, mow dry grass. Overlap each cutting pass slightly to ensure complete coverage. Avoid overloading the motor by cutting excessively long or wet grass. If the grass is very tall, consider raising the cutting height for the first pass and then lowering it for a second pass.
The MZK mower is designed for efficient cutting with a 16-inch cutting width and a 40L grass collection bag, maximizing mowing efficiency and reducing cleanup time.
6. Maintenance
6.1 Cleaning
After each use, disconnect the battery and clean the mower. Remove grass clippings from the cutting deck, wheels, and grass bag. Use a damp cloth to wipe down exterior surfaces. Do not use water jets or harsh chemicals.
6.2 Blade Care
Regularly inspect the blade for sharpness and damage. A dull blade can tear grass, leading to an unhealthy lawn. If the blade is dull or damaged, it should be sharpened or replaced by a qualified service technician. Always wear heavy-duty gloves when handling the blade.
6.3 Storage
Store the mower in a dry, well-ventilated area, away from direct sunlight and extreme temperatures. The MZK mower features a space-saving design, allowing it to be stored vertically, saving up to 70% of space in your garage or shed.

Figure 5: Vertical storage of the MZK lawn mower.
Remove the battery before storing for extended periods. Store the battery in a cool, dry place, partially charged.
7. Troubleshooting
| Problem | Possible Cause | Solution |
|---|---|---|
| Mower does not start. | Battery not inserted correctly or not charged. Safety button/bail switch not engaged. | Ensure battery is fully charged and properly seated. Engage safety button and pull bail switch simultaneously. |
| Mower stops during operation. | Battery depleted. Overload protection activated (e.g., cutting very thick grass). | Recharge battery. Raise cutting height or reduce mowing speed. Clear any obstructions from the blade area (after disconnecting battery). |
| Uneven cut. | Blade dull or damaged. Cutting height not set evenly on all wheels. | Inspect and sharpen/replace blade. Ensure all wheels are set to the same cutting height. |
| Excessive vibration. | Blade unbalanced or damaged. Loose components. | Inspect blade for damage or imbalance; replace if necessary. Check all fasteners for tightness. |
8. Specifications
| Feature | Detail |
|---|---|
| Brand | MZK |
| Model Number | ET2404-10 |
| Power Source | 40V DC Battery |
| Cutting Width | 16 Inches |
| Cutting Height Adjustment | 6 positions (0.98" to 2.76") |
| Grass Bag Capacity | 40 Liters |
| Max Runtime (with 4.0 Ah Battery) | Up to 20 minutes |
| Recharge Time (with included charger) | 240 minutes or less |
| Item Weight | 24.3 Pounds |
| Product Dimensions | 30"D x 16"W x 40"H |
| Operation Mode | Automatic |
| Noise Level | Low |
| Vibration | Low |

Figure 6: Illustration of the powerful motor.
9. Warranty and Support
For warranty information or technical support, please refer to the documentation included with your purchase or contact MZK customer service. Specific warranty terms and contact details are typically provided on the product packaging or a separate warranty card.
