1. Introduction
This manual provides essential information for the safe and efficient installation, operation, and maintenance of your COSTWAY 30k Quad 4 Zone Mini Split Air Conditioner. Please read this manual thoroughly before using the appliance and retain it for future reference.

Image: Overview of the COSTWAY 30k Quad 4 Zone Mini Split Air Conditioner system components.
Product Overview
The COSTWAY 30k Quad 4 Zone Mini Split Air Conditioner is a multi-room cooling and heating solution designed for optimal comfort and energy efficiency. Featuring inverter technology and R32 refrigerant, this system provides independent temperature control across four zones, making it suitable for various room configurations.
Video: A brief overview of the COSTWAY 30k Quad 4 Zone Mini Split Air Conditioner.
2. Safety Information
Important: Installation must be performed by a professional HVAC installer. Improper installation can lead to electric shock, fire, water leakage, or other hazards.
- Always disconnect power before servicing or cleaning the unit.
- Ensure proper grounding to prevent electric shock.
- Do not block air inlets or outlets.
- Keep children away from the unit during operation.
- Use only specified refrigerant (R32) and follow all local regulations for handling.
Video: Important pre-installation steps and safety considerations for mini split units.
3. Package Contents
Verify that all items are present and undamaged upon unpacking. Contact customer service if any parts are missing or damaged.

Image: Detailed illustration of all components included in the package.
- 1 x Outdoor Unit
- 4 x Indoor Units (9000 BTU x 3, 12000 BTU x 1)
- 4 x Remote Controls
- 4 x Wall Sleeves
- 4 x Drain Hoses
- 4 x Copper Connection Pipes (Air + Liquid)
- 4 x Mounting Plates
- 4 x Communication Wires
- 4 x Screw Kits
- 8 x Tape Rolls
- 8 x Putty Packs
- 8 x Wall Caps
4. Specifications
| Feature | Detail |
|---|---|
| Brand | COSTWAY |
| Model Info | 8973452c-4173-414e-bf7e-7cb45cc3e79c |
| Capacity | 30,000 BTU (9k+9k+9k+12k BTU) |
| Efficiency (SEER2) | 23 SEER2 |
| Efficiency (HSPF2) | 10 HSPF2 |
| Voltage | 208-230V |
| Refrigerant | R32 |
| Operating Temperature Range | -13℉ to 125℉ |
| Noise Level | 30 Decibels (Quiet Sleep Mode) |
| Control | Wi-Fi Enabled, Remote Control |
| Certifications | Energy Star, ETL, AHRI Certified |
| Outdoor Unit Dimensions | 41.2"W x 17.9"D x 31.8"H |
| Indoor Unit Dimensions (9000 BTU) | 31"L x 7.8"W x 11.5"H |
| Indoor Unit Dimensions (12000 BTU) | 34.5"L x 7.6"W x 11.7"H |

Image: Energy efficiency ratings and certifications for the outdoor unit.
5. Installation
Professional installation is required. This section provides a general overview of the installation process. Refer to the detailed installation guide provided with your unit for complete instructions.
5.1 Pre-Installation Considerations
- Location: Choose a location for the indoor and outdoor units that allows for proper airflow and drainage. Ensure the wall is sturdy enough to support the indoor unit's weight.
- Clearances: Maintain adequate clearance around both indoor and outdoor units as specified in the detailed manual to ensure optimal performance and serviceability.
- Electrical Requirements: Verify your home's voltage (208-230V) and ensure the correct circuit breaker and wiring are used, compliant with local electrical codes.
- Refrigerant Piping: Plan the shortest possible route for refrigerant lines, ensuring they are protected from damage.
5.2 Installation Steps Overview
Video: A step-by-step guide to installing a mini split unit.
- Mounting Plate Installation: Use the provided template to mark and drill holes for the indoor unit's mounting plate and the line set wall hole. Secure the mounting plate to the wall, ensuring it is level.
- Wall Hole Drilling: Drill the wall hole for the line set, drain hose, and electrical wiring.
- Line Set Preparation: Carefully bend the refrigerant pipes to route them through the wall hole. Handle pipes gently to avoid kinking or damage.
- Indoor Unit Mounting: Securely mount the indoor unit onto the mounting plate.
- Outdoor Unit Placement: Position the outdoor condenser unit in its designated location, ensuring proper clearances.
- Refrigerant Line Connection: Connect the indoor unit's line set to the outdoor condenser's line set. Tighten connections securely, using a torque wrench if available, to prevent leaks.
- Electrical Wiring: Connect the electrical wiring between the indoor and outdoor units, and to the power supply, following the wiring diagram in the detailed manual. Ensure the power is off at the circuit breaker before making any electrical connections.
- Vacuuming the Refrigerant Circuit: Use a vacuum pump and gauge to evacuate the refrigerant lines. This removes air and moisture, which is crucial for system efficiency and longevity. Vacuum each line set separately for multi-zone systems. Aim for 500 microns or -30 PSI on a manifold gauge.
- Refrigerant Release: After vacuuming, slowly open the high-side (top) valve, then quickly open the low-side (bottom) valve on the outdoor unit to release the refrigerant into the system.
- Leak Check: Perform a thorough leak check on all connections using a leak detector or soapy water.
- Power On & Test: Restore power to the unit and test all operating modes to ensure proper function.
6. Operating Modes & Features
Your COSTWAY Mini Split Air Conditioner offers multiple modes and features for customized comfort.

Image: Remote control functions and available operating modes.
- Modes: Auto, Cool, Heat, Dry, Fan, Sleep.
- Fan Speeds: Auto, Low, Mid, High, Strong.
- Smart Control: Control your AC from anywhere using your smartphone via Wi-Fi or the included remote control.
- 24-Hour Timer: Schedule operation to fit your daily routine.
- Auto Swing: Ensures even distribution of air.
- Low Noise: Quiet sleep mode and screen off function for undisturbed rest.
- Wide Operating Range: Functions effectively in extreme temperatures from -13℉ to 125℉.

Image: Smart control functionality via a smartphone application.

Image: Voice control capability for the air conditioner.

Image: Low noise operation for a restful night.

Image: The outdoor unit's performance in extreme temperatures.

Image: Multi-room cooling solution with independent zone control.
7. Maintenance
Regular maintenance ensures optimal performance and longevity of your unit.
- Filter Cleaning: The air filters can be easily removed and cleaned. Clean filters regularly (e.g., monthly) to maintain air quality and efficiency.
- Outdoor Unit Cleaning: Keep the outdoor unit free from debris, leaves, and other obstructions.
- Professional Servicing: Schedule annual professional servicing to check refrigerant levels, electrical connections, and overall system health.
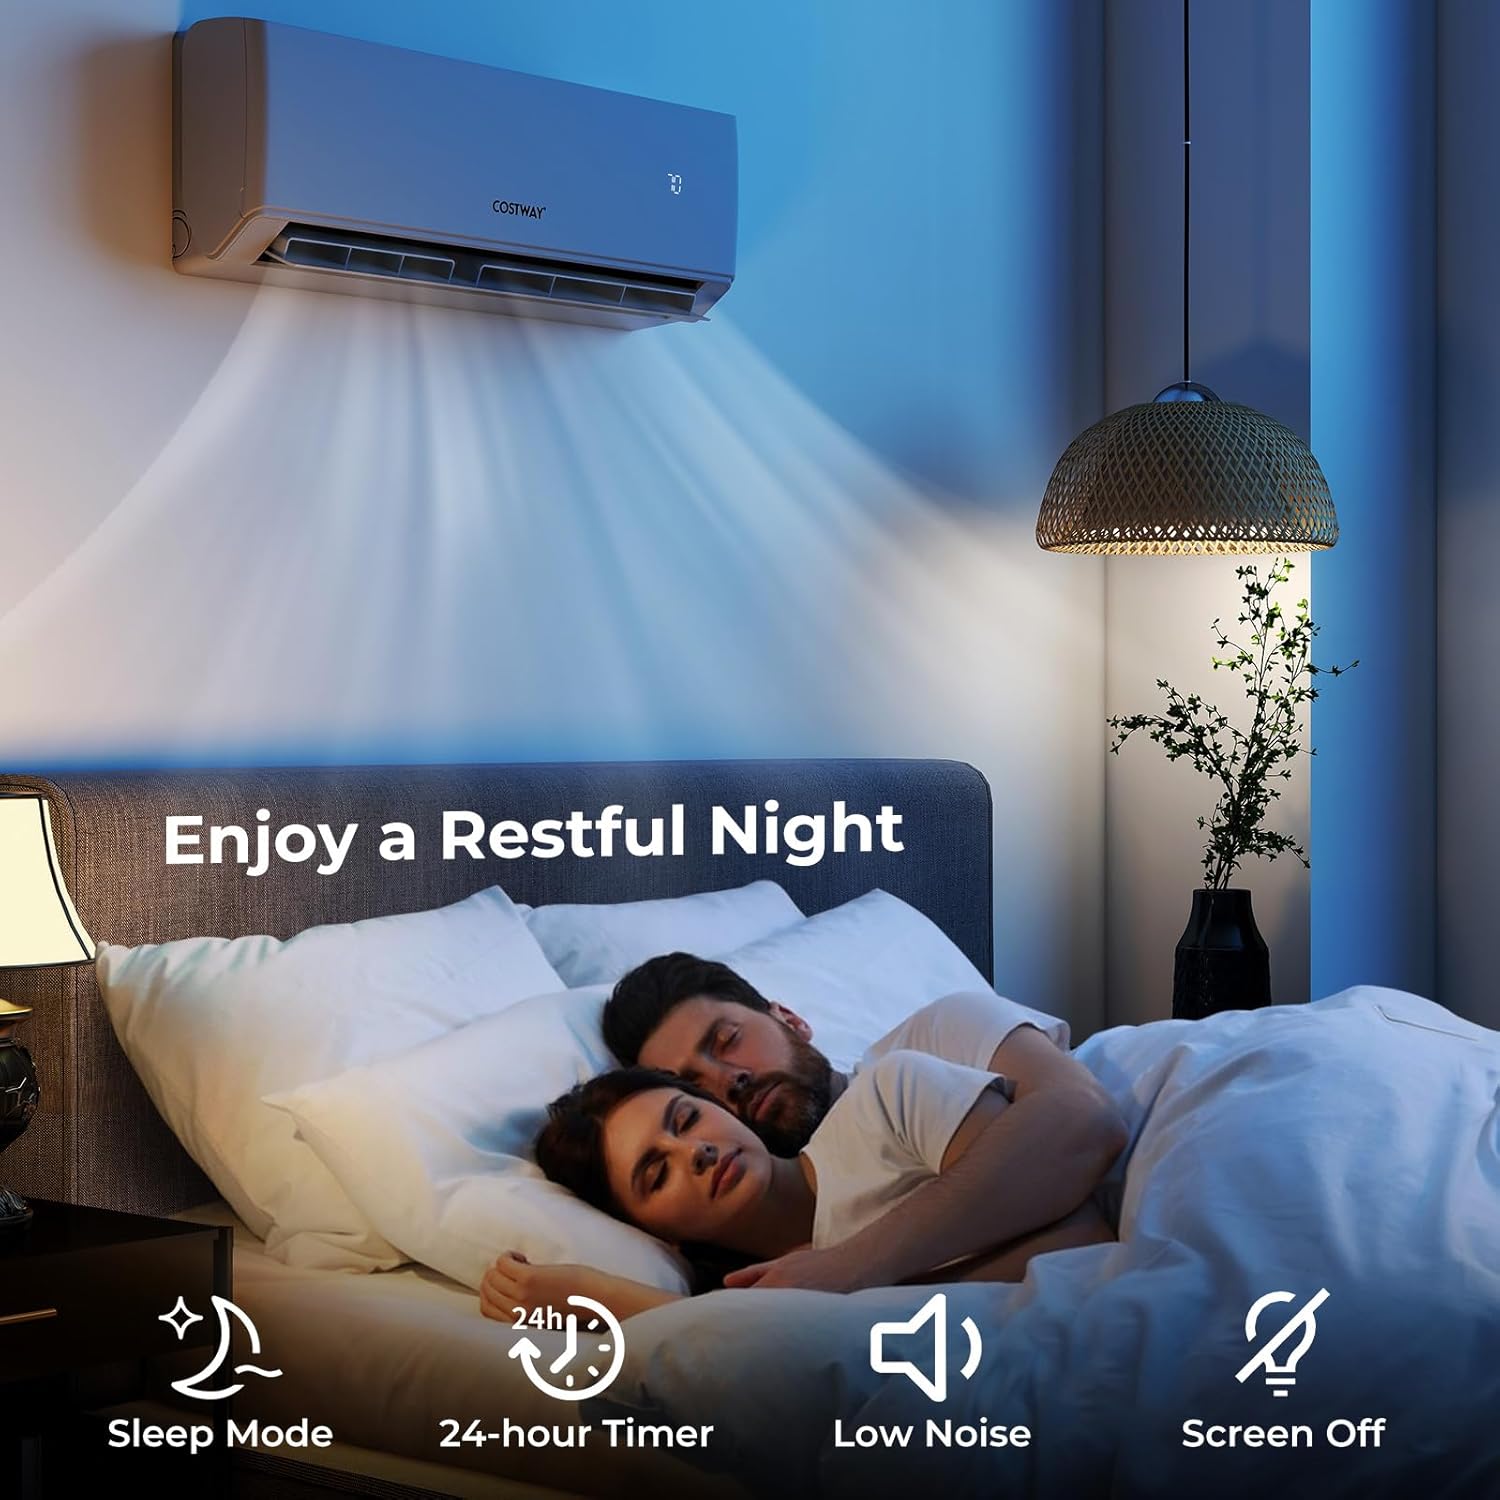
Image: Removable and washable filters for easy cleaning.
8. Troubleshooting
If you encounter issues, refer to the following common troubleshooting tips. For complex problems, contact a qualified technician.
- Unit Not Turning On: Check power supply, circuit breaker, and remote control batteries.
- Insufficient Cooling/Heating: Ensure filters are clean, doors/windows are closed, and temperature settings are correct. Check for obstructions around outdoor unit.
- Unusual Noises: Minor noises during operation are normal. If loud or persistent, contact a technician.
- Water Leakage: Check drain hose for blockages or improper angling.
9. Warranty & Support
COSTWAY provides extended service and premium support for its products.
- Multi-Zone Models Warranty: 5-year compressor warranty + 3-year parts warranty.
- Lifetime Technical Support: Available for all products.
- Customer Support: 24/7 support via phone, email, or live chat.
For any questions or assistance, please contact COSTWAY customer service directly.

Image: COSTWAY customer support and warranty information.