1. Product Overview
This manual provides essential information for the installation, operation, and maintenance of your FANPYY Konica 512 KM512LH 42pl Print Head. Please read these instructions carefully before use to ensure optimal performance and longevity of the product.
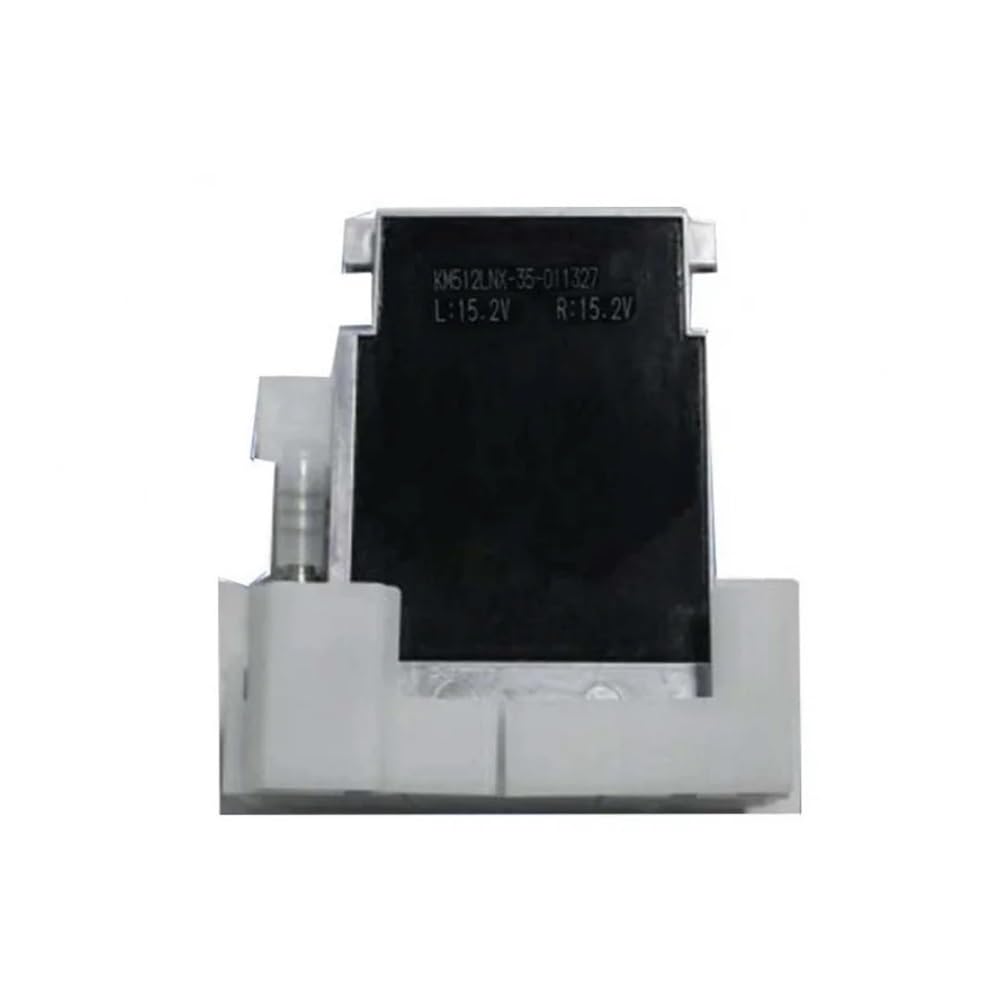
Figure 1: Front view of the FANPYY Konica 512 KM512LH 42pl Print Head.
Key Features:
- High Precision Printing: Utilizes advanced thermal sensors for clear, fine-line printing, suitable for professional applications like receipts and labels.
- Wide Compatibility: Designed to be compatible with mainstream thermal printer models, supporting various paper widths, offering plug-and-play functionality.
- Durable Construction: Manufactured from wear-resistant materials, ensuring a lifespan of up to 50KM printing length, with corrosion and high-temperature resistance for demanding commercial use.
- Fast Response & Energy Efficiency: Features a low-power design with a quick-responding heating element, enhancing printing efficiency while minimizing energy consumption.
This print head is specifically designed for use with Allwin, JHF, Yaselan, Liyu, and Human solvent printers, supporting C, M, Y, K ink types for inkjet printing with solvent ink.
2. Setup and Installation
2.1 Safety Precautions
- Always disconnect the printer from the power source before installation or maintenance.
- Wear appropriate protective gear, such as gloves, to avoid contact with ink or electronic components.
- Handle the print head with care, avoiding direct contact with the nozzle surface.
- Ensure the working environment is clean and free of dust.
2.2 Unpacking
Carefully remove the print head from its packaging. Inspect for any visible damage. Do not remove the protective cap from the nozzle until immediately before installation.
2.3 Installation Steps
- Power off your printer and unplug it from the electrical outlet.
- Open the printer's access cover to locate the print head carriage.
- If replacing an old print head, carefully remove it according to your printer's specific instructions.
- Gently remove the protective cap from the new print head's nozzle.
- Insert the new print head into the designated slot in the print head carriage, ensuring it clicks securely into place.
- Connect any necessary cables or tubes (e.g., ink lines, data cables) to the print head, ensuring a firm connection.
- Close the printer's access cover.
- Plug in and power on the printer. The printer may initiate an automatic calibration or cleaning cycle.

Figure 2: Side view of the print head, showing connection points.
3. Operating Instructions
3.1 Initial Power-On and Calibration
After installation, power on your printer. Most printers will automatically detect the new print head and initiate a calibration process. Follow any on-screen prompts from your printer's control panel or software.
3.2 Print Head Alignment
For optimal print quality, perform a print head alignment procedure through your printer's utility software. This ensures accurate ink droplet placement and prevents banding or misaligned prints.
3.3 Printing Guidelines
- Use high-quality, compatible solvent inks for best results and to prevent print head clogging.
- Ensure proper ventilation when using solvent inks.
- Avoid printing on media that is warped or excessively dusty.
- Regularly check ink levels to prevent the print head from running dry, which can cause damage.
4. Maintenance
4.1 Regular Cleaning
To maintain print quality and extend the life of your print head, regular cleaning is essential:
- Automatic Cleaning: Utilize your printer's built-in automatic cleaning cycles as recommended by the printer manufacturer.
- Manual Cleaning: If print quality degrades, gently wipe the nozzle plate with a lint-free cloth dampened with a print head cleaning solution. Never use abrasive materials or harsh chemicals.
- Ink System Flush: Periodically perform an ink system flush if recommended by your printer's manual, especially when changing ink types or if the printer has been idle for an extended period.
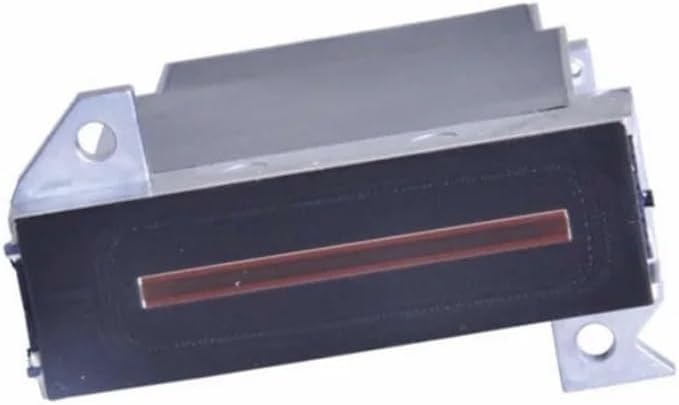
Figure 3: Bottom view of the print head, highlighting the nozzle plate for cleaning.
4.2 Storage
If the print head needs to be stored for an extended period, ensure it is properly cleaned and sealed in an airtight container to prevent ink from drying out and nozzles from clogging. Store in a cool, dry place away from direct sunlight.
5. Troubleshooting
This section addresses common issues you might encounter with your print head.
- Poor Print Quality (Banding, Streaks, Fading):
- Perform a nozzle check and print head cleaning cycle.
- Check ink levels and replace empty cartridges.
- Ensure the print head is properly aligned.
- Verify that you are using compatible and fresh solvent ink.
- No Ink Output:
- Confirm ink cartridges are correctly installed and not empty.
- Check for any air bubbles in the ink lines (if applicable).
- Perform multiple deep cleaning cycles.
- Print Head Not Detected:
- Ensure the print head is securely seated in its carriage.
- Check all electrical connections to the print head.
- Restart the printer and computer.
- Consult your printer's manual for specific error codes.
- Ink Leaking:
- Inspect the print head for any cracks or damage.
- Ensure ink lines and cartridges are properly connected and sealed.
- If the issue persists, the print head may need replacement.
If these steps do not resolve the issue, please refer to your printer's specific troubleshooting guide or contact customer support.
6. Specifications
| Feature | Detail |
|---|---|
| Model Number | Konica 512 KM512LH 42pl |
| Brand | FANPYY |
| Compatibility | Allwin, JHF, Yaselan, Liyu, Human solvent printers |
| Ink Type | Solvent Ink |
| Printing Type | Inkjet |
| Voltage | 110V, 220V (Printer dependent) |
| Origin | Japan (Jp) |
| Package Dimensions | 0.39 x 0.39 x 0.39 inches |
| Item Weight | 3.53 ounces |
| Manufacturer | FANPYY |
| Assembly Required | No |
| Number of Pieces | 1 |
7. Warranty and Support
7.1 Warranty Information
The FANPYY Konica 512 KM512LH 42pl Print Head comes with a 12-month warranty service from the date of purchase. This warranty covers manufacturing defects and ensures the product meets its specified performance standards under normal use. Please retain your proof of purchase for warranty claims.
Additionally, a 30-day return policy is available for refunds or replacements, subject to the terms and conditions of the retailer.
7.2 Customer Support
For technical assistance, installation queries, or troubleshooting support, a professional technical team is available to help. Please refer to the contact information provided by your retailer or the FANPYY official website for support channels.
When contacting support, please have your product model (Konica 512 KM512LH 42pl) and purchase details ready to facilitate quicker service.