Introduction
Thank you for choosing the VEVOR 2.1 Gallon Beverage Dispenser. This manual provides essential information for the safe and efficient use of your new dispenser. Please read these instructions carefully before assembly and operation, and retain them for future reference.

Image: The VEVOR 2.1 Gallon Beverage Dispenser, showcasing its clear container, stainless steel base, spigot, and ice chamber, surrounded by fresh fruit and a refreshing drink.
Product Overview
Key Features:
- 2.1 Gallon (8 Liter) Capacity: Designed for continuous beverage supply, reducing frequent refills.
- No-Drip Spigot: Features a spring-loaded spigot with a tight switch to prevent leaks and drips.
- Integrated Ice Chamber: Allows for cooling beverages without dilution.
- Transparent Design: Provides clear visibility of beverage levels and contents.
- Food-Grade PC Material: Constructed from durable, stain-resistant, and BPA-free polycarbonate.
- Removable Parts: Wide-mouth design and removable lid facilitate easy cleaning.
- Drip Tray: Catches any overflow to maintain a clean serving area.

Image: Close-up details highlighting the transparent body for monitoring beverage levels, the central ice chamber for cooling, and the removable water tray for easy cleaning.
Setup Instructions
- Unpack Components: Carefully remove all parts from the packaging. Verify that all components are present: main dispenser body (PC container), lid, spigot, ice chamber, stand, and drip tray.
- Initial Cleaning: Before first use, wash all parts that will come into contact with beverages using warm, soapy water. Rinse thoroughly and dry completely.
- Assemble Spigot: Insert the spigot into the designated opening at the bottom of the dispenser body. Ensure the rubber washers are correctly positioned on both sides of the dispenser wall to create a watertight seal. Tighten the nut securely by hand, avoiding overtightening to prevent damage.
- Place Drip Tray: Position the drip tray onto the base of the stand.
- Mount Dispenser: Carefully place the assembled dispenser body onto the stand, ensuring it is stable and centered.
- Insert Ice Chamber: Place the ice chamber into the center of the dispenser body.
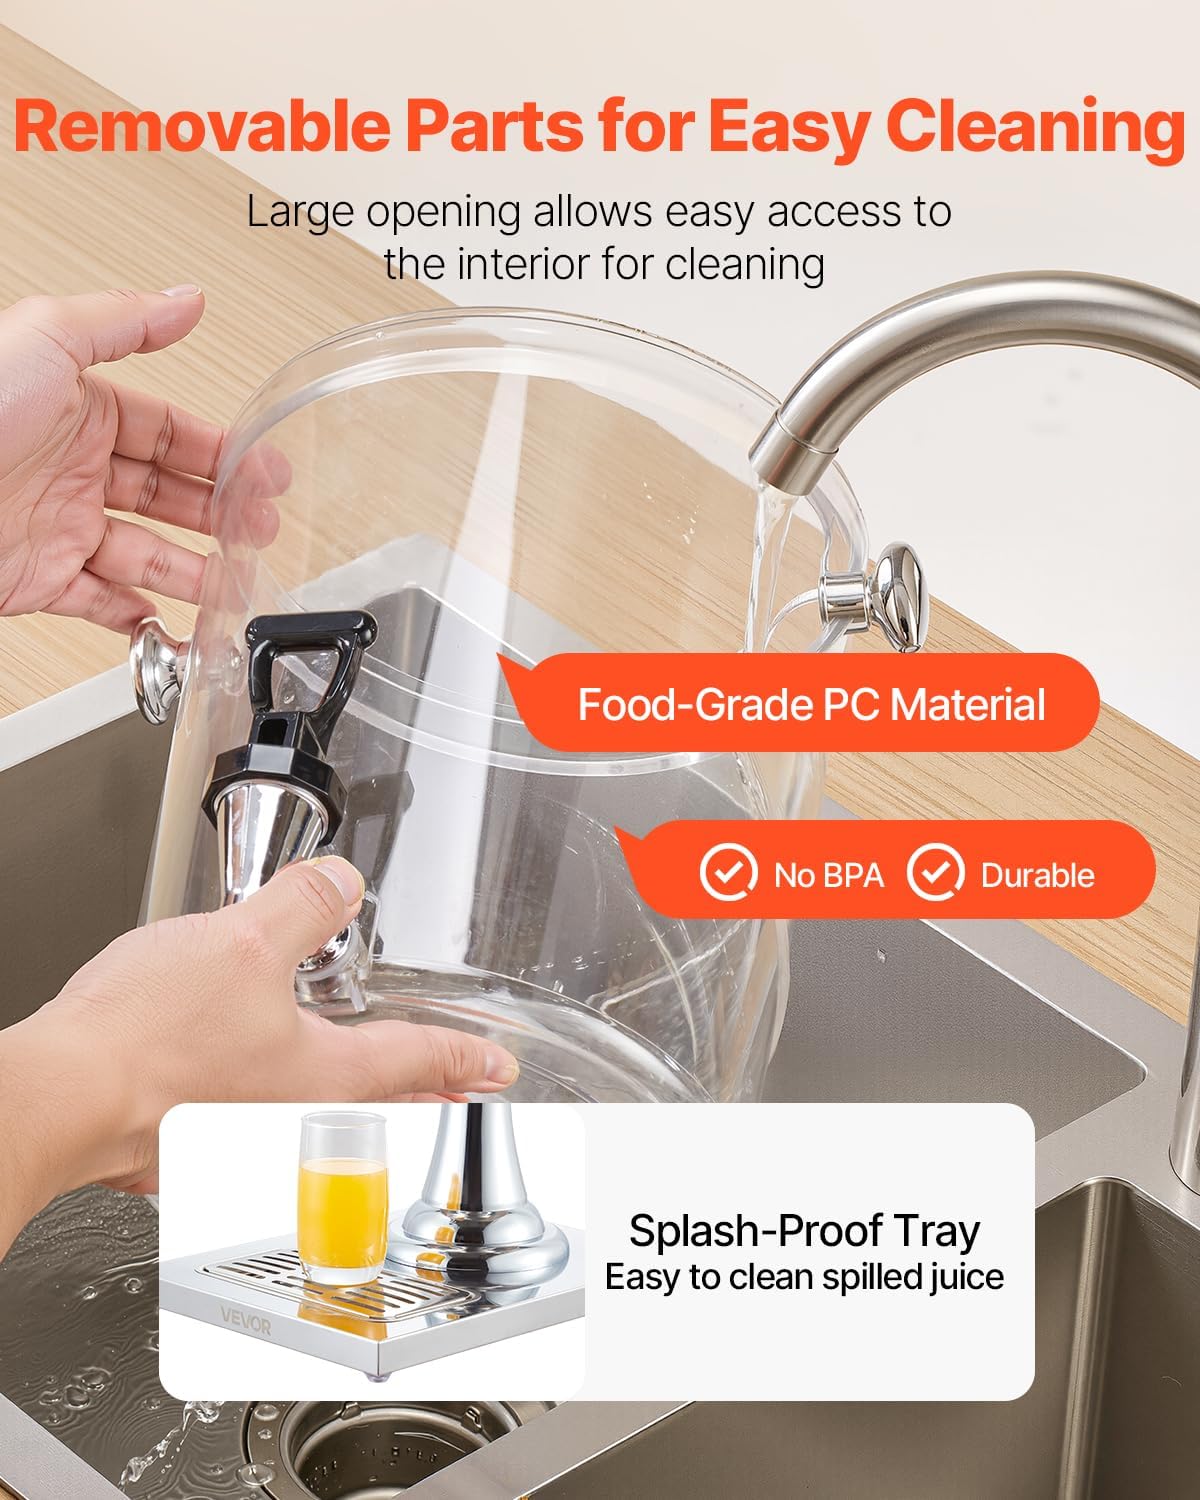
Image: A person demonstrating the ease of cleaning the dispenser's wide-mouth opening and removable parts under running water in a sink.
Operating Instructions
- Fill Ice Chamber (Optional): If serving chilled beverages, fill the central ice chamber with ice cubes. Do not overfill.
- Add Beverage: Open the lid and pour your desired beverage into the main dispenser body. The wide opening facilitates easy filling.
- Secure Lid: Place the lid firmly back onto the dispenser to prevent dust or contaminants from entering.
- Dispense Beverage: To dispense, push the spigot lever down. Release the lever to stop the flow.
- Monitor Levels: Due to the transparent design, monitor the beverage level and refill as needed.
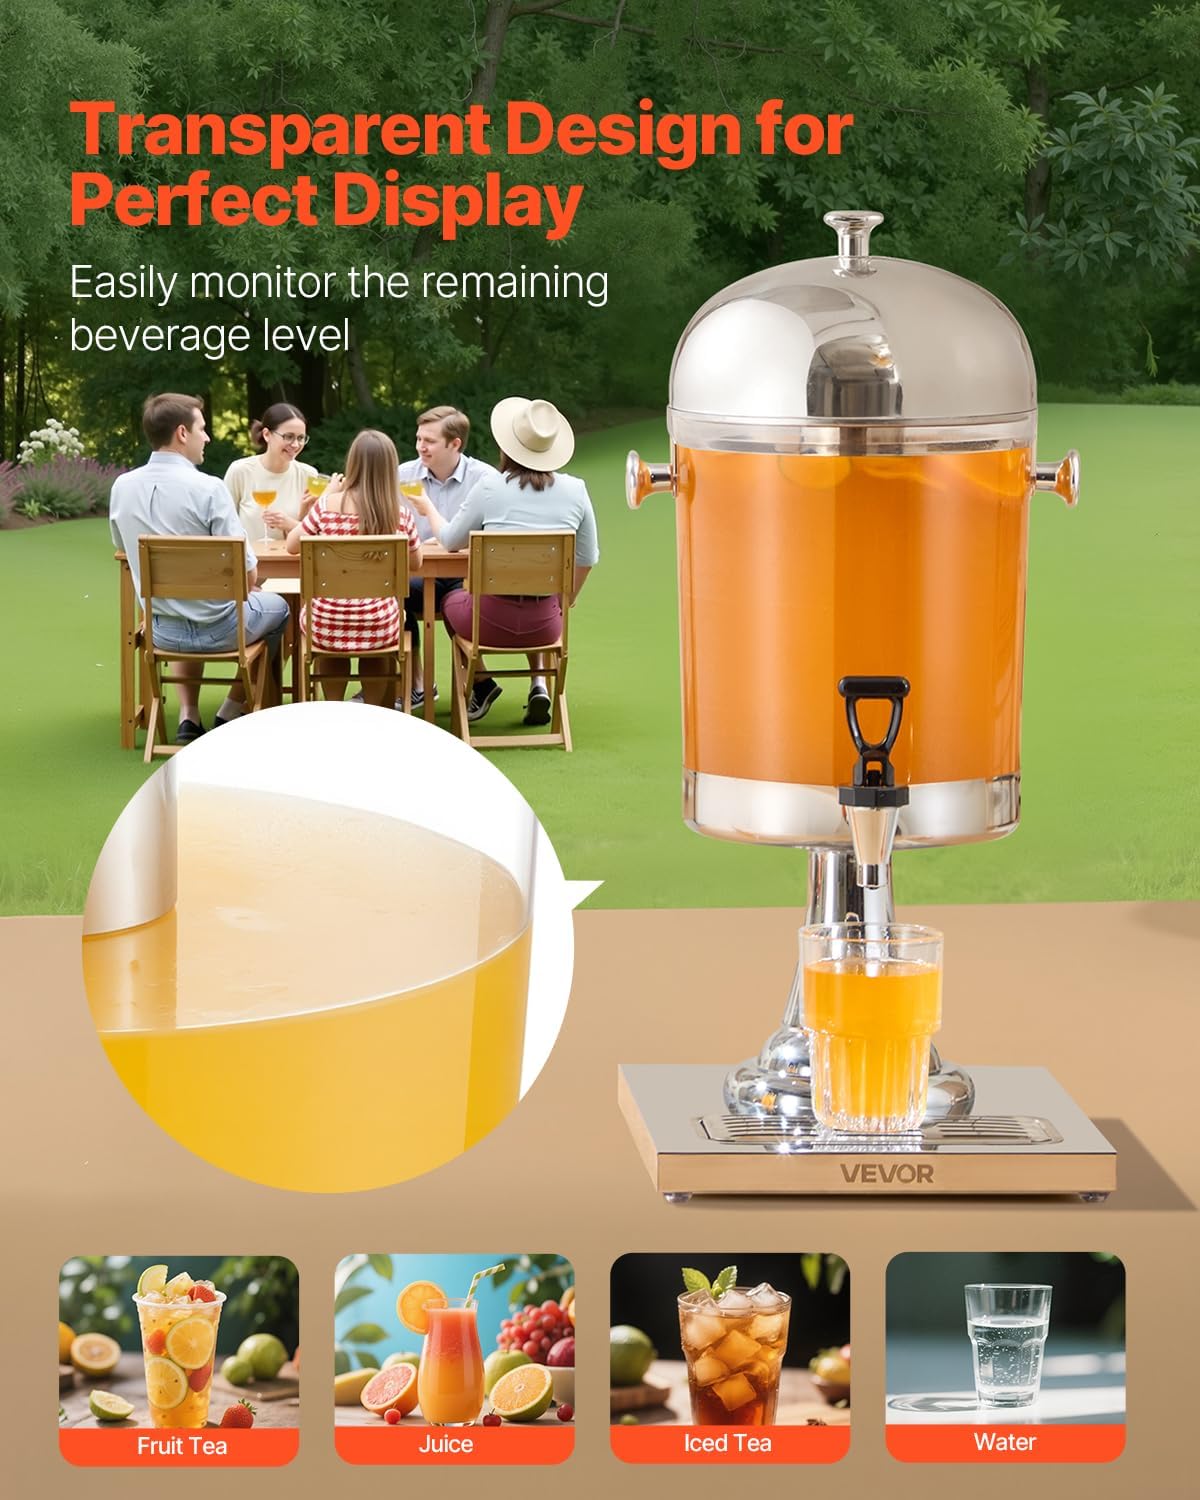
Image: The transparent dispenser filled with orange juice, demonstrating how the clear design allows for easy monitoring of the beverage level and a glass being filled from the spigot.
Cleaning and Maintenance
Regular cleaning ensures hygiene and extends the lifespan of your beverage dispenser.
Cleaning Steps:
- Empty Dispenser: Ensure all beverage is dispensed or removed from the container.
- Disassemble: Remove the lid, ice chamber, and spigot. Carefully lift the dispenser body from the stand.
- Wash Components: Wash all parts (dispenser body, lid, ice chamber, spigot, drip tray) with warm water and a mild dish soap. Use a soft brush for the spigot to ensure no residue remains.
- Rinse Thoroughly: Rinse all components under clean running water to remove all soap residue.
- Dry Completely: Allow all parts to air dry completely or wipe with a clean, dry cloth before reassembly or storage.
- Drip Tray: The drip tray is designed to catch spills and is easy to remove and clean separately.
Note: The food-grade PC material is dishwasher-safe. However, hand washing is recommended for the spigot and its components to ensure thorough cleaning and prevent potential damage from high-pressure dishwashers.
Troubleshooting
| Problem | Possible Cause | Solution |
|---|---|---|
| Spigot leaks | Spigot not tightened correctly; washers misplaced or damaged. | Ensure spigot is securely tightened with washers properly seated. Check washers for damage and replace if necessary. |
| Slow beverage flow | Spigot clogged; airlock in dispenser. | Clean the spigot thoroughly. Ensure the lid is not creating a complete vacuum; sometimes slightly loosening the lid can help. |
| Beverage not staying cold | Insufficient ice; ice chamber not used. | Ensure the ice chamber is filled with enough ice. Refill ice as it melts. |
| Dispenser unstable on stand | Dispenser not properly seated on stand. | Ensure the dispenser body is centered and securely placed on the stand. Place on a flat, stable surface. |
Specifications
- Model Number: DT-J001
- Capacity: 2.1 Gallons (8 Liters)
- Material: Polycarbonate (PC) and Stainless Steel
- Color: Stainless Steel Silver
- Product Dimensions: 10.63 x 13.78 x 22.05 inches (270 x 350 x 560 mm)
- Item Weight: 5.5 lbs (2.5 kg)
- Dishwasher Safe: Yes (PC container and drip tray; hand wash recommended for spigot)
- UPC: 197988147312

Image: A technical diagram illustrating the key dimensions of the VEVOR beverage dispenser, including height, width, and depth in both millimeters and inches.
Warranty and Support
VEVOR products are designed for durability and performance. For warranty information, product support, or to purchase replacement parts, please visit the official VEVOR website or contact their customer service directly. Please have your model number (DT-J001) and purchase details available when contacting support.
For additional resources, you may visit the VEVOR Store on Amazon.