1. Introduction
This manual provides detailed instructions for the installation, operation, and maintenance of your new Generic Laptop Backlit Keyboard. Please read this manual thoroughly before proceeding with installation to ensure proper function and to avoid damage to your device.
This keyboard is designed as a replacement part for specific CLEVO laptop models and features a Norwegian (NW) layout with a black frame and backlighting functionality.
2. Compatibility
This replacement keyboard is compatible with the following CLEVO laptop models:
- CLEVO P960RC
- CLEVO P960RD
- CLEVO P960RF
- CLEVO P960RN
- CLEVO P970
- CLEVO P970ED
- CLEVO P970EF
- CLEVO P970EN
Important: Before installation, verify your laptop's model number and compare it with the list above. If you are unsure, consult your laptop's original documentation or contact technical support.
3. Package Contents
Please check the package for the following items:
- 1 x Generic Laptop Backlit Keyboard (Norwegian NW Layout, Black Frame)
If any items are missing or damaged, please contact your vendor immediately.
4. Safety Information
- Power Off: Always ensure your laptop is completely powered off and disconnected from the power adapter before beginning any installation or maintenance.
- Battery Removal: For safety, it is highly recommended to remove the laptop battery before installation, if applicable.
- Static Electricity: Take precautions against electrostatic discharge (ESD). Use an anti-static wrist strap or frequently touch a grounded metal object.
- Handle with Care: Keyboards contain delicate ribbon cables. Handle them gently to avoid tearing or damaging the connectors.
- Professional Installation: If you are not comfortable with laptop disassembly and reassembly, consider seeking professional assistance to avoid damaging your laptop or the new keyboard.
5. Setup and Installation
Installing a laptop keyboard requires careful disassembly of your laptop. The exact steps may vary slightly depending on your specific CLEVO P960/P970 model. Refer to your laptop's service manual or an online guide for your specific model for detailed disassembly instructions.
5.1 Tools Required
- Small Phillips head screwdriver
- Plastic pry tool (spudger)
- Anti-static wrist strap (recommended)
5.2 General Installation Steps
- Prepare Laptop: Power off your laptop completely, disconnect the AC adapter, and remove the battery (if removable).
- Access Keyboard: Depending on your laptop model, you may need to remove the bottom cover, palm rest, or a keyboard bezel to access the keyboard. Some keyboards are secured by screws from the bottom, while others are held by clips or screws from the top.
- Disconnect Old Keyboard: Carefully locate the ribbon cables connecting the old keyboard to the motherboard. There are typically two cables: one for the keys and one for the backlight. Gently unlatch the connectors and disconnect the cables.
- Remove Old Keyboard: Unscrew any retaining screws and unclip the old keyboard from its housing. Carefully lift it out.
- Install New Keyboard: Position the new Generic Backlit Keyboard into the keyboard housing. Ensure it sits flush.
- Connect Ribbon Cables: Carefully insert the new keyboard's ribbon cables into their respective connectors on the motherboard. Ensure they are fully seated and then latch the connectors securely. Do not force the cables.
- Secure Keyboard: Re-attach any screws or clips that hold the keyboard in place.
- Reassemble Laptop: Reassemble the laptop in reverse order of disassembly. Ensure all screws are tightened and components are properly seated.
- Initial Test: Reinstall the battery (if removed) and connect the AC adapter. Power on the laptop and test all keys, including function keys and backlight functionality, before fully closing the laptop if possible.
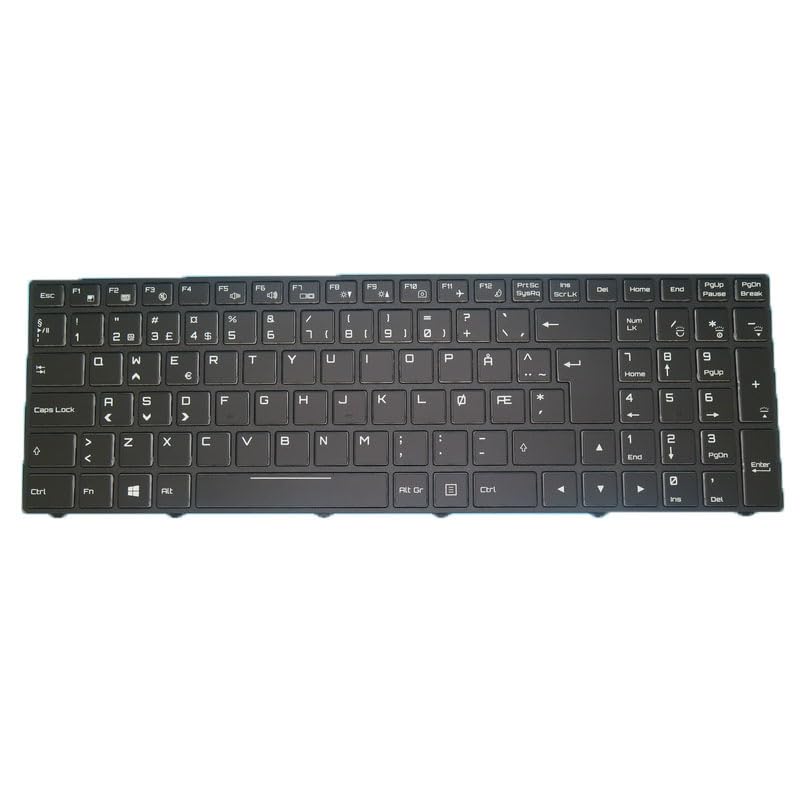
Figure 1: Generic Laptop Backlit Keyboard (Norwegian NW Layout). This image shows the general appearance of the keyboard.
6. Operating Instructions
6.1 Basic Keyboard Functionality
The keyboard functions as a standard Norwegian (NW) layout keyboard. All standard keys (alphanumeric, symbols, modifiers) should operate as expected.
6.2 Backlight Control
This keyboard features backlighting. The control for the backlight is typically managed through a combination of the Fn key and a specific function key (e.g., Fn + F3 or Fn + F4, or arrow keys). Refer to your CLEVO laptop's original user manual for the exact key combination to:
- Turn the backlight on/off.
- Adjust backlight brightness levels.
If the backlight does not function, ensure the backlight ribbon cable is securely connected during installation.
7. Maintenance
Proper maintenance can extend the life of your keyboard.
- Cleaning: Use a soft, lint-free cloth slightly dampened with water or a mild cleaning solution (e.g., isopropyl alcohol) to clean the keycaps. Avoid spraying liquids directly onto the keyboard.
- Dust Removal: Use compressed air to remove dust and debris from between the keys. Hold the can upright to prevent propellant discharge.
- Avoid Spills: Keep liquids away from the keyboard to prevent damage to internal components.
- Gentle Use: Avoid excessive force when typing to prevent premature wear of the key mechanisms.
8. Troubleshooting
| Problem | Possible Cause | Solution |
|---|---|---|
| Keyboard not responding / Some keys not working |
|
|
| Backlight not working |
|
|
| Keys feel sticky or unresponsive |
|
|
9. Specifications
| Product Type | Laptop Backlit Keyboard |
| Brand | Generic |
| Compatibility | CLEVO P960RC, P960RD, P960RF, P960RN, P970, P970ED, P970EF, P970EN Series |
| Layout | Norwegian (NW) |
| Frame Color | Black |
| Backlight | Yes |
| Item Weight | 0.3 Kilograms (approximate) |
10. Warranty and Support
This product comes with a 90-day warranty from the date of purchase. This warranty covers manufacturing defects and material faults under normal use.
The warranty does not cover:
- Damage caused by improper installation or handling.
- Damage due to accidents, misuse, abuse, neglect, or unauthorized modification.
- Normal wear and tear.
- Damage from liquid spills.
For warranty claims or technical support, please contact your original vendor or retailer with your purchase details.
Note: In order to purchase the correct product, please carefully check your laptop model or product part number before purchasing. If you have disassembly pictures, please send them to us for verification.


