ICEVIVAL CIM010-80
ICEVIVAL Under Counter Ice Maker with Drain Pump, Model CIM010-80 Instruction Manual
Comprehensive Guide for Installation, Operation, and Maintenance
1. Introduction and Safety Information
Thank you for choosing the ICEVIVAL Under Counter Ice Maker, Model CIM010-80. This manual contains important information regarding the safe installation, operation, and maintenance of your appliance. Please read it thoroughly before use and retain it for future reference.
Important Safety Instructions
- Read all instructions before using the appliance.
- Ensure the power supply matches the voltage specified on the rating label.
- Do not operate the appliance with a damaged cord or plug.
- Keep ventilation openings clear of obstructions.
- Do not store explosive substances such as aerosol cans with a flammable propellant in this appliance.
- This appliance is intended for household and similar applications.
- Always unplug the appliance before cleaning or performing maintenance.
2. Package Contents
Verify that all items listed below are included in your package:
- ICEVIVAL Under Counter Ice Maker
- Electric Drain Pump
- Water Outlet Hose
- Water Inlet Hose
- Ice Scoop
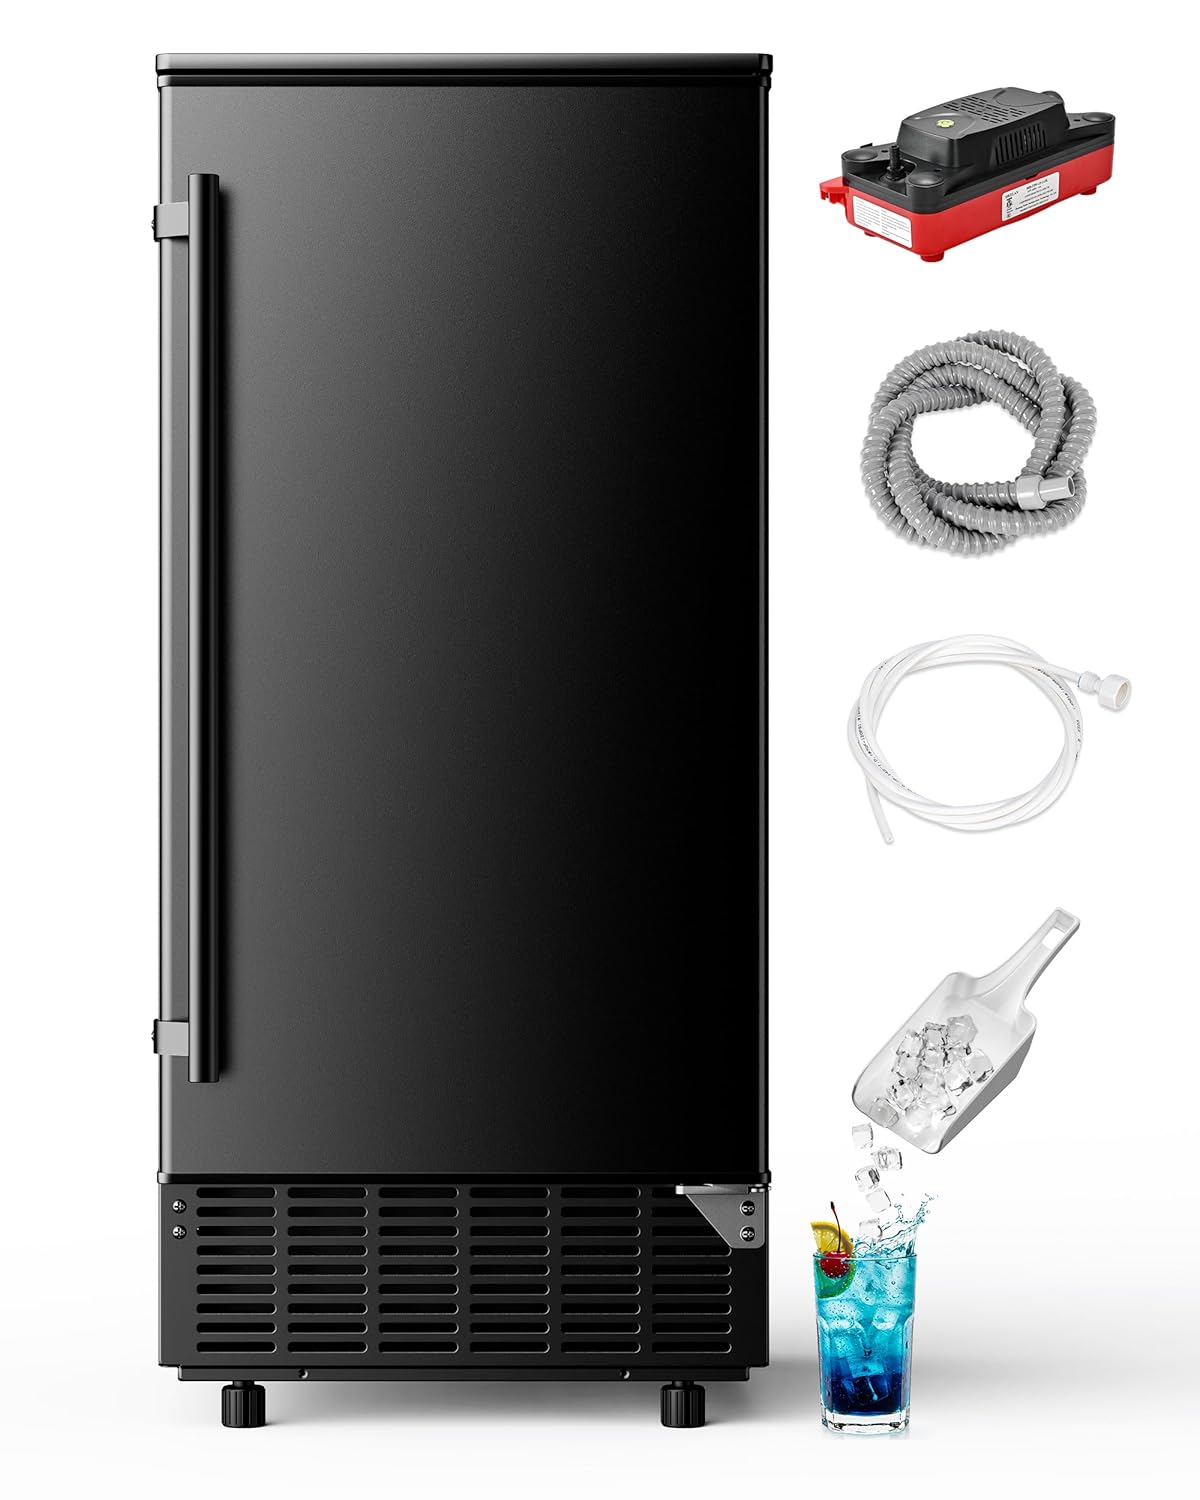
Image: The ICEVIVAL Under Counter Ice Maker shown with its included accessories: an electric drain pump, water hoses for inlet and outlet, and an ice scoop.
3. Product Specifications
| Feature | Specification |
|---|---|
| Brand | ICEVIVAL |
| Model Name | CIM010-80 |
| Material | Stainless Steel |
| Color | Stainless Steel/Black |
| Product Dimensions (D x W x H) | 18.5" x 15" x 33.9" (including adjustable feet 0.1-0.15 feet) |
| Weight | 67 Pounds |
| Voltage | 110-120V/60Hz |
| Ice Production/Day | Up to 80 Lbs |
| Ice Production/Cycle | 40 Pcs |
| Ice Production Time/Batch | 11-20 Minutes |
| Ice Storage Capacity | 24 Lbs |
| Reversible Door | Yes |

Image: A visual representation of the product parameters, detailing specifications such as material, color, dimensions, and ice production capabilities.
4. Setup and Installation
4.1 Unpacking and Placement
Carefully remove the ice maker from its packaging. This unit is designed for both freestanding and under-counter installation. Ensure adequate clearance for ventilation.

Image: The ice maker's compact dimensions are highlighted, showing its suitability for various placements, including under-counter spaces.
4.2 Leveling the Appliance
The ice maker is equipped with adjustable feet. Use these to ensure the unit is perfectly level on any surface. Proper leveling is crucial for efficient operation and drainage.

Image: Detail of the adjustable feet, illustrating how to customize the height for stable operation.
4.3 Water Connection
Connect the water inlet hose to a potable water supply and the water outlet hose to a drain. The built-in electric drain pump eliminates the need for gravity drainage, offering flexible installation options.

Image: The water inlet and drain connections at the rear of the unit, designed for standard water supplies.
4.4 Reversible Door
The door hinge can be switched to open from either the left or right side, providing flexibility to match your kitchen or bar layout.

Image: The reversible door feature, allowing the door to be configured for left or right-hand opening.
4.5 Front Ventilation
The unit features front-bottom ventilation for efficient heat release, making it suitable for both freestanding and built-in installations.

Image: The front ventilation system, ensuring proper heat dissipation for optimal performance.
5. Operating Instructions
5.1 Control Panel Overview
The intuitive LCD control panel allows for easy management of your ice maker. It displays the current status and ambient temperature.

Image: The LED control panel, illustrating its various buttons and display elements for operation.
5.2 Initial Operation
- Ensure the unit is properly installed and connected to water and power.
- Press the ON/OFF button to start the ice making process.
- The unit will automatically begin producing ice.
5.3 Adjusting Ice Thickness
You can customize the ice thickness to suit your preference. Use the + and - buttons on the control panel to adjust the ice thickness. Thinner ice takes less time to produce, while thicker ice takes longer.
- Thin Ice: Approximately 8 minutes, ideal for smoothies.
- Medium Ice: Approximately 12 minutes, suitable for general drinks.
- Thick Ice: Approximately 16 minutes, perfect for whiskey or slow-melting needs.

Image: A demonstration of adjustable ice thickness settings, showing how different ice sizes are suitable for various beverages.
5.4 Using the 24-Hour Timer
The 24-hour timer allows you to set a schedule for ice production, ensuring ice is ready when you need it.

Image: The 24-hour timing function, enabling users to schedule ice production in advance.
5.5 Ice Production Capacity
The unit can produce up to 80 pounds of ice per day, with a storage capacity of 24 pounds. Each cycle produces approximately 40 pieces of ice.

Image: Details on the ice maker's production capabilities, including daily output, cycle time, and storage capacity.
6. Maintenance and Cleaning
6.1 Auto-Cleaning Function
The ice maker features a one-touch auto-cleaning function to simplify upkeep and ensure your ice remains pure and fresh. Regular use of this function helps prevent limescale buildup and extends the machine's life.

Image: The self-cleaning function in action, illustrating how water circulates to maintain hygiene.
6.2 Manual Cleaning
For thorough cleaning, unplug the unit and drain any remaining water. Clean the interior with a mild detergent and warm water. Rinse thoroughly and dry before resuming operation.
7. Troubleshooting Guide
Before contacting customer support, please refer to the following common issues and solutions:
| Problem | Possible Cause | Solution |
|---|---|---|
| Ice maker does not produce ice. | No power, water supply issue, or unit needs restart after power interruption. | Check power connection. Ensure water supply is connected and turned on. If power was interrupted, restart the machine by turning it off and on again. |
| Error Code E2 displayed. | Indicates a water circulation or sensor issue. | Check water inlet and outlet hoses for kinks or blockages. Ensure water reservoir is filled. Try unplugging the unit for 30 minutes and then restarting. If the error persists, contact customer support. |
| Ice cubes are too small or too large. | Ice thickness setting is incorrect. | Adjust ice thickness using the + and - buttons on the control panel. |
| Ice production is slow. | High ambient temperature, poor ventilation, or dirty condenser. | Ensure the unit is in a cool, well-ventilated area. Clean the condenser coils if dusty. |
8. Warranty and Customer Support
8.1 Warranty Information
Your ICEVIVAL Under Counter Ice Maker is covered by a 1-Year Guarantee from the date of purchase. This warranty covers manufacturing defects under normal use. Please retain your proof of purchase for warranty claims.
8.2 Customer Support
For technical assistance, troubleshooting beyond this guide, or warranty inquiries, please contact ICEVIVAL customer support. Our team is dedicated to providing high-quality service.

Image: ICEVIVAL customer support is available to assist with product inquiries and warranty claims.
Ask a question about this manual
Ask about setup, troubleshooting, compatibility, parts, safety, or missing instructions. Manuals+ will review the question and use this page’s manual context to help answer it.