1. Introduction
The YMZYEKB CSK12-11-41B Compact Pressure Switch is designed for reliable pressure monitoring and control in various industrial applications. This manual provides essential information for the safe and efficient installation, operation, and maintenance of your pressure switch. Please read this manual thoroughly before use and retain it for future reference.
2. Safety Information
WARNING: Failure to follow these safety instructions could result in injury, damage to the product, or property damage.
- Always disconnect power before installing, servicing, or removing the device.
- Installation and maintenance should only be performed by qualified personnel.
- Ensure the pressure switch is compatible with the system's operating pressure and media.
- Do not exceed the maximum rated pressure or electrical ratings.
- Protect the device from physical impact and extreme environmental conditions.
- Verify all connections are secure and leak-free before applying pressure or power.
3. Package Contents
Carefully unpack the box and ensure all items are present and undamaged. If any items are missing or damaged, contact your supplier immediately.
- 1 x YMZYEKB CSK12-11-41B Compact Pressure Switch
- 1 x User Manual (this document)
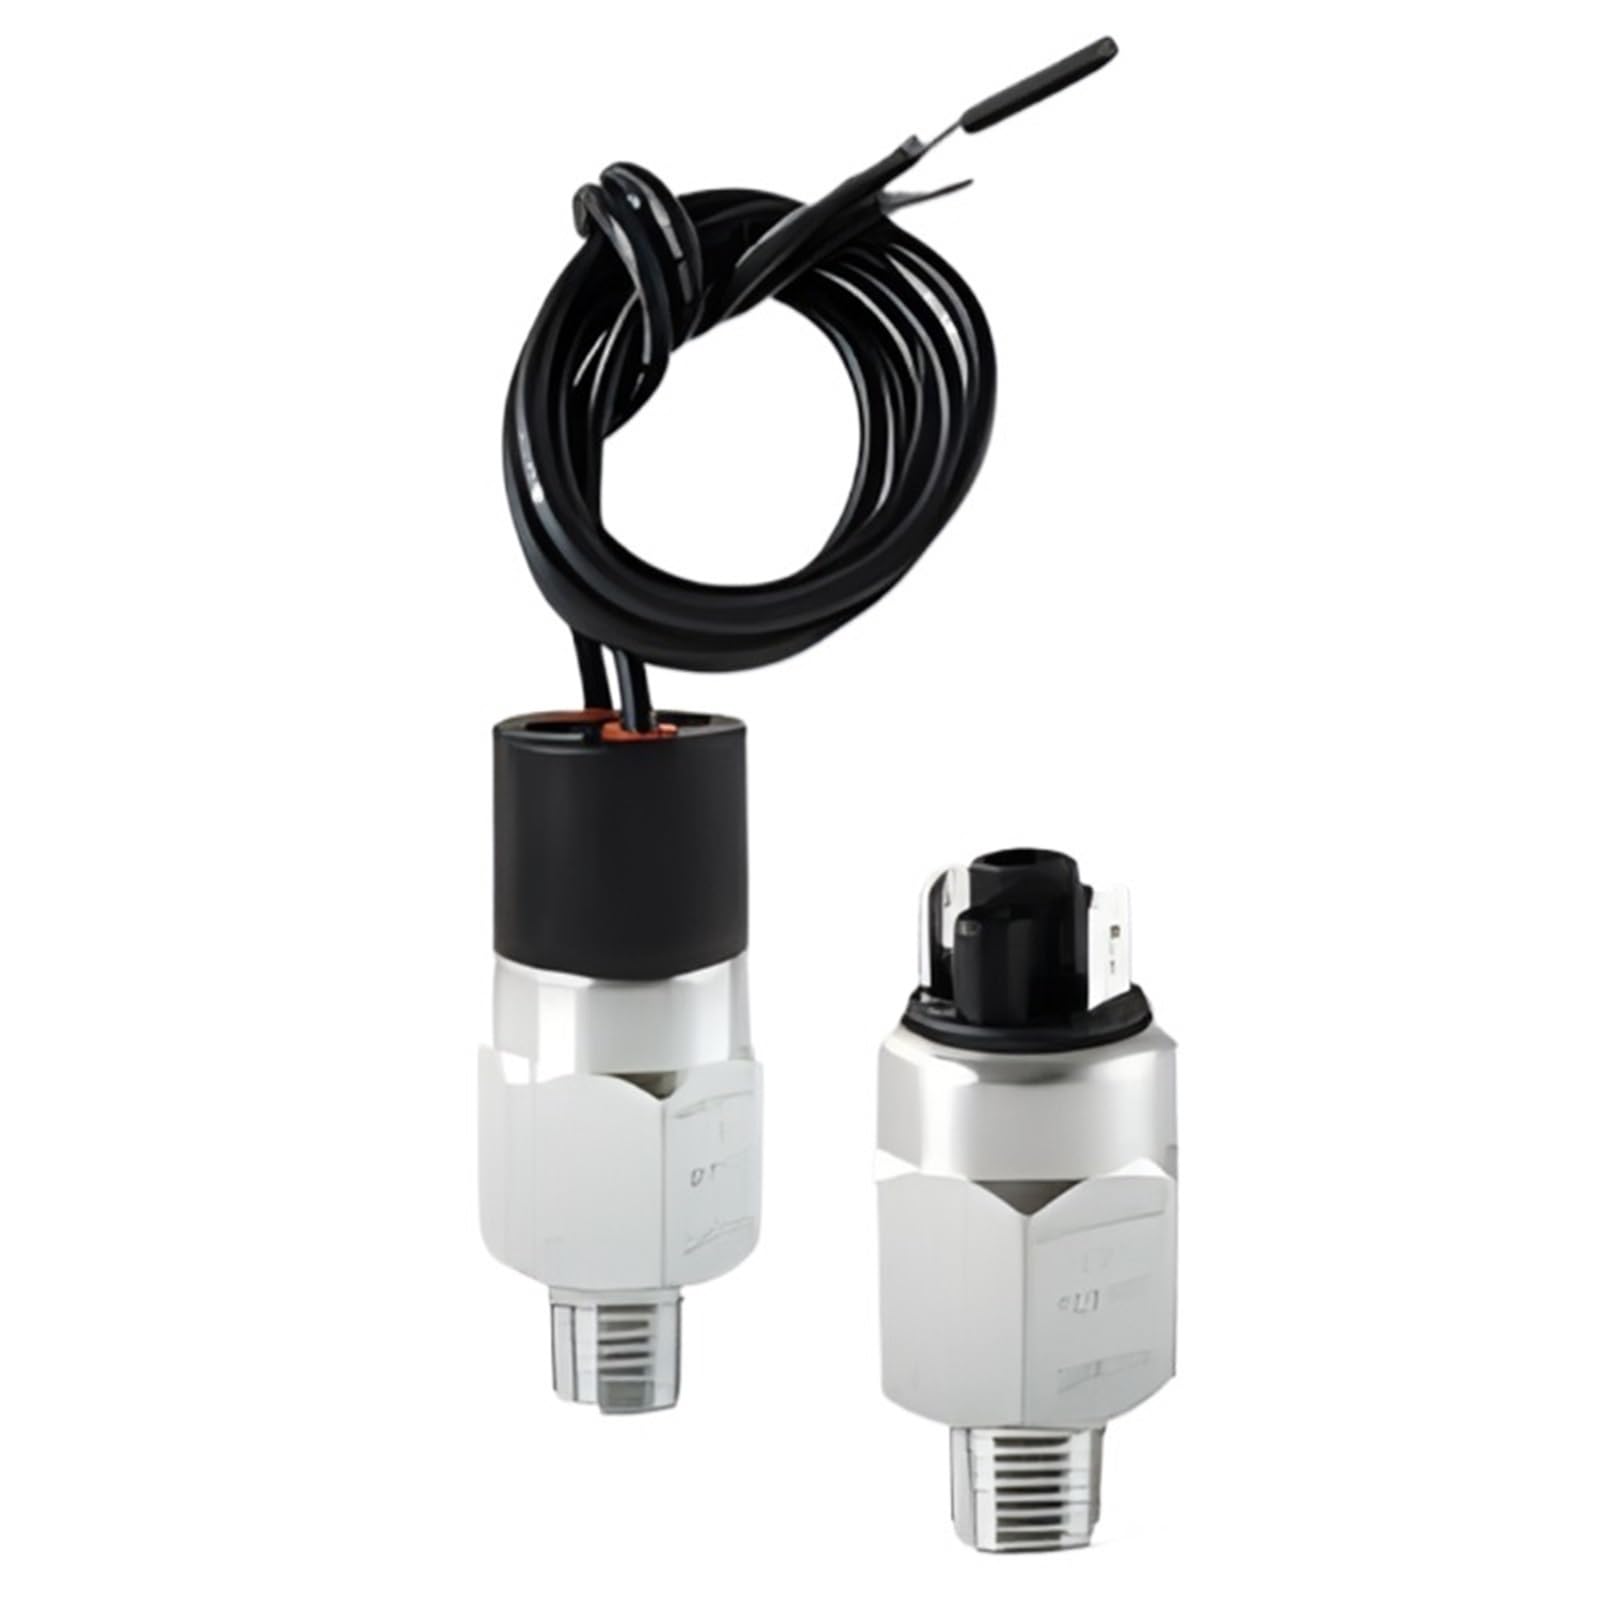
Figure 3.1: YMZYEKB CSK12-11-41B Compact Pressure Switch. This image shows the compact design of the pressure switch, typically featuring a metal body with electrical connections and a pressure port.
4. Setup and Installation
Follow these steps for proper installation of the pressure switch:
- Mounting: Select a suitable location for mounting the pressure switch, ensuring it is protected from excessive vibration, heat, and moisture. Use appropriate mounting hardware (not included) to secure the switch firmly.
- Pressure Connection: Connect the pressure port of the switch to the system's pressure line using appropriate fittings and sealing compounds. Ensure a leak-free connection. Avoid overtightening.
- Electrical Wiring: Refer to the wiring diagram (if provided with the product or on the device label) for correct electrical connections. Connect the power supply and control circuit wires to the designated terminals. Ensure all electrical connections are secure and insulated.
- Setting Adjustment (if applicable): If your model features an adjustable set point, use a suitable tool to adjust the pressure threshold according to your application requirements. Consult the product label for adjustment range and procedure.
- Testing: After installation, gradually apply pressure to the system and observe the switch's operation to confirm it activates or deactivates at the desired pressure set point.
5. Operating Instructions
The CSK12-11-41B pressure switch operates by sensing pressure changes in a system and activating or deactivating an electrical circuit when a preset pressure threshold is reached. Once installed and configured, its operation is typically automatic.
- Monitoring: Regularly monitor the system pressure to ensure it remains within safe operating limits and that the switch is functioning as expected.
- Set Point Verification: Periodically verify the pressure set point using a calibrated pressure gauge to ensure accuracy.
- Indicator Lights (if present): If the switch includes indicator lights, observe them for operational status (e.g., power on, switch activated).
6. Maintenance
Minimal maintenance is required for the CSK12-11-41B pressure switch. However, regular checks can extend its lifespan and ensure reliable operation.
- Cleaning: Keep the exterior of the switch clean and free from dust, dirt, and corrosive substances. Use a soft, dry cloth for cleaning. Do not use harsh chemicals or abrasive materials.
- Connection Checks: Periodically inspect all pressure and electrical connections for tightness and signs of wear or corrosion. Tighten any loose connections.
- Environmental Protection: Ensure the switch remains protected from environmental factors such as excessive moisture, extreme temperatures, and vibrations.
- Calibration Check: For critical applications, consider periodic calibration checks by a qualified technician to ensure the switch maintains its accuracy.
7. Troubleshooting
If you encounter issues with your pressure switch, refer to the following common troubleshooting steps:
| Problem | Possible Cause | Solution |
|---|---|---|
| Switch does not activate/deactivate |
|
|
| Inaccurate switching |
|
|
| Leakage at pressure connection |
|
|
If the problem persists after attempting these solutions, contact customer support.
8. Specifications
The following are the technical specifications for the YMZYEKB CSK12-11-41B Compact Pressure Switch:
- Model: CSK12-11-41B
- Brand: YMZYEKB
- Package Dimensions: 11.81 x 7.87 x 3.94 inches
- Item Weight: 1.76 ounces
- ASIN: B0F91Q1QNZ
- Manufacturer: YMZYEKB
- Date First Available: May 17, 2025
- Color: CSK12-11-41B
- Unit Count: 1.0 Count
- Number of Items: 1
9. Warranty and Support
YMZYEKB warrants this product against defects in materials and workmanship for a period specified by local regulations from the date of purchase. This warranty does not cover damage caused by improper installation, misuse, unauthorized modification, or natural disasters.
For technical support, warranty claims, or further assistance, please contact your retailer or the manufacturer directly. Please have your product model number (CSK12-11-41B) and purchase date available when contacting support.
Note: Specific warranty terms may vary by region. Refer to your purchase documentation for detailed warranty information.