Introduction
This manual provides essential instructions for the installation, operation, maintenance, and troubleshooting of your FANPYY 021-G53007-000 Thermal Printhead. This high-precision 300DPI printhead is designed for optimal performance with various Godex thermal printers, including the G530, RT730, RT730i, EZ330, EZ530, BP530L, and EZ130 models.
Key features of this printhead include:
- High Precision Printing: Utilizes quality thermal sensors for clear, fine-line printing, ideal for receipts and labels.
- Wide Compatibility: Designed for seamless integration with specified Godex thermal printer models.
- Durable Construction: Made from wear-resistant materials, offering a lifespan of up to 50KM printing length, with resistance to corrosion and high temperatures.
- Energy Efficient: Features a low-power design with quick-response heating elements to improve efficiency and reduce energy consumption.
Safety Information
Always observe the following safety precautions:
- Ensure the printer is powered off and unplugged before installation or maintenance.
- Avoid touching the printhead surface directly with bare hands to prevent damage from static electricity or oils.
- Handle the printhead with care to prevent physical damage.
- Keep the printhead away from liquids and excessive dust.
Setup and Installation
Follow these steps to properly install the thermal printhead:
- Power Off Printer: Turn off the printer and unplug it from the power source. Open the printer cover.
- Locate Old Printhead: Identify the existing printhead. It is typically located under the printer cover, often secured by clips or screws.
- Remove Old Printhead: Carefully disconnect any ribbon cables or connectors attached to the old printhead. Release any securing mechanisms and gently remove the old printhead.
- Prepare New Printhead: Remove the new FANPYY printhead from its packaging. Avoid touching the ceramic heating elements or the connector pins.
- Install New Printhead: Align the new printhead with the mounting points in the printer. Secure it using the original clips or screws. Reconnect any ribbon cables or connectors, ensuring they are firmly seated.
- Close Printer: Close the printer cover securely.
- Power On and Test: Plug the printer back in and turn it on. Perform a test print to ensure the printhead is functioning correctly and producing clear output.
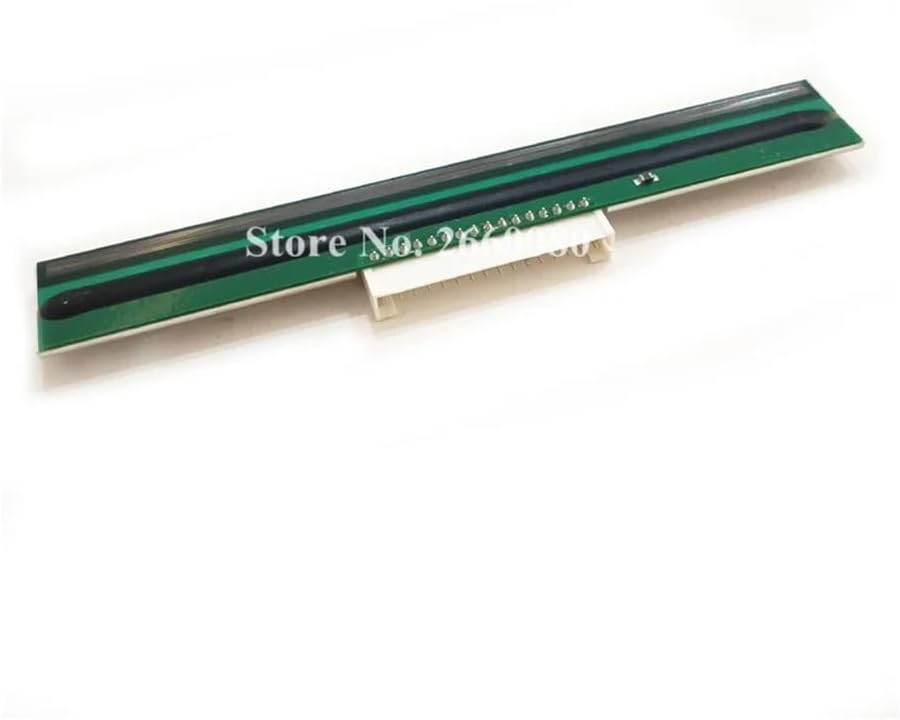
Image 1: Top view of the FANPYY thermal printhead, illustrating the main components.

Image 2: Bottom view of the FANPYY thermal printhead, highlighting the metal base and electrical connector.
Operating Instructions
Once installed, the thermal printhead operates as an integral part of your thermal printer. Ensure proper printer settings for optimal performance.
- Printer Driver Settings: Verify that your printer driver settings are configured for the correct paper type and print density. Incorrect settings can lead to poor print quality or premature printhead wear.
- Media Loading: Always load thermal paper correctly according to your printer's specific instructions. Improper loading can cause paper jams or damage to the printhead.
- Print Quality: If print quality degrades, first check the printhead for debris and clean as per maintenance instructions. Adjust print density settings in your printer software if necessary.
Maintenance
Regular maintenance extends the life of your printhead and ensures consistent print quality.
- Cleaning Frequency: Clean the printhead regularly, especially if print quality deteriorates or after changing a roll of thermal paper.
- Power Off: Always turn off and unplug the printer before cleaning.
- Cleaning Procedure:
- Use a lint-free cloth or a specialized printhead cleaning wipe moistened with isopropyl alcohol (99% pure).
- Gently wipe the thermal elements of the printhead from one end to the other. Do not scrub or apply excessive pressure.
- Allow the printhead to air dry completely (approximately 2-3 minutes) before closing the printer cover and powering it on.
- Avoid Abrasives: Never use abrasive materials, sharp objects, or harsh chemicals to clean the printhead.

Image 3: Angled view of the printhead, showing the connector for installation.
Troubleshooting
Refer to the following table for common issues and their solutions:
| Problem | Possible Cause | Solution |
|---|---|---|
| Faint or incomplete print | Dirty printhead, incorrect print density, worn printhead. | Clean the printhead. Adjust print density in printer settings. If issue persists, printhead may need replacement. |
| Blank lines or streaks | Debris on printhead, damaged thermal elements. | Clean the printhead thoroughly. If lines persist, individual thermal elements may be damaged, requiring printhead replacement. |
| Paper jams | Improper paper loading, incorrect paper type, worn platen roller. | Ensure paper is loaded correctly. Use recommended thermal paper. Inspect platen roller for wear. |
| Printer not recognizing printhead | Loose connection, incorrect installation. | Ensure printhead is securely installed and all cables are properly connected. Power cycle the printer. |
Specifications
| Feature | Detail |
|---|---|
| Model Number | 021-G53007-000 |
| Brand | FANPYY |
| Resolution | 300 DPI |
| Compatibility | Godex G530, RT730, RT730i, EZ330, EZ530, BP530L, EZ130 Printers |
| Item Weight | 3.53 ounces (approximately 100 grams) |
| Package Dimensions | 0.39 x 0.39 x 0.39 inches (1 x 1 x 1 cm) - Note: These dimensions seem unusually small for a printhead and may refer to packaging for a small component. Actual printhead dimensions will be larger. |
| Assembly Required | No (referring to the printhead itself, installation into printer is required) |
| Lifespan | Up to 50KM printing length (approximate) |
Warranty and Support
The FANPYY thermal printhead comes with a 12-month warranty service from the date of purchase. This warranty covers manufacturing defects under normal use conditions.
For technical support, warranty claims, or assistance with installation or usage problems, please contact your retailer or the FANPYY customer service. Please have your product model number (021-G53007-000) and purchase information ready when contacting support.
Note: Damage caused by improper installation, misuse, accidents, or unauthorized repairs is not covered under warranty.


