1. Introduction
This manual provides detailed instructions for the setup, operation, maintenance, and troubleshooting of your Benass 8x8 Pop Up Canopy. Please read this manual carefully before assembly and use to ensure safe and correct operation.
The Benass 8x8 Pop Up Canopy is designed for ease of use, offering a spacious 8x8 foot area suitable for various outdoor activities such as parties, camping, events, and vendor setups. Its straight leg design maximizes usable space, comfortably accommodating 6-8 people along with tables and chairs.
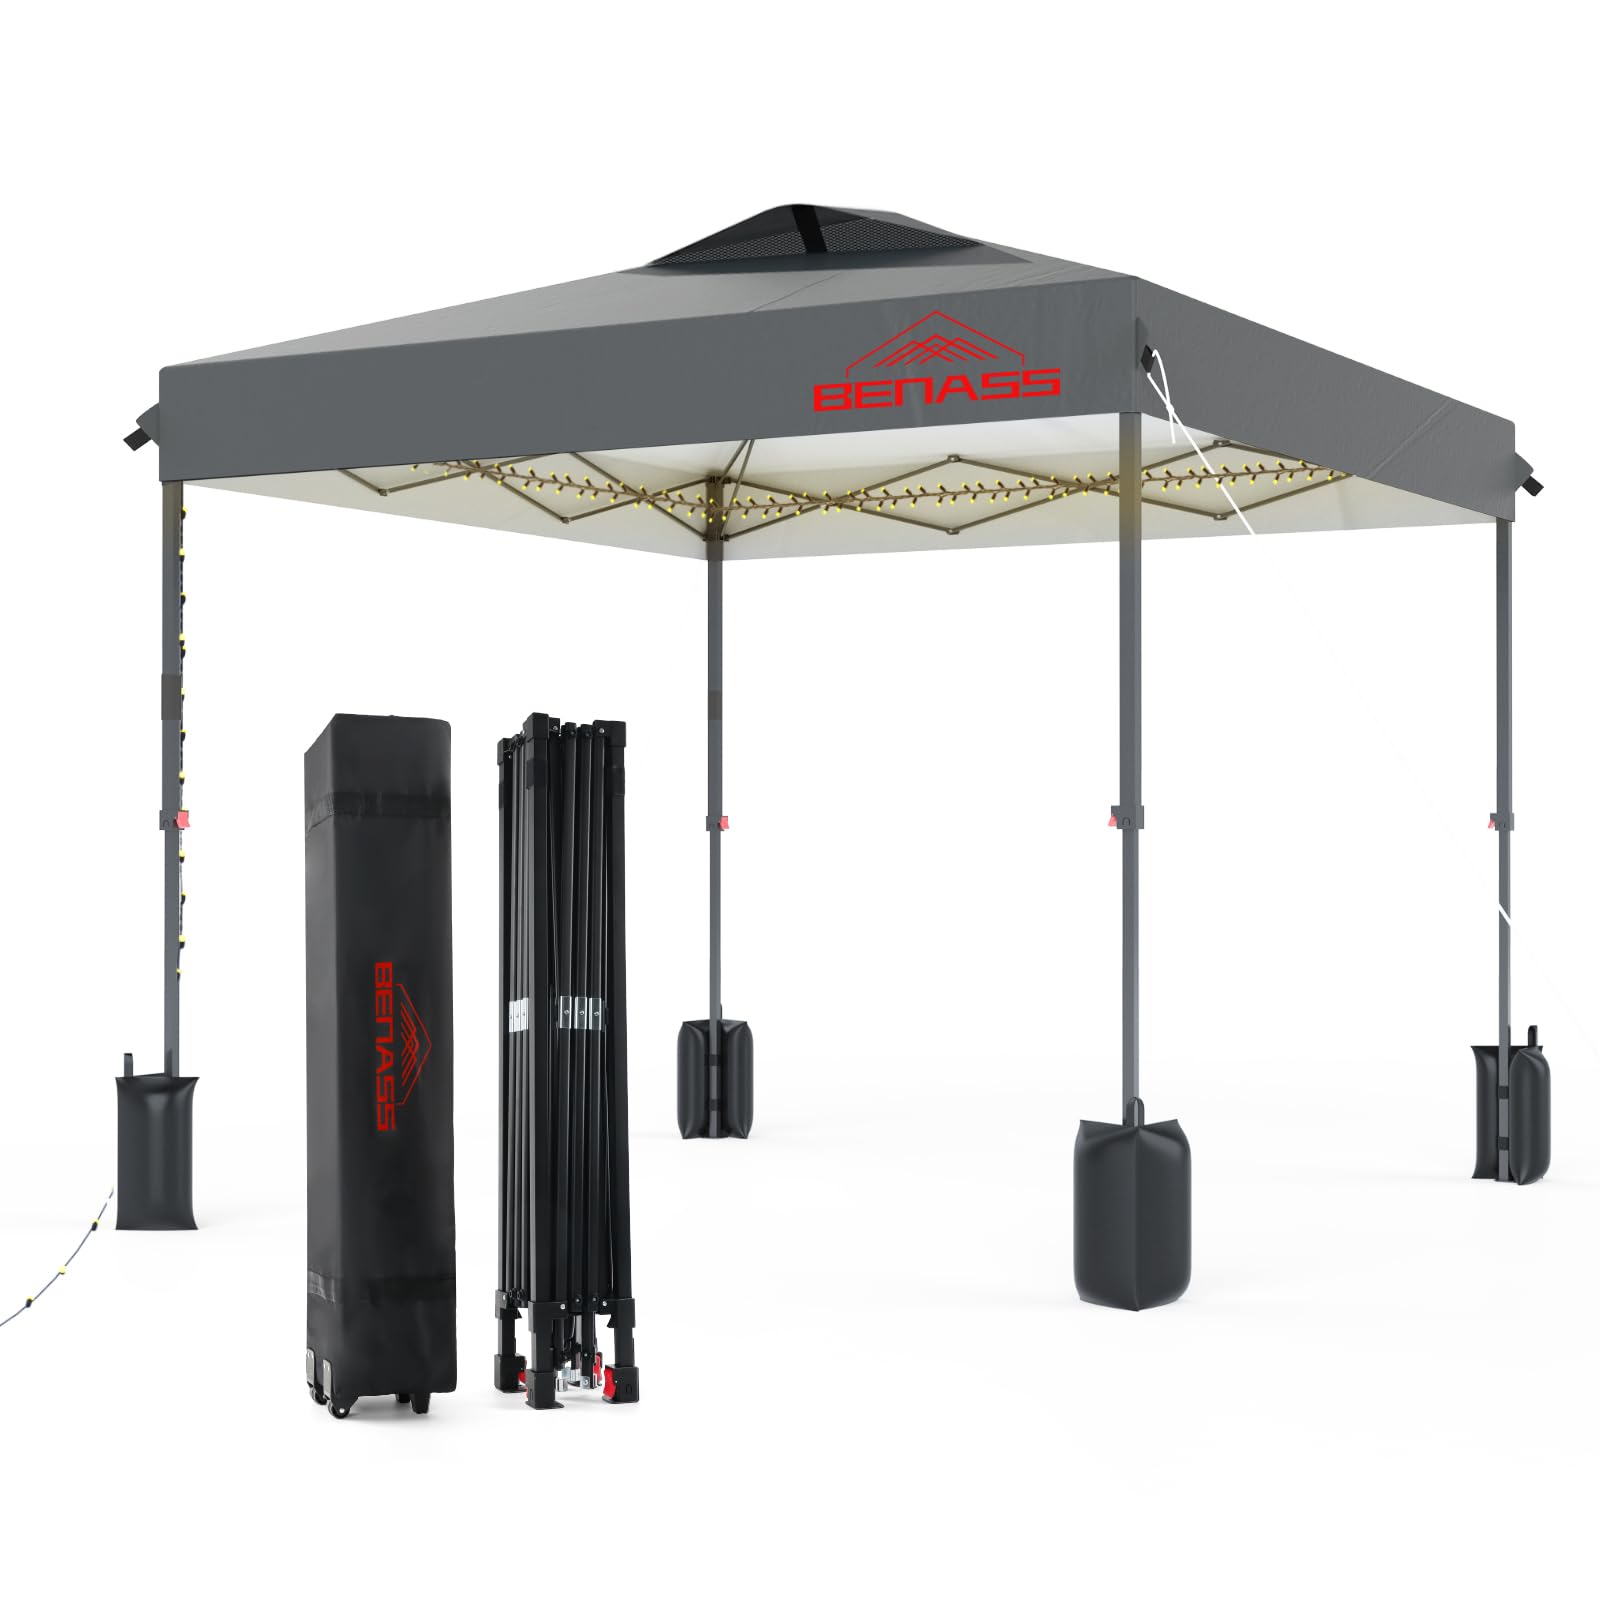
Image 1.1: Benass 8x8 Pop Up Canopy showing overall dimensions: 8ft L x 8ft W, with adjustable heights of 8.2ft, 8.53ft, and 8.86ft.
2. Safety Information
Warning: This canopy is not designed to withstand high winds. Always secure the canopy to the ground using the provided sandbags, wind ropes, and spiral ground nails when in use. Failure to do so may result in damage to the canopy or personal injury.
- Do not use the canopy in severe weather conditions, including heavy rain, strong winds, or snow.
- Ensure all locking mechanisms are fully engaged during setup.
- Keep children and pets away from the canopy during assembly and disassembly.
- Do not hang heavy objects from the canopy frame.
- Avoid open flames or heat sources near the canopy fabric.
3. Package Contents
Verify that all components are present before beginning assembly:
- Canopy Frame (Alloy Steel)
- Canopy Top Fabric (Light Gray)
- 4 Sandbags
- Wind Ropes
- Spiral Ground Nails
- Storage Bag with Wheels
4. Setup Instructions
The Benass Pop Up Canopy is designed for easy setup, often achievable by one person. Follow these steps:
- Step 1: Open the Canopy Frame. Place the folded frame in the desired location. With a partner or by yourself, gently pull the outer legs of the frame outwards until it begins to expand.
- Step 2: Secure the Canopy Top. Drape the canopy top fabric over the expanded frame. Secure the fabric to the frame using the attached Velcro straps at each corner and along the frame.
- Step 3: Push the Central Button. Once the fabric is in place, go underneath the canopy and push the central locking mechanism upward until you hear a distinct "click." This locks the frame into its fully open position.
- Step 4: Install Sandbags and Extend Height. Attach the provided sandbags to each leg of the canopy. Fill the sandbags with sand or other heavy material for stability. Adjust the height of the canopy legs by pressing the red button on each leg and extending them to your desired height (8.2ft, 8.53ft, or 8.86ft). Ensure all legs are locked at the same height.
- Step 5: Install Wind Ropes and Ground Nails. For additional stability, especially in breezy conditions, attach the wind ropes to the canopy corners. Secure the other end of the ropes to the ground using the spiral ground nails. Ensure ropes are taut.

Image 4.1: Visual guide for the 5-step setup process, including opening the frame, securing the canopy, locking the center, installing sandbags and extending legs, and finally securing with ropes and nails.
5. Operating Instructions
5.1 Stability Features
The Benass canopy is designed with two-way vents on the top to enhance airflow and reduce wind resistance, minimizing the risk of the tent being uprooted. Always utilize the included sandbags, wind ropes, and spiral ground nails to firmly secure the canopy to the ground, especially in outdoor environments.

Image 5.1: Detail of the canopy's two-way air flow vents, designed to increase stability by allowing wind to pass through.
5.2 Adjusting for Shade
The canopy legs can be individually adjusted to different heights, allowing you to tilt the canopy to maximize shade coverage as the sun moves throughout the day. Ensure the canopy remains stable and securely anchored when adjusting for tilt.

Image 5.2: Example of tilting the canopy to achieve optimal shade on a sunny day.
5.3 Versatile Use
The 8x8 canopy is suitable for a variety of uses, including vendor booths, camping, parties, leisure activities, and as a temporary work shed.

Image 5.3: Various applications of the Benass 8x8 Pop Up Canopy, demonstrating its versatility for different events and activities.
6. Maintenance
6.1 Cleaning
To clean the canopy fabric, use a mild soap and water solution. Gently scrub any soiled areas with a soft brush or cloth. Rinse thoroughly with clean water and allow the fabric to air dry completely before storage. Do not use harsh chemicals or abrasive cleaners.
6.2 Storage
After each use, ensure the canopy is clean and completely dry to prevent mold and mildew. Disassemble the canopy by reversing the setup steps. Fold the frame and fabric neatly and place them into the provided storage bag. The upgraded storage bag features a top handle, two side handles, and wheels for convenient lifting, pulling, and transport.

Image 6.1: Demonstrates the ease of storing and transporting the canopy using its wheeled storage bag.
6.3 Replacement Parts
Benass offers separate replacement top fabric and side panels for sale. You can search for ASIN: B0F8VDDJSY for the top canopy and B0F4DFS5QB for sidewalls (if applicable to your model).
7. Troubleshooting
7.1 Canopy Not Opening/Closing Smoothly
- Ensure all frame joints are free of debris or obstructions.
- Apply a silicone-based lubricant to moving parts if necessary.
- Verify that the central locking mechanism is fully disengaged before attempting to close.
7.2 Instability in Wind
- Confirm that all sandbags are filled and securely attached to the legs.
- Ensure wind ropes are properly attached and taut, with ground nails firmly inserted.
- If winds are too strong, disassemble the canopy to prevent damage.
7.3 Water Accumulation on Top
- Ensure the canopy fabric is stretched tightly and evenly over the frame.
- Adjust leg heights to create a slight slope for water runoff, if possible, without compromising stability.
8. Specifications
| Feature | Detail |
|---|---|
| Brand | Benass |
| Model Number | 8x8-LGY |
| Size | 8x8 feet |
| Product Dimensions (L x W x H) | 96"L x 96"W x 106.32"H (adjustable height) |
| Floor Area | 64 Square Feet |
| Color | Light Gray |
| Frame Material | Alloy Steel |
| Canopy Material | Water-resistant fabric |
| Water Resistance Level | Not Water Resistant (fabric is water-resistant, but not fully waterproof) |
| Frame Type | Pop-up |
| Required Assembly | Yes |
9. Warranty Information
The Benass 8x8 Pop Up Canopy typically comes with a one-year warranty. Please refer to your purchase documentation or contact Benass customer support for specific warranty terms and conditions.
10. Support
For further assistance, questions, or to report any issues with your Benass 8x8 Pop Up Canopy, please contact Benass customer support through the retailer where you purchased the product or visit the official Benass store online.