1. Introduction
This manual provides essential information for the installation, operation, and maintenance of the Pilipane Electric Bike Controller (Model Pilipaneoiv74hk91p). This controller is designed for electric bicycles and scooters, offering precise control for brushless motors.
Key features include advanced sine wave 3-mode control technology for enhanced efficiency, versatile compatibility with 36V/48V 500W/750W brushless motors (with or without Hall sensors), a durable aluminum alloy housing for heat dissipation, and a high current capacity of up to 26A for stable power output.
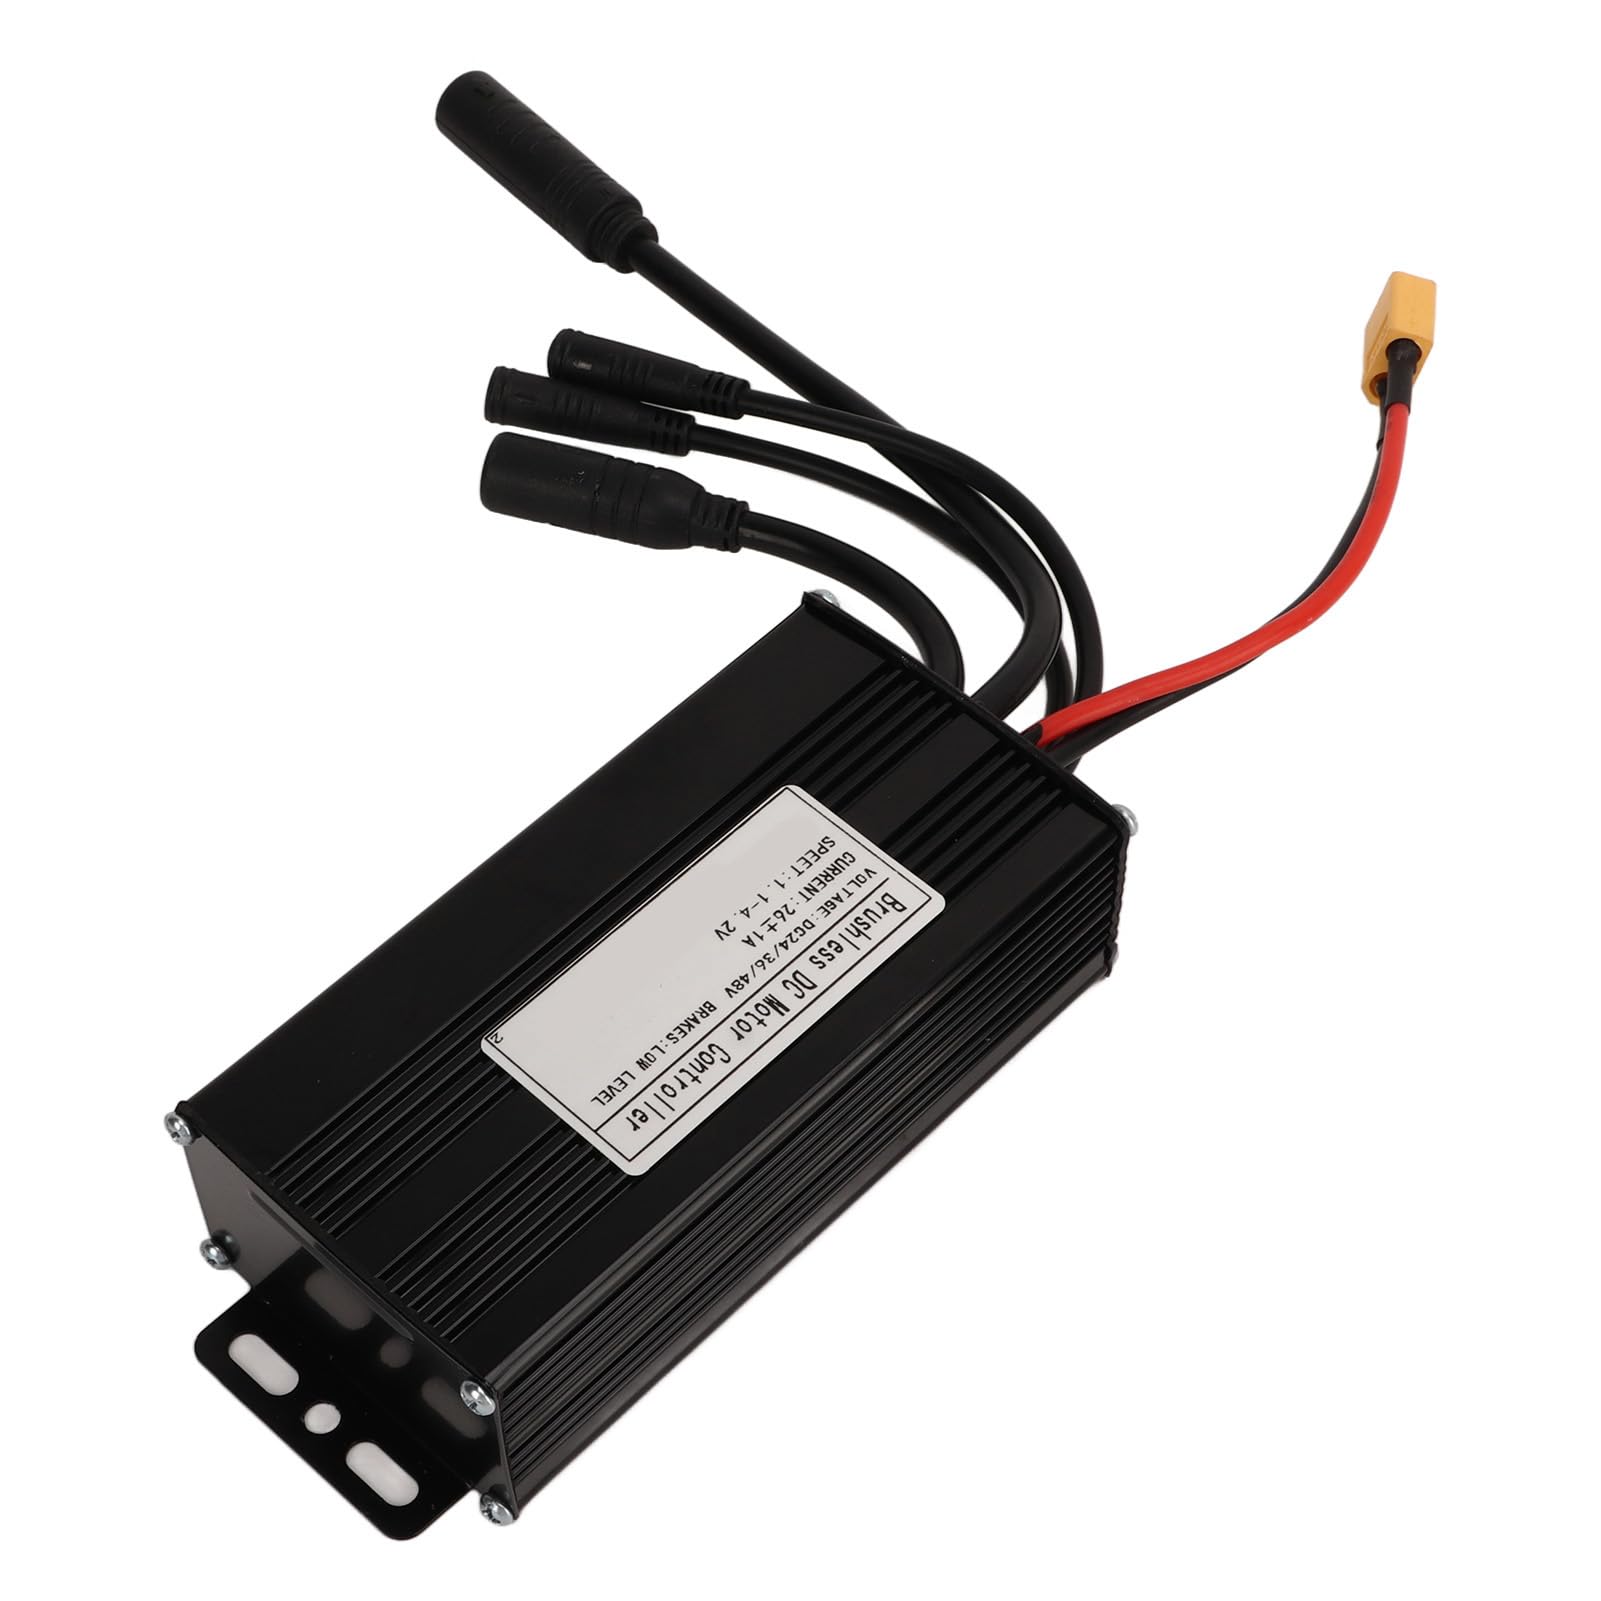
Image 1.1: Pilipane Electric Bike Controller, showing its compact design and wiring harness.
2. Product Specifications
The following table details the technical specifications of the Pilipane Electric Bike Controller:
| Specification | Value |
|---|---|
| Item Type | 3 Mode Sine Wave Controller |
| Material | Aluminum Alloy |
| Rated Voltage | 24V / 36V / 48V Universal |
| Maximum Current | 26±1A |
| Item Weight | Approx. 420g / 14.8oz |
| Package Dimensions | 8.27 x 4.72 x 2.76 inches |
| Model Number | Pilipaneoiv74hk91p |

Image 2.1: Close-up view of the controller's label, indicating voltage, current, and brake level specifications.
3. Installation and Setup
Proper installation is crucial for the safe and efficient operation of your electric bike or scooter. It is recommended that installation be performed by a qualified technician if you are unfamiliar with electrical systems.
3.1 Mounting the Controller
- Choose a secure location on your electric bike or scooter, away from direct water exposure and excessive vibration.
- Ensure adequate airflow around the controller to facilitate heat dissipation, utilizing its grooved aluminum alloy housing.
- Use appropriate fasteners to securely mount the controller to the frame.

Image 3.1: Side view of the controller, highlighting the integrated mounting tabs for secure attachment.
3.2 Wiring Connections
The controller features various connectors for different components of your electric bike system. Refer to your motor and battery documentation for specific wiring diagrams. General connections include:
- Battery Connection: Connect the main power wires (typically red for positive, black for negative) from your battery to the corresponding ports on the controller. Ensure correct polarity.
- Motor Connection: Connect the motor phase wires (usually three thick wires) and Hall sensor wires (if applicable) to the controller.
- Throttle Connection: Connect the throttle unit to the designated throttle input on the controller.
- Brake Lever Connections: Connect brake levers with cut-off sensors to the controller's brake input.
- Display/Meter Connection: If your system includes a display, connect it to the controller's communication port.
- Other Accessories: Connect lights, pedal-assist sensors (PAS), or other accessories as required.
Always ensure all connections are secure and insulated to prevent short circuits. Double-check all wiring before applying power.

Image 3.2: The controller displaying its multiple wiring harnesses for connecting to the battery, motor, throttle, and other components.

Image 3.3: An example of the controller mounted on an electric bicycle, showing its integration into the bike's system.
4. Operation
Once properly installed and connected, the Pilipane Electric Bike Controller manages the power delivery to your brushless motor based on your input (e.g., throttle, pedal-assist sensor).
- Power On: Turn on your electric bike's battery and/or display unit. The controller will initialize.
- Throttle Control: Gently twist the throttle to engage the motor. The sine wave control technology ensures smooth and precise power delivery.
- Pedal Assist: If equipped with a PAS, pedaling will activate the motor, providing assistance based on the selected assist level (if applicable via display).
- Braking: Engaging the brake levers will typically cut power to the motor, enhancing safety.
- Voltage Compatibility: The controller automatically adapts to 24V, 36V, or 48V systems.
Always operate your electric bike or scooter responsibly and in accordance with local regulations.
5. Maintenance
Regular maintenance helps ensure the longevity and reliable performance of your controller.
- Keep Clean: Periodically clean the exterior of the controller to prevent dust and debris buildup, which can hinder heat dissipation. Use a soft, dry cloth. Avoid using water or harsh chemicals.
- Inspect Connections: Regularly check all wiring connections for tightness and signs of wear or corrosion. Loose connections can lead to intermittent power or system failure.
- Avoid Overheating: Ensure the controller's mounting location allows for proper airflow. The aluminum alloy housing with grooves is designed for efficient heat dissipation, but obstructions can reduce its effectiveness. The controller features an automatic current cutoff if temperatures rise too high.
- Protect from Moisture: While the housing offers protection, avoid submerging the controller in water or exposing it to heavy rain for extended periods.
6. Troubleshooting
If you encounter issues with your electric bike controller, refer to the following common troubleshooting steps:
- No Power to Motor:
- Check battery charge level.
- Verify all main power connections (battery to controller) are secure.
- Ensure the ignition or power switch is on.
- Motor Not Responding to Throttle:
- Check throttle connection to the controller.
- Inspect throttle wiring for damage.
- Ensure brake levers are not engaged, as they often cut motor power.
- Erratic Motor Behavior / Intermittent Power:
- Inspect all wiring connections for looseness or corrosion, especially motor phase wires and Hall sensor wires.
- Check for any visible damage to the controller or wiring.
- Ensure the motor is compatible with the controller (brushless, correct voltage).
- Controller Overheating:
- Ensure the controller has adequate ventilation and is not covered.
- Reduce continuous high-power usage if operating in extreme conditions.
- Verify the motor is not drawing excessive current due to a fault.
If these steps do not resolve the issue, contact customer support for further assistance.
7. Warranty and Support
For warranty information and technical support regarding your Pilipane Electric Bike Controller, please refer to the documentation provided at the time of purchase or visit the official Pilipane website. Keep your purchase receipt as proof of purchase.
When contacting support, please have your model number (Pilipaneoiv74hk91p) and a detailed description of the issue ready.
You can find more information about Pilipane products at the Pilipane Store on Amazon.


