1. Introduction and Overview
This manual provides essential instructions for the assembly, operation, and maintenance of your ShelterLogic 12' x 20' x 8' 3-in-1 Run-in Outdoor Animal Shelter. This versatile shelter is designed to offer protection for livestock, farm equipment, and agricultural supplies from various weather conditions.
The shelter features a robust 1-3/8 inch (3.1 cm) all-steel frame with a thermoset powder-coated finish to resist chipping, peeling, rust, and corrosion. The cover is made from 7.5 oz triple-layer ripstop polyethylene, ensuring it is waterproof and UV-treated. Key components include the Ratchet-Tite cover tensioning system, Easy-Slide Cross Rail system, and patented ShelterLock stabilizers for enhanced durability and stability.
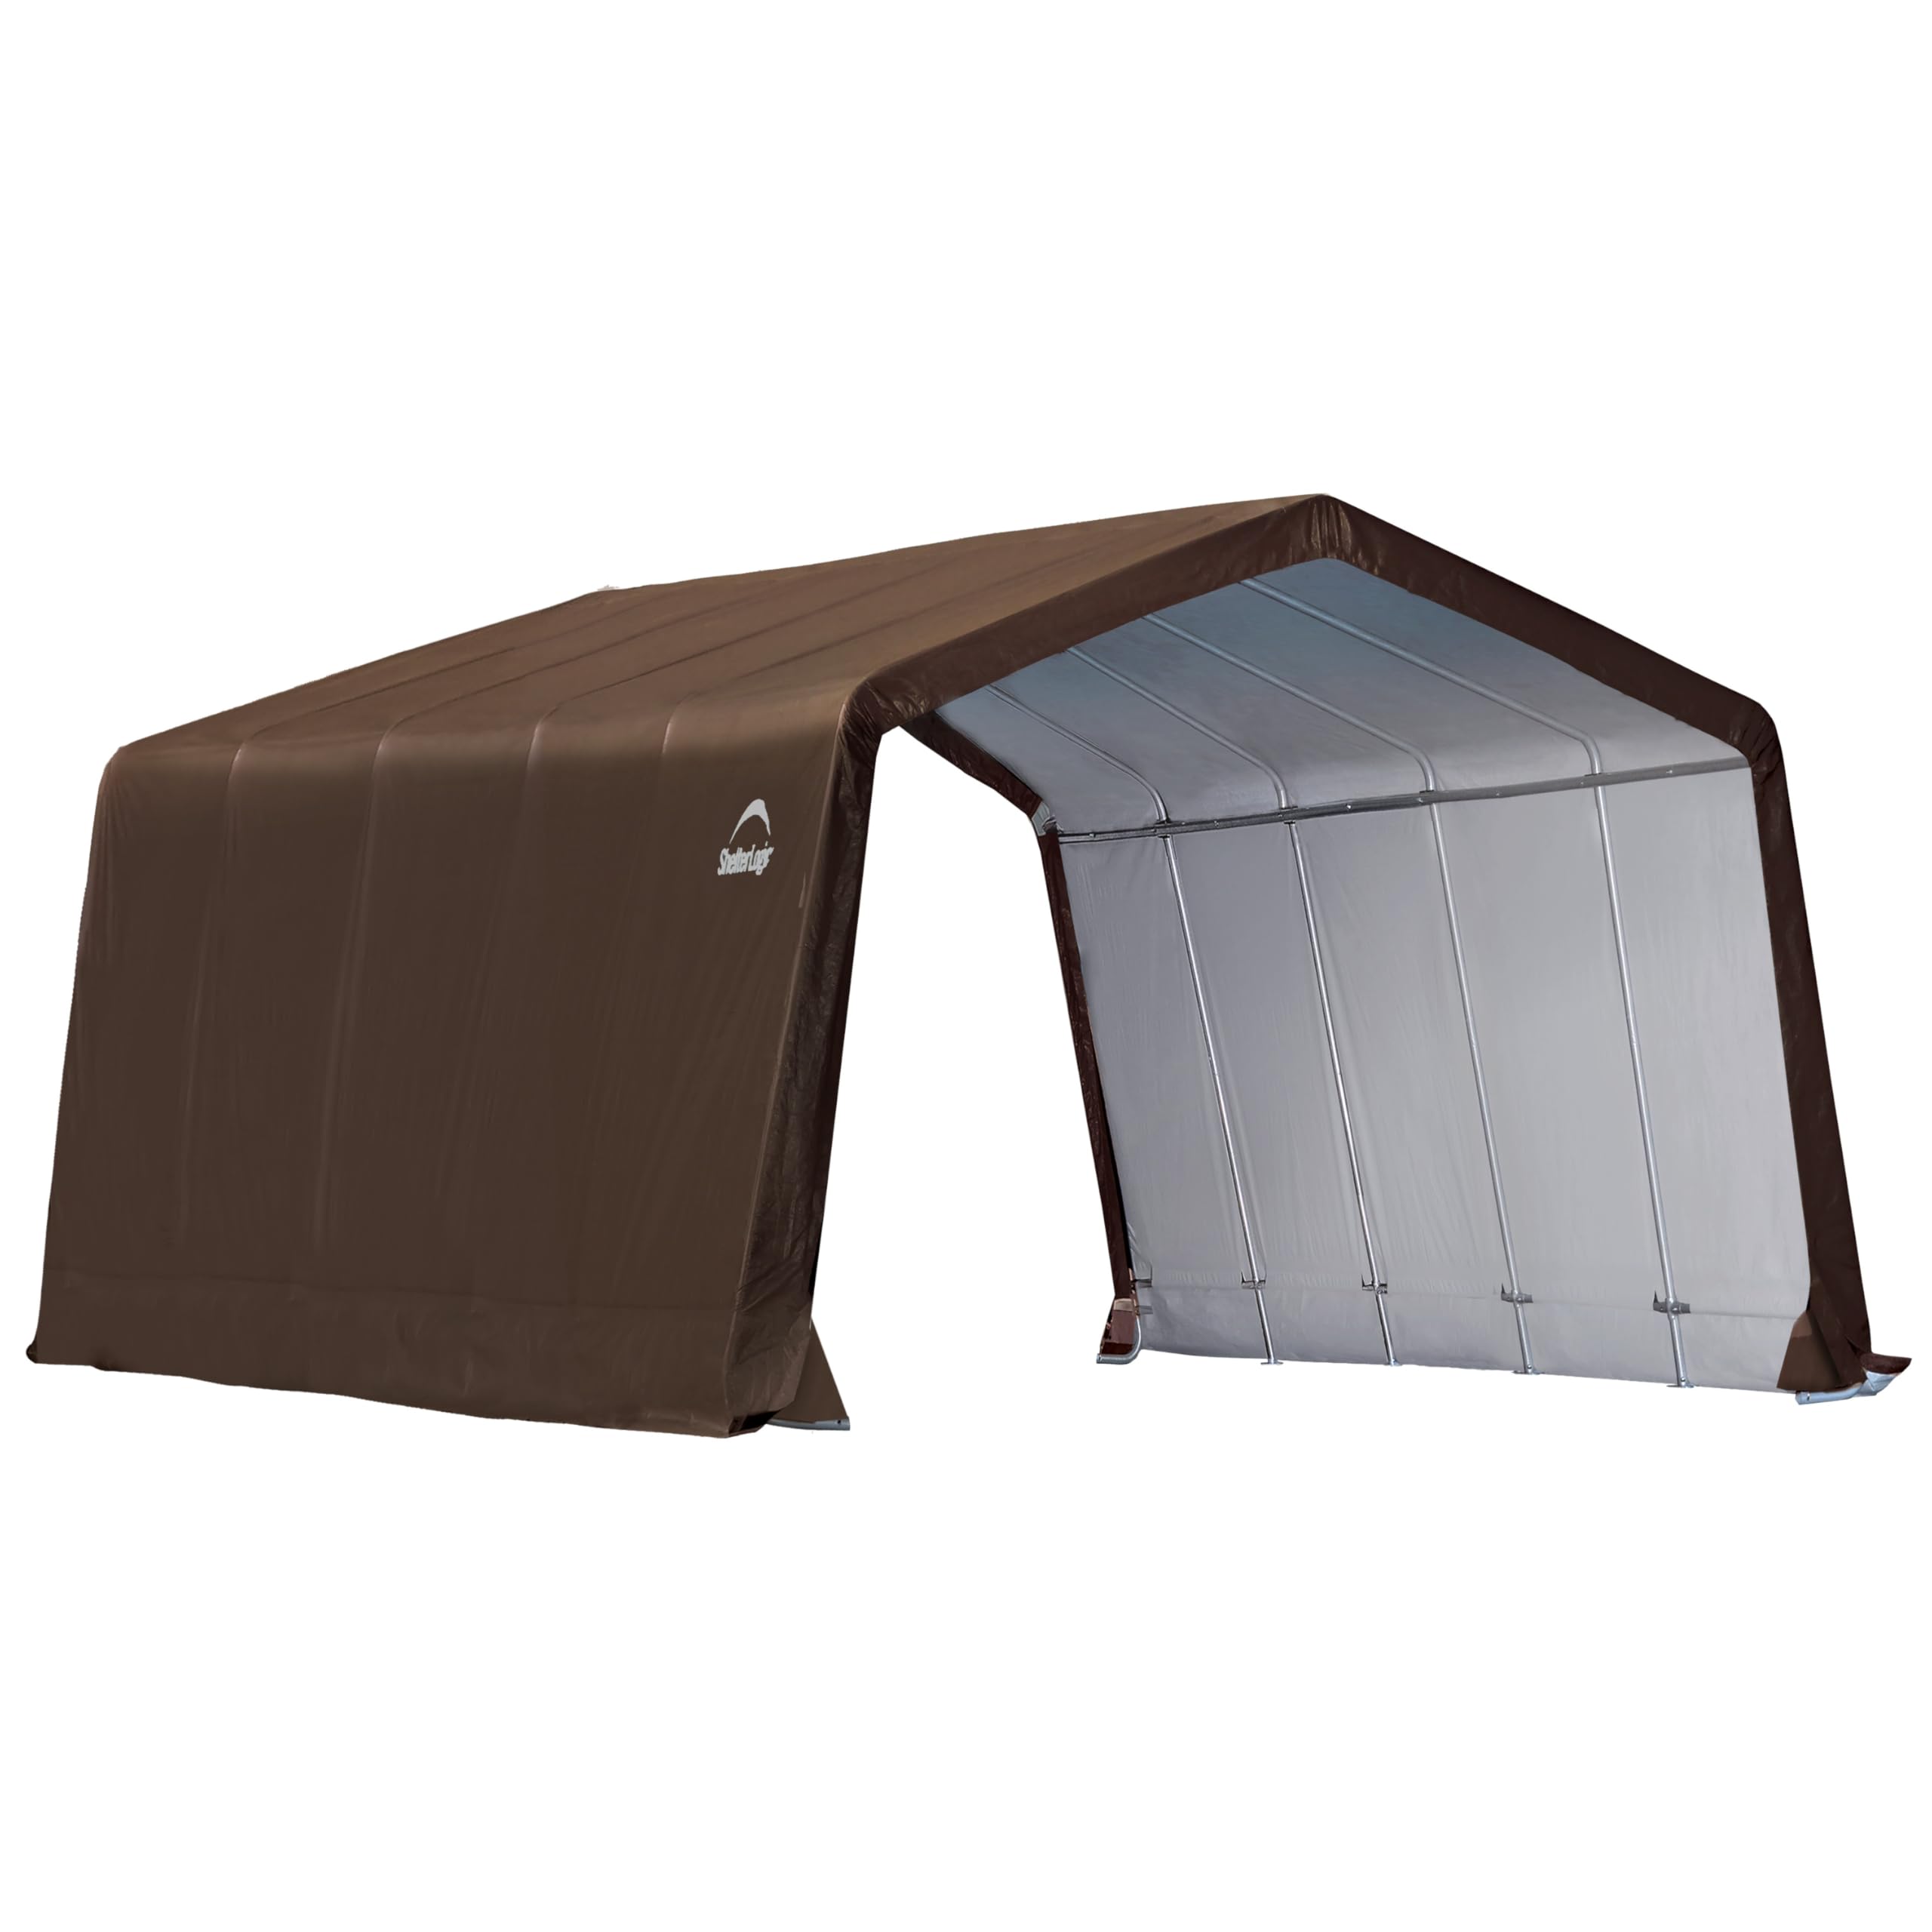
Image 1.1: The ShelterLogic 12' x 20' x 8' 3-in-1 Run-in Outdoor Animal Shelter in brown.
2. Safety Information
- Always read and understand all instructions before beginning assembly.
- Ensure the shelter is securely anchored to the ground to prevent movement or collapse, especially in windy conditions.
- Check local ordinances and building codes before installation, as permits may be required in some areas.
- When using the shelter in a run-in configuration for animals, install the protective boot covers over the ratchet straps to ensure animal safety.
- Do not use the shelter near open flames or heat sources.
- Keep children and pets away from the assembly area.
3. Package Contents
Verify that all components are present before starting assembly. The package typically includes:
- Powder-coated steel frame components
- Triple-layer ripstop polyethylene cover
- Ratchet-Tite tensioning system components
- ShelterLock stabilizers
- Easy-Slide Cross Rail system components
- All necessary hardware (bolts, nuts, anchors)
- Instruction manual
4. Setup and Assembly
Assembly of this shelter typically requires two or more people. While straightforward, having additional assistance will significantly ease the process, especially when installing the cover and standing the frame upright.
4.1. Frame Assembly
Begin by assembling the 1-3/8 inch (3.1 cm) all-steel frame according to the detailed diagrams in the included manual. Ensure all connections are secure. The Easy-Slide Cross Rail system helps to lock down and square up the frame for a precise fit.

Image 4.1: Detail of the Easy-Slide Cross Rail system, which aids in squaring the frame.
4.2. Stabilizer Installation
Install the patented ShelterLock stabilizers at all designated points. These stabilizers are crucial for providing rock-solid stability and durability to the assembled frame.

Image 4.2: Close-up of ShelterLock stabilizers ensuring frame stability.
4.3. Cover Installation
Carefully drape the 7.5 oz brown fabric cover over the assembled frame. The cover is designed with a white interior to enhance illumination inside the shelter. Utilize the Ratchet-Tite cover tensioning system to pull the cover taut and secure it to the frame. This system ensures a drum-tight fit, preventing flapping and prolonging the cover's lifespan.

Image 4.3: Detail of the waterproof, tear-resistant cover material.

Image 4.4: Illustration of the Ratchet-Tite tensioning system for a secure cover fit.
4.4. Anchoring
Properly anchor the shelter to the ground using the provided anchors. This step is critical for the stability and safety of the shelter, especially in adverse weather conditions.
5. Operating Instructions
The ShelterLogic 3-in-1 Run-in Shelter offers flexible configurations for various needs.
5.1. Run-in Animal Shelter Configuration
To use as a run-in shelter for horses, goats, pigs, or other farm animals, remove the end panels. This allows animals easy access while providing protection from sun, rain, and wind. Remember to install protective boot covers over the ratchet straps for animal safety in this configuration.
5.2. Storage Shed Configuration
For storing agricultural supplies (feed, food, seed) or farm equipment and tools, install the end panels. This fully encloses the shelter, protecting contents from the elements and providing secure storage.

Image 5.1: Diagram illustrating the 3-in-1 functionality and features of the agricultural shelter.
6. Maintenance
- Regular Inspection: Periodically inspect the frame for any signs of damage, rust, or loose connections. Tighten any loose bolts or nuts.
- Cover Tension: Regularly check the tension of the cover using the Ratchet-Tite system. A properly tensioned cover prevents wear and tear from wind flapping.
- Cleaning: Clean the polyethylene cover as needed with mild soap and water. Avoid harsh chemicals or abrasive cleaners that could damage the material or its UV coating.
- Anchoring: Verify that all ground anchors remain secure, especially after severe weather. Re-secure or replace any compromised anchors.
- Snow Removal: In areas with heavy snowfall, regularly remove snow accumulation from the roof to prevent structural stress.
7. Troubleshooting
7.1. Cover Tearing
If the cover shows signs of tearing, particularly at stress points:
- Ensure the cover is evenly tensioned across the entire frame. Uneven tension can create localized stress.
- Inspect the frame for any sharp edges or protrusions that might be abrading the cover. Pad or smooth these areas if found.
- Consider the environmental conditions. High winds can cause significant stress. Ensure anchoring is robust.
- Contact ShelterLogic support for replacement cover options if the damage is extensive.
7.2. Shelter Instability in Wind
If the shelter exhibits instability during windy conditions:
- Verify that all ground anchors are fully engaged and secure. Additional anchoring may be necessary in high-wind areas.
- Confirm that the Ratchet-Tite system has the cover pulled as tightly as possible to minimize wind resistance.
- Check that all frame connections are tight and that ShelterLock stabilizers are correctly installed.
8. Specifications
| Feature | Detail |
|---|---|
| Model Number | 60403 |
| Dimensions (L x W x H) | 238.7" x 148.1" x 102.2" (12' x 20' x 8') |
| Frame Material | 1-3/8" (3.1 cm) All-Steel, Powder-Coated |
| Cover Material | 7.5 oz Triple-Layer Ripstop Polyethylene |
| Color | Brown |
| Water Resistance Level | Water Resistant |
| UV Protection | Yes |
| Item Weight | 176.4 Pounds |
| Assembly Required | Yes |

Image 8.1: Detailed dimensions of the ShelterLogic 12' x 20' x 8' shelter.
9. Warranty Information
ShelterLogic offers a fabric and framework warranty for its products, typically up to 10 years. For specific details regarding your product's warranty period and terms, please refer to the warranty documentation included with your purchase or contact ShelterLogic customer support.
10. Support and Contact Information
For assistance with your ShelterLogic product, including questions, warranty information, ordering parts, or product registration, please utilize the following resources:
- Online Help & FAQs: Visit the official ShelterLogic website for a comprehensive knowledge base and frequently asked questions.
- Customer Service: USA-based customer service is available 7 days a week to answer your inquiries.
- How-To Videos: Access online instructional videos for assembly and maintenance tips.
For direct support, please refer to the contact information provided on the ShelterLogic website or in your product packaging.

Image 10.1: ShelterLogic offers USA-based customer service available 7 days a week.