1. Introduction
This manual provides essential information for the proper installation, operation, and maintenance of your new Generic Carburetor, designed specifically for Generac Model 01006-1 13hp Generators. Adhering to these instructions will ensure optimal performance and longevity of the carburetor.
This carburetor is a high-quality aftermarket replacement part, engineered for durability and ease of use. It is designed to restore your generator's fuel system to proper working condition.
2. Package Contents
Upon opening the package, verify that all components are present and undamaged. The package includes the complete carburetor assembly as depicted in the product images.
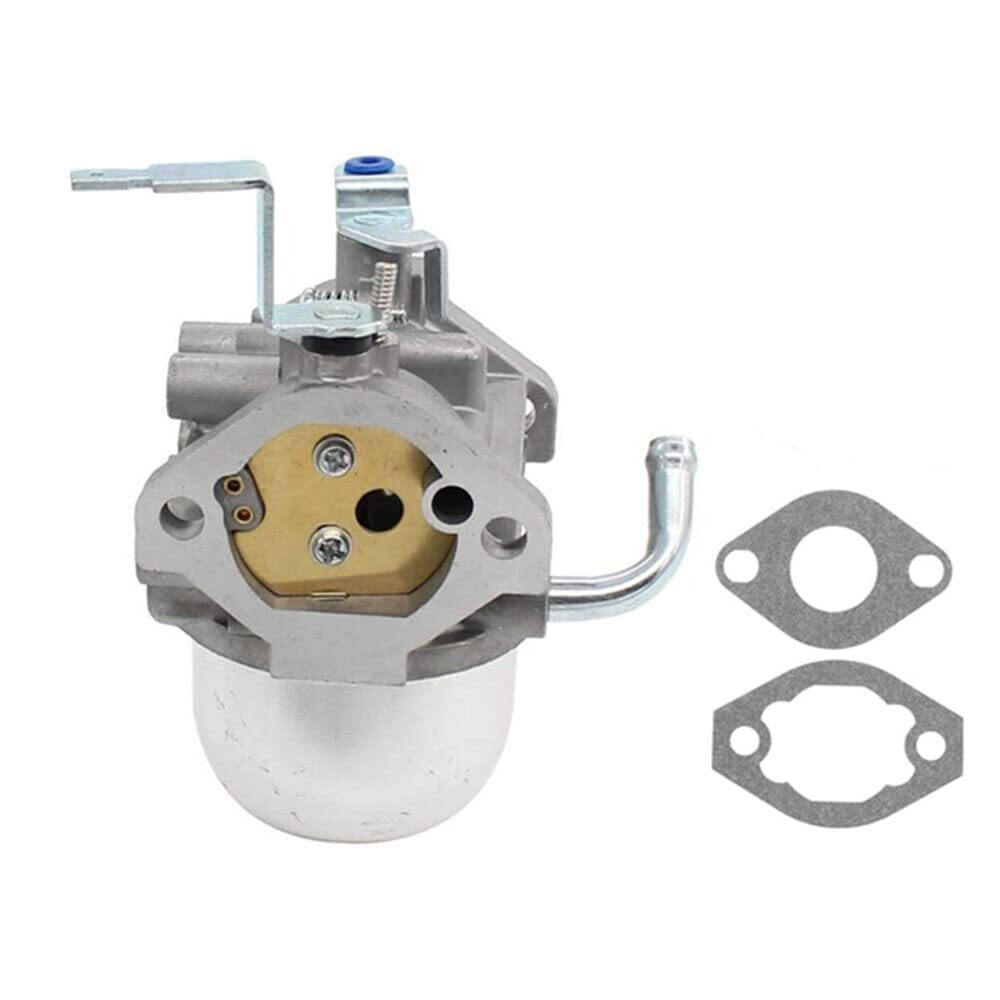
Figure 1: Front view of the Generic Carburetor assembly. This image shows the main body, fuel inlet, and air intake.
- One (1) Generic Carburetor Assembly for Generac Model 01006-1 Generator
- Note: Gaskets or additional hardware may not be included unless explicitly stated or pictured. Please check your specific package.
3. Safety Information
WARNING:
- Always disconnect the spark plug wire and fuel line before performing any maintenance or installation on the generator.
- Ensure the generator is cool before handling any components to prevent burns.
- Work in a well-ventilated area to avoid inhaling fuel fumes.
- Wear appropriate personal protective equipment (PPE), such as gloves and eye protection.
- Fuel is highly flammable. Handle with extreme care and keep away from open flames or ignition sources.
- If you are unsure about any step, consult a qualified technician.
4. Setup and Installation
This section outlines the general steps for replacing the carburetor on your Generac Model 01006-1 Generator. Specific procedures may vary slightly depending on your generator's configuration. Refer to your generator's service manual for detailed instructions.

Figure 2: Side view of the carburetor, showing the throttle and choke linkages.
Required Tools:
- Socket wrench set
- Screwdriver set
- Pliers
- Fuel line clamps
- New gaskets (if not included with carburetor)
Installation Steps:
- Prepare the Generator: Ensure the generator is turned off, cool, and the spark plug wire is disconnected. Close the fuel valve.
- Drain Fuel: If necessary, drain the fuel from the fuel tank and carburetor bowl into an approved container.
- Remove Air Filter Assembly: Disconnect and remove the air filter housing and any associated ducting to access the carburetor.
- Disconnect Linkages and Hoses: Carefully disconnect the throttle linkage, choke linkage, and fuel line from the old carburetor. Note their positions for reassembly.
- Remove Old Carburetor: Unbolt the old carburetor from the engine manifold. Be mindful of any gaskets between the carburetor and the engine.
- Install New Carburetor: Place new gaskets (if applicable) on the manifold studs. Mount the new Generic Carburetor, ensuring it seats correctly. Tighten mounting bolts evenly.
- Reconnect Linkages and Hoses: Reattach the throttle and choke linkages to their correct positions. Connect the fuel line securely.
- Reinstall Air Filter Assembly: Reattach the air filter housing and any other components removed earlier.
- Reconnect Spark Plug Wire: Once all connections are secure, reconnect the spark plug wire.

Figure 3: Bottom view of the carburetor, showing the fuel bowl and drain screw.
5. Operating Instructions (Post-Installation)
After successful installation, follow these steps to start and operate your generator:
- Refill Fuel Tank: Add fresh, clean fuel to the generator's fuel tank.
- Open Fuel Valve: Turn the fuel valve to the "ON" position. Allow a few minutes for the carburetor bowl to fill with fuel.
- Set Choke: For cold starts, move the choke lever to the "FULL CHOKE" position. For warm starts, use "HALF CHOKE" or no choke.
- Start Engine: Follow your generator's specific starting procedure (e.g., pull start cord or press electric start button).
- Adjust Choke: As the engine warms up, gradually move the choke lever to the "RUN" position.
- Monitor Performance: Listen for smooth engine operation. If the engine runs rough, refer to the troubleshooting section.

Figure 4: Top view of the carburetor, showing the air intake port and mounting points.
6. Maintenance
Regular maintenance of your carburetor and generator's fuel system is crucial for reliable operation. This carburetor is designed for long-lasting performance, but proper care is essential.
General Maintenance Tips:
- Use Fresh Fuel: Always use fresh, clean, unleaded gasoline. Stale fuel can cause deposits and clog carburetor passages.
- Fuel Stabilizer: If storing the generator for extended periods (over 30 days), add a fuel stabilizer to the fuel tank. Run the engine for a few minutes to circulate the stabilized fuel through the carburetor.
- Drain Fuel: For very long-term storage, it is recommended to drain all fuel from the tank and carburetor bowl. Run the engine until it runs out of fuel to ensure the carburetor is dry.
- Air Filter: Regularly inspect and clean or replace the air filter as per your generator's manual. A dirty air filter can affect carburetor performance.
- Fuel Filter: Check and replace the inline fuel filter periodically to prevent contaminants from reaching the carburetor.
7. Troubleshooting
If your generator experiences issues after carburetor installation, consult the following common troubleshooting steps:
| Problem | Possible Cause | Solution |
|---|---|---|
| Engine will not start | No fuel, clogged fuel line/filter, incorrect choke setting, spark plug issue, incorrect carburetor installation. | Check fuel level, ensure fuel valve is open. Inspect fuel line and filter. Adjust choke. Check spark plug. Re-verify carburetor installation. |
| Engine runs rough or stalls | Dirty fuel, clogged carburetor jet, air leak, incorrect idle adjustment. | Use fresh fuel. Clean carburetor jets (if comfortable). Check for air leaks around manifold. Adjust idle screw if accessible and necessary. |
| Fuel leaks from carburetor | Loose fuel line, damaged float bowl gasket, stuck float, loose drain screw. | Tighten fuel line connections. Inspect and replace float bowl gasket. Check float for free movement. Tighten drain screw. |
If these steps do not resolve the issue, it is recommended to consult a professional generator technician.
8. Specifications
| Feature | Detail |
|---|---|
| Product Type | Aftermarket Carburetor |
| Brand | Generic |
| Model Compatibility | Generac Model 01006-1 13hp Generator |
| Item Weight | 1 pound (approximate) |
| Product Dimensions | 1 x 1 x 1 inches (approximate, packaging) |
| Material | Metal alloy construction |
9. Warranty and Support
Specific warranty information for this Generic aftermarket carburetor is not provided in the product details. Please refer to the seller or manufacturer for any warranty claims or technical support inquiries.
For general generator maintenance or repair, always consult your generator's official service manual or a certified technician.


