1. Setup and Initial Use
1.1 Package Contents
Before beginning, please verify that all items are present in your package:
- Digital Camera (1)
- 32GB Micro SD Card (1)
- Cradle Charger (1)
- Rechargeable 1050mAh Batteries (2)
- USB Cable (1)
- HDMI Cable (1)
- User Manual (1)
- Camera Bag (1)
- Wrist Strap (1)
- Cleaning Cloth (1)
- Charger (1)

Image: All components included with the Aasonida DC218 camera.
1.2 Battery Installation and Charging
Insert the rechargeable 1050mAh battery into the camera or the provided cradle charger. The charger stand allows for simultaneous charging of the camera and battery. Ensure the battery is inserted in the correct direction as indicated.

Image: The camera, battery, and charging cradle, demonstrating the charging setup.
1.3 Micro SD Card Installation
Locate the memory card slot on the camera. Insert the provided 32GB Micro SD card until it clicks into place. The camera supports up to 32GB Micro SD cards.
1.4 Powering On/Off
Press and hold the power button located on the top of the camera to turn it on or off. The display will illuminate upon startup.
Video: A demonstration of the camera's power-on sequence and initial display.
2. Operating the Camera
2.1 Camera Layout and Controls
Familiarize yourself with the camera's buttons and dials for efficient operation.

Image: Top view of the camera highlighting the mode dial and shutter button.

Image: Rear view of the camera displaying the screen and various control buttons.
2.2 Selecting Shooting Modes
Rotate the mode dial on the top of the camera to select between various shooting modes such as Auto, Video, Portrait, Night, Effect, Setup, Slow-motion, and Landscape.
Image: The camera's mode dial, illustrating the available shooting options.
2.3 Photography Features
- 64MP High-Quality Photography: Capture detailed images with the 64-megapixel sensor.
- Autofocus: The camera features autofocus for clear and sharp images, especially useful for macro shots.
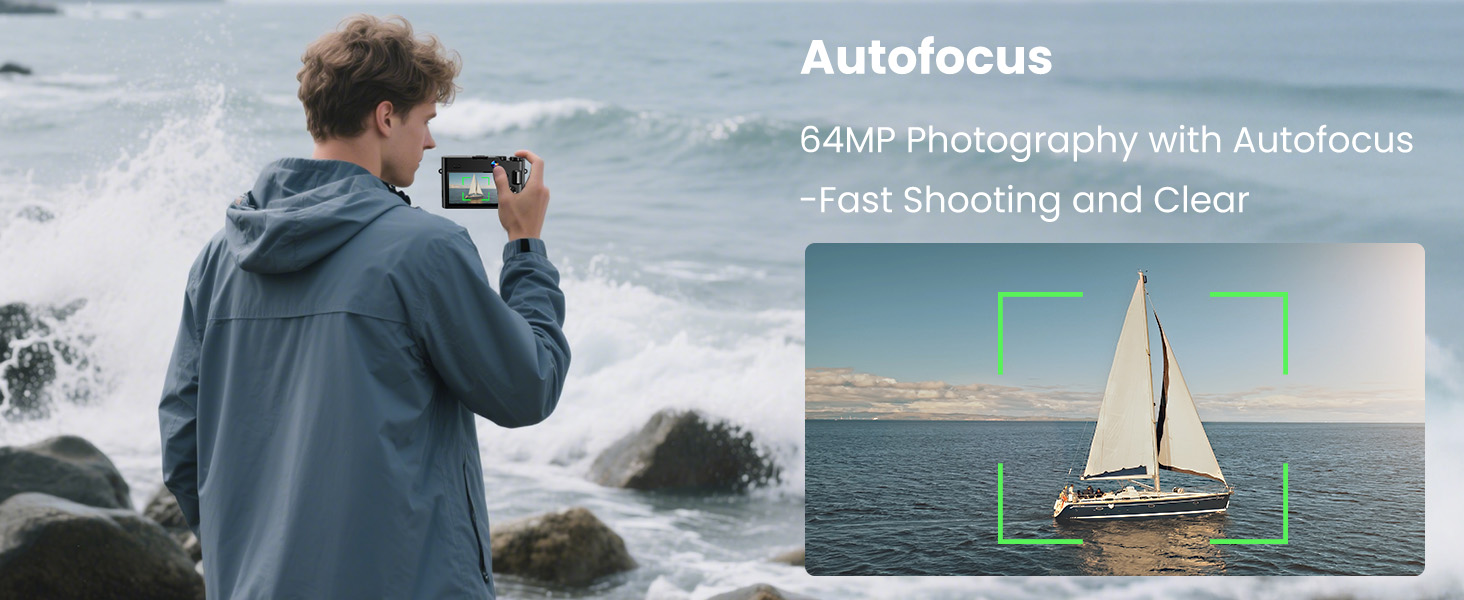
Image: Visual representation of the camera's autofocus capability, highlighting a sharp subject.
- 16X Digital Zoom: Use the zoom controls to magnify distant subjects.

Image: Comparison shots showing the effect of 4x, 8x, and 16x digital zoom on a distant object.
- Pop-up Flash: Activate the built-in flash for improved lighting in low-light conditions.

Image: A side-by-side view demonstrating the effectiveness of the pop-up flash in illuminating a subject.
- Exposure Compensation: Adjust exposure from -2 to +2 to control image brightness.

Image: Examples of exposure compensation settings, ranging from underexposed to overexposed.
- Multiple Filters: Apply various filters to match different scenes and styles.

Image: A demonstration of various creative filters available on the camera.
2.4 Video Recording Features
- 4K 30FPS Video: Record smooth, high-resolution video.
- 6-Axis Anti-Shake: Enhances video stability, especially during motion.

Image: An animated diagram showing how the camera's 6-axis anti-shake technology stabilizes footage.
- Selfie Dual-Lens: Utilize the front and rear lenses for convenient self-vlogging.

Image: A couple using the camera's flip screen for a selfie, demonstrating the dual-lens capability.
- Webcam Functionality: Connect the camera to a computer for live streaming or video calls.

Image: The camera set up as a webcam for live broadcasting and video conferencing.
2.5 Data Transfer
Transfer photos and videos to computers, TVs, or smartphones using the provided USB and HDMI cables. A card reader (not included) can also be used for direct SD card transfer.

Image: Various methods for transferring media from the camera to other devices.
3. Maintenance
3.1 Cleaning the Camera
Use the provided cleaning cloth to gently wipe the camera body and lens. Avoid using harsh chemicals or abrasive materials that could damage the camera's surface or optics.
3.2 Battery Care
To prolong battery life, avoid exposing batteries to extreme temperatures. Store unused batteries in a cool, dry place. Fully charge batteries before extended storage and periodically recharge them if stored for long periods.
3.3 Storage
When not in use, store the camera in its camera bag to protect it from dust, moisture, and physical damage.
4. Troubleshooting
This section addresses common issues you might encounter with your Aasonida DC218 camera.
4.1 Camera Not Powering On
- Ensure the battery is correctly inserted and fully charged.
- Check if the power button is pressed and held for a few seconds.
- Try using the second provided battery to rule out a faulty battery.
4.2 Blurry Images
- Verify that the autofocus is engaged and has locked onto your subject.
- Ensure sufficient lighting for your shot.
- Clean the camera lens with the provided cleaning cloth.
- Hold the camera steady during shooting, or use a tripod for optimal stability.
4.3 Video Playback Issues
- Ensure the video file format (AVI) is compatible with your playback device.
- Check the integrity of the Micro SD card.
- Confirm that the HDMI or USB cable is securely connected for external display.
5. Specifications
| Feature | Specification |
|---|---|
| Brand | Aasonida |
| Model Name | DC218 |
| Effective Still Resolution | 64 MP |
| Video Resolution | 4320p (4K) |
| Optical Zoom | 16 x |
| Digital Zoom | 16 x |
| Image Stabilization | Digital (6-axis anti-shake) |
| Autofocus | Yes (Hybrid) |
| Screen Size | 3 Inches |
| Photo Sensor Technology | CMOS (13MP CMOS photosensitive chip) |
| Supported File Format | JPEG (Image), AVI (Video) |
| Memory Storage Capacity | 32 GB (Micro SD card included) |
| Battery Type | Lithium Polymer (1050mAh) |
| Connectivity Technology | USB, HDMI |
| Special Features | Selfie Dual-lens, Cradle Charger, IPS FHD Screen, Time-Stamp, Ultra Bright Flash, Pause Function, Time-lapse, Continuous Shooting, Slow Motion, Smile & Face Detection, Multi-filters, Webcam |
6. Warranty Information
The Aasonida 4K 64MP Digital Camera (Model DC218) comes with a 2-year warranty from the date of purchase. This warranty covers manufacturing defects and malfunctions under normal use. Please retain your proof of purchase for warranty claims. For detailed terms and conditions, refer to the warranty card included in your package or contact customer support.
7. Customer Support
If you have any questions, require technical assistance, or need to make a warranty claim, please contact Aasonida customer support. Contact information can typically be found on our official website or on the packaging materials. We are committed to providing prompt and helpful service.