
Introduction
This manual provides essential information for the safe and efficient operation, maintenance, and troubleshooting of your Xlife Cordless Vacuum Cleaner P2. Please read it thoroughly before first use and retain it for future reference.
Important Safety Instructions
When using an electrical appliance, basic precautions should always be followed, including the following:
- Read all instructions before using this vacuum cleaner.
- Do not use outdoors or on wet surfaces.
- Do not allow to be used as a toy. Close attention is necessary when used by or near children.
- Use only as described in this manual. Use only manufacturer’s recommended attachments.
- Do not use with damaged cord or plug. If appliance is not working as it should, has been dropped, damaged, left outdoors, or dropped into water, return it to a service center.
- Do not pull or carry by cord, use cord as a handle, close a door on cord, or pull cord around sharp edges or corners. Do not run appliance over cord. Keep cord away from heated surfaces.
- Do not unplug by pulling on cord. To unplug, grasp the plug, not the cord.
- Do not handle plug or appliance with wet hands.
- Do not put any object into openings. Do not use with any opening blocked; keep free of dust, lint, hair, and anything that may reduce airflow.
- Keep hair, loose clothing, fingers, and all parts of body away from openings and moving parts.
- Turn off all controls before unplugging.
- Use extra care when cleaning on stairs.
- Do not use to pick up flammable or combustible liquids, such as gasoline, or use in areas where they may be present.
- Do not pick up anything that is burning or smoking, such as cigarettes, matches, or hot ashes.
- Do not use without dust cup and/or filters in place.
Product Components
Your Xlife Cordless Vacuum Cleaner P2 comes with several components designed for versatile cleaning. Familiarize yourself with each part:
- Main Motor & Canister (Main Body)
- HEPA Filter
- Electric Floor Brush with V-shaped Anti-tangle Roller
- Adjusted Handle (Extension Wand)
- Crevice Tool
- 2-in-1 Dusting Brush
- Rechargeable Lithium-ion Battery
- Adapter
- Wall-Mounted Charging Dock

Figure 1: Xlife Cordless Vacuum Cleaner P2 and its included accessories.
Setup and Assembly
1. Assembly
- Attach the Extension Wand: Insert the extension wand into the main motor body until it clicks securely.
- Attach the Floor Brush: Connect the electric floor brush to the other end of the extension wand, ensuring it locks into place.
- Install Battery: Slide the rechargeable battery into the designated slot on the main motor body until it clicks.
2. Initial Charging
Before first use, fully charge the battery. The charging time is approximately 4 hours.
- Connect the adapter to the battery or the wall-mounted charging dock.
- Plug the adapter into a power outlet.
- The battery indicator on the main unit will show charging status.

Figure 2: Battery charging and runtime display.
3. Wall Mount Installation
The vacuum includes a wall-mounted charging dock for convenient storage and charging.
- Choose a suitable location near a power outlet.
- Secure the wall mount to the wall using appropriate screws (not included, or check packaging for specific hardware).
- Hang the vacuum cleaner on the dock for storage and charging.
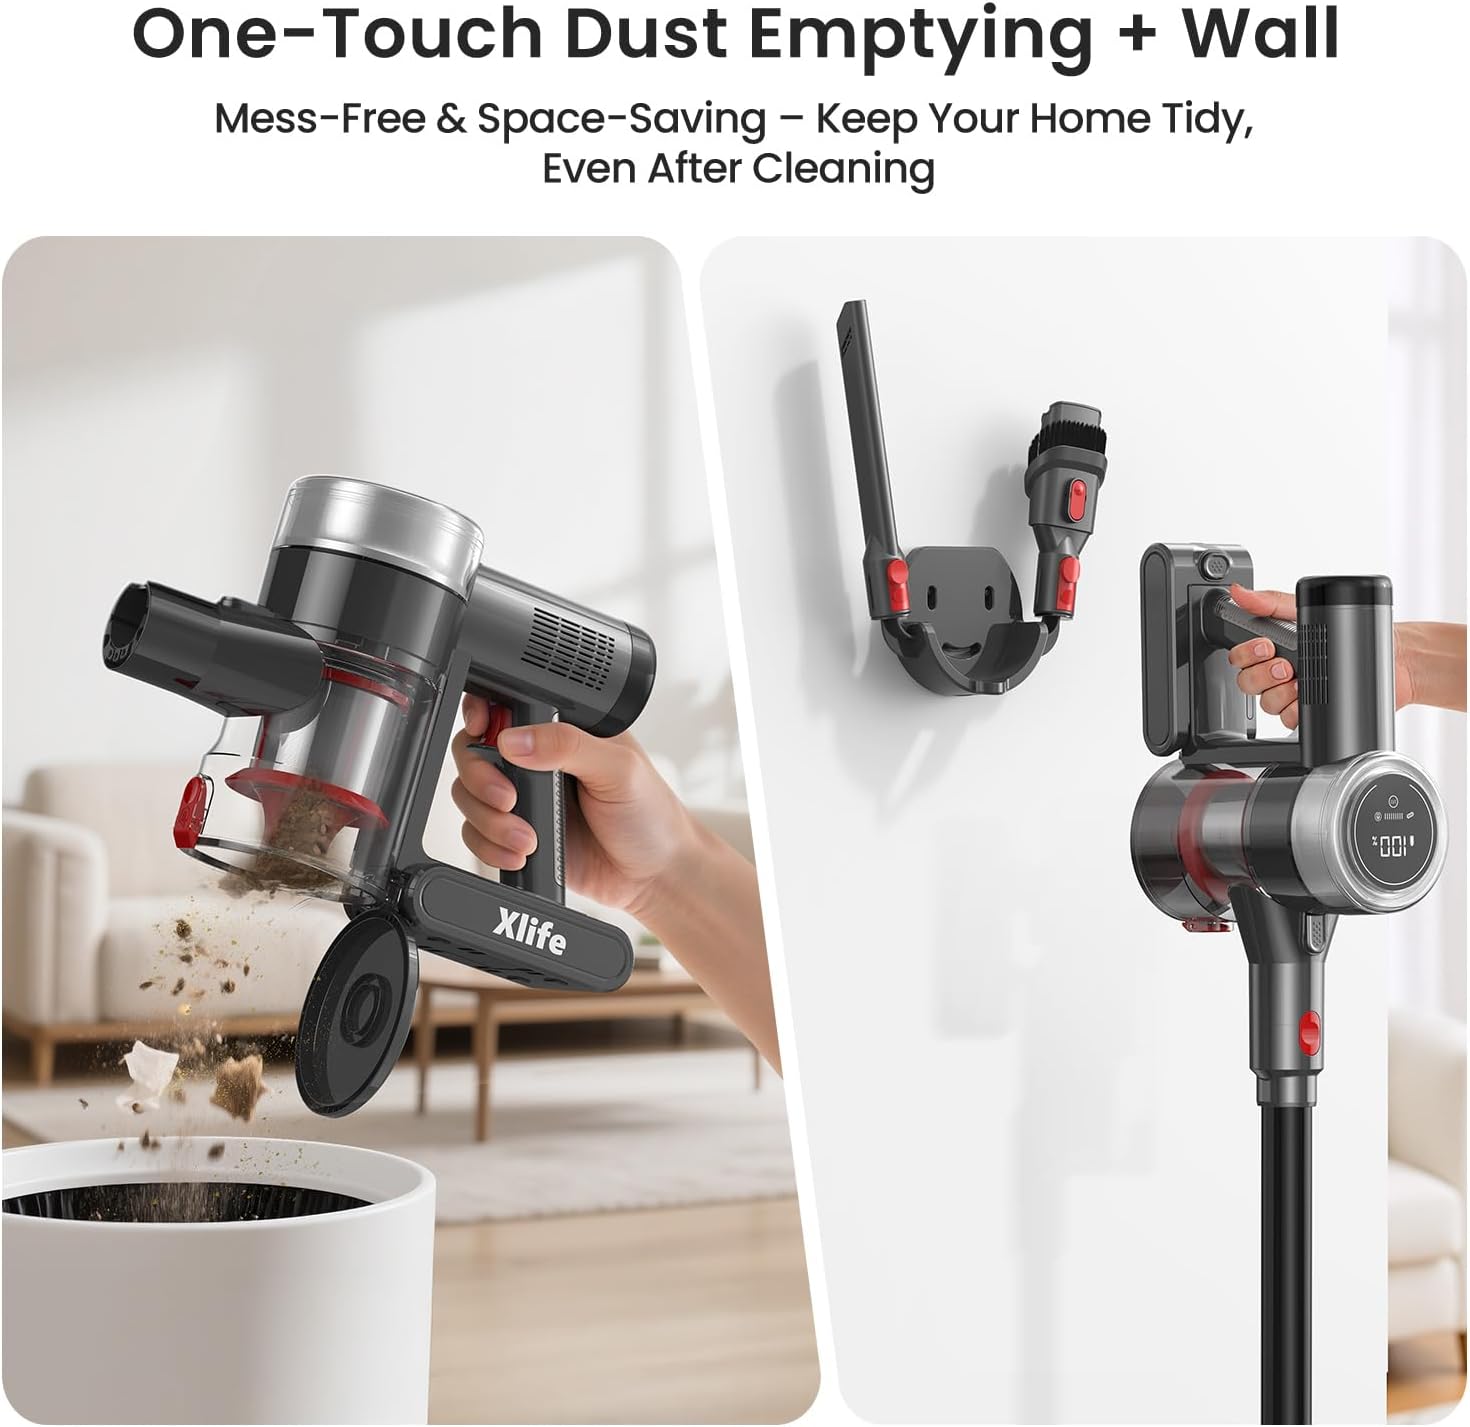
Figure 3: Wall-mounted charging dock and dust cup emptying.
Operation
1. Powering On/Off and Speed Modes
- Press the power button to turn the vacuum on or off.
- The vacuum features multiple power levels (up to 3) for different cleaning needs. Use the mode selection button to switch between standard and max modes.
- The digital display shows the current battery percentage and selected power mode.
2. Green Light Dust Detection
The electric floor brush is equipped with a green light that illuminates dust and debris on various surfaces, making it easier to spot and clean.
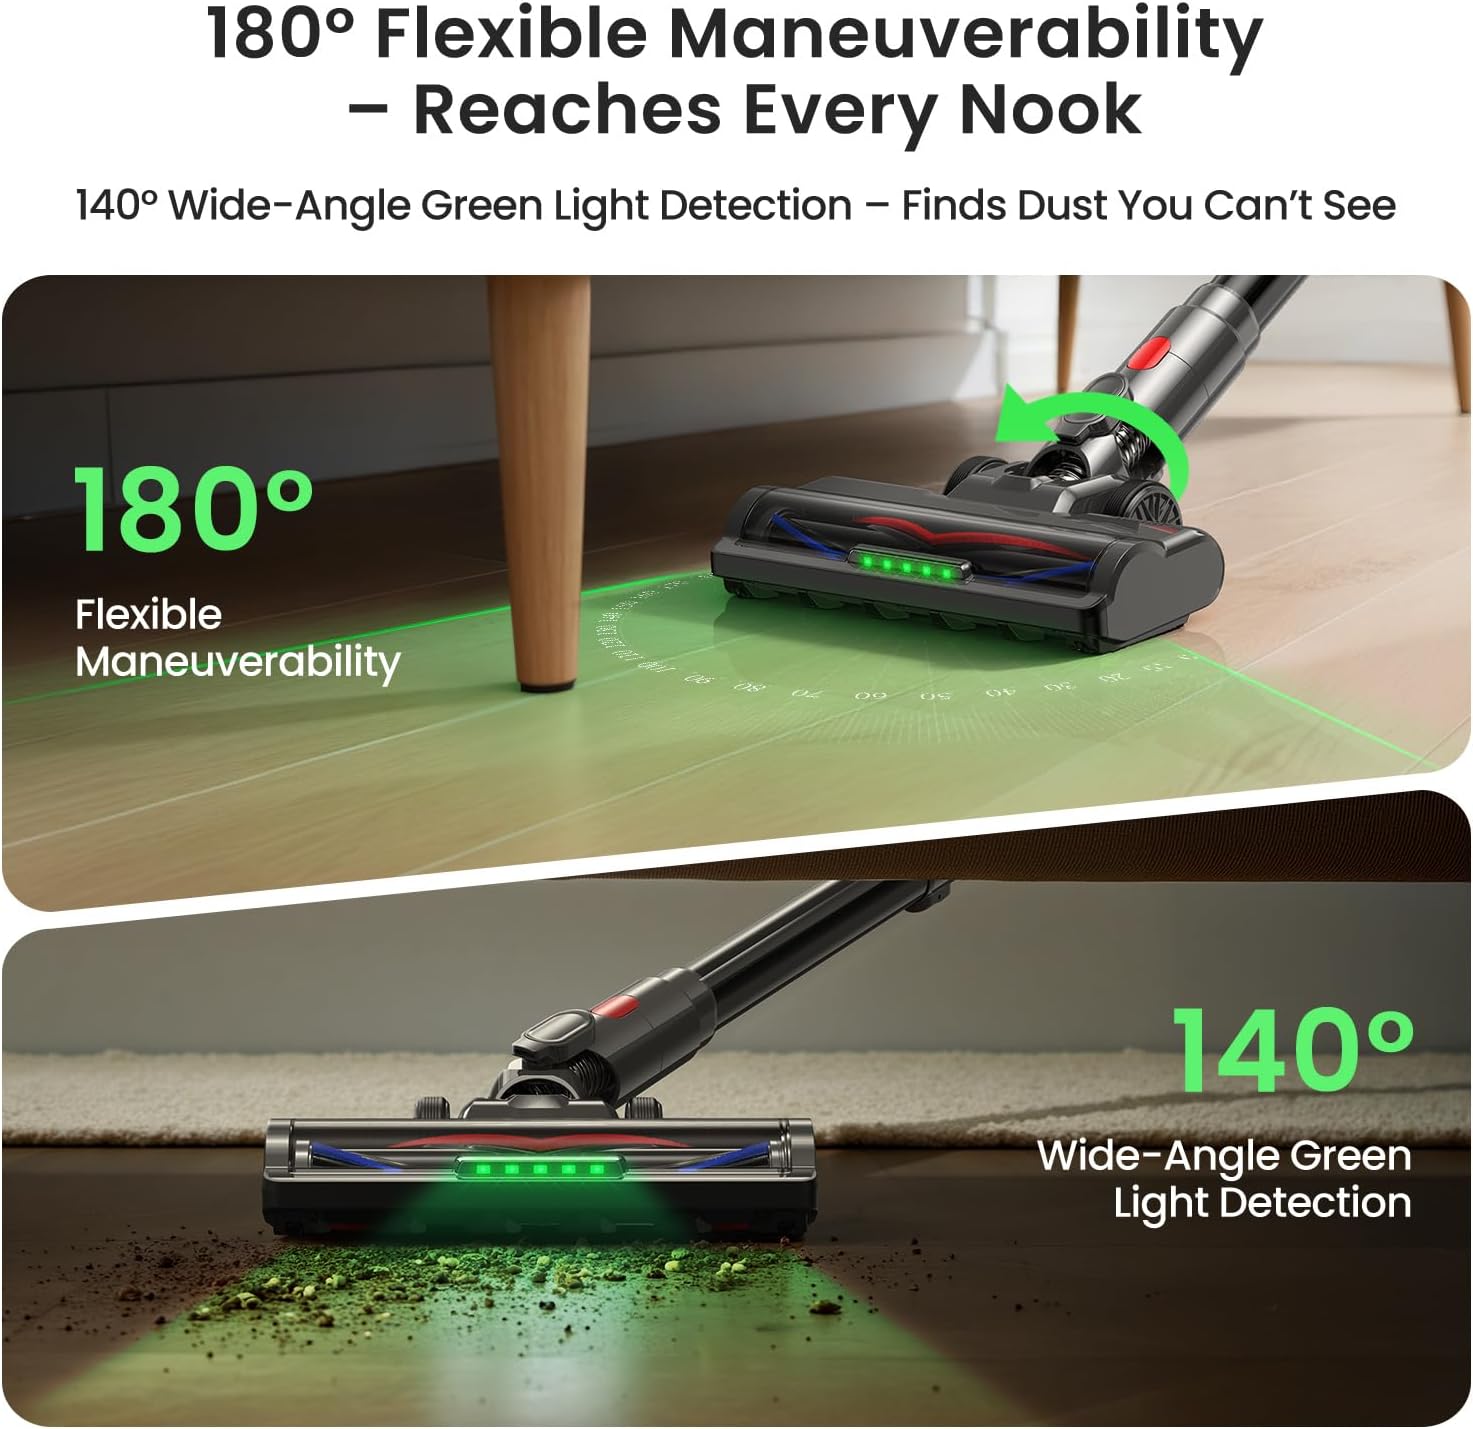
Figure 4: Green light revealing hidden dust under furniture.
3. Multi-Surface Cleaning
The Xlife P2 is designed for effective cleaning on various floor types, including carpets, hardwood, and tile.
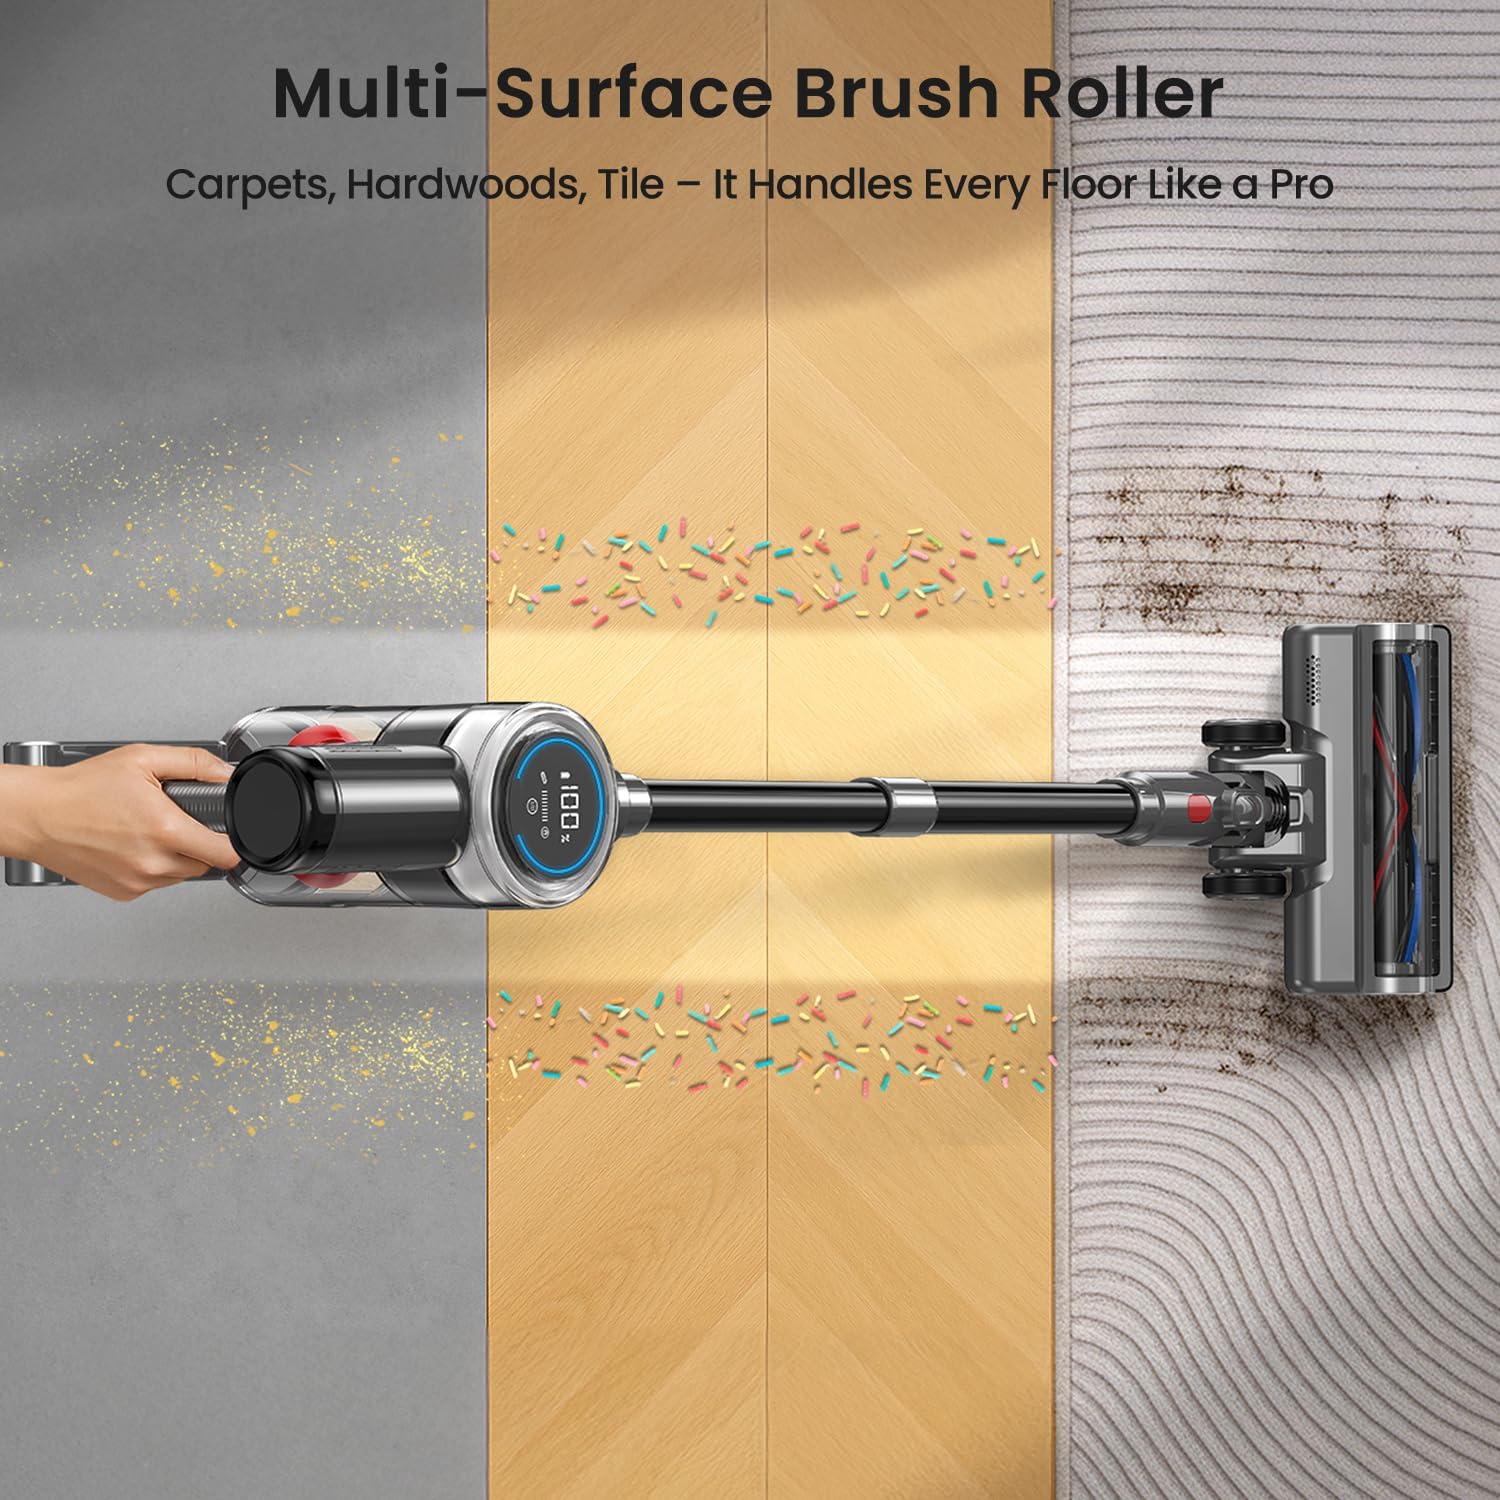
Figure 5: Multi-surface brush roller in action.
4. Using Attachments
Utilize the included attachments for specialized cleaning tasks:
- Crevice Tool: Ideal for narrow spaces, corners, and edges (e.g., between sofa cushions, along baseboards).
- 2-in-1 Dusting Brush: Use the brush for delicate surfaces like curtains, keyboards, or car interiors, and the wide mouth for general dusting.

Figure 6: Versatile attachments for various cleaning needs.
5. Product Demonstration Video
Video 1: Official demonstration of the Xlife Cordless Vacuum Cleaner P2's features and cleaning capabilities.
Maintenance
Regular maintenance ensures optimal performance and extends the lifespan of your vacuum cleaner.
1. Dust Cup Emptying
Empty the dust cup regularly, especially when debris reaches the 'MAX' line.
- Hold the main unit over a trash bin.
- Press the one-touch release button to open the dust cup flap and release contents.
- Close the flap securely after emptying.
Figure 7: One-touch dust cup emptying mechanism.
2. Filter Cleaning
The 7-stage HEPA filtration system requires periodic cleaning to maintain suction power and air quality.
- Twist and remove the dust cup from the main unit.
- Remove the HEPA filter and other filter components.
- Tap off loose dirt or rinse under cold running water. Ensure all parts are completely dry before reassembling.
3. Anti-Tangle Roller Cleaning
The V-shaped anti-tangle roller minimizes hair wrap, but occasional cleaning may be necessary.
- Detach the electric floor brush from the extension wand.
- Locate the release mechanism for the roller brush.
- Remove the roller brush and clear any tangled hair or debris.
- Reinsert the roller brush and secure it.

Figure 8: V-shaped anti-tangle roller design.
Troubleshooting
If you encounter issues with your Xlife Cordless Vacuum Cleaner P2, refer to the following common problems and solutions:
| Problem | Possible Cause | Solution |
|---|---|---|
| Vacuum does not turn on | Battery not charged or improperly installed. | Ensure battery is fully charged and correctly inserted. |
| Reduced suction power | Dust cup full, filters clogged, or blockage in the hose/brush. | Empty dust cup, clean filters, check for and remove blockages. |
| Brush roller not spinning | Hair or debris tangled in the roller, or roller not properly installed. | Clean the anti-tangle roller, ensure it is correctly reinstalled. |
| Short battery runtime | Battery not fully charged, or operating in Max mode continuously. | Fully charge the battery. Use standard mode for longer runtime. |
Specifications
| Feature | Detail |
|---|---|
| Brand | Xlife |
| Model Name | Cordless Vacuum Cleaner (P2) |
| Special Feature | Compact, Cordless, Detachable Battery, HEPA, High Power |
| Filter Type | HEPA Filter (7-Stage) |
| Suction Power | Up to 45KPa |
| Wattage | 550 watts |
| Is Cordless? | Yes |
| Capacity | 0.6 Liters |
| Charging Time | 4 Hours |
| Battery Life | Up to 40 minutes (Standard Mode) |
| Noise Level | 68 Decibels |
| Item Weight | 3.2 pounds |
| Product Dimensions | 9.8"L x 6"W x 44"H |
| Battery Type | Rechargeable Lithium-ion Battery |
| Recommended Uses | Pet Hair, Multi-Surface Cleaning |
Warranty and Support
Warranty Information
Your Xlife Cordless Vacuum Cleaner P2 includes a 24-month protection plan. Please refer to the warranty card included in your packaging for full terms and conditions.
Customer Support
For any questions, technical assistance, or warranty claims, please contact Xlife customer support. Contact details can typically be found on the product packaging or the official Xlife website. Please have your model number (P2) and purchase information ready when contacting support.
