Xprinter XP-420B
Xprinter XP-420B USB Direct Thermal Label Printer User Manual
Model: XP-420B
1. Product Overview
The Xprinter XP-420B is a high-speed direct thermal label printer designed for various applications, including shipping labels. It offers a maximum print speed of 152 mm/s (6 inches/second) and a resolution of 203 DPI, ensuring clear and precise prints. Its robust double-walled clamshell design enhances durability, and the intelligent print head temperature control system ensures stable output. This printer is compatible with both Windows and Mac operating systems, making it a versatile solution for your labeling needs.
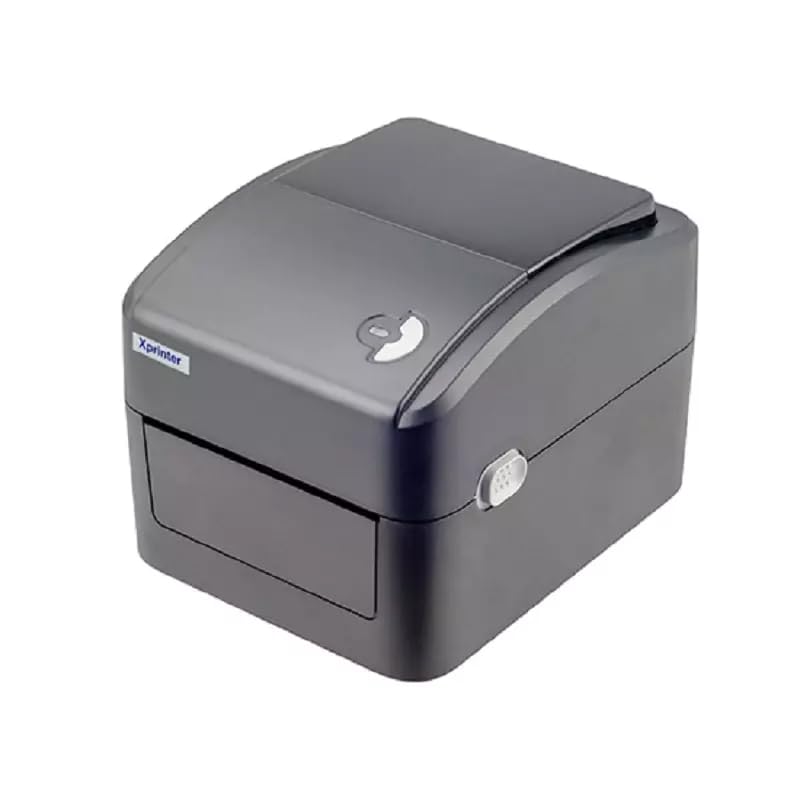
Figure 1: Front view of the Xprinter XP-420B thermal label printer.
2. Setup Guide
2.1 Unpacking and Initial Inspection
- Carefully remove the printer and all accessories from the packaging.
- Verify that all components are present: printer unit, power adapter, USB cable, and user manual.
- Inspect the printer for any visible damage that may have occurred during transit.
2.2 Connecting the Printer
- Connect the power adapter to the printer's power port and then plug it into a power outlet.
- Connect one end of the provided USB cable to the printer's USB port and the other end to an available USB port on your computer.
- Power on the printer using the power switch, usually located on the side or rear.

Figure 2: Xprinter XP-420B showing USB connectivity.
2.3 Loading Labels
- Open the printer's top cover by pressing the release latches on both sides.
- Place the roll of thermal labels onto the label spindle, ensuring the labels feed from the bottom of the roll.
- Feed the leading edge of the labels through the label guide until it extends slightly past the print head.
- Adjust the movable label guides to fit the width of your labels snugly, without pinching them.
- Close the top cover firmly until it latches securely.
- The printer will automatically calibrate and detect the label size.
2.4 Driver Installation
Before printing, you must install the appropriate printer drivers on your computer. Drivers are typically provided on a CD included with the printer or can be downloaded from the official Xprinter website. The XP-420B supports both Windows and Mac operating systems.
- For Windows: Run the setup executable from the driver CD or downloaded file and follow the on-screen instructions.
- For Mac: Download the Mac driver from the Xprinter website and follow the installation prompts.
3. Operating Instructions
3.1 Basic Printing
- Ensure the printer is powered on and connected to your computer.
- Open the document or application from which you wish to print (e.g., shipping software, word processor).
- Select "Print" from the application's menu.
- Choose "Xprinter XP-420B" as your printer.
- In the printer settings or preferences, ensure the correct label size is selected. The printer supports adjustable label sizes.
- Click "Print" to send the job to the printer.
3.2 Adjusting Label Size
The XP-420B allows for adjustable label sizes. This adjustment is primarily done through the printer driver settings on your computer and by physically adjusting the label guides within the printer.
- Software Adjustment: In your printing application or printer driver settings, navigate to the "Page Setup" or "Paper Size" options. Select or define the custom dimensions for your labels (e.g., 4x6 inches for shipping labels).
- Physical Adjustment: As described in Section 2.3, ensure the internal label guides are set correctly to the width of your loaded labels.
4. Maintenance
4.1 Cleaning the Print Head
Regular cleaning of the print head is crucial for maintaining print quality and extending the printer's lifespan. It is recommended to clean the print head after every roll of labels or if print quality degrades.
- Turn off the printer and disconnect the power cord.
- Open the top cover of the printer.
- Wait a few minutes for the print head to cool down if the printer has been recently used.
- Gently wipe the print head surface with an alcohol swab or a lint-free cloth lightly dampened with isopropyl alcohol.
- Allow the print head to dry completely before closing the cover and reconnecting power.
4.2 General Cleaning
- Use a soft, dry cloth to wipe the exterior of the printer.
- Remove any dust or label debris from the inside of the printer using a soft brush or compressed air.
- Do not use abrasive cleaners or solvents.
5. Troubleshooting
| Problem | Possible Cause | Solution |
|---|---|---|
| Printer not responding | Power off; USB cable disconnected; Driver issue. | Ensure power is on and connected. Check USB cable. Reinstall printer driver. |
| Poor print quality (faded, lines) | Dirty print head; Incorrect label type; Low print density setting. | Clean the print head (Section 4.1). Ensure you are using direct thermal labels. Adjust print density in driver settings. |
| Labels not feeding correctly | Labels improperly loaded; Label guides not adjusted; Sensor obstruction. | Reload labels correctly. Adjust label guides. Clean any dust or debris from sensors. |
| Printer prints blank labels | Labels loaded upside down; Not a direct thermal label. | Ensure labels are loaded with the printable side facing up. Verify labels are direct thermal. |
6. Product Specifications
| Feature | Detail |
|---|---|
| Brand | Xprinter |
| Model Name | XP-420B |
| Connectivity Technology | USB |
| Printing Technology | Direct Thermal |
| Resolution | 203 DPI |
| Max Print Speed | 152 mm/s (6 inches/second) |
| Memory | 8MB SDRAM, 8MB Flash |
| Printer Output | Monochrome |
| Item Weight | 3 Kilograms |
| Product Dimensions | 20D x 6W x 10H Centimeters |
| Compatibility | Windows, Mac |
7. Warranty and Support
7.1 Warranty Information
The Xprinter XP-420B comes with a 1-Year Warranty from the date of purchase. This warranty covers manufacturing defects and malfunctions under normal use. Please retain your proof of purchase for warranty claims.
7.2 Customer Support
For technical assistance, troubleshooting beyond this manual, or warranty service, please contact Xprinter customer support. Refer to the contact information provided with your product packaging or visit the official Xprinter website for the most up-to-date support details.
Ask a question about this manual
Ask about setup, troubleshooting, compatibility, parts, safety, or missing instructions. Manuals+ will review the question and use this page’s manual context to help answer it.