Introduction
This manual provides detailed instructions for the assembly, operation, and maintenance of your Shulemin Modern Farmhouse Coffee Table. Please read this manual thoroughly before assembly and use to ensure safe and correct operation. Keep this manual for future reference.

Image: The Shulemin Modern Farmhouse Coffee Table, showcasing its white base, dark wood top, and sliding barn door accent.
Safety Information
- Always assemble the coffee table on a soft, clean surface to prevent scratches.
- Ensure all screws and fasteners are securely tightened before use. Periodically check and re-tighten as necessary.
- Do not exceed the maximum weight capacity of 110 lbs (50 kg) on the tabletop.
- Keep small parts away from children during assembly to prevent choking hazards.
- Avoid placing hot items directly on the surface without protective coasters.
- Do not stand or sit on the coffee table.
Package Contents
Verify that all components are present before beginning assembly. If any parts are missing or damaged, please contact customer support.
- 1 x Coffee Table (disassembled components)
- Assembly Hardware (screws, dowels, gas struts, sliding door mechanism)
- 8 x Non-slip floor protectors
- Instruction Manual
Setup and Assembly
The Shulemin Modern Farmhouse Coffee Table is designed for tool-free assembly, typically completed in under 15 minutes. A QR video guide is included with the product for visual assistance.
- Unpack Components: Carefully remove all parts from the packaging. Lay them out on a soft, clean surface to prevent damage.
- Assemble Base Structure: Follow the included assembly diagram to connect the side panels and base. Ensure all pre-drilled holes align.
- Install Adjustable Shelves: Insert the shelf pins into the desired height holes within the open storage compartments. Place the shelves onto the pins. There are 3 height options available.
- Attach Sliding Barn Door: Mount the sliding rail and attach the barn door according to the instructions. Ensure smooth operation.
- Install Gas Struts: Secure the gas struts to the designated points on the tabletop and the main body of the table. These struts assist in lifting the tabletop for hidden storage access.
- Secure Tabletop: Carefully align and attach the tabletop to the main structure.
- Apply Floor Protectors: Attach the 8 non-slip floor protectors to the bottom of the table legs to protect your flooring.

Image: A close-up view of the coffee table's side, showing the sliding barn door and the adjustable shelves within the open storage area.
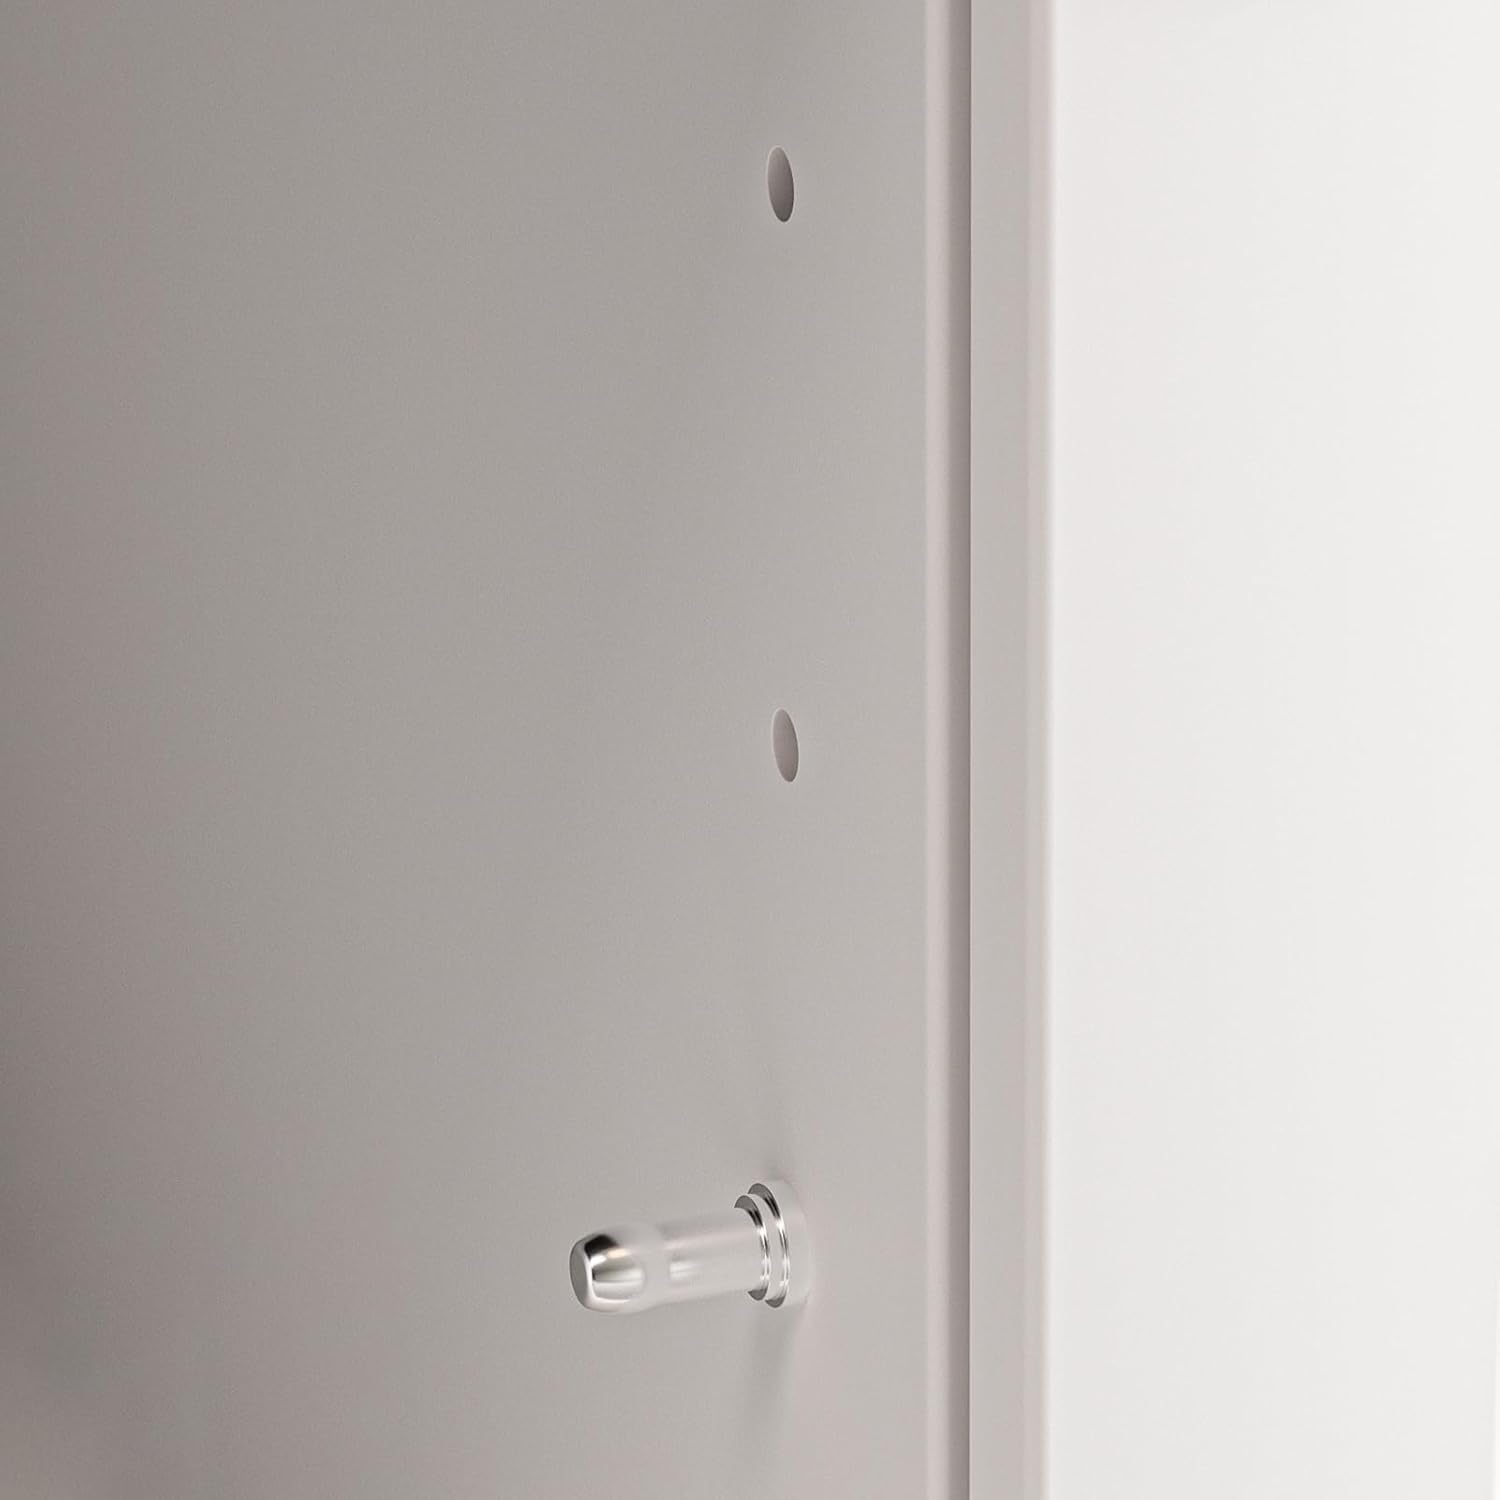
Image: A detailed view of an adjustable shelf pin inserted into a pre-drilled hole, illustrating the mechanism for shelf height adjustment.

Image: A close-up of the gas strut mechanism, which facilitates smooth and effortless lifting of the tabletop to access the hidden storage compartment.
Operating Instructions
Your coffee table offers multiple storage solutions and features for convenient use.
- Hidden Storage Access: To access the hidden compartment under the tabletop, gently lift the tabletop. The integrated gas struts will assist in a smooth, one-handed lift and hold the top open. To close, gently push the tabletop down until it latches securely.
- Sliding Barn Door Storage: The side compartment features a sliding barn door. Slide the door left or right to reveal or conceal the adjustable shelves.
- Adjustable Shelves: The shelves within the open and barn door compartments can be adjusted to three different heights. To adjust, remove the shelf, reposition the shelf pins to the desired height, and then place the shelf back on the pins.
- Cable Management: A rear cable port (2.5" diameter) is provided for organizing electronic device cords, keeping your living space tidy.
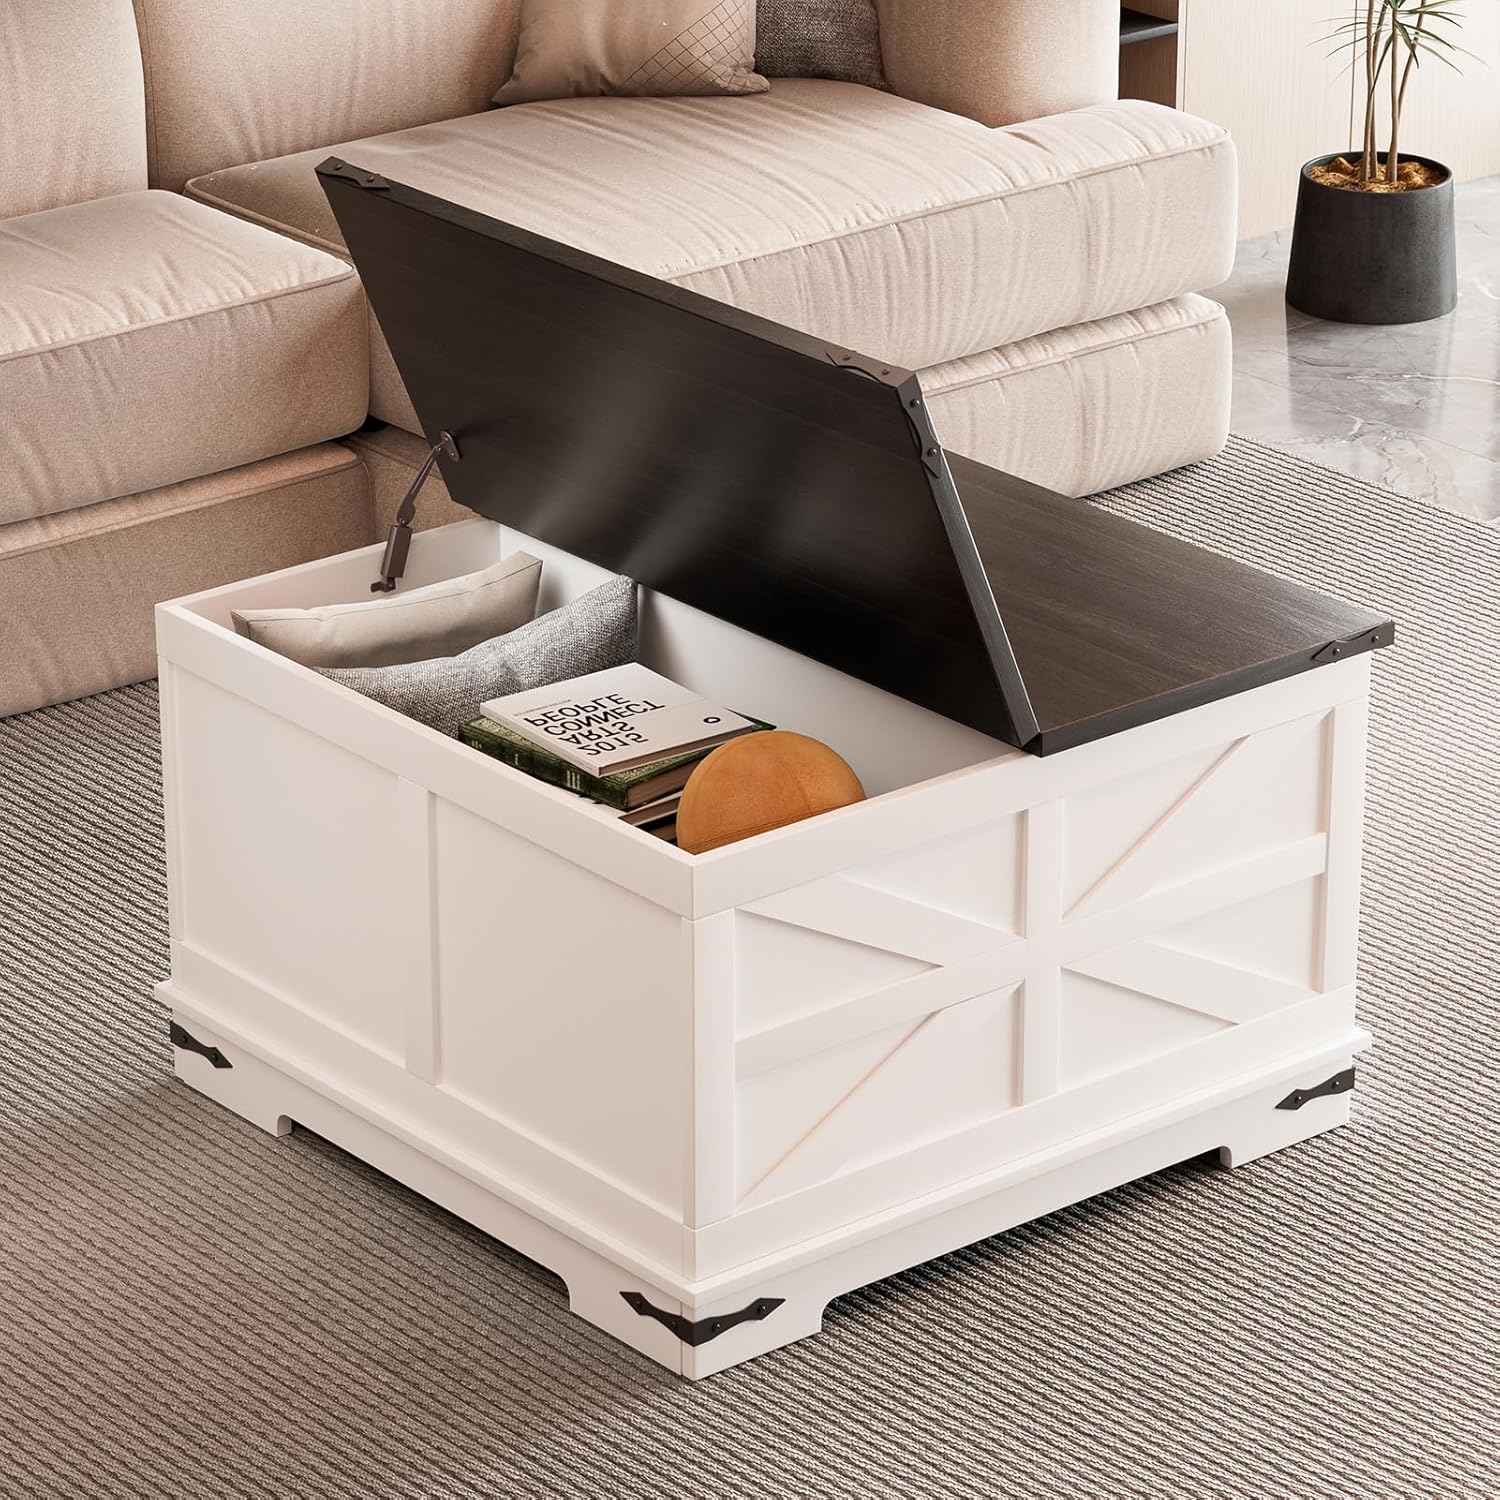
Image: The coffee table with its dark wood tabletop lifted, revealing a spacious hidden storage compartment underneath, suitable for blankets or board games.
Maintenance
Proper care will ensure the longevity and appearance of your coffee table.
- Cleaning: The spill-proof surface can be cleaned with a soft, damp cloth and pH-neutral cleaning solutions. Avoid abrasive cleaners or harsh chemicals, as these may damage the finish.
- Spills: Wipe up spills immediately to prevent staining or damage to the wood veneer.
- Hardware Check: Periodically check all screws and fasteners to ensure they remain tight. Re-tighten if necessary to maintain stability.
- Gas Struts: The gas struts are designed for long-term use (tested 10,000+ cycles). If you notice any issues with the lifting mechanism, contact customer support.
Troubleshooting
| Problem | Possible Cause | Solution |
|---|---|---|
| Table wobbles after assembly. | Loose fasteners or uneven floor. | Ensure all screws are tightened. Adjust non-slip floor protectors or place shims under legs if the floor is uneven. |
| Tabletop does not lift smoothly or stay open. | Gas struts not installed correctly or damaged. | Verify gas strut installation as per instructions. If damaged, contact customer support for replacement. |
| Sliding door sticks or is difficult to move. | Debris in the track or misaligned door. | Clean the sliding track. Check if the door is properly seated on the rail. |
| Scratches on the surface. | Sharp objects or abrasive cleaning. | Use coasters for drinks and avoid dragging objects across the surface. Use only soft cloths for cleaning. |
Specifications
- Model: B0F8MSBMBR
- Brand: Shulemin
- Material: CARB Phase certified particleboard core with 2mm scratch-resistant laminate
- Color: White (with dark wood top)
- Dimensions (L x W x H): 31.4 inches x 31.4 inches x 19.9 inches (80cm x 80cm x 50cm)
- Weight Capacity (Tabletop): 110 lbs (50 kg)
- Weight Capacity (Adjustable Shelf): 25 lbs per shelf
- Item Weight: 84.9 pounds
- Storage Depth (Hidden Compartment): 12.5 inches
- Cable Port Diameter: 2.5 inches
- Included Components: 1 x Coffee Table (disassembled), Assembly Hardware, 8 x Non-slip floor protectors

Image: A diagram illustrating the key dimensions of the coffee table: 31.4 inches in length, 31.4 inches in width, and 19.9 inches in height.
Warranty and Support
For warranty information, missing parts, or technical assistance, please contact Shulemin customer support through the retailer where the product was purchased. Please have your model number (B0F8MSBMBR) and purchase date available when contacting support.
Protection plans may be available for purchase separately. Refer to your purchase documentation for details.