1. Introduction
This manual provides detailed instructions for the setup, operation, and maintenance of your RECOTAC Sense Cellular Trail Camera. Please read this manual thoroughly before using the camera to ensure proper functionality and optimal performance.

Image: RECOTAC Sense Cellular Trail Camera, front view.
2. What's in the Box
Verify that all components are present in the package:
- Camera & Antenna
- Installation Strap
- Instruction Manual
- Quick Start Guide
- SIM Card (pre-installed)
Video: Unboxing of the RECOTAC Sense Camera, showing all included components.
3. Product Overview
Familiarize yourself with the key components of your RECOTAC Sense Cellular Trail Camera.
3.1 External Components

Image: Diagram illustrating the external parts of the camera, including the antenna connector, IR LEDs, lens, light sensor, PIR sensor, and latch.
- Antenna Connector: For attaching the external antenna.
- IR LEDs: 54pcs 940nm no-glow infrared LEDs for night vision.
- Lens: Captures images and videos.
- Light Sensor: Detects ambient light levels to switch between day and night modes.
- PIR Sensor: Passive Infrared sensor for motion detection.
- Latch: Secures the camera housing.
- 1/4" Nut Hole: For mounting the camera on a tripod or other accessories.
- Microphone: Records audio with video.
3.2 Internal Components and Ports

Image: Diagram illustrating the internal components and ports of the camera, including the SD card slot, power switch, test button, and battery compartment.
- SD Card Slot: For inserting a Micro SD card (up to 512GB, not included).
- SIM Card Slot: The SIM card is pre-installed.
- Power Switch: Three positions: ON, SETUP, OFF.
- Test Button: Used to take a test photo and verify app connectivity.
- Format Button: For formatting the inserted SD card.
- Battery Compartment: Holds 8 AA batteries.
- Indicator Lights: Provide status for mode, battery, SD card, signal, and account.
- QR Code: For adding the camera to the mobile application.

Image: Diagram showing the USB-C port (for data transfer only) and DC power supply port.
- USB-C Port: For data transfer purposes only.
- DC Power Supply: For connecting an external power source, such as a solar panel (not included).
- Reset Hole: For factory reset.
4. Setup Guide
4.1 Battery Installation
- Open the camera latch.
- Insert 8 AA batteries into the battery compartment. Ensure correct alignment of positive (+) and negative (-) poles. For optimal performance, use Duracell Max alkaline or Rayovac UltraPro alkaline batteries.
- Close the camera latch securely.
4.2 SD Card Installation
- With the camera latch open, locate the SD card slot.
- Insert a Micro SD card (up to 512GB, not included) into the slot until it clicks into place.
4.3 Antenna Installation
- Screw the provided antenna onto the antenna connector at the top of the camera.
- Ensure it is finger-tight for a secure connection.
4.4 Mobile Application Setup
- Download the "RecoTac" app from your smartphone's app store (Android or iOS).
- Open the app and create an account. Follow the on-screen prompts for registration, including email verification.
- Once logged in, click "Add a camera".
- Scan the QR code located inside the camera's battery compartment to link your camera to your account.
- Give your camera a name and confirm.
5. Operation
5.1 Powering On and Mode Selection
The camera has three power switch positions:
- OFF: Camera is powered off.
- SETUP: Allows access to camera settings and testing.
- ON: Camera is fully operational and will capture photos/videos based on settings.
To begin setup, switch the power to the "SETUP" position. Observe the indicator lights for status.
5.2 Formatting the SD Card
It is recommended to format the SD card before first use and periodically thereafter.
- With the camera in "SETUP" mode, press and hold the "SD Format" button until the SD indicator light flashes yellow.
- Release the button. The light will turn solid green once formatting is complete.
5.3 Taking a Test Photo/Video
To verify camera functionality and app connectivity:
- Ensure the camera is in "SETUP" mode.
- Press the "Test" button. The camera will capture a photo.
- Check the indicator light under the Mode section. It will flash green while the photo is being sent to the app and will stay solid once the upload is complete.
- Open the RecoTac app on your phone. Navigate to the "Cloud" or "Gallery" section to confirm the photo was captured and stored. If the photo appears, your camera is working correctly.
Tip: If the indicator flashes cyan rapidly, the photo might not have been sent due to a weak signal or a card error. Check the network signal or format the card.
5.4 Switching to ON Mode
After completing setup and testing, switch the power switch to the "ON" position to begin automatic capturing based on your configured settings.

Image: Screenshot of the RecoTac app showing the "Capture Now" option for instant live preview.
6. Specifications
| Feature | Detail |
|---|---|
| Model Name | Sense |
| Model Number | SYRA0001-BN-US |
| Effective Still Resolution | 32 MP |
| Video Capture Resolution | 1296p |
| Connectivity Technology | Wireless (Cellular) |
| Connectivity Protocol | Cellular |
| Power Source | Battery Powered (8 AA) or Solar Powered (solar panel not included) |
| Night Vision Range | 100 Feet (54pcs 940nm No-Glow IR LEDs) |
| Trigger Speed | 0.2 seconds |
| Water Resistance Level | IP66 (Waterproof) |
| Flash Memory Type | SD (up to 512 GB supported) |
| Operating Temperature Range | -13°F to +140°F (-25°C to +60°C) |
| Dimensions (L x W x H) | 5.11 x 3.74 x 3.15 inches |
| Item Weight | 1.03 pounds |
| Material | Acrylonitrile Butadiene Styrene (ABS), Plastic |

Image: The camera is designed to withstand various weather conditions, including rain and snow, with an IP66 rating.
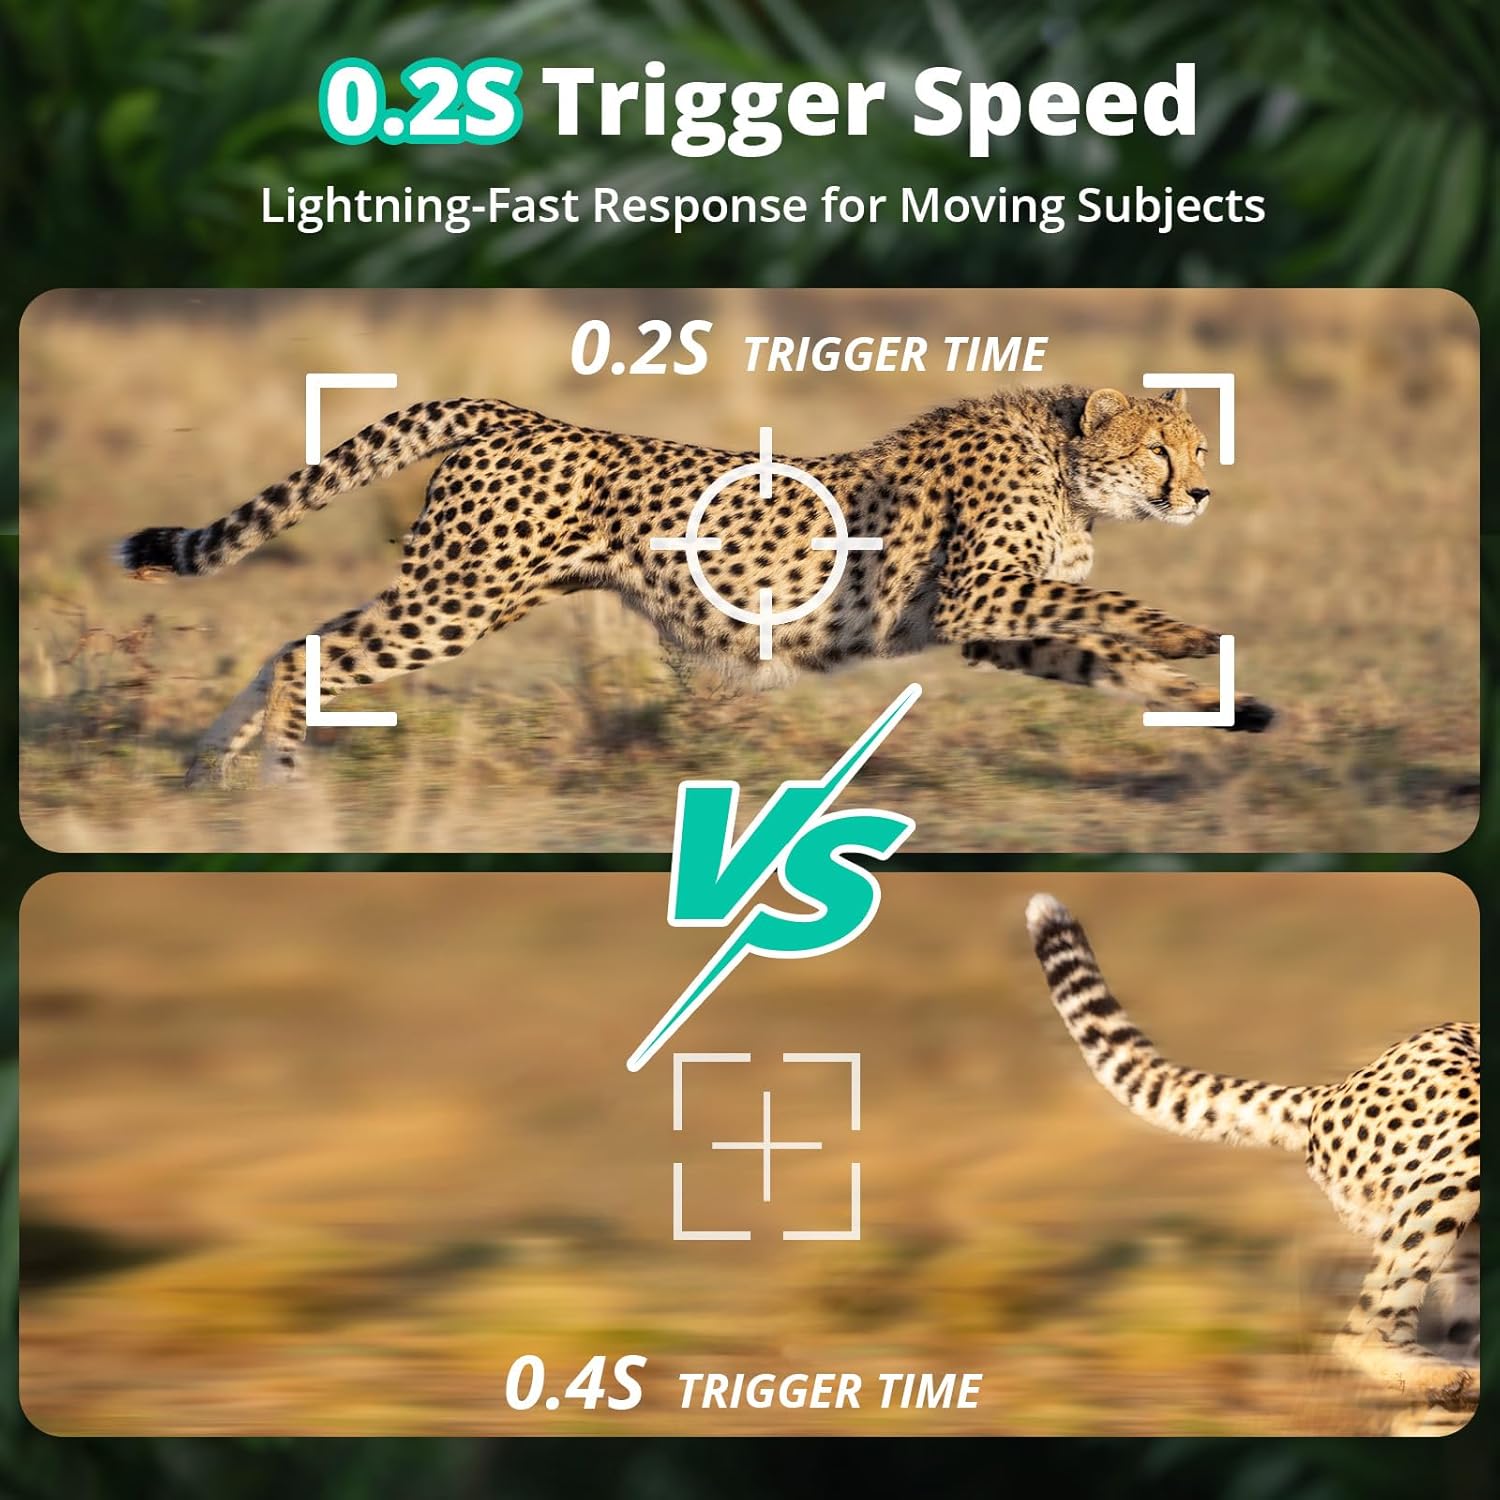
Image: Comparison showing the camera's fast 0.2-second trigger speed for capturing moving subjects.
7. Maintenance
- Cleaning: Use a soft, dry cloth to clean the camera lens and housing. Avoid abrasive cleaners.
- Battery Life: The camera operates on 8 AA batteries. Battery life varies based on usage, temperature, and battery quality. Consider using a compatible solar panel (not included) for extended operation.
- SD Card: Regularly check the SD card for available space and format it periodically to maintain optimal performance.
- Firmware Updates: Check the RecoTac app for any available firmware updates to ensure your camera has the latest features and improvements.
8. Troubleshooting
- Camera not powering on:
- Ensure batteries are inserted correctly with proper polarity.
- Check if batteries are fully charged.
- Verify the power switch is in the "ON" or "SETUP" position.
- No photos/videos captured:
- Check if the SD card is inserted correctly and has sufficient space.
- Format the SD card.
- Ensure the camera is in "ON" mode.
- Verify PIR sensor sensitivity settings in the app.
- Photos/videos not appearing in the app:
- Check cellular signal strength (indicator lights).
- Ensure your data plan is active and has available data.
- Confirm the camera is properly linked to your account in the app.
- If the indicator flashes cyan rapidly, check network signal or format the SD card.
- Poor night vision quality:
- Ensure the IR LEDs are not obstructed.
- Check battery level, as low power can affect IR performance.
9. Warranty and Support
For warranty information and technical support, please refer to the official RECOTAC website or contact customer service through the RecoTac application.