
FUNPOLA FPL-MC01-White
FUNPOLA LED 3D Moon City Model Puzzle Instruction Manual
Model: FPL-MC01-White | Brand: FUNPOLA
1. Important Safety Information
WARNING: CHOKING HAZARD - Small parts. Not suitable for children under 3 years. This product contains small components that may pose a choking risk if swallowed. Adult supervision is recommended during assembly, especially for users under the manufacturer's recommended age of 12 years.
2. Package Contents
Verify that all components are present before beginning assembly.
- Precision-cut wooden puzzle sheets (85 pieces)
- LED light strip
- Control switch for LED lights
- Clear acrylic panels
- Instruction manual
- Small tools (e.g., sandpaper, small adhesive if required, though typically no glue is needed)
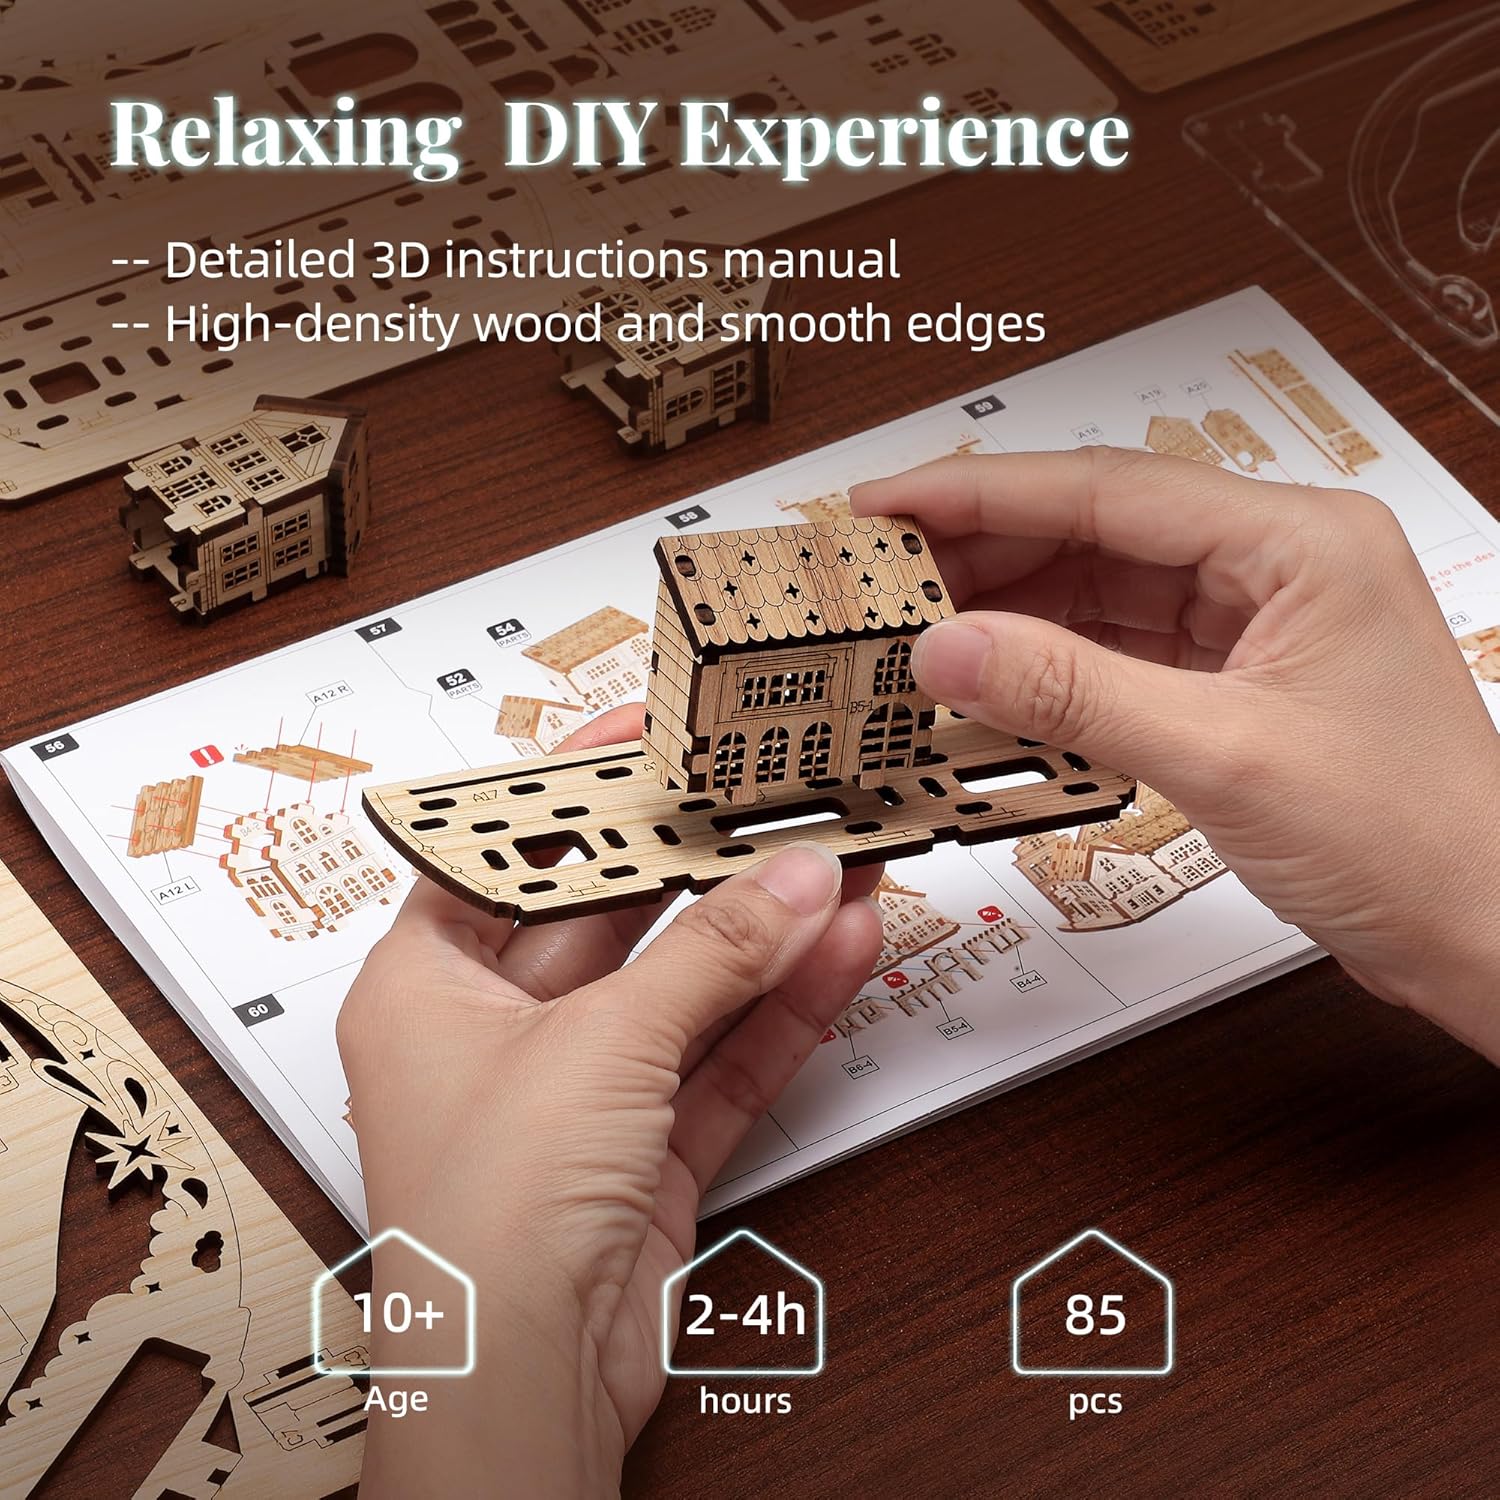
Image: All components included in the puzzle kit, laid out for inspection.
3. Assembly Instructions
Follow these step-by-step instructions to assemble your FUNPOLA LED 3D Moon City Model Puzzle. No glue is typically required, as pieces are designed for a snug fit. If any pieces are too tight, gently sand the edges to prevent breakage.
3.1. Preparation
- Carefully remove all pieces from the wooden sheets. Refer to the included diagram for part identification.
- Organize pieces by type or number to facilitate assembly.
- Ensure you have a clean, flat workspace.

Image: Preparing for assembly by detaching pieces from the wooden sheets.
3.2. Base Assembly
Begin by assembling the base structure. Pay close attention to the orientation of each piece, ensuring that any open slots or specific engravings face the correct direction as indicated in the manual.
Video: Detailed steps for assembling the base of the Moon City Model, including placement of wooden components and LED strip.
Tip: If pieces fit too tightly, use the provided sandpaper to gently smooth the edges until they slide together without excessive force. This prevents damage to the delicate wooden parts.
3.3. Integrating LED Lighting
Carefully place the LED light strip within the designated channels in the base and moon structure. Ensure the strip is securely adhered and positioned to illuminate the model evenly. Connect the LED strip to the control switch as per the diagram.

Image: The LED lights integrated into the model, creating a warm ambiance.
3.4. Constructing the Moon and Cityscape
Assemble the crescent moon structure and the miniature cityscape components. These pieces interlock to form the detailed scene. The clear acrylic panels are placed to create depth and hold the star elements.

Image: Detailed view of the cityscape and moon elements during assembly.
Video: A quick overview of the assembly process for the Moon City Model, highlighting key steps.
4. Operating Instructions
The FUNPOLA LED 3D Moon City Model features integrated LED lighting with intuitive controls.
- Power On/Off: Tap the control switch to turn the LED lights on or off.
- Adjust Brightness: Hold the control switch to seamlessly adjust the brightness levels of the LED lights. Release when the desired brightness is achieved.

Image: Demonstrating the touch control for the LED lighting.
5. Maintenance
To ensure the longevity and appearance of your FUNPOLA LED 3D Moon City Model:
- Cleaning: Gently dust the model with a soft, dry cloth. Avoid using liquid cleaners or abrasive materials, as these can damage the wood and acrylic.
- Storage: If disassembling for storage, do so carefully to avoid breaking delicate pieces. Store in a dry place away from direct sunlight and extreme temperatures.
- Handling: Handle the assembled model with care to prevent accidental breakage of small components.
6. Troubleshooting
| Problem | Possible Cause | Solution |
|---|---|---|
| Pieces do not fit together easily. | Manufacturing tolerance; slight variations in wood thickness. | Gently sand the edges of the interlocking tabs or slots with the provided sandpaper until they fit smoothly. Do not force pieces. |
| LED lights are not turning on. | Loose connection, power source issue, or faulty LED strip/switch. |
|
| LED lights are flickering or dim. | Unstable power supply or loose connection. |
|
7. Specifications
- Model Number: FPL-MC01-White
- Product Dimensions: 6.14 x 4.33 x 0.04 inches (assembled dimensions may vary slightly)
- Item Weight: 2.35 pounds
- Material: 3-ply wood, acrylic, metal (for LED components)
- Number of Pieces: 85
- Recommended Age: 12 years and up
- Assembly Time: Approximately 3-4 hours
- Lighting: Integrated Dimmable LED

Image: Visual representation of product specifications.
8. Warranty and Support
For warranty information or technical support, please refer to the contact details provided on the product packaging or visit the official FUNPOLA website. Keep your purchase receipt as proof of purchase.
Ask a question about this manual
Ask about setup, troubleshooting, compatibility, parts, safety, or missing instructions. Manuals+ will review the question and use this page’s manual context to help answer it.