
Important Safety Instructions
Please read all instructions carefully before operating this appliance to ensure safe and efficient use. Retain this manual for future reference.
- Ensure the ice maker is connected to a properly grounded electrical outlet (115V/60Hz).
- Do not immerse the power cord, plug, or any part of the appliance in water or other liquids.
- Unplug the appliance from the outlet before cleaning, servicing, or when not in use.
- Do not operate any appliance with a damaged cord or plug, or after the appliance malfunctions or has been damaged in any manner.
- Place the ice maker on a flat, stable surface, away from direct sunlight and heat sources. Ensure adequate ventilation around the unit.
- Use only potable water in the ice maker.
- Keep children away from the appliance.
- Do not use abrasive cleaners or sharp objects to clean the ice maker.
Product Overview
The HUSHHAAMPP ZOKOP HZB-18F is a portable ice maker designed for household use, suitable for various settings including kitchens, offices, bars, and coffee shops. It features a stainless steel exterior and a user-friendly control panel.
Components
The unit includes the main ice maker, a removable ice storage basket, and an ice scoop for convenient ice retrieval.
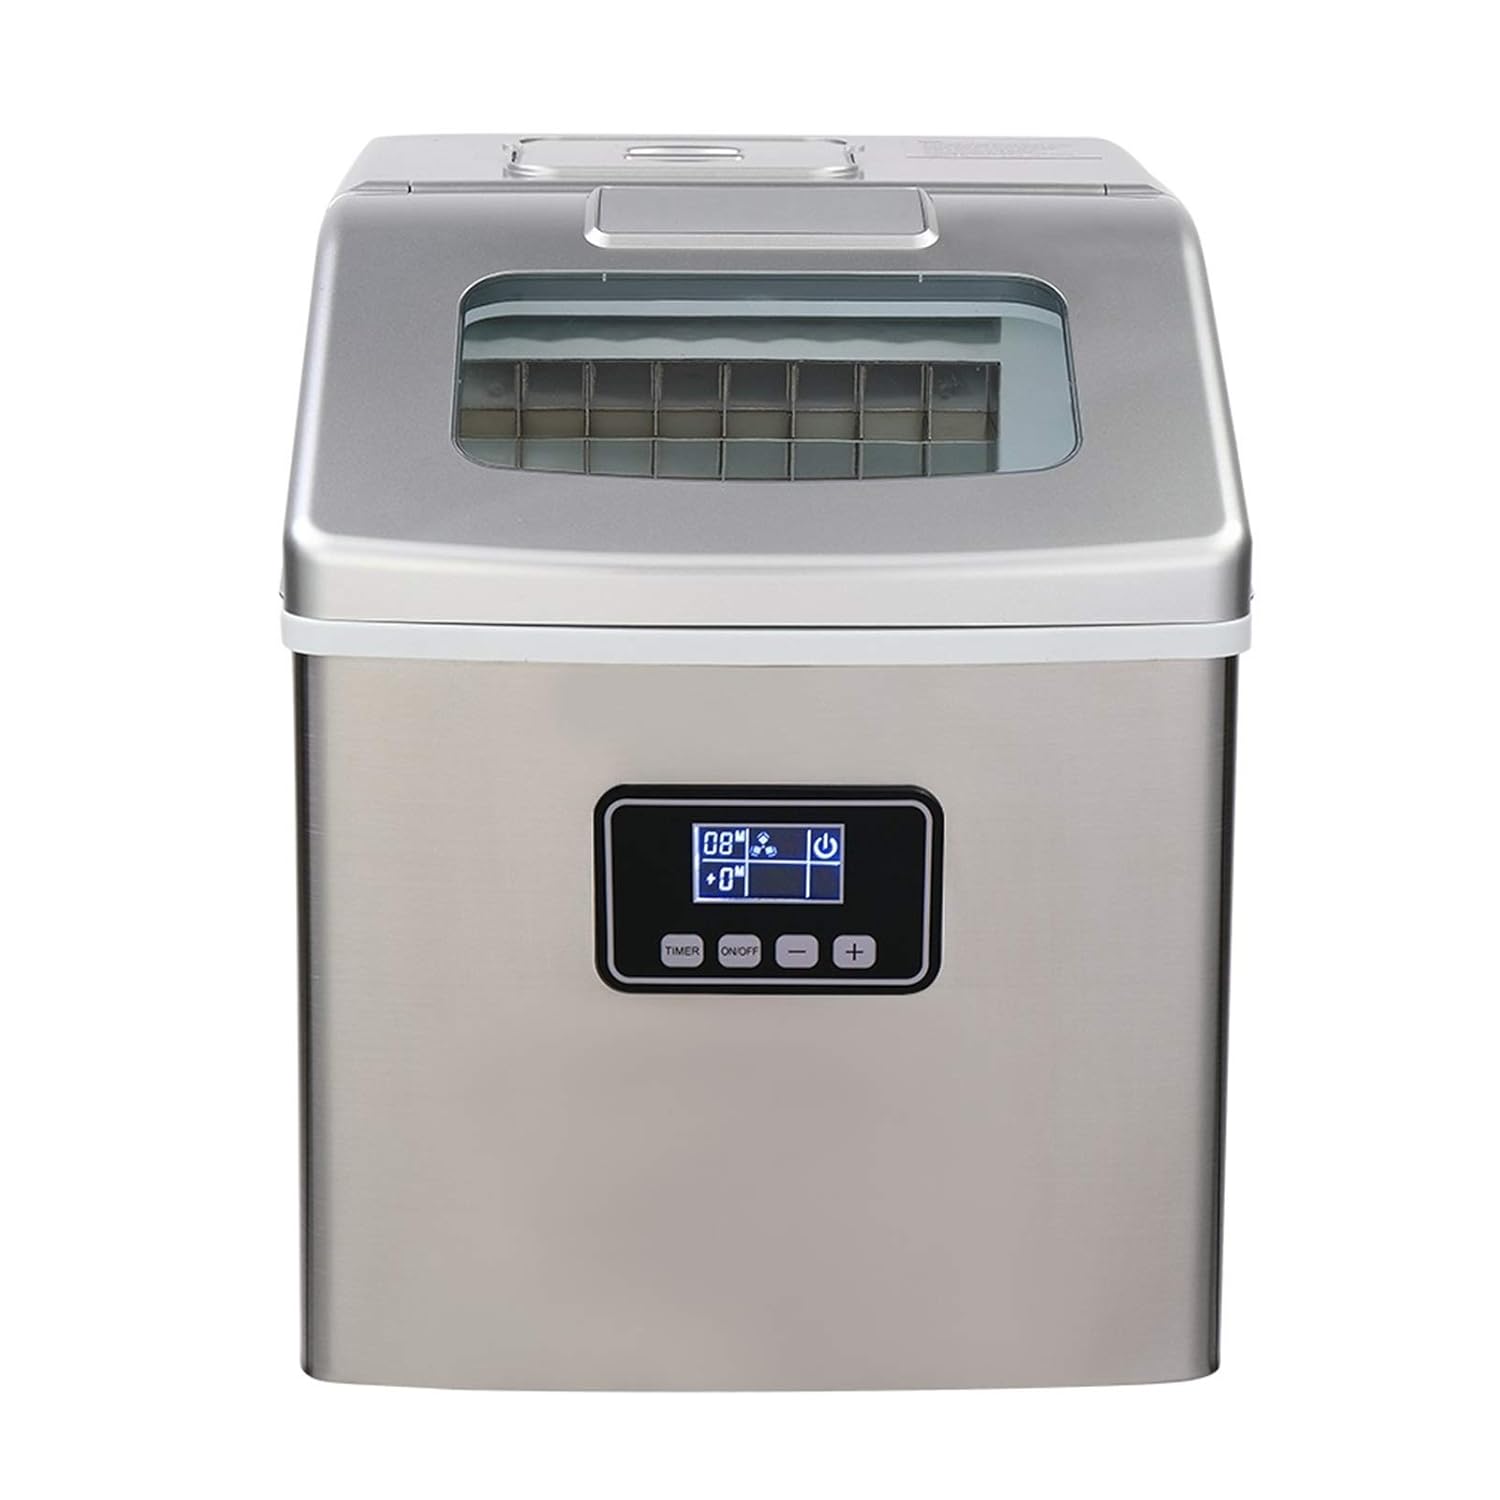
Image: Front view of the HUSHHAAMPP ZOKOP HZB-18F Portable Ice Maker, showcasing its stainless steel finish and digital control panel.
Features
- High Capacity: Produces up to 40 lbs (18 kg) of ice per 24 hours.
- Ice Storage: Removable ice basket holds up to 2.87 lbs (1.3 kg) of ice.
- Quick Ice Production: Makes ice in 13-25 minutes per cycle.
- Compact Design: Unit size of 11.42" x 14.17" x 13.78" for easy placement.
- User-Friendly Controls: Intuitive digital display and buttons.

Image: Visual representation of the ice maker's dimensions (11.42" width, 14.17" depth, 13.78" height) and examples of suitable environments such as restaurants, bars, and coffee shops.

Image: Illustrates the versatility of the ice maker, showing ice used for cool beverages, keeping food cold, first aid, and fruit smoothies.
Setup
Unpacking
- Carefully remove all packaging materials, including tape and labels.
- Check for any damage during transit. If damage is found, do not operate the unit and contact customer support.
- Ensure all accessories (ice basket, ice scoop, manual) are present.
Placement
- Place the ice maker on a level, stable surface.
- Allow the unit to stand upright for at least 24 hours before plugging it in. This allows the refrigerant to settle.
- Ensure there is at least 5 inches (12.7 cm) of space around the unit for proper air circulation.
- Avoid placing the unit near heat sources or in direct sunlight.
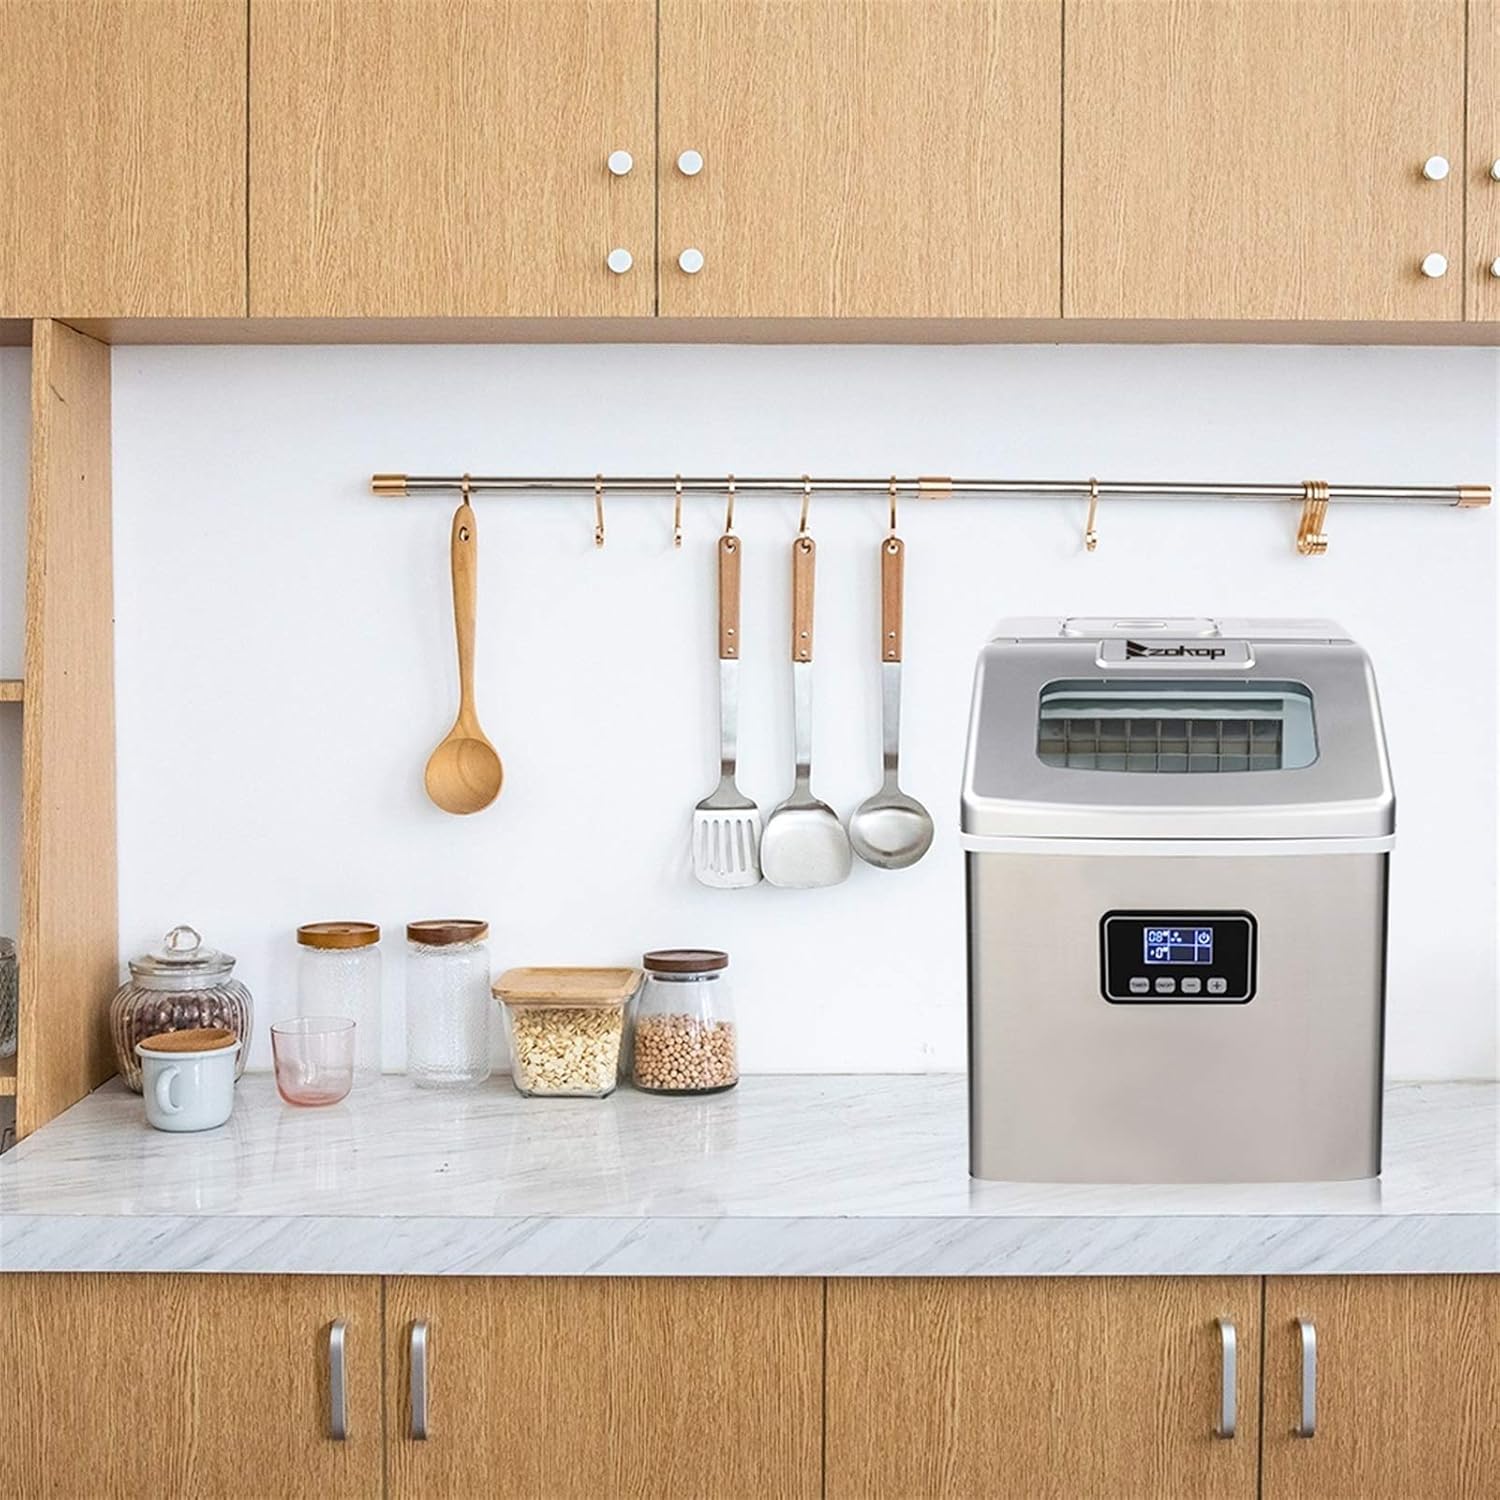
Image: The ice maker positioned on a kitchen countertop, demonstrating a typical placement scenario.
Operation
Control Panel

Image: Detailed diagram of the control panel, indicating the function of each button and display icon.
- ON/OFF Button: Press to turn the unit on or off.
- TIMER Button: Used to set a timer for operation. Press and hold for 5 seconds to initiate the cleaning cycle.
- '+' and '-' Buttons: Adjust ice-making time (thickness) or timer settings.
- Display Icons:
- M: Ice-making time.
- F: Ambient temperature.
- ROTATE: Indicates ice making in progress.
- FLASH: Indicates de-icing process.
- ON/OFF Indicator: Shows power status.
- E1/E2: Error codes.
- Ice Full Alarm: Illuminates when the ice basket is full.
- Water Shortage: Illuminates when the water reservoir needs refilling.
First Use
- Clean the ice maker thoroughly before first use (refer to the Maintenance section).
- Ensure the drain plug is securely closed.
- Fill the water reservoir with potable water up to the MAX fill line. Do not overfill.
- Plug the power cord into a grounded electrical outlet.
Making Ice

Image: Illustrates the simple three-step operation: adding purified water, pressing the ON/OFF button, and collecting ice with the scoop after 10-15 minutes.
- After initial setup, press the 'ON/OFF' button to start the ice-making cycle.
- The unit will automatically begin making ice. The first few cycles may produce smaller or irregular ice cubes.
- Ice cubes will be ready in approximately 13-25 minutes, depending on ambient temperature and water temperature.
- When the ice basket is full, the 'Ice Full' indicator will illuminate, and the unit will pause. Remove ice to resume operation.
- When the water level is low, the 'Water Shortage' indicator will illuminate. Add more water to the reservoir to continue ice production.
- Use the '+' and '-' buttons to adjust the ice-making time, which affects the thickness of the ice cubes.

Image: Highlights key performance figures: 40 lbs of ice per day, enough for 130 glasses of cold drinks, 24 ice cubes per cycle, and a cycle time of 13-20 minutes.
Maintenance
Cleaning
- Regular Cleaning: For optimal performance and hygiene, clean the ice maker regularly, especially if not used for extended periods.
- Internal Cleaning: Press and hold the 'TIMER' button for 5 seconds to activate the self-cleaning function. Follow the instructions in the display.
- Water Reservoir: Drain any remaining water by opening the drain plug at the bottom of the unit. Clean the reservoir with a soft cloth and mild detergent, then rinse thoroughly.
- Ice Basket and Scoop: Wash with warm, soapy water, rinse, and dry completely.
- Exterior: Wipe the exterior with a soft, damp cloth. Do not use harsh chemicals or abrasive cleaners.
Storage
If the ice maker will not be used for an extended period, drain all water from the reservoir, clean the unit, and ensure it is completely dry. Store it in a cool, dry place, away from direct sunlight and extreme temperatures.
Troubleshooting
Before contacting customer support, please refer to the following table for common issues and solutions.
| Problem | Possible Cause | Solution |
|---|---|---|
| Ice maker not producing ice. | No water in reservoir; power issue; ambient temperature too high. | Fill water reservoir; check power connection; ensure proper ventilation. |
| 'Water Shortage' indicator on. | Water level is too low. | Add potable water to the reservoir up to the MAX fill line. |
| 'Ice Full' indicator on. | Ice basket is full. | Remove ice from the basket. |
| E1/E2 Error Code. | Internal malfunction or sensor issue. | Unplug the unit for 10 minutes, then plug back in. If error persists, contact customer support. |
| Ice cubes are small or irregular. | First few cycles; water temperature too high; ambient temperature too high. | This is normal for initial cycles. Use colder water. Ensure proper ventilation. Adjust ice thickness setting. |
Specifications
| Feature | Detail |
|---|---|
| Model | HZB-18F |
| Ice Making Power | 120W |
| Power Supply | 115V / 60Hz |
| Ice Making Capacity | 40 lbs / 24H (18 KG / 24H) |
| Ice Storage Capacity | 2.87 lbs (1.3 KG) / 160 ice cubes |
| Ice Shape | Cube (0.9" x 0.9" x 0.9") |
| Refrigerant | R600a |
| Foaming Agent | C5H10 |
| Unit Dimensions (W x D x H) | 11.42" x 14.17" x 13.78" |
| Ice Production Time | 13-25 minutes per cycle |
| Certification | ETL Listed |
| UPC | 765467768503 |
Warranty and Support
This product is covered by a manufacturer's warranty. Please refer to the warranty card included with your purchase for specific terms and conditions. For technical assistance, troubleshooting beyond this manual, or to inquire about warranty claims, please contact the manufacturer's customer support.
Keep your purchase receipt and model number (HZB-18F) handy when contacting support.