Product Overview
The OTOTEC 16-Pin Car Radio Stereo Wiring Harness Adapter is designed to simplify the installation of aftermarket car stereos by providing a direct plug-and-play connection to compatible Pioneer radio models. This adapter ensures proper electrical connections for power, ground, and speaker outputs, facilitating a seamless integration with your vehicle's existing wiring system.

Image: The OTOTEC 16-Pin Car Radio Stereo Wiring Harness Adapter, showing the 16-pin connector and individual color-coded wires with red spade connectors.
Key Features:
- 16-Pin Connector: Standardized connector for broad compatibility with various car models and aftermarket Pioneer stereos.
- Pre-wired Connections: Color-coded wires simplify identification and connection to the vehicle's electrical system.
- Durable Construction: Designed for reliable and long-lasting performance in automotive environments.
Compatibility
This wiring harness is compatible with a wide range of Pioneer radio stereo models. Please verify your specific model against the list below to ensure proper fitment.
Compatible Pioneer Radio Stereo Models:
- AVH Series: AVH-3300 NEX, AVH-4100NEX, AVH-4200NEX, AVH4000NEX, AVH-2300NEX, AVH-X5700BHS, AVH-2500NEX, AVH-1400NEX, AVH-X1700S, AVH-X2700BS, AVH-X3700BHS, AVH-X4700BS, AVH-X6700DVD, AVH-X7700DVD
- AVIC Series: AVIC-6100NEX
- MVH Series: MVH-X370BT
- FH Series: FH-X720BT, FH-X721BT, FH-X820BS, FH-X520UI
- DEH Series: DEH-2200UB, DEH-1300MP, DEH-P4300UB, DEH-3200UB, DEH-P4200UB, DEH-15MP, DEH-15UB, DEH-2500UI, DEH-4500BT, DEH-X16UB, DEH-X3500UI, DEH-X35UI, DEH-X55HD, DEH-X5500HD, DEH-X6500BT, DEH-X65BT, DEH-80PRS, DEH-P7400HD, DEH-8400BH, DEH-9400BH, DEH-X3700S, DEH-X3700UI, DEH-X5700HD
- Other Models: CDP1665M, SPHDA120, CDP1480, CDP1484, QDP3013
Note: This harness is primarily designed for audio decks. For video decks requiring parking brake signals or reverse camera inputs, additional wiring may be necessary and is not provided by this harness. Please consult your stereo's manual for specific wiring requirements.
Setup and Installation
Proper installation of the wiring harness is crucial for the correct functioning of your car stereo. If you are unsure about any steps, it is recommended to seek professional assistance.
Safety Precautions:
- Always disconnect the vehicle's negative battery terminal before beginning any electrical work to prevent short circuits and electrical shock.
- Ensure all connections are secure and properly insulated to prevent shorts.
- Refer to your vehicle's service manual and your new stereo's installation guide for specific instructions.
Installation Steps:
- Remove Existing Stereo: Carefully remove your vehicle's factory or old aftermarket stereo from the dashboard. This usually involves removing trim panels and unscrewing mounting brackets.
- Identify Vehicle Wiring: Locate the factory wiring harness connector in your vehicle's dashboard.
- Connect Harness to Stereo: Plug the 16-pin connector of the OTOTEC wiring harness into the corresponding port on the back of your new Pioneer aftermarket stereo. Ensure it clicks securely into place.
- Match Wires: Connect the individual color-coded wires from the OTOTEC harness to the corresponding wires of your vehicle's factory wiring harness. Use appropriate crimp connectors or solder and heat shrink tubing for secure and insulated connections. Refer to the wiring diagram provided with your new stereo and your vehicle's service manual for accurate wire identification.

Image: A close-up view of the 16-pin connector and the individual color-coded wires, each terminated with a red spade connector, ready for connection.
- Common Wire Functions (may vary, consult diagrams):
- Yellow: Constant Power (12V+)
- Red: Switched/Accessory Power (12V+)
- Black: Ground
- Orange/White: Illumination/Dimmer
- Blue: Power Antenna/Remote Turn-on
- Green/Purple/White/Gray (with stripes): Speaker Wires (e.g., Green/Green-Black for Left Rear Speaker)
- Test Connections: Before fully reassembling the dashboard, reconnect the vehicle's negative battery terminal. Turn on the vehicle and test the stereo's functionality (power, sound from all speakers, radio, etc.).
- Secure and Reassemble: Once all functions are verified, secure any loose wiring, mount the new stereo, and reassemble the dashboard trim panels.

Image: An aftermarket car stereo installed in a vehicle dashboard, demonstrating the final appearance after the wiring harness has been connected and the stereo mounted.
Operating Instructions
The OTOTEC 16-Pin Car Radio Stereo Wiring Harness Adapter is a passive component that facilitates the electrical connection between your vehicle and your aftermarket Pioneer stereo. Once correctly installed, its operation is integrated with the stereo itself.
- Power On/Off: The harness ensures your stereo receives constant and switched power. The stereo will power on and off with your vehicle's ignition, or as controlled by the stereo's power button, depending on its design.
- Audio Output: Speaker wires connected via the harness will transmit audio signals from the stereo to your vehicle's speakers.
- Illumination: If connected, the illumination wire will allow your stereo's lighting to dim or brighten in sync with your vehicle's dashboard lights.
For detailed operating instructions of your Pioneer car stereo, please refer to the specific user manual provided with your stereo unit.
Maintenance
The wiring harness requires minimal maintenance once installed correctly. However, periodic checks can help ensure long-term reliability.
- Secure Connections: Periodically, if accessible, check that all wire connections (crimps, solder joints) are secure and free from corrosion.
- Cable Integrity: Ensure the harness wires are not pinched, cut, or exposed to excessive heat or moisture, which could lead to damage.
- Cleanliness: Keep the area around the stereo and wiring free from dust and debris.
Avoid pulling on the wires or connectors forcefully, as this can damage the harness or the stereo's port.
Troubleshooting
If you encounter issues after installing the wiring harness, consider the following troubleshooting steps:
Common Issues and Solutions:
- No Power to Stereo:
- Check the vehicle's fuse box for blown fuses related to the radio or accessory power.
- Verify that the yellow (constant power) and red (switched power) wires from the harness are correctly connected to their respective power sources and receiving 12V.
- Ensure the black (ground) wire is securely connected to a good chassis ground point.
- No Sound from Speakers:
- Confirm that all speaker wires (e.g., green, purple, white, gray pairs) are correctly matched and securely connected to the vehicle's speaker wires.
- Check the stereo's settings to ensure the balance and fader are centered and not muted.
- Verify that the amplifier remote turn-on wire (if applicable, usually blue) is connected if an external amplifier is used.
- Stereo Does Not Turn Off with Ignition:
- Ensure the red (switched accessory power) wire is connected to a power source that turns on and off with the ignition.
- Some vehicles may require a fuse tap or alternative accessory wire location if the factory harness does not provide a suitable switched power source.
- Specific Functions (e.g., Parking Brake, Reverse Camera) Not Working:
- As noted in the compatibility section, this harness is primarily for audio decks. It may not include dedicated wires for parking brake signals or reverse camera triggers.
- For these functions, additional wiring specific to your stereo and vehicle may be required. Consult your stereo's installation manual for details on these connections.
If problems persist after following these steps, it is advisable to consult a professional car audio installer or the manufacturer of your Pioneer stereo.
Specifications
| Feature | Detail |
|---|---|
| Connector Type | 16-Pin Male Connector |
| Wire Length | Approximately 150mm (5.90 inches) excluding plug |
| Compatibility | Pioneer DEH, AVH, AVIC, MVH, FH, SPH series car stereos (refer to full list) |
| Material | Copper wire, PVC insulation |
| Package Dimensions | 4.61 x 2.91 x 0.67 inches |
| Item Weight | 0.704 ounces |
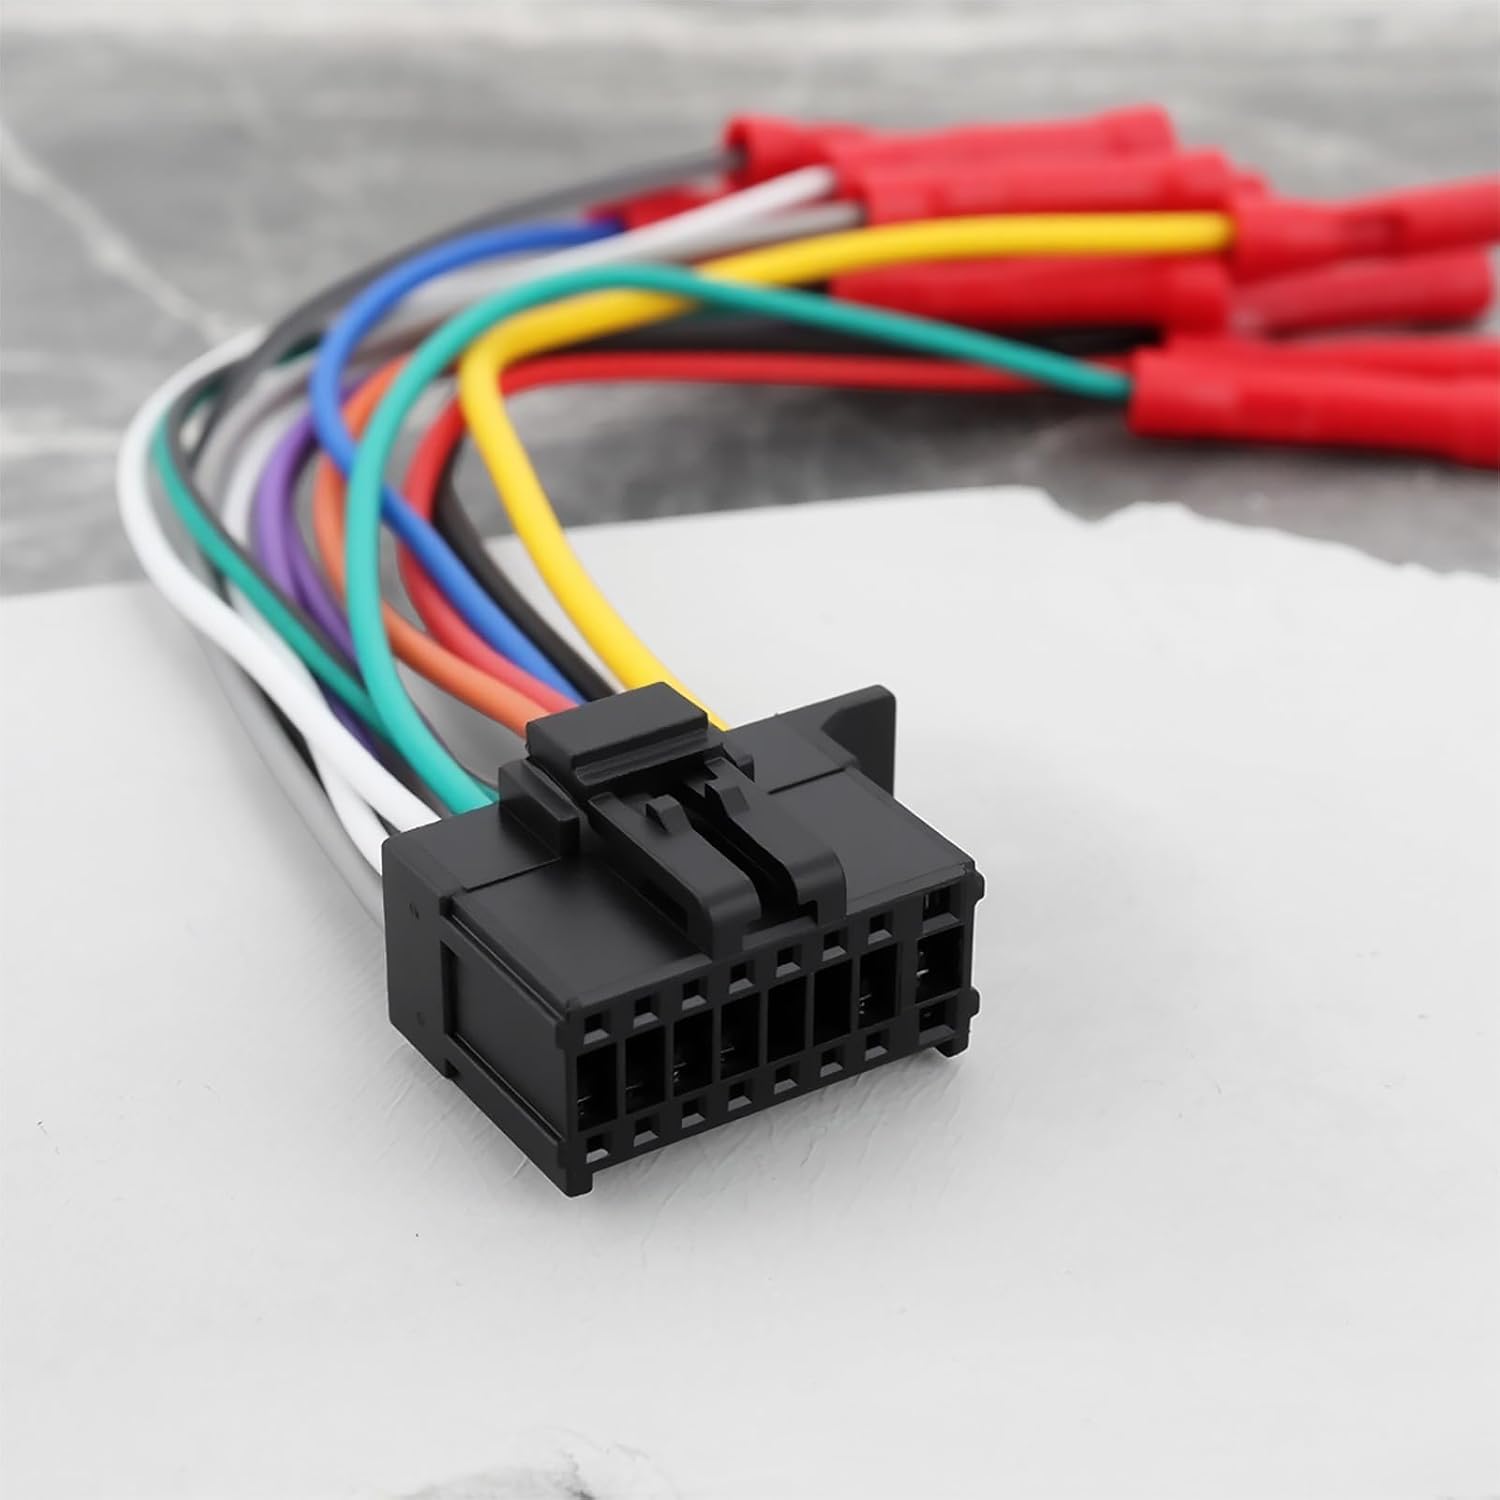
Image: The wiring harness with a text overlay indicating its wire length is 150mm (5.90 inches) excluding the plug.
Warranty Information
Specific warranty details for the OTOTEC 16-Pin Car Radio Stereo Wiring Harness Adapter are typically provided by the retailer or manufacturer at the time of purchase. Please retain your proof of purchase for any warranty claims.
Generally, wiring harnesses are covered against manufacturing defects for a limited period. Damage resulting from improper installation, misuse, or modification is usually not covered under warranty.
For precise warranty terms and conditions, please refer to the documentation included with your purchase or contact the seller directly.
Customer Support
If you require further assistance with the installation, troubleshooting, or have questions regarding the OTOTEC 16-Pin Car Radio Stereo Wiring Harness Adapter, please contact your point of purchase or the OTOTEC customer support team.
When contacting support, please be prepared to provide the product's ASIN (B0F8HFXLKL) and a detailed description of the issue you are experiencing.
For the most up-to-date contact information, please visit the official OTOTEC website or the retailer's support page where the product was purchased.