Geylnxng Q5 mate
Wireless Mini Projector User Manual
Model: Q5 mate
Brand: Geylnxng
Introduction
Thank you for purchasing the Geylnxng Q5 mate Wireless Mini Projector. This portable projector is designed to provide a versatile and immersive viewing experience, supporting 4K and 1080P resolution with advanced WiFi 6 and 5G connectivity. Its 180° rotatable design allows for flexible projection from 17 to 130 inches, making it ideal for home theater, parties, and presentations. Please read this manual carefully before use to ensure proper operation and maintenance.

The Geylnxng Q5 mate Wireless Mini Projector, shown with its remote control and power adapter, highlighting its compact design and included accessories.
Safety Information
- Do not look directly into the projector lens when the lamp is on.
- Ensure proper ventilation around the projector to prevent overheating. Do not block ventilation openings.
- Use only the original power adapter provided with the projector.
- Keep the projector away from water, moisture, and extreme temperatures.
- Do not attempt to disassemble or repair the projector yourself. Contact qualified service personnel for assistance.
- Clean the lens gently with a soft, lint-free cloth.
What's in the Box
- Geylnxng Q5 mate Wireless Mini Projector
- Remote Control
- Power Adapter
- User Manual (this document)
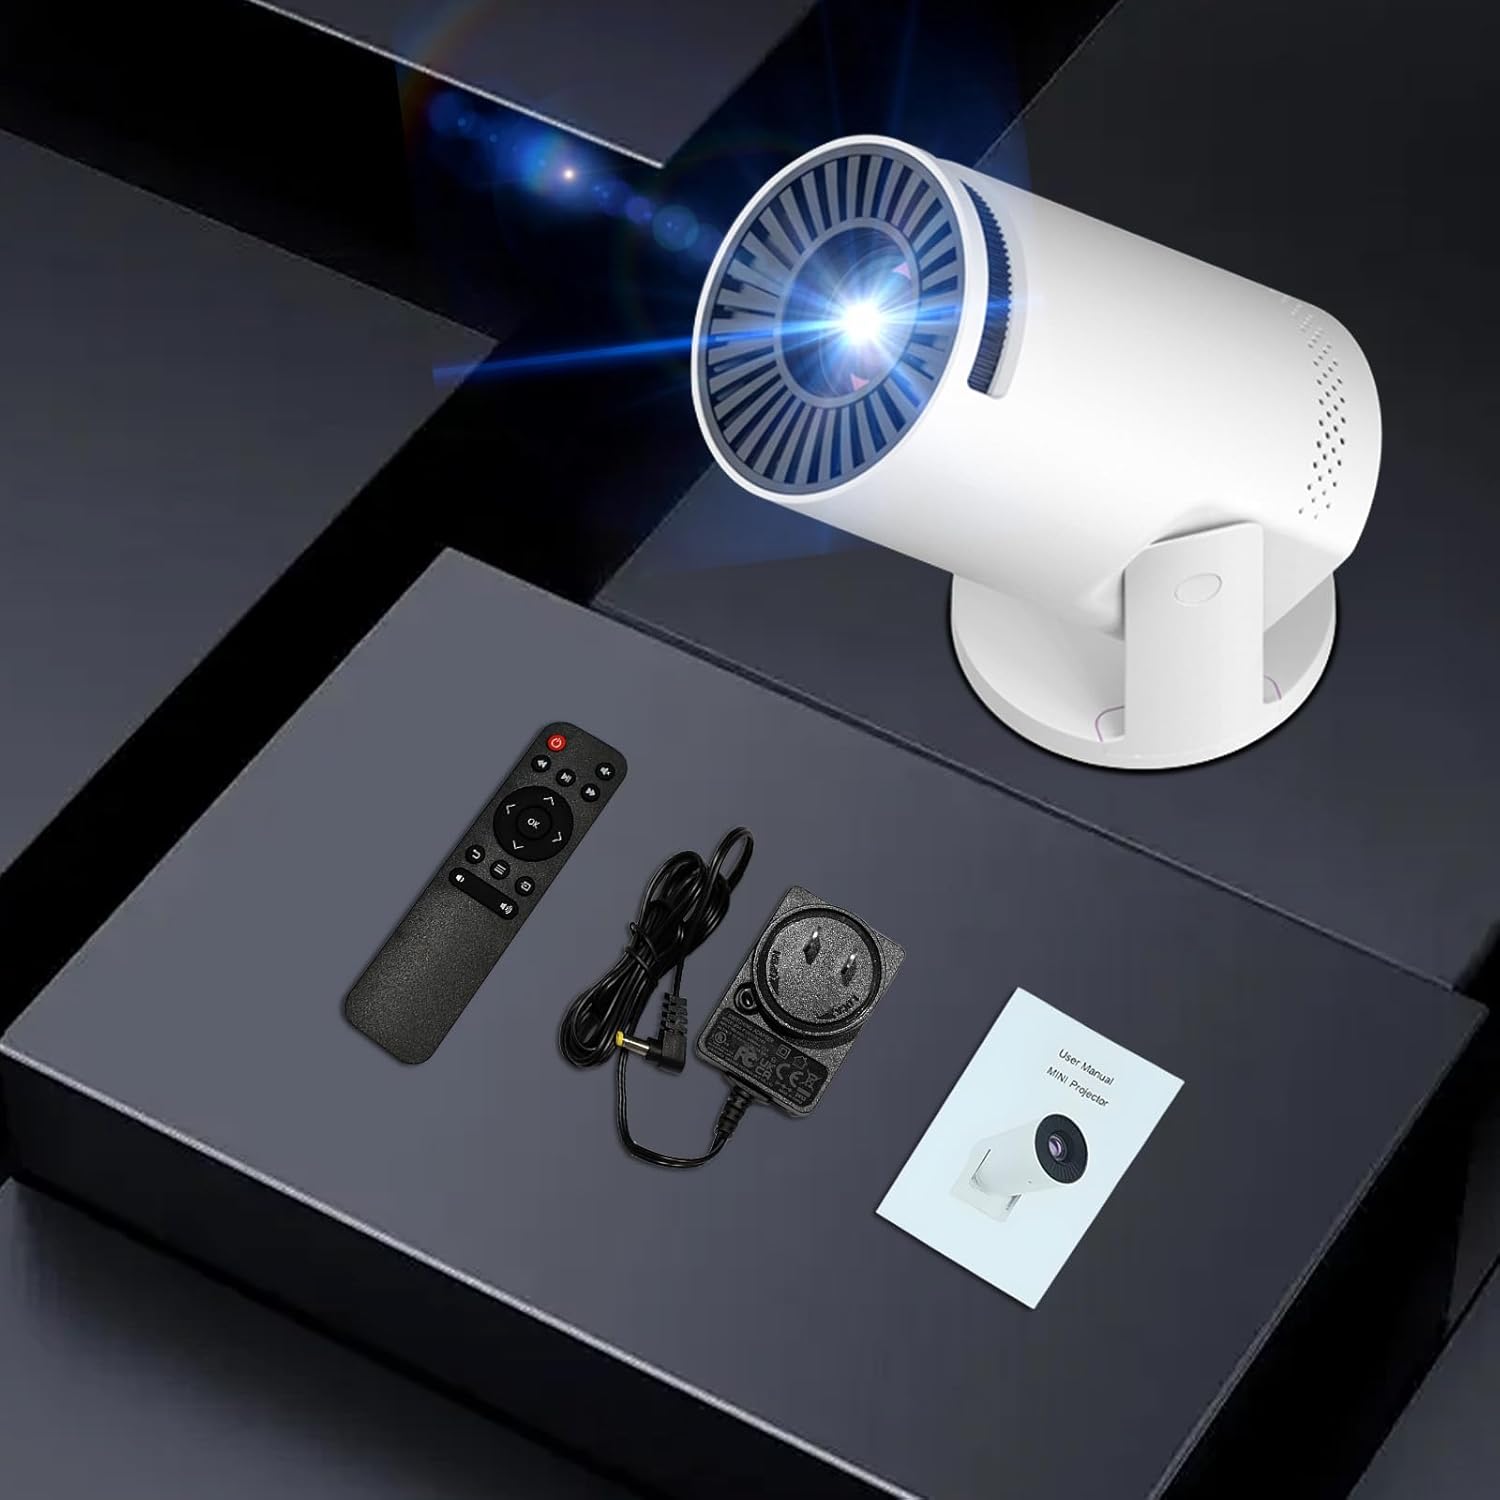
The complete package contents of the Geylnxng Q5 mate projector, showing the main unit, remote, power supply, and user manual.
Product Overview
Familiarize yourself with the various components and ports of your Q5 mate projector.
- Projection Lens: Emits the image.
- Focus Ring: Adjusts image clarity.
- Ventilation Grilles: For cooling the internal components.
- 180° Rotatable Base: Allows flexible projection angles.
- Input Ports: DC (power), AV, USB, 3.5mm Headphone Jack, HDMI.
- Built-in Speaker: For audio output.

An illustration of the projector's advanced optical lens system, designed for high-definition image quality.

The projector in a home theater environment, illustrating its various connectivity options including Audio, AV, USB, and HDMI ports.
Setup
1. Power Connection
- Connect the power adapter to the DC input port on the projector.
- Plug the power adapter into a wall outlet.
- The projector will enter standby mode.
2. Placement and Screen Size
The Q5 mate projector features a 180° rotatable base, allowing you to project onto walls, ceilings, or any flat surface. Adjust the projector's position to achieve your desired screen size, ranging from 17 to 130 inches.

The flexible 180° projection angle allows the image to be easily transferred from a wall to the ceiling by simply adjusting the projector's body.

The projector's capability to expand your view, showing screen sizes from 17 inches for intimate viewing to 120 inches for larger presentations.
3. Focus and Keystone Adjustment
- Focus: Rotate the focus ring on the projector lens until the projected image is clear and sharp.
- Keystone Correction: The projector supports automatic or manual keystone correction to adjust the image shape if it appears trapezoidal. Refer to the on-screen menu for keystone settings.
Operating Instructions
1. Powering On/Off
- Power On: Press the power button on the projector or the remote control.
- Power Off: Press the power button again. Confirm shutdown on the screen if prompted.
2. Connecting to Wi-Fi (WiFi 6 & 5G)
The projector supports both WiFi 6 and 5G networks for fast and stable wireless connectivity.
- Navigate to the "Settings" menu on the projector.
- Select "Network" or "Wi-Fi Settings".
- Turn on Wi-Fi and select your desired network from the list.
- Enter the Wi-Fi password using the on-screen keyboard and remote control.
- Once connected, the projector will display a confirmation.
3. Screen Mirroring (Smartphones, Laptops, PC)
The projector allows for wireless screen mirroring from compatible devices.
- Ensure your device and the projector are connected to the same Wi-Fi network.
- On the projector, select the "Screen Mirroring" or "Wireless Projection" input source.
- On your smartphone (iOS/Android) or laptop (Windows/macOS), enable screen mirroring/casting feature (e.g., AirPlay, Miracast, Smart View).
- Select the projector's name from the list of available devices.
- The device's screen will now be mirrored on the projector.
4. Connecting External Devices
The projector is equipped with multiple ports for connecting various devices:
- HDMI: Connect TV sticks/boxes, game consoles, laptops, PCs, DVD players. Select "HDMI" as the input source.
- USB: Connect USB flash drives to play media files directly. Select "USB" as the input source.
- AV: Connect older devices using an AV cable. Select "AV" as the input source.

The projector's wide compatibility with various devices, including smartphones, tablets, laptops, PCs, gaming consoles (PS5), external speakers, and USB drives, connected via Audio, AV, USB, and HDMI ports.
5. Audio Output
- Built-in Speaker: The projector has an integrated speaker for audio playback.
- External Speakers: For enhanced audio, connect external speakers via the 3.5mm headphone jack.
Maintenance
- Lens Cleaning: Use a soft, lint-free cloth or lens cleaning paper to gently wipe the projector lens. Do not use abrasive cleaners or solvents.
- Cooling System: Ensure the ventilation openings are free from dust and debris. Periodically clean the vents with a soft brush or compressed air to maintain optimal cooling performance and extend lamp life.
- Lamp Life: The projector's LED lamp has a long lifespan of up to 45,000 hours, reducing the need for frequent replacement.
Troubleshooting
| Problem | Possible Cause | Solution |
|---|---|---|
| No image / Black screen |
|
|
| No sound |
|
|
| Blurred image |
|
|
| Screen mirroring issues (no image/sound from certain apps like Hulu) |
|
|
Specifications
| Feature | Detail |
|---|---|
| Brand | Geylnxng |
| Model Number | Q5 mate |
| Item Weight | 1.01 pounds |
| Product Dimensions | 3 x 3 x 6.1 inches |
| Color | White |
| Special Features | Built-In Cooling System, Lightweight, Portable, Wi-Fi Ready |
| Connectivity Technology | AV, USB, Wi-Fi (WiFi 6 & 5G) |
| Display Resolution | 1920 x 1080 (Supports 4K input) |
| Recommended Uses | Home Cinema |
| Projection Screen Size | 17" - 130" |
| Lamp Life | Up to 45,000 hours |
Warranty and Support
For warranty information or technical support, please refer to the contact details provided on the product packaging or the official Geylnxng website. Keep your purchase receipt as proof of purchase for warranty claims.
If you encounter any issues not covered in this manual, please contact Geylnxng customer service for further assistance.
Related Documents - Q5 mate
 |
EZCast Mate RX & TX User Manual: Wireless Display and Screen Mirroring Guide Comprehensive user manual for the EZCast Mate RX & TX, detailing setup, usage, features, and troubleshooting for seamless wireless display and screen mirroring. |
 |
Roconia Q5/Q6/Q8 Projector User Manual This user manual provides comprehensive instructions for setting up, operating, and troubleshooting the Roconia Q5, Q6, and Q8 projectors. It covers essential information on installation, remote control usage, menu settings, various connectivity options including wireless screen mirroring (Airplay, Wi-Fi), Bluetooth, USB media playback, HDMI, AV, and VGA connections, as well as detailed specifications. |
 |
Mate RX & TX User Manual - Wireless Screen Mirroring Guide Official user manual for the Mate RX & TX wireless screen mirroring devices. Learn how to install, pair, mirror, and upgrade your Mate transmitters and receivers. |
 |
Nocpix MATE Wärmebildvorsatzgerät Benutzerhandbuch | Bedienungsanleitung Das offizielle Benutzerhandbuch für das Nocpix MATE Wärmebildvorsatzgerät. Erfahren Sie mehr über die Funktionen, Spezifikationen, Sicherheitshinweise und Bedienung der MATE-Serie (ULTRA S60R, H50R, H38R, LITE L38). |
 |
Nocpix MATE Uživatelská příručka: Termovizní předsádka Kompletní uživatelská příručka pro termovizní předsádky Nocpix MATE, včetně modelů ULTRA S60R, H50R, H38R a LITE L38. Obsahuje bezpečnostní pokyny, specifikace, návod k použití a řešení problémů. |
 |
Nocpix MATE Serie Thermische Beeldvormingsapparaten Gebruikershandleiding Gedetailleerde gebruikershandleiding voor de Nocpix MATE-serie thermische beeldvormingsapparaten, inclusief modellen zoals MATE ULTRA S60R, MATE HSOR, MATE H38R, MATE H50R en MATE LITE L38. Ontdek specificaties, functies, bediening en veiligheidsinstructies. |
Ask a question about this manual
Ask about setup, troubleshooting, compatibility, parts, safety, or missing instructions. Manuals+ will review the question and use this page’s manual context to help answer it.