1. Introduction
This manual provides essential information for the safe and effective operation of your AlgoLaser Pixi Laser Engraver. The AlgoLaser Pixi is a compact, enclosed laser engraving and cutting machine designed for precision work on a variety of materials. It features the AlgoOS system for intuitive control and Class 1 laser safety standards.
Please read this manual thoroughly before using the device and retain it for future reference.
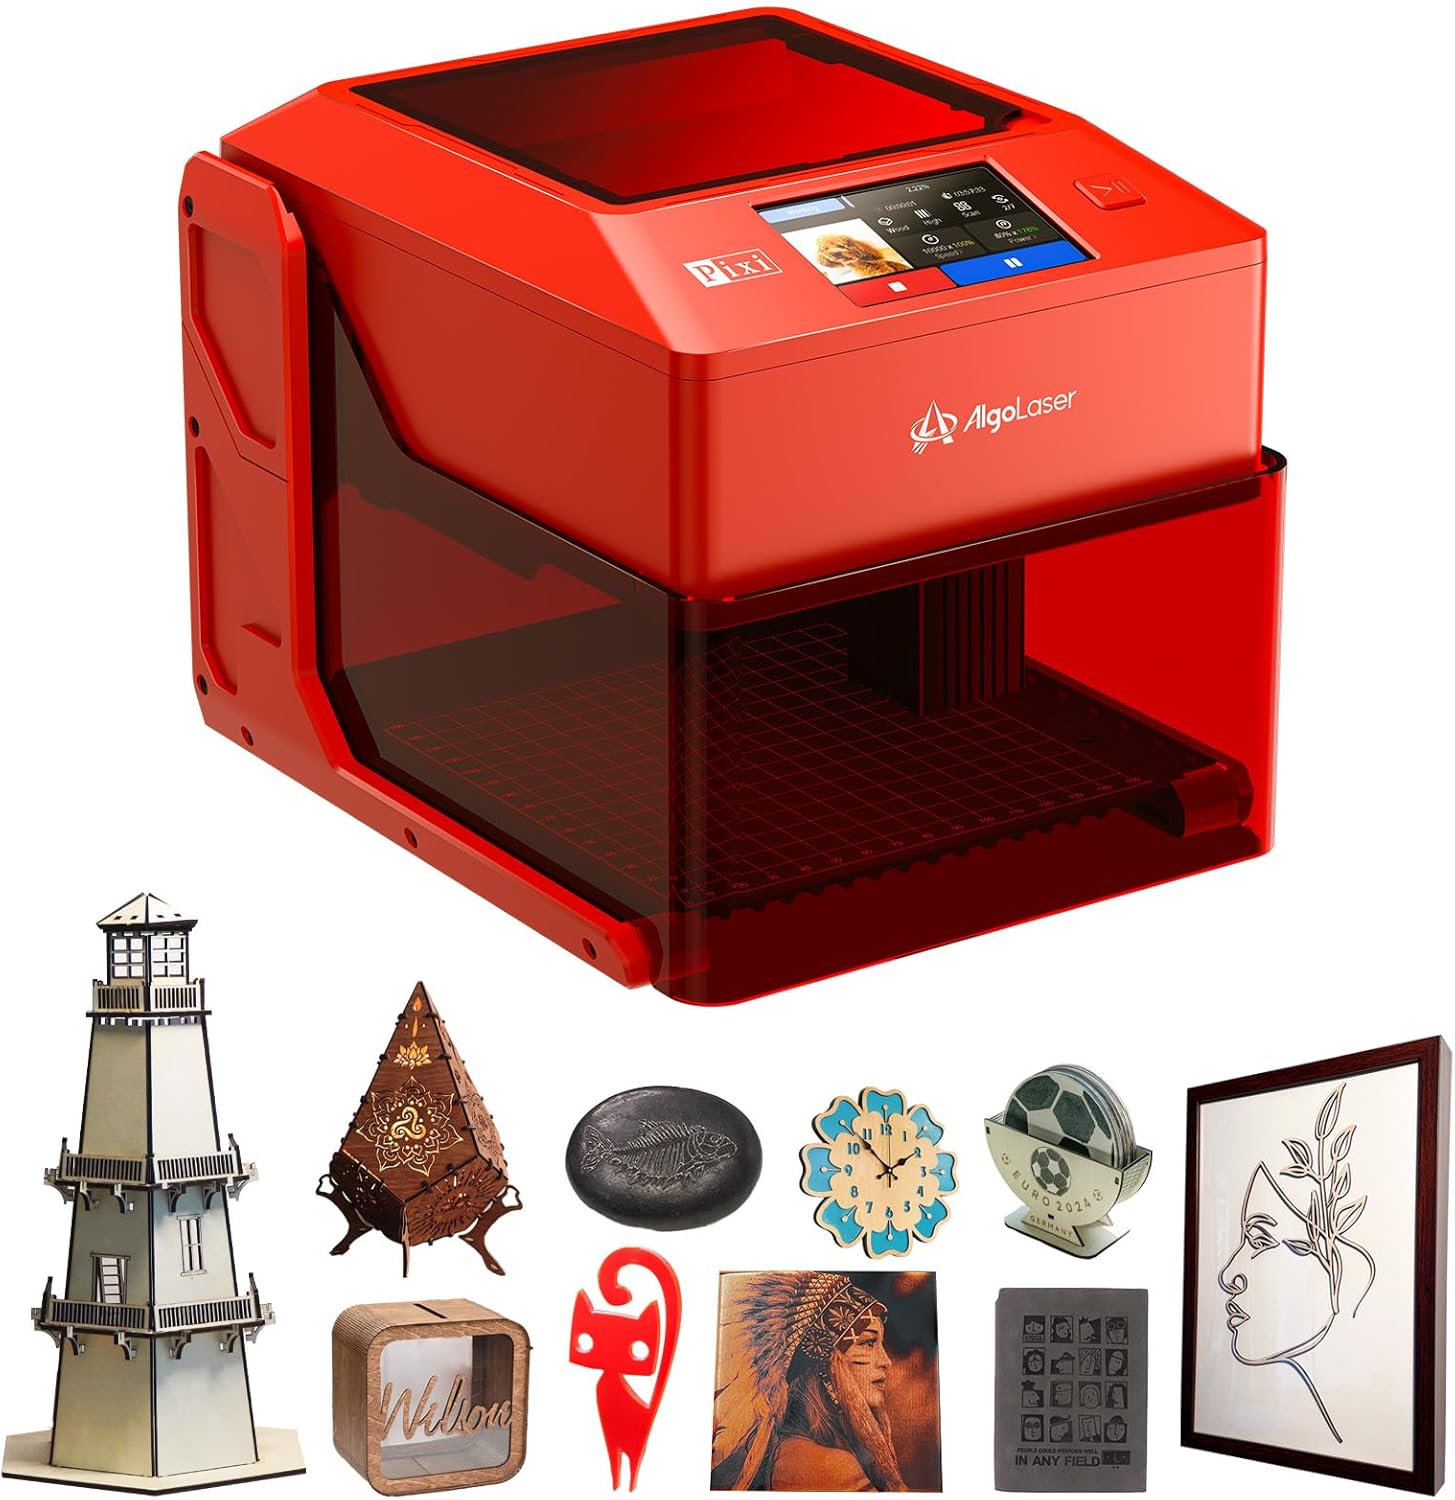
Image 1.1: The AlgoLaser Pixi Laser Engraver, a compact and enclosed device for engraving and cutting.
2. Safety Information
The AlgoLaser Pixi is designed with user safety as a priority, adhering to strict Class 1 laser standards. This means the laser system is fully enclosed, and under normal operating conditions, the user is not exposed to hazardous laser radiation.
2.1 Class 1 Laser Safety
The device meets FDA IEC 60825-1 Class I laser standards, ensuring a safe operating environment. The fully enclosed design prevents direct exposure to the laser beam.

Image 2.1: Illustration of the Class 1 laser safety design, emphasizing the enclosed nature for user protection.
2.2 Integrated Safety Mechanisms
- Auto-Stop with Protective Lid: The laser operation will immediately cease if the protective cover is opened during use.
- Tilt Protection: The machine is equipped with sensors that detect if the device's angle of inclination to the horizontal exceeds 10 degrees, triggering an immediate stop.
- Screen Password: A customizable screen password can be set to prevent unauthorized use, enhancing safety in shared environments.
- Fault Alerts: The system provides alerts for easy troubleshooting of operational issues.

Image 2.2: Visual representation of the auto-stop, tilt protection, and fault alert safety features of the AlgoLaser Pixi.
Always ensure proper ventilation when operating the laser engraver, as some materials may produce fumes. Supervise minors if the device is used in their presence.
3. Package Contents
Upon unpacking your AlgoLaser Pixi, please verify that all the following items are included:
- AlgoLaser Pixi Unit (10W model)
- Type-C Cable
- Power Adapter
- Type-C to Type-A Adapter
- Allen Key
- Brush
- Dual-Tip Stylus (random color)
- Focal Gauge
- Flange Interface
- Smoke Pipe
- Sample Materials: Metal Card (3 pcs), Plywood (1 pc), Acrylic (1 pc)

Image 3.1: A visual overview of all components included in the AlgoLaser Pixi product package.
4. Setup
The AlgoLaser Pixi is designed for ease of use with no assembly required. Simply unbox and connect to power.
4.1 Physical Setup
- Placement: Place the AlgoLaser Pixi on a stable, level surface in a well-ventilated area.
- Power Connection: Connect the power adapter to the DC 24V Power Port on the back of the unit and plug it into a suitable power outlet.
- Material Placement: Utilize the dual-sided base for optimal results. The flat side is for general engraving, while the grooved side improves airflow during cutting operations. The integrated grid coordinates on the base assist with precise material positioning.

Image 4.1: The dual-sided base, showing the flat surface for engraving and the grooved surface for enhanced airflow during cutting.
4.2 Advanced Setup Options
- Removable Base: For engraving larger items that do not fit within the enclosed area, the base can be removed. This allows the laser unit to be placed directly over the object (e.g., a table or chair).
- Focal Gauge: Use the long-handle focal gauge to accurately set the laser's focal distance for optimal engraving and cutting performance. The gauge stores neatly with its clip-on design.

Image 4.2: The AlgoLaser Pixi with its base removed, demonstrating its capability to engrave on larger, stationary objects.

Image 4.3: The focal gauge in use, illustrating how to set the correct laser focus for precise results.
4.3 Connectivity Ports
The AlgoLaser Pixi features multiple ports for various connections:
- Expansion Port: Specifically designed for connecting ABR accessories.
- USB-C Port: Connects to your computer or USB drives. USB-A drives can be used with the included USB-A to USB-C adapter.
- DC 24V Power Port: For plugging in the power supply.

Image 4.4: Diagram showing the location and function of the Expansion Port, USB-C Port, and DC 24V Power Port on the AlgoLaser Pixi.
5. Operating Instructions
The AlgoLaser Pixi operates using the intuitive AlgoOS system, accessible via its built-in touchscreen.
5.1 AlgoOS System and Interface
The AlgoOS 2.4 system provides a user-friendly interface through the integrated 3.5" IPS touchscreen. Key features include:
- AlgoSketch: Allows users to draw directly on the touchscreen, converting sketches into engravable designs.
- AlgoType: Enables custom text input and engraving with various font and size options.
- Image Inversion: Supports reverse engraving for high-contrast results on different materials.
- Multi-language Selection: Offers support for multiple languages.
- One-Key Start/Pause: Simplifies operation with a single button for starting or pausing tasks.

Image 5.1: The AlgoSketch interface on the AlgoLaser Pixi touchscreen, demonstrating direct drawing for engraving.

Image 5.2: The AlgoType keyboard interface for custom text input and engraving.
5.2 Engraving and Cutting Performance
The AlgoLaser Pixi offers high precision and versatility for various creative projects.
- Precision: An advanced laser technology reduces the spot size to 0.03mm, achieving an engraving accuracy of 0.01mm. The working area is 100mm x 100mm (3.94" x 3.94").

Image 5.3: Detailed view of the laser spot size and engraving accuracy, illustrating the high precision of the AlgoLaser Pixi.
- Power Options: The AlgoLaser Pixi is available in different laser power configurations to suit various needs (laser modules are not replaceable):
- 3W: Ideal for ultra-fine engraving and cutting thin materials like paper.
- 5W: Balanced for both engraving and cutting, capable of cutting 10mm soft board and 8mm acrylic, and engraving coated metals.
- 10W: Designed for stronger cutting, allowing faster processing of tougher materials.

Image 5.4: Illustration of the 10W laser module, highlighting its capability for stronger cutting tasks.
- Material Compatibility: The AlgoLaser Pixi can engrave and cut over 300 different materials. For transparent materials like acrylic or glass, using colored paper or a suitable coating might be necessary to achieve optimal results.
Examples of Compatible Materials:

Acrylic

Glass

Wood

Leather

Others (e.g., Slate, Metal)
5.3 Software Compatibility
In addition to the built-in AlgoOS, the AlgoLaser Pixi is compatible with popular third-party software for advanced control and design:
- LightBurn: A mature engraving software widely used for common laser operations.
- LaserGRBL: A popular Windows software for image laser engraving.
- AlgoLaser APP: A dedicated mobile application for convenient control and design.

Image 5.5: Overview of software compatibility, including AlgoOS, AlgoLaser App, LightBurn, and LaserGRBL.
6. Maintenance
Regular maintenance ensures the longevity and optimal performance of your AlgoLaser Pixi.
- Cleaning: Periodically clean the interior of the engraving chamber, the laser lens, and the working platform using a soft, dry cloth or the provided brush. Ensure the device is powered off and unplugged before cleaning.
- Ventilation: Keep the ventilation openings clear of dust and debris to prevent overheating.
- Storage: Store the device in a clean, dry environment away from direct sunlight and extreme temperatures.
For detailed maintenance procedures, refer to the official AlgoLaser support resources.
7. Troubleshooting
This section provides guidance for common issues you might encounter with your AlgoLaser Pixi.
7.1 Common Issues and Solutions
- Device Not Powering On:
- Ensure the power adapter is securely connected to both the device and a working power outlet.
- Verify the power outlet is functional.
- Laser Not Firing/Engraving:
- Check if the protective lid is fully closed. The device will not operate if the lid is open.
- Ensure the focal distance is correctly set using the focal gauge.
- Verify that the material is compatible and properly positioned.
- Check for any on-screen fault alerts and follow the instructions provided.
- Poor Engraving/Cutting Quality:
- Adjust laser power and speed settings according to the material type and desired effect.
- Ensure the laser lens is clean and free of debris.
- Confirm the material is flat and securely placed on the working platform.
- Tilt Protection Activated:
- If the device stops unexpectedly, check if it has been tilted beyond 10 degrees. Reposition the device on a stable, level surface.
For persistent issues or technical support, please contact AlgoLaser customer service or refer to their official website for updated troubleshooting guides.
8. Specifications
The following table details the technical specifications of the AlgoLaser Pixi Laser Engraver:
| Specification | Value |
|---|---|
| Product Dimensions | 10.48 x 8.43 x 7.7 inches |
| Item Model Number | AlgoLaser-PIXI |
| ASIN | B0F89VH3NJ |
| Item Weight | 7.15 pounds |
| Manufacturer | AlgoLaser |
| Working Area | 100mm x 100mm (3.94" x 3.94") |
| Laser Spot Size | 0.03mm |
| Engraving Accuracy | 0.01mm |
| Laser Class | Class 1 (FDA IEC 60825-1) |
| Operating System | AlgoOS 2.4 |
| Compatibility | AlgoOS, LightBurn, LaserGRBL, AlgoLaser APP |
9. Warranty and Support
For information regarding product warranty, technical support, and service, please refer to the official AlgoLaser website or contact their customer service directly. Details are typically provided with your purchase documentation or on the manufacturer's support pages.


