Introduction
This manual provides essential information for the installation, operation, maintenance, and troubleshooting of the ZHE3201HGA 0321802797B W19-59 01E Refrigerator Logic Board Inverter Accessory Motherboard. This component is designed to replace the mainboard in compatible Electrolux refrigerators, ensuring optimal performance and longevity of your appliance.
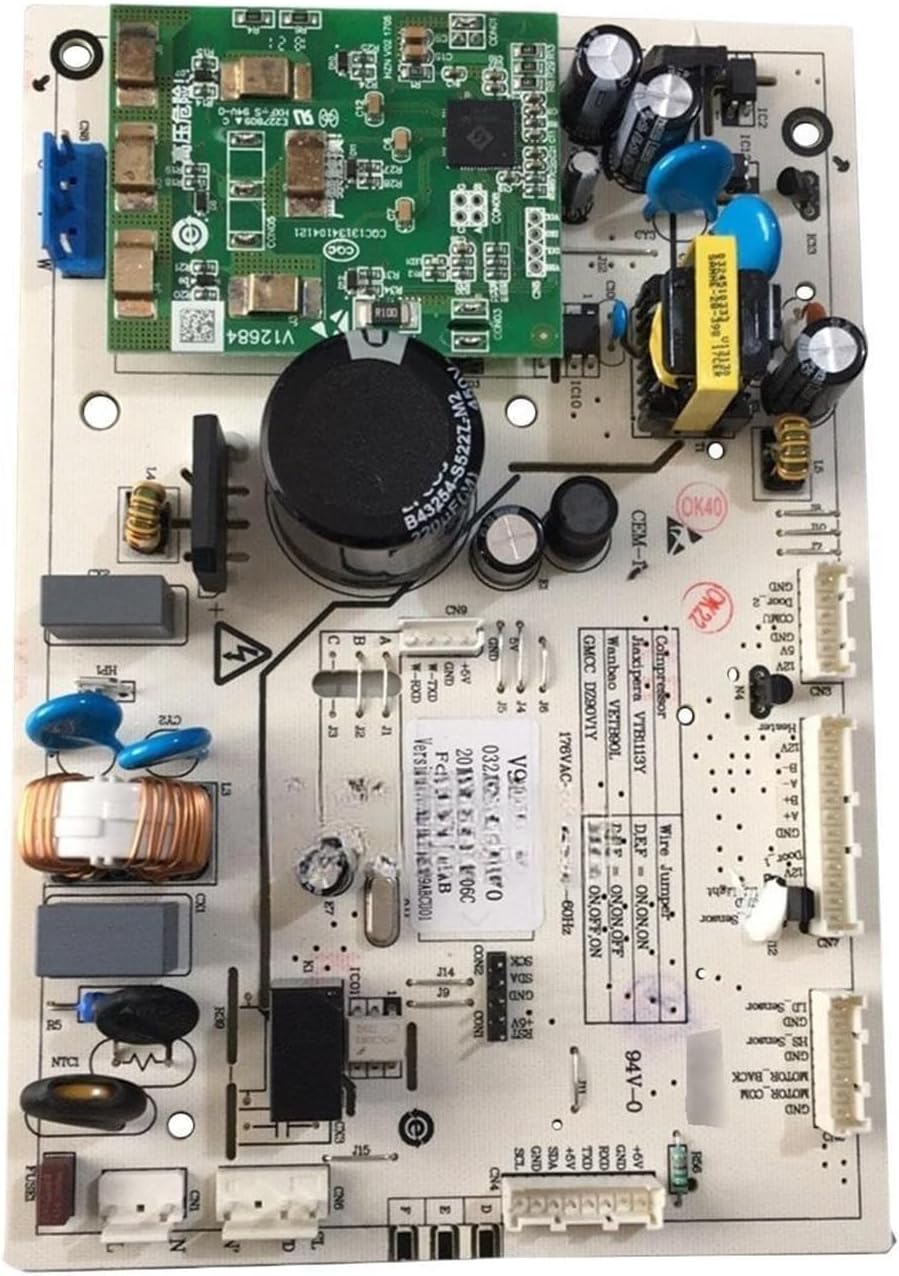
Figure 1: Overview of the Refrigerator Logic Board.
Safety Information
Always adhere to the following safety precautions to prevent injury or damage to the appliance:
- Disconnect Power: Before attempting any installation, maintenance, or repair, ensure the refrigerator is completely disconnected from the power supply. Failure to do so can result in electric shock or serious injury.
- Professional Installation Recommended: Installation of this component should ideally be performed by a qualified technician. If you are not experienced with appliance repair, seek professional assistance.
- Handle with Care: Electronic components are sensitive. Avoid touching circuit board traces and components directly. Use anti-static precautions if possible.
- Verify Compatibility: Ensure this board is the correct replacement part for your specific refrigerator model before installation.
Product Overview and Components
The ZHE3201HGA logic board serves as the central control unit for your refrigerator, managing various functions including temperature regulation, compressor operation, and defrost cycles. It integrates an inverter accessory board for efficient power management.

Figure 2: Detailed view of the board's main components and connectors.

Figure 3: Another perspective of the board, illustrating component layout.

Figure 4: Side profile of the logic board.

Figure 5: Rear view of the logic board, displaying the circuit pathways.
Setup and Installation
Follow these steps carefully for proper installation of the replacement logic board:
- Power Disconnection: Unplug the refrigerator from the wall outlet to ensure no power is supplied to the unit.
- Access the Board: Locate the existing logic board compartment, typically found at the back or top of the refrigerator. Refer to your refrigerator's specific service manual for exact location and access instructions.
- Document Connections: Before disconnecting any wires, take clear photos or make a diagram of all wire connections to the old board. This will serve as a reference for reconnecting wires to the new board.
- Disconnect Wires: Carefully disconnect all wiring harnesses and individual wires from the old logic board. Note any specific locking mechanisms on connectors.
- Remove Old Board: Unscrew or unclip the old logic board from its mounting brackets.
- Install New Board: Position the new ZHE3201HGA board in the same location and secure it using the original screws or clips.
- Reconnect Wires: Using your documented photos or diagrams, carefully reconnect all wiring harnesses and individual wires to the corresponding ports on the new board. Ensure all connections are secure and properly seated.
- Secure Compartment: Close and secure the logic board compartment cover.
- Restore Power: Plug the refrigerator back into the wall outlet.
- Test Operation: Allow the refrigerator to power on and observe its operation. Verify that cooling functions, lights, and other features are working correctly.
Operating Principles
The ZHE3201HGA logic board is designed to enhance the refrigerator's performance through several key functions:
- Reliability: Utilizing robust electronic components, the board is engineered to operate stably under prolonged and high-load conditions, contributing to the refrigerator's long-term reliability.
- Temperature Control: The board receives signals from temperature sensors, continuously monitoring internal and external temperatures. This enables precise control of the compressor and other cooling components, maintaining stable temperatures within the freezer and refrigerator compartments.
- Humidity Adjustment: Equipped with a humidity detection function, the board can automatically adjust humidity levels inside the refrigerator. This feature helps prevent food spoilage due to excessive or insufficient humidity, thereby extending food preservation.
- Performance Enhancement: Installation of this replacement board can optimize the refrigerator's cooling efficiency, temperature control accuracy, and overall operational performance, leading to more stable and efficient appliance use and potentially extending its service life.
Maintenance
To ensure the continued optimal performance and longevity of your refrigerator logic board, consider the following maintenance guidelines:
- Keep Clean: Periodically inspect the board compartment for dust or debris accumulation. Gently clean with a soft, dry brush or compressed air if necessary, ensuring the refrigerator is unplugged.
- Avoid Moisture: Ensure the board and its compartment remain dry. Moisture can cause short circuits and damage electronic components.
- Regular Inspection: During other refrigerator maintenance (e.g., cleaning condenser coils), visually inspect the board for any signs of damage, such as burnt components or loose connections.
Troubleshooting
If you experience issues after installing the logic board, consider the following basic troubleshooting steps:
- No Power/No Operation: Double-check all wire connections to ensure they are secure and correctly seated. Verify that the refrigerator is properly plugged into a working power outlet.
- Incorrect Operation/Error Codes: If the refrigerator exhibits unusual behavior or displays error codes, refer to your refrigerator's specific service manual for diagnostic information related to those codes. Ensure the board is correctly installed and compatible with your model.
- Consult a Professional: If issues persist after basic checks, it is highly recommended to contact a qualified appliance repair technician for further diagnosis and repair.
Specifications
| Attribute | Value |
|---|---|
| Model Number | GMFB-W19-59 01E (angfan) |
| Product Name | Motherboard Power Board for Refrigerator |
| Compatible With | Electrolux (specific models may vary) |
| Package Dimensions | 0.39 x 0.39 x 0.39 inches |
| Item Weight | 1.76 ounces |
| Manufacturer | angfan |
| Country of Origin | China |
| Date First Available | May 10, 2025 |
Warranty Information
Specific warranty terms for this replacement part may vary depending on the seller and region. Please refer to the purchase documentation or contact your point of sale for detailed warranty information. Keep your proof of purchase for any warranty claims.
Support
For technical assistance, installation queries, or troubleshooting beyond the scope of this manual, please contact the seller or manufacturer directly. Provide your product model number and purchase details when seeking support.