HVGZDQQD A06B-0245-B101
HVGZDQQD A06B-0245-B101 Industrial Motor User Manual
1. Introduction
This manual provides essential information for the safe and efficient operation, installation, and maintenance of your HVGZDQQD A06B-0245-B101 Industrial Motor. Please read this manual thoroughly before attempting to install or operate the motor. Retain this manual for future reference.
2. Safety Information
WARNING: Failure to follow these safety instructions may result in serious injury, death, or property damage.
- Always disconnect power before performing any installation, maintenance, or troubleshooting.
- Ensure proper grounding to prevent electrical shock.
- Installation and servicing should only be performed by qualified personnel.
- Wear appropriate personal protective equipment (PPE) such as safety glasses and gloves.
- Do not operate the motor in environments exceeding its specified operating conditions.
- Keep hands and clothing clear of moving parts.
3. Product Overview
The HVGZDQQD A06B-0245-B101 is a robust industrial motor designed for various applications requiring reliable and precise motion control. It features a durable construction suitable for demanding industrial environments.
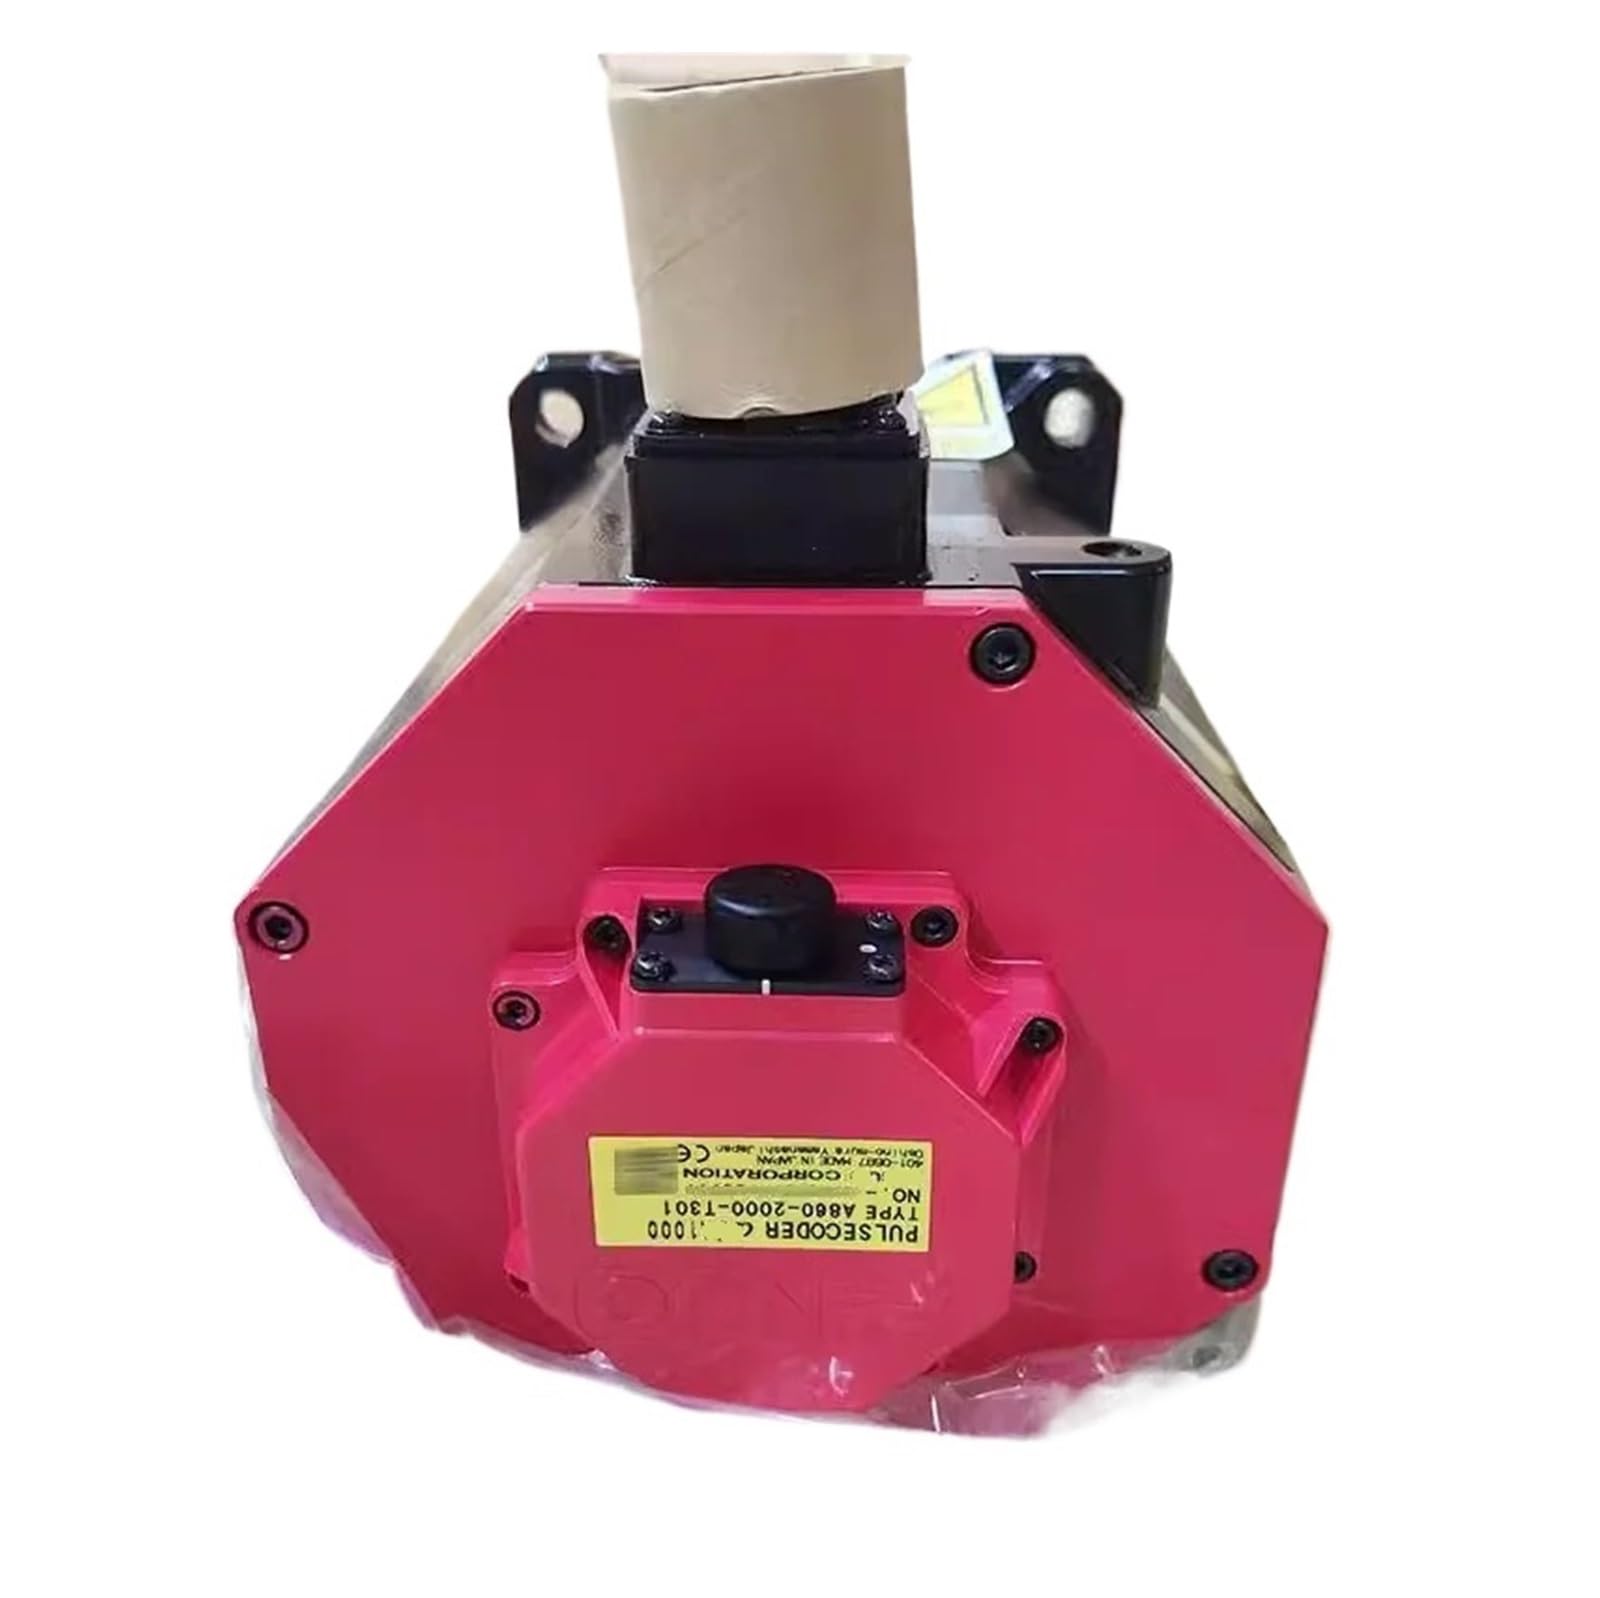
Figure 1: Front view of the HVGZDQQD A06B-0245-B101 Industrial Motor. This image shows the motor's main body, the mounting flange with bolt holes, and the output shaft with a keyway, sealed by a black oil seal.
4. Setup and Installation
- Unpacking: Carefully remove the motor from its packaging. Inspect for any signs of shipping damage. Report any damage to the carrier immediately.
- Mounting:
- Ensure the mounting surface is clean, flat, and rigid enough to support the motor's weight and operational forces.
- Align the motor's mounting flange with the corresponding holes on the equipment.
- Secure the motor using appropriate bolts, washers, and nuts. Tighten fasteners to the manufacturer's recommended torque specifications.
- Shaft Connection:
- Connect the motor shaft to the driven load using a suitable coupling.
- Ensure proper alignment to prevent excessive vibration and premature bearing wear.
- Do not apply excessive force to the motor shaft during coupling installation.
- Electrical Connections:
- Refer to the motor's wiring diagram (typically found on the motor nameplate or a separate diagram) for correct electrical connections.
- Ensure all wiring complies with local and national electrical codes.
- Connect the motor to a power supply that matches its voltage, frequency, and phase requirements.
- Verify proper grounding.
- Initial Check: Before applying power, manually rotate the shaft to ensure free movement and no obstructions.
5. Operating Instructions
- Pre-Operation Check:
- Confirm all connections are secure and correct.
- Ensure no tools or foreign objects are near the motor or moving parts.
- Verify that all safety guards are in place.
- Starting the Motor:
- Apply power to the motor through its control system.
- Observe the motor during its initial startup for any unusual noises, vibrations, or overheating.
- If any abnormalities are detected, immediately shut down the motor and investigate the cause.
- Normal Operation:
- Monitor motor performance periodically.
- Ensure the motor operates within its specified load and temperature limits.
- Stopping the Motor:
- Deactivate the motor through its control system.
- Ensure the motor comes to a complete stop before approaching or performing any tasks.
6. Maintenance
Regular maintenance is crucial for extending the lifespan and ensuring the reliable operation of your motor. Always disconnect power before performing any maintenance.
- Cleaning: Keep the motor's exterior clean and free from dust, dirt, and debris. Ensure cooling fins are not obstructed.
- Inspection: Periodically inspect the motor for:
- Loose connections or fasteners.
- Signs of wear or damage to cables and insulation.
- Unusual noises or vibrations during operation.
- Excessive heat.
- Lubrication: Refer to the motor's specific lubrication requirements. Some motors are sealed for life, while others require periodic lubrication.
- Bearing Replacement: Bearings are wear items. If unusual noise or vibration persists, bearing inspection and potential replacement by a qualified technician may be necessary.
7. Troubleshooting
| Problem | Possible Cause | Solution |
|---|---|---|
| Motor does not start | No power supply; Incorrect wiring; Overload; Blown fuse/tripped breaker | Check power supply; Verify wiring; Reduce load; Check/replace fuse, reset breaker |
| Motor overheats | Overload; Insufficient ventilation; High ambient temperature; Bearing failure | Reduce load; Clear obstructions from cooling fins; Ensure proper ventilation; Inspect/replace bearings |
| Excessive noise or vibration | Misalignment; Loose mounting; Worn bearings; Unbalanced load | Check/correct alignment; Tighten mounting bolts; Inspect/replace bearings; Balance load |
| Reduced performance | Voltage drop; Overload; Worn components | Check power supply voltage; Reduce load; Inspect motor components |
If troubleshooting steps do not resolve the issue, contact qualified service personnel.
8. Specifications
- Model Number: A06B-0245-B101
- Brand: HVGZDQQD
- ASIN: B0F86S25FB
- Package Dimensions: 0.39 x 0.39 x 0.39 inches
- Item Weight: 7.1 ounces
- Manufacturer: HVGZDQQD
- Assembly Required: No
- Number of Pieces: 1
9. Warranty and Support
For warranty information and technical support, please refer to the documentation provided with your purchase or contact your supplier. Keep your purchase receipt as proof of purchase.
For further assistance, you may contact the manufacturer HVGZDQQD directly through their official channels.
Ask a question about this manual
Ask about setup, troubleshooting, compatibility, parts, safety, or missing instructions. Manuals+ will review the question and use this page’s manual context to help answer it.