1. Introduction
This manual provides essential information for setting up, operating, and maintaining your MSI Codex R2 AI Gaming Desktop. Please read this guide thoroughly before using your new system to ensure optimal performance and longevity.
The MSI Codex R2 AI Gaming Desktop is engineered for high-performance gaming and demanding applications, featuring an Intel Ultra 7 265 processor, NVIDIA GeForce RTX 5060Ti graphics, 32GB DDR5 RAM, and a 1TB NVMe SSD. It operates on Windows 11 Home and includes advanced cooling and connectivity options.
2. What's in the Box
Verify that all items are present in the packaging:
- MSI Codex R2 AI Gaming Desktop (A2NVM7-455US)
- Power Cord
- MSI Gaming Keyboard
- MSI Gaming Mouse
- Quick Start Guide and Documentation
3. Setup Guide
3.1. Unpacking and Placement
Carefully remove the desktop from its packaging. Place the desktop on a stable, flat surface with adequate ventilation. Ensure there is sufficient space around the chassis for airflow, especially around the front, rear, and top vents.
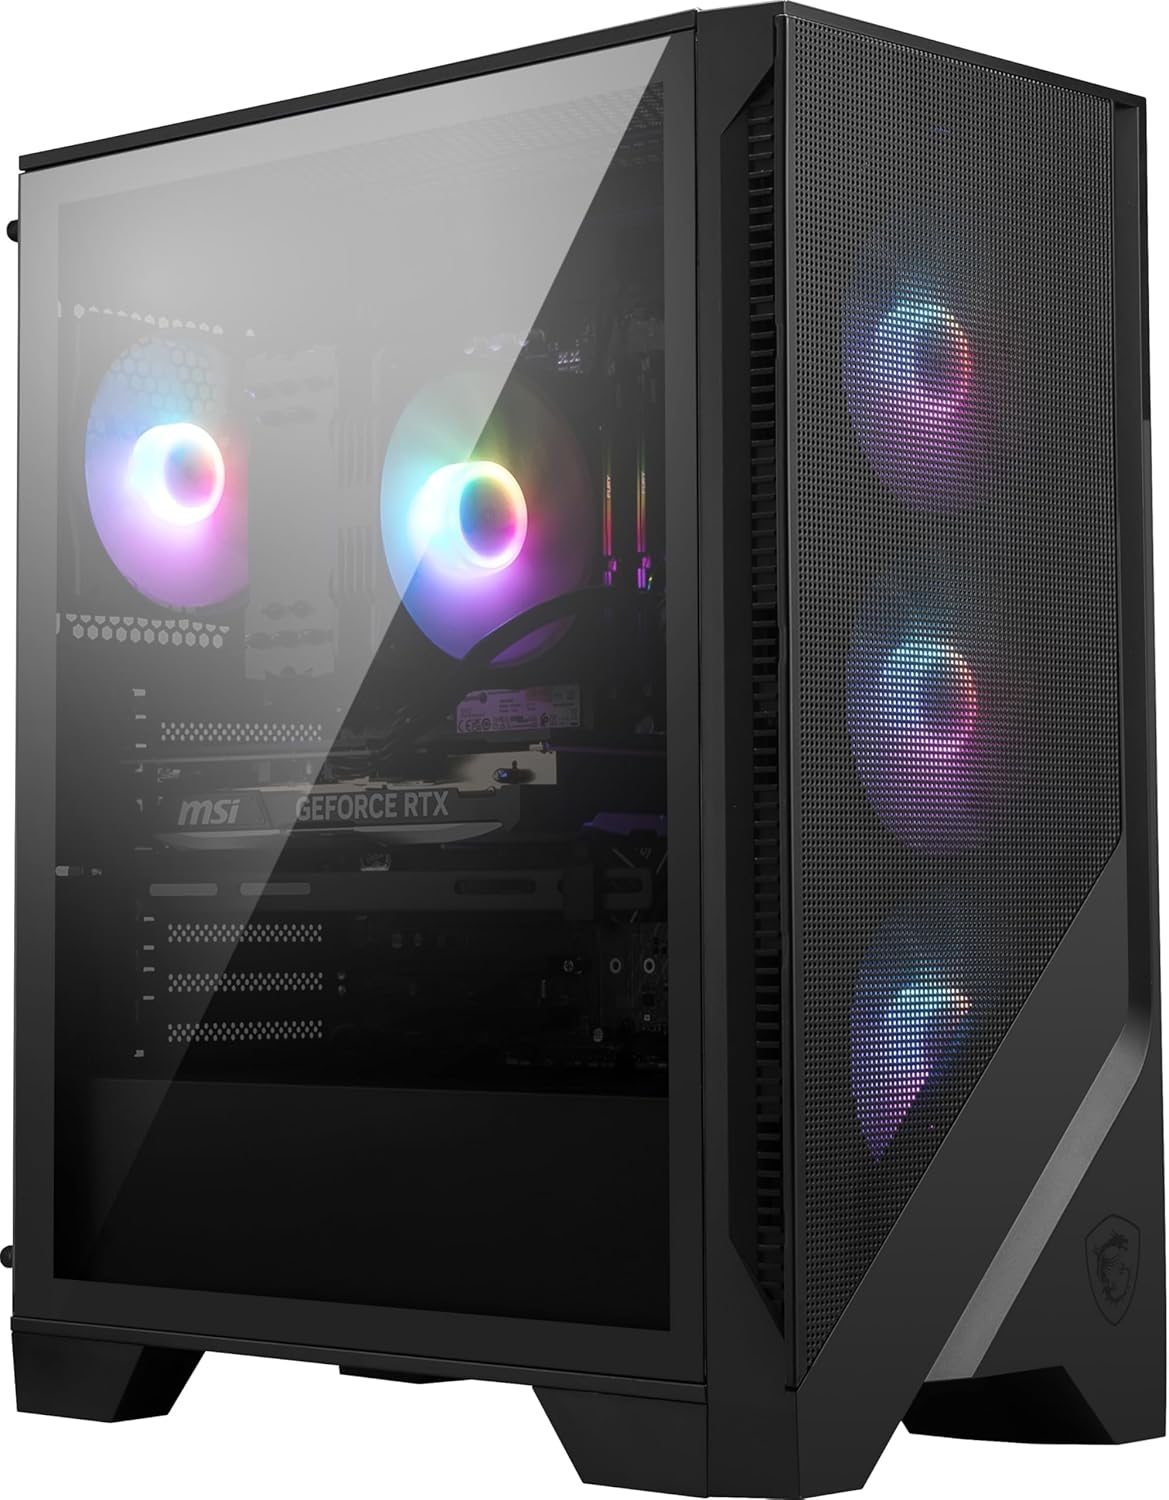
Figure 3.1: Front-side view of the MSI Codex R2 AI Gaming Desktop, showcasing its tempered glass panel and internal RGB fans.
3.2. Connecting Peripherals
- Monitor Connection: Connect your monitor to the graphics card's display output ports (HDMI or DisplayPort) located at the lower rear section of the desktop. Do not use the display ports on the motherboard I/O panel (upper section), as these are for integrated graphics which are disabled when a dedicated graphics card is present.
- Keyboard and Mouse: Connect the included gaming keyboard and mouse to any available USB ports on the rear I/O panel.
- Network Connection: For wired internet, connect an Ethernet cable to the LAN port on the rear I/O panel. For wireless internet, ensure the Wi-Fi antennas (if included separately) are securely attached to the designated ports.
- Power Connection: Connect the power cord to the power supply unit (PSU) at the rear of the desktop, then plug the other end into a grounded electrical outlet.
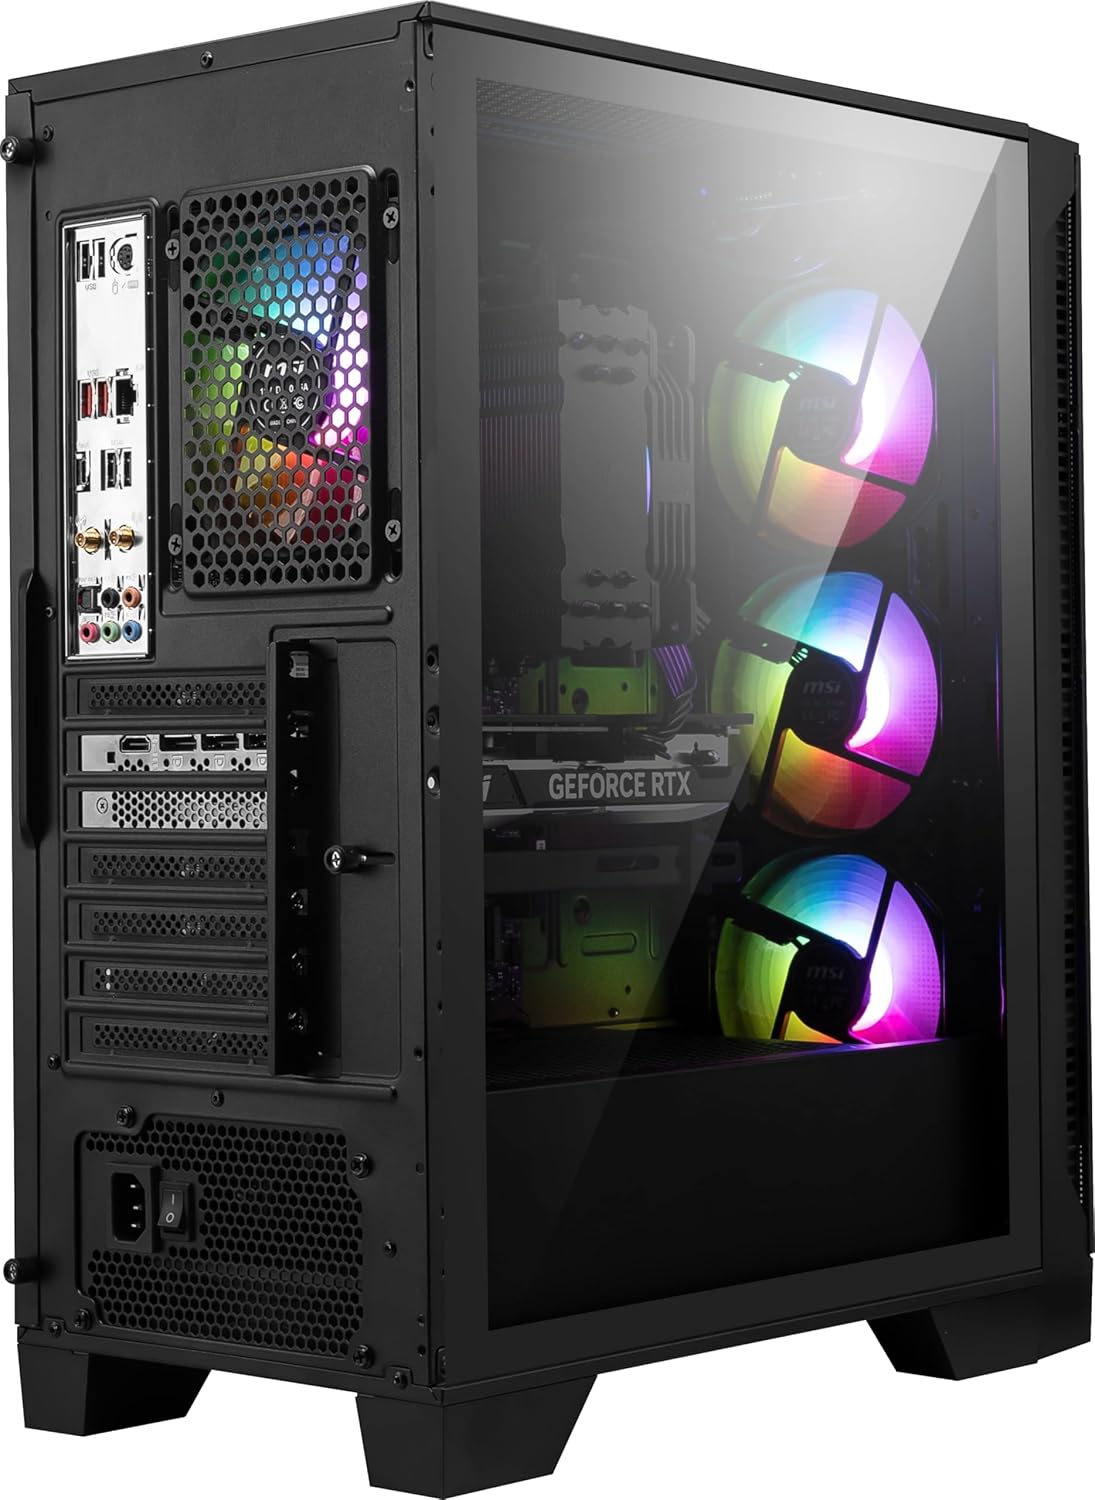
Figure 3.2: Rear I/O panel of the desktop. Connect your monitor to the ports on the dedicated graphics card (lower section).
3.3. Initial Power On
Press the power button located on the top panel of the desktop. The system will boot up, and you may be prompted to complete the Windows 11 Home setup process.
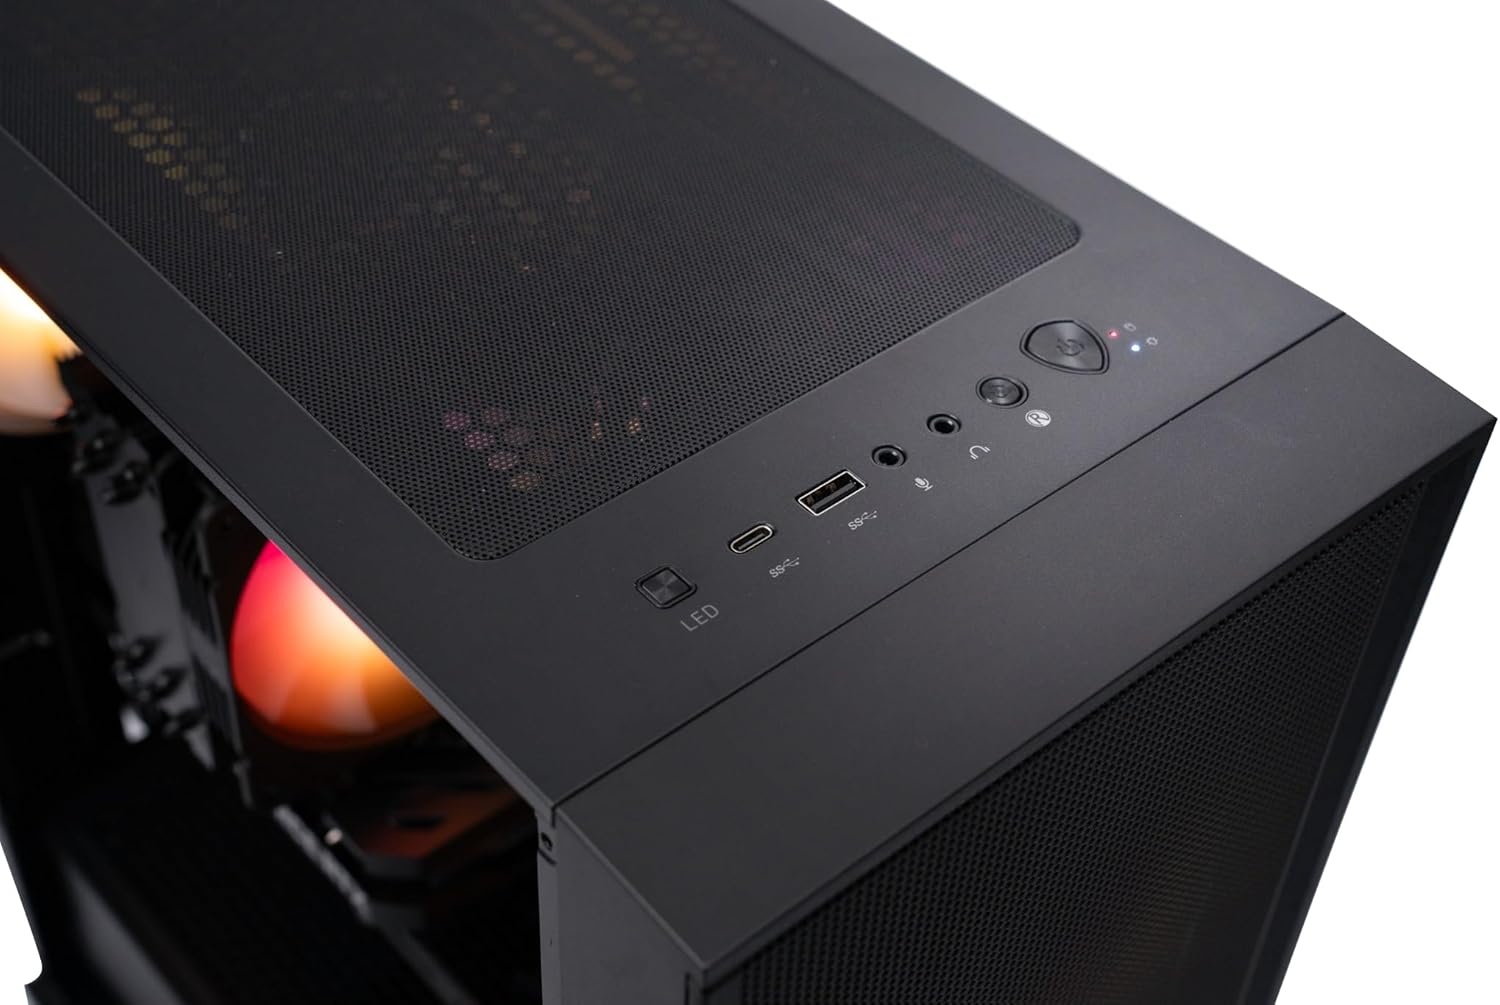
Figure 3.3: Top I/O panel with power button and USB ports.
4. Operating Instructions
4.1. Windows 11 Home
Your desktop comes pre-installed with Windows 11 Home. Follow the on-screen instructions for initial setup, including connecting to Wi-Fi, creating a user account, and installing updates.
4.2. RGB Lighting Customization
The MSI Codex R2 features built-in RGB lighting for its fans and internal components. You can cycle through various lighting options by pressing the dedicated MSI LED button on the top I/O panel. For advanced customization, install and use the MSI Center software, which allows for detailed control over lighting effects, fan speeds, and system performance profiles.

Figure 4.1: Front view of the desktop with customizable RGB lighting.
5. Specifications
| Component | Detail |
|---|---|
| Processor | Intel Ultra 7 265 (1.8 GHz) |
| Graphics Card | NVIDIA GeForce RTX 5060Ti (8 GB GDDR6X) |
| RAM | 32GB DDR5 (6000 MHz) |
| Storage | 1TB m.2 NVMe SSD |
| Operating System | Windows 11 Home |
| Power Supply | 80+ Gold PSU |
| Wireless Connectivity | WiFi 7, Bluetooth |
| USB Ports | 4x USB 2.0, 6x USB 3.0 |
| Cooling System | RGB CPU Air Cooler, 4 System Fans |
| Dimensions (LxWxH) | 16 x 8.38 x 19 inches |
| Weight | 21.3 pounds |
6. Maintenance
6.1. General Cleaning
Regularly clean the exterior of the desktop with a soft, dry cloth. Use compressed air to clear dust from vents and fan grilles. Ensure the system is powered off and unplugged before cleaning.
6.2. Cooling System
The desktop features an efficient air cooling system with multiple fans. Keep the fan vents clear of obstructions to maintain optimal airflow and prevent overheating. Periodically check for dust buildup on fan blades and heatsinks, and clean as necessary.
7. Troubleshooting
7.1. No Display on Monitor
- Ensure the monitor is powered on and correctly connected to the graphics card's output port (not the motherboard's I/O ports).
- Verify the correct input source is selected on your monitor.
- Try a different display cable or monitor if available.
7.2. System Not Powering On
- Check that the power cord is securely connected to both the desktop and the electrical outlet.
- Ensure the power switch on the PSU (located at the rear of the desktop) is in the 'ON' position.
- Test the electrical outlet with another device to confirm it is functional.
7.3. Peripherals Not Responding
- Ensure the keyboard and mouse are securely plugged into the USB ports.
- Try connecting them to different USB ports.
- Restart the computer.
8. Warranty and Support
For warranty information and technical support, please refer to the documentation included with your product or visit the official MSI support website. Keep your proof of purchase and product serial number readily available when contacting support.
MSI Support Website: www.msi.com/support