Ledvion LVO10003-6500K-6pack
Ledvion 6-Pack Round LED Recessed Ground Spots User Manual
Model: LVO10003-6500K-6pack
Introduction
Thank you for choosing Ledvion LED Recessed Ground Spots. This manual provides essential information for the safe installation, operation, and maintenance of your new lighting product. Please read these instructions carefully before installation and retain them for future reference.
Safety Instructions
- Electrical Safety: Installation should only be performed by a qualified electrician in accordance with local electrical codes. Ensure the power supply is disconnected before installation or maintenance.
- Outdoor Use: These ground spots are designed for outdoor use with an IP67 rating, meaning they are protected against dust and immersion in water up to 1 meter for 30 minutes. However, ensure all connections are properly sealed and waterproofed to maintain this rating.
- Cable Connection: The product comes with a 1-meter connection cable (3 x 1.5 mm²) without a plug. This requires a secure, waterproof connection to your main power supply.
- Placement: Ensure the installation location allows for proper drainage and does not accumulate standing water for extended periods.
- Weight Bearing: These ground spots are designed to be walkable. Ensure they are installed flush with the ground surface to prevent tripping hazards and damage.
- Temperature: Do not cover the lights with insulating material that could lead to overheating.
Package Contents
Verify that all components are present and undamaged before proceeding with installation.

Image: Contents of the Ledvion 6-pack ground spot package, showing 6 LED ground spot fixtures, 6 LED GU10 bulbs, 24 screws, 6 Allen keys, and 1 manual.
- 6 x LED Ground Spot fixtures
- 6 x GU10 LED Bulbs (5W, 6500K)
- 24 x Mounting Screws
- 6 x Allen Keys
- 1 x User Manual
Specifications
| Feature | Detail |
|---|---|
| Model Number | LVO10003-6500K-6pack |
| Brand | Ledvion |
| Material | Stainless Steel, Tempered Glass |
| Light Source Type | LED (GU10 bulb) |
| Wattage | 5 Watts per spot (Max. 15W compatible) |
| Color Temperature | 6500K (Cool White) |
| Luminous Flux | 345 Lumens |
| Ingress Protection (IP) Rating | IP67 (Dustproof, protected against immersion) |
| Cable Length | 1 meter (3 x 1.5 mm²) |
| Dimensions (Fixture) | Top Diameter: 110 mm, Body Diameter: 82 mm, Height: 148 mm |
| Power Source | DC (compatible with GU10 AC power supply) |

Image: Diagram showing the dimensions of the ground spot fixture: 110mm top diameter, 82mm body diameter, and 148mm height, alongside the 1-meter cable.
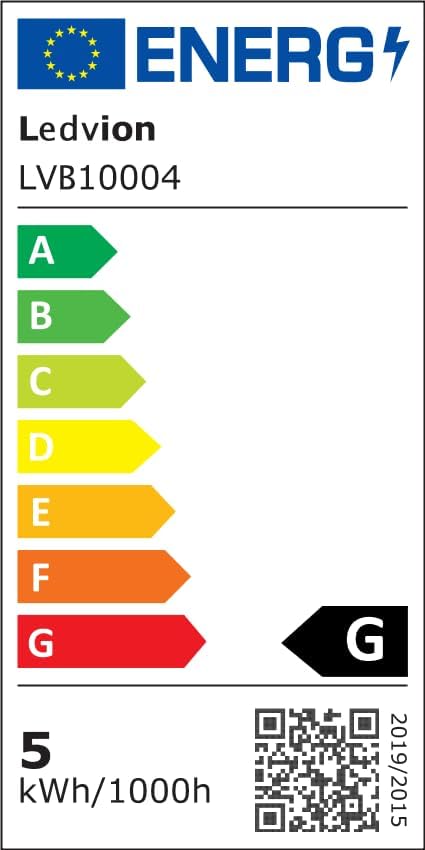
Image: EU Energy Label for Ledvion LVB10004, showing energy efficiency class G and 5 kWh/1000h consumption. For more details, visit EPREL Database.
Setup and Installation
Important: Ensure the main power supply is switched off before beginning any installation work.
- Prepare the Installation Site: Dig a hole in the desired location that is slightly larger than the ground spot's body (82mm diameter, 148mm height) to allow for proper drainage and cable routing. Ensure the ground is level.
- Cable Routing: Route the 1-meter connection cable from the ground spot to your main power supply or junction box. Use appropriate outdoor-rated cabling and waterproof connectors (e.g., IP68 T-connectors or waterproof connectors like SKU: LV50023, LV50024) for all connections to maintain the IP67 rating.
- Electrical Connection: Connect the ground spot's cable to your power supply. This product does not come with a plug, requiring a direct, secure electrical connection. Ensure correct wiring (Live, Neutral, Earth).
- Insert GU10 Bulb: Carefully insert the provided GU10 LED bulb into the fixture. Align the pins with the socket and twist to secure.
- Position the Fixture: Place the ground spot fixture into the prepared hole. Ensure the top surface is flush with the ground level to prevent water accumulation and tripping hazards.
- Secure the Fixture: Use the provided screws and Allen key to secure the top ring of the fixture, if applicable, or ensure the fixture is firmly seated in the ground.
- Test: Once all connections are secure and waterproofed, restore power and test the lights.

Image: Illustration demonstrating the connection process for Ledvion ground spots, showing an installation cable, IP68 T-connector, and IP68 waterproof connector for extending the wiring.

Image: Three Ledvion ground spots illuminating a garden lawn, demonstrating typical outdoor placement.

Image: Ledvion ground spots installed along a curved garden pathway, providing ambient lighting.
Operating Instructions
Once properly installed and connected to the power supply, the Ledvion ground spots operate simply:
- Power On/Off: Control the lights using the main switch connected to your outdoor lighting circuit.
- Automatic Operation: For automatic operation, connect the ground spots to an external timer or a dusk-to-dawn sensor (not included).
Maintenance
Regular maintenance ensures optimal performance and longevity of your Ledvion ground spots.
- Cleaning: Periodically clean the tempered glass surface to remove dirt, leaves, or debris that may obstruct light output. Use a soft, damp cloth and mild detergent if necessary. Avoid abrasive cleaners.
- Inspection: Regularly inspect the fixtures and cables for any signs of damage, wear, or loose connections. Address any issues promptly to maintain the IP67 rating.
- Bulb Replacement: To replace a GU10 bulb, ensure the power is off. Carefully remove the top ring of the fixture (if applicable) or access the bulb compartment. Twist and pull out the old bulb, then insert the new GU10 bulb by aligning the pins and twisting to secure. Ensure the replacement bulb does not exceed 15W.
- Durability: The stainless steel construction and tempered glass are designed for long-lasting outdoor use, offering anti-rust and anti-moisture properties.

Image: A close-up of the ground spot in wet grass, emphasizing its IP67 water and dust resistant rating, along with anti-rust and anti-moisture features.

Image: A close-up view of the ground spot's interior, indicating compatibility with any GU10 spot up to a maximum of 15 watts.
Troubleshooting
| Problem | Possible Cause | Solution |
|---|---|---|
| Light does not turn on. | No power supply; loose connection; faulty bulb; faulty fixture. | Check main power switch and circuit breaker. Verify all electrical connections are secure. Replace the GU10 bulb. If problem persists, contact support. |
| Light flickers or is dim. | Loose bulb; unstable power supply; incompatible dimmer (if used); faulty bulb. | Ensure bulb is securely seated. Check power supply stability. If using a dimmer, ensure it is LED-compatible. Replace the GU10 bulb. |
| Water inside the fixture. | Improper sealing of connections; damaged fixture seal. | Immediately disconnect power. Inspect all cable connections for proper waterproofing. Check the fixture's seals for damage. Replace any compromised components. |
Warranty and Support
Ledvion products are manufactured with high-quality materials and craftsmanship. This product comes with a 3-year warranty from the date of purchase, covering defects in materials and workmanship.
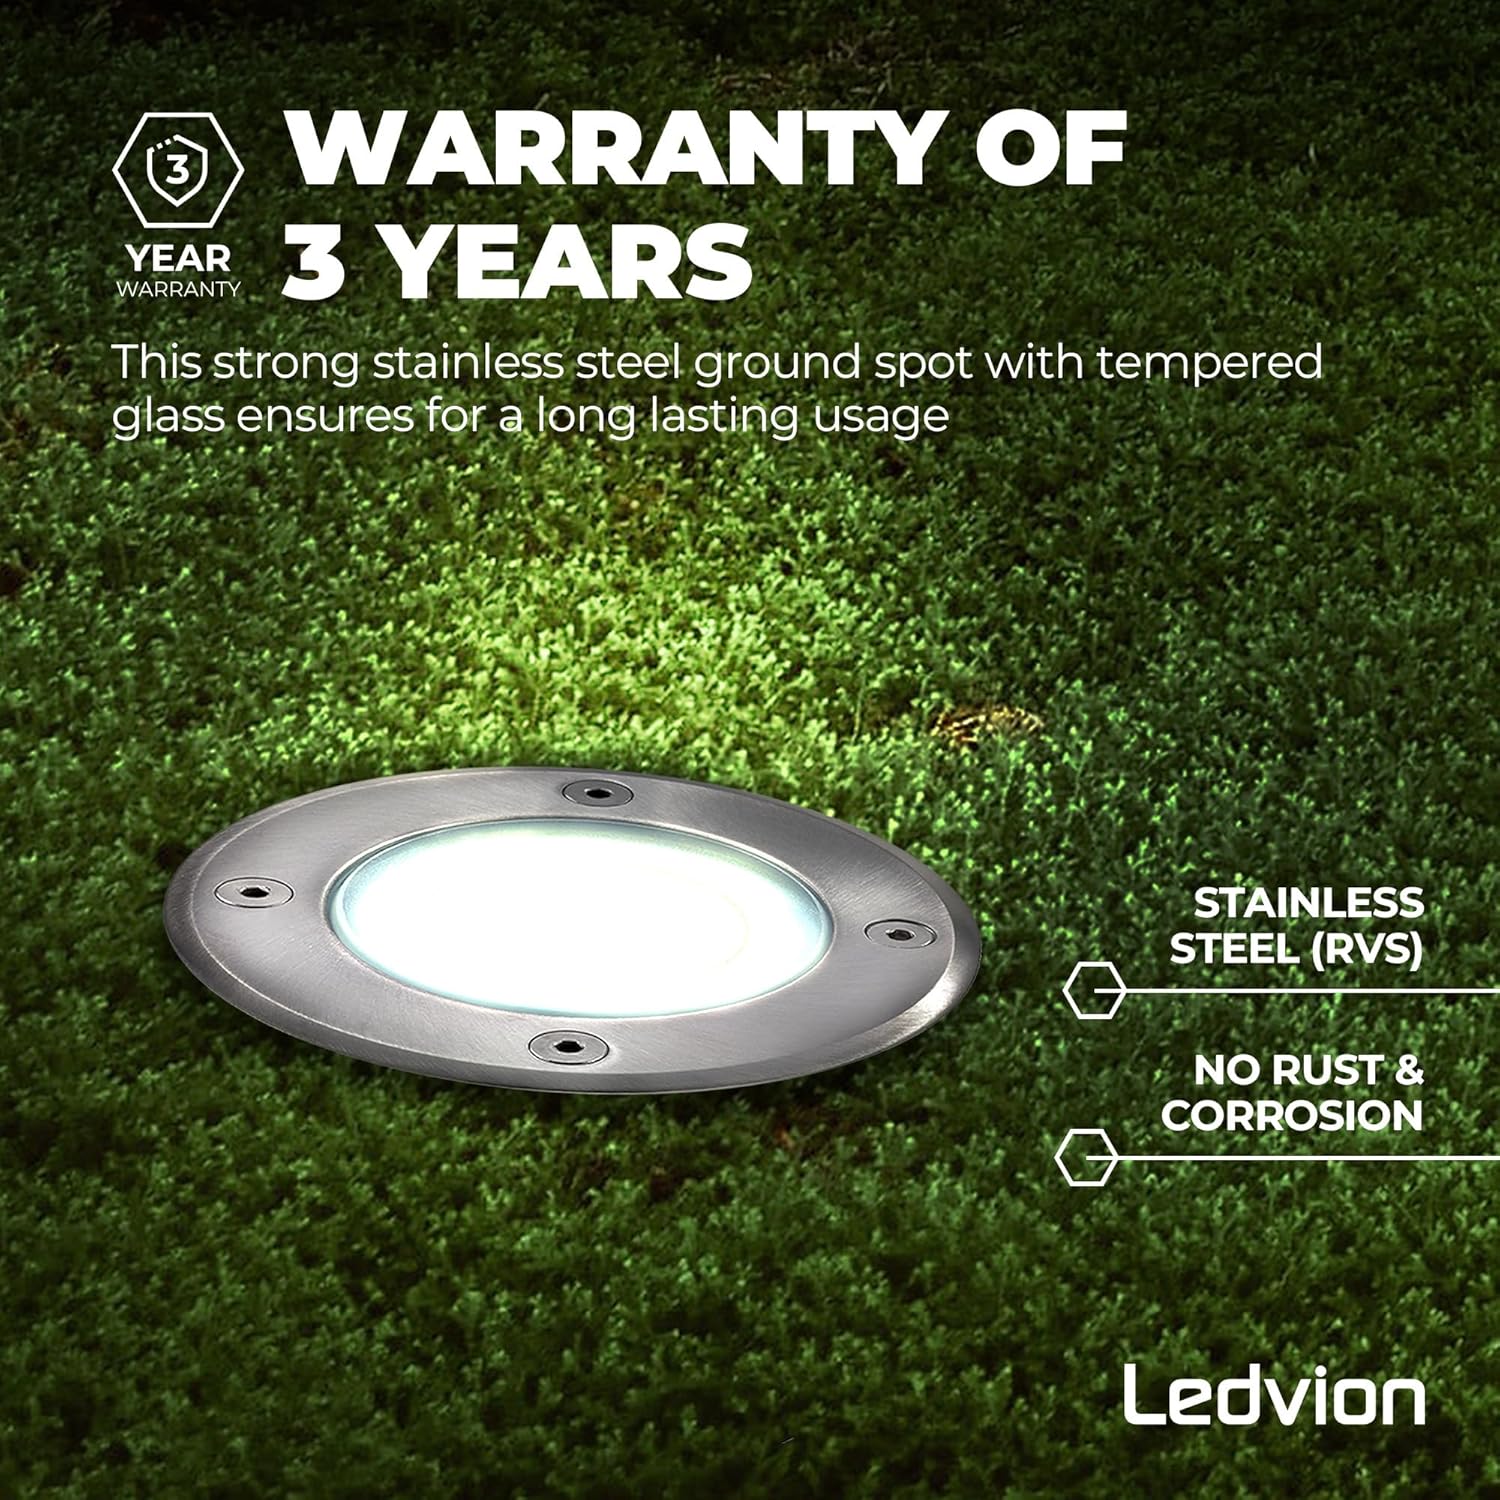
Image: Ledvion ground spot highlighting a "3 YEAR WARRANTY" badge, emphasizing its stainless steel construction and tempered glass for long-lasting use, with anti-rust and corrosion resistance.
Warranty Claims: In case of a warranty claim, please contact your original point of purchase or Ledvion customer support directly. Keep your proof of purchase for warranty validation.
Contact Information:
Tecvion B.V.
Hogebrink 2020
3871 KB Hoevelaken
The Netherlands
Any unauthorized changes or modifications to the product will void the warranty.
Ask a question about this manual
Ask about setup, troubleshooting, compatibility, parts, safety, or missing instructions. Manuals+ will review the question and use this page’s manual context to help answer it.