
1. Product Overview
This 8x12ft outdoor storage shelter provides a covered space for various items such as motorcycles, bikes, lawn mowers, wood, and tools. It features a roll-up zipper door for access and is constructed with a durable galvanized steel frame and a triple-layer PE fabric canopy. The canopy is designed to be tear-proof, waterproof, and UV-resistant, offering protection against sun, rain, dust, and snow. Stability is enhanced by 6 ground bars, 4 rope regulators, 23 stakes, and 4 wind ropes. The shelter is designed for straightforward assembly.
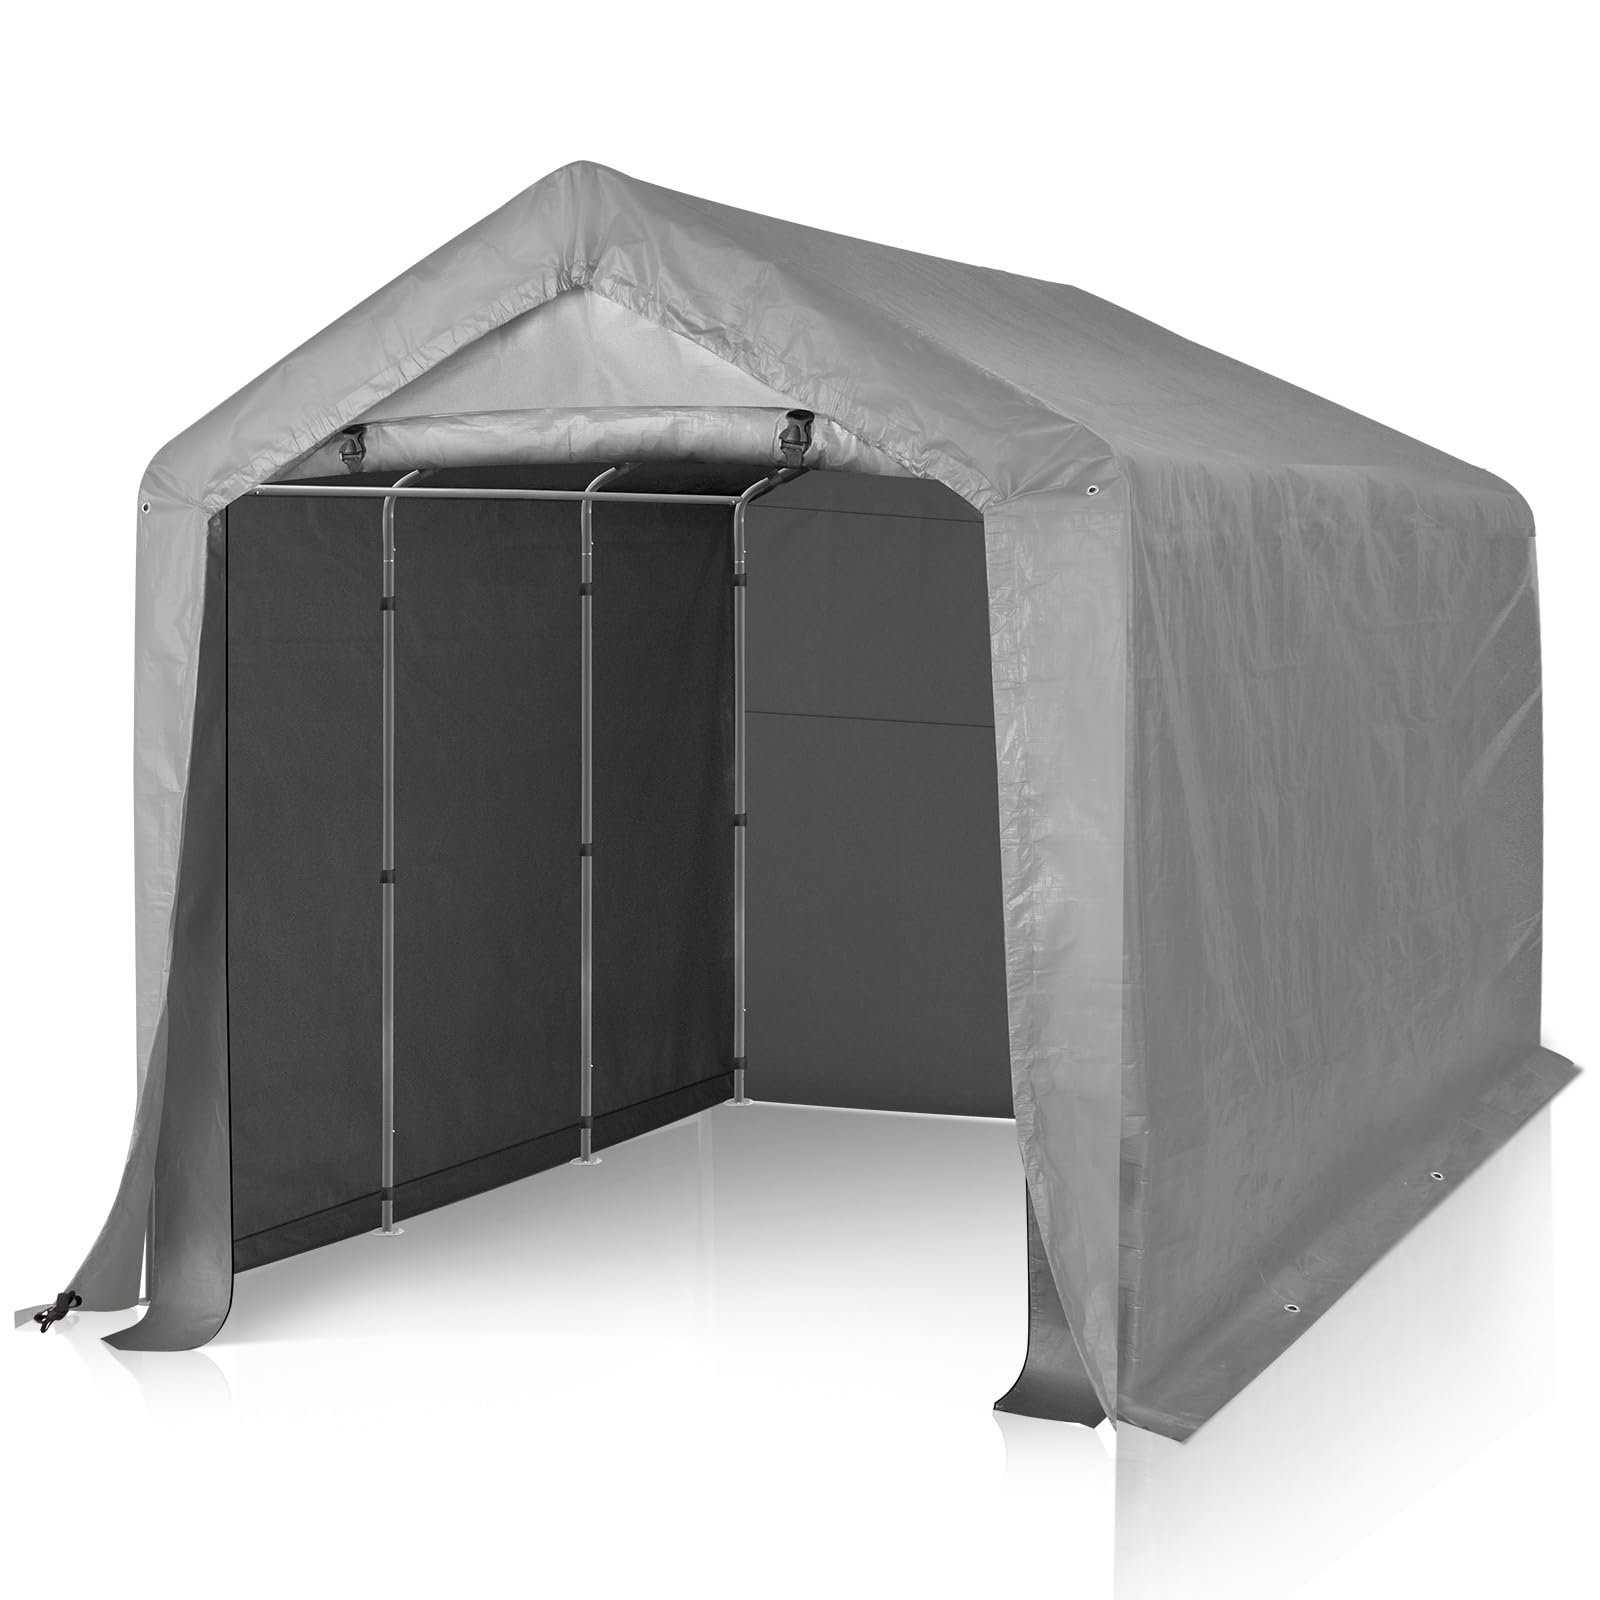
Figure 1: Assembled Outvita 8x12FT Outdoor Storage Bike Tent.
2. Safety Information
Always ensure the shelter is properly anchored and secured before use, especially in windy conditions. Keep away from heat sources and open flames. Do not use in thunderstorms or lightning-prone areas. Avoid prolonged exposure to direct sunlight to minimize UV damage.
3. Package Contents
Before beginning assembly, verify that all components listed below are present and undamaged. If any parts are missing or damaged, please contact customer support.
- 1x Carport Canopy (Gray, 140G PE fabric)
- 1x Galvanized Steel Frame Set (includes poles, connectors, 6 ground bars)
- 23x Ground Stakes
- 4x Wind Ropes
- 4x Rope Regulators
- 1x Assembly Instructions Manual
4. Assembly Instructions
Assembly requires at least two people. Follow the detailed step-by-step instructions provided in the included Assembly Instructions Manual. Ensure all connections are secure and the structure is stable before proceeding to the next step. Minimal tools are required, typically a hammer or mallet for stakes.
4.1. Site Preparation
- Choose a level, clear area for installation, free from overhead obstructions.
- Ensure adequate space for the tent's dimensions (8ft x 12ft x 6.8ft).

Figure 2: Product dimensions for site planning.
4.2. Frame Assembly
- Connect the steel poles according to the diagram in your manual. Ensure spring buckles engage fully for secure connections.
- Assemble the base frame first, then erect the vertical supports and roof structure.

Figure 3: Details of the stable framework, including spring buckles and steel base plates.
4.3. Canopy Installation
- Carefully drape the PE fabric canopy over the assembled frame.
- Secure the canopy to the frame using the integrated Velcro tapes and ensure the roll-up door is correctly positioned.
4.4. Anchoring and Stability
- Insert the 23 ground stakes through the designated loops and into the ground to secure the base.
- Attach the 4 wind ropes to the canopy and secure them to the ground using additional stakes, adjusting tension with the rope regulators for optimal stability.

Figure 4: Key stability features including wind ropes, stakes, and rope regulators.
5. Operating Instructions
5.1. Roll-Up Zipper Door
- To open the door, unzip both sides completely.
- Roll the door panel upwards and secure it using the integrated straps or buckles at the top of the entrance.
- To close, unfasten the straps, unroll the door panel, and zip it down securely.
5.2. General Usage
- Ensure items stored inside do not press against the canopy walls, which could cause stress or damage.
- Periodically check the stability of the tent, especially after strong winds or heavy precipitation.

Figure 5: Example of storing a bicycle and firewood.

Figure 6: Example of storing garden tools and potting mix.
6. Maintenance
6.1. Cleaning
- Clean the canopy regularly with mild soap and water. Avoid harsh chemicals or abrasive cleaners.
- Rinse thoroughly and allow to air dry completely before closing or storing.
6.2. Inspection
- Periodically inspect the frame for any signs of rust, bending, or damage.
- Check the canopy for tears, punctures, or excessive wear. Repair minor damage promptly to prevent further deterioration.
- Ensure all stakes, ropes, and regulators are securely fastened.
6.3. Weather Precautions
- In anticipation of severe weather (heavy snow, strong winds), consider temporarily disassembling the tent or reinforcing its anchoring.
- Remove accumulated snow from the canopy to prevent structural collapse.

Figure 7: The triple-layer PE fabric canopy offers waterproof and weather-resistant properties.
7. Troubleshooting
- Tent Instability: Ensure all ground stakes are fully inserted and wind ropes are properly tensioned and secured. Verify all frame connections are tight and spring buckles are engaged.
- Water Leakage: Check the canopy for any tears or punctures. Ensure the canopy is properly stretched over the frame and all seams are intact. Verify the roll-up door is fully zipped and secured.
- Zipper Malfunction: Inspect the zipper for any obstructions or damage. Apply a silicone-based lubricant if the zipper is stiff. If the zipper is broken, contact customer support for replacement parts.
- Missing or Damaged Parts: Refer to the 'Package Contents' section. If parts are missing or damaged upon arrival, contact customer support immediately with your purchase details.
8. Specifications
| Feature | Detail |
|---|---|
| Brand | Outvita |
| Model Number | Carporttent-1120 |
| Material | 140G PE fabric (canopy), Metal (frame) |
| Color | Gray |
| Overall Dimensions (L x W x H) | 96" x 144" x 81.6" (8ft x 12ft x 6.8ft) |
| Floor Area | 96 square feet |
| Weight | 51 lbs / 23 kg |
| Water Resistance Level | Water Resistant |
| UV Protection | UPF 50+ |
| Frame Type | Steel |
| Recommended Uses | Carport, Motorcycle, GTV, Bike, Wood, Tool, Lawn Mower Storage |
9. Warranty and Support
9.1. Return Policy
This product is eligible for a 30-day return policy, allowing for a refund or replacement. Please refer to your purchase platform's specific return guidelines for detailed instructions.
9.2. Protection Plans
Optional protection plans are available for extended coverage:
- 2-Year Protection Plan
- 3-Year Protection Plan
- Complete Protect (monthly billing)
Details regarding these plans can be found at the point of purchase or by contacting the plan provider.
9.3. Customer Support
For assistance with assembly, missing parts, or any product-related inquiries, please contact Outvita customer support. You can often find contact information on the seller's page or through your purchase history.
Visit the official Outvita Store: Outvita Store