1. Product Overview
The plplaaoo Bolany Mountain Bike Front Fork (Model ZLA258) is designed for mountain bikes, offering a damped suspension system with straight line control. It features a lightweight construction using aluminum alloy for the inner tube and Mg alloy for the fork legs, ensuring both stability and reduced weight. This 29-inch fork provides 100mm of travel and accommodates a 9mm axle, making it suitable for various mountain biking applications.
Key Features:
- Lightweight Construction: Inner tube made of aluminum alloy for stability; fork legs crafted from Mg alloy for reduced weight.
- Effective Shock Absorption: High-strength design with a sensitive system to absorb road shocks, enhancing ride comfort and safety.
- Smooth Performance: Engineered for fluent riding with strong stiffness and good lockout control.
- Impact Resistant: Unique structure designed to mitigate impact, providing protection and improving stability.
- Versatile Usage: A 29-inch front fork with 100mm stroke and 9mm axle, ideal for mountain bike repair and upgrades.

Figure 1: Front view of the plplaaoo Bolany Mountain Bike Front Fork, showing the overall structure and remote lockout cable.
2. Safety Information
Always prioritize safety when installing, operating, or maintaining bicycle components. Improper installation or maintenance can lead to serious injury or product damage.
- Ensure all bolts and fasteners are tightened to the manufacturer's specified torque settings. Refer to your bicycle's frame and component manuals for specific torque values.
- If you are unsure about any installation or maintenance procedure, consult a qualified bicycle mechanic.
- Regularly inspect the fork for any signs of damage, cracks, or wear. Do not ride with a damaged fork.
- Wear appropriate safety gear, including a helmet, when riding.
- Keep hands and clothing clear of moving parts during operation and adjustment.
3. Package Contents
Verify that all components are present and undamaged upon unpacking.
- 1 x Bolany Mountain Bike Front Fork (Model ZLA258)
- 1 x Remote Lockout Lever and Cable (pre-installed or separate)

Figure 2: Top view of the fork, highlighting the remote lockout cable and mechanism.
4. Setup and Installation
This section outlines the general steps for installing the front fork. Specific tools and torque values may vary; always refer to your bicycle's frame and component manuals.
4.1 Tools Required:
- Hex wrenches (various sizes)
- Torque wrench
- Star nut setting tool (if installing a new star nut)
- Crown race setting tool
- Hacksaw or steerer tube cutting guide
- File
- Grease
4.2 Installation Steps:
- Prepare the Steerer Tube:
Measure the required steerer tube length by test-fitting the fork, headset, and stem. Mark the cut line. Use a hacksaw and cutting guide to cut the steerer tube to the correct length. File any sharp edges smooth. - Install Crown Race:
Slide the crown race onto the steerer tube until it seats firmly against the fork crown. Use a crown race setting tool for proper installation. - Install Star Nut (if applicable):
If your stem uses a star nut for headset preload, install it into the steerer tube using a star nut setting tool. Ensure it is set to the correct depth. - Install Fork onto Frame:
Grease the headset bearings and races. Insert the steerer tube through the head tube of your bicycle frame. Install the top headset bearing, spacers, and stem. - Install Brake Caliper:
Mount your disc brake caliper to the fork's brake mounts. Ensure proper alignment and tighten bolts to manufacturer specifications. - Install Front Wheel:
Insert the front wheel axle into the fork dropouts. Secure the wheel using the quick-release skewer or thru-axle mechanism, ensuring it is properly seated and tightened. - Install Remote Lockout Lever and Cable:
Attach the remote lockout lever to your handlebar in a comfortable position. Route the cable from the lever to the fork's lockout mechanism, ensuring smooth operation and no kinks. Adjust cable tension for proper lockout engagement.
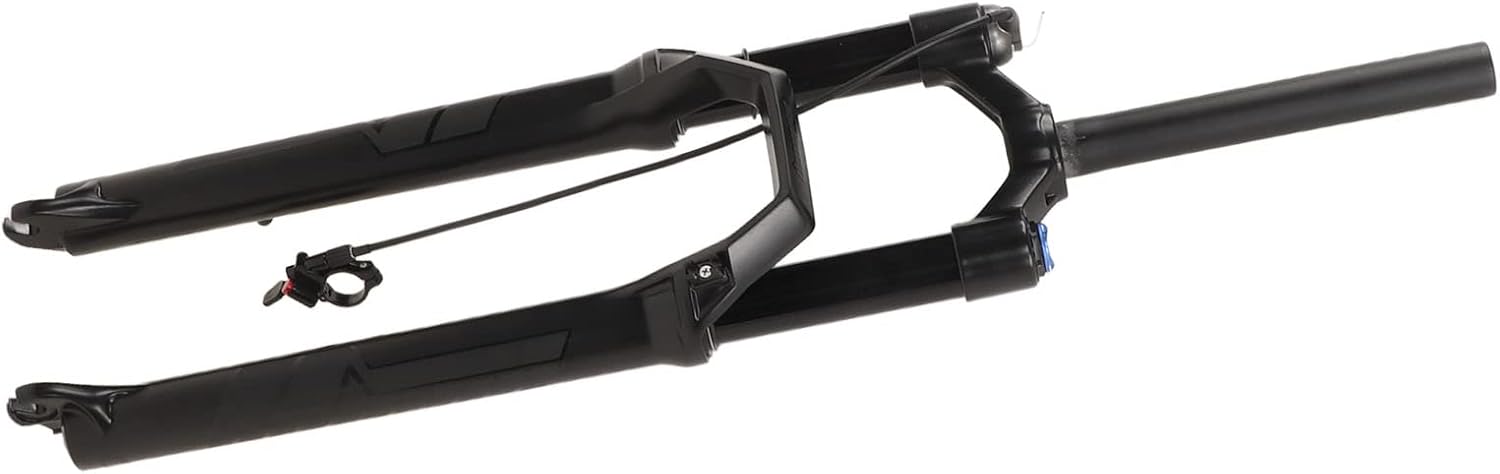
Figure 3: View of the fork's steerer tube and crown, where the headset components are installed.
5. Operating the Fork
The Bolany Mountain Bike Front Fork is designed for ease of use and adjustability.
5.1 Lockout Function (Wire Control RL):
The fork features a remote lockout system, allowing you to quickly switch between suspension modes from your handlebar.
- Engage Lockout: Press the lever on your handlebar to lock the fork's suspension. This is useful for climbing or riding on smooth terrain to improve pedaling efficiency.
- Disengage Lockout: Press the release button on the lever to unlock the fork, allowing the suspension to become active again for rough terrain.
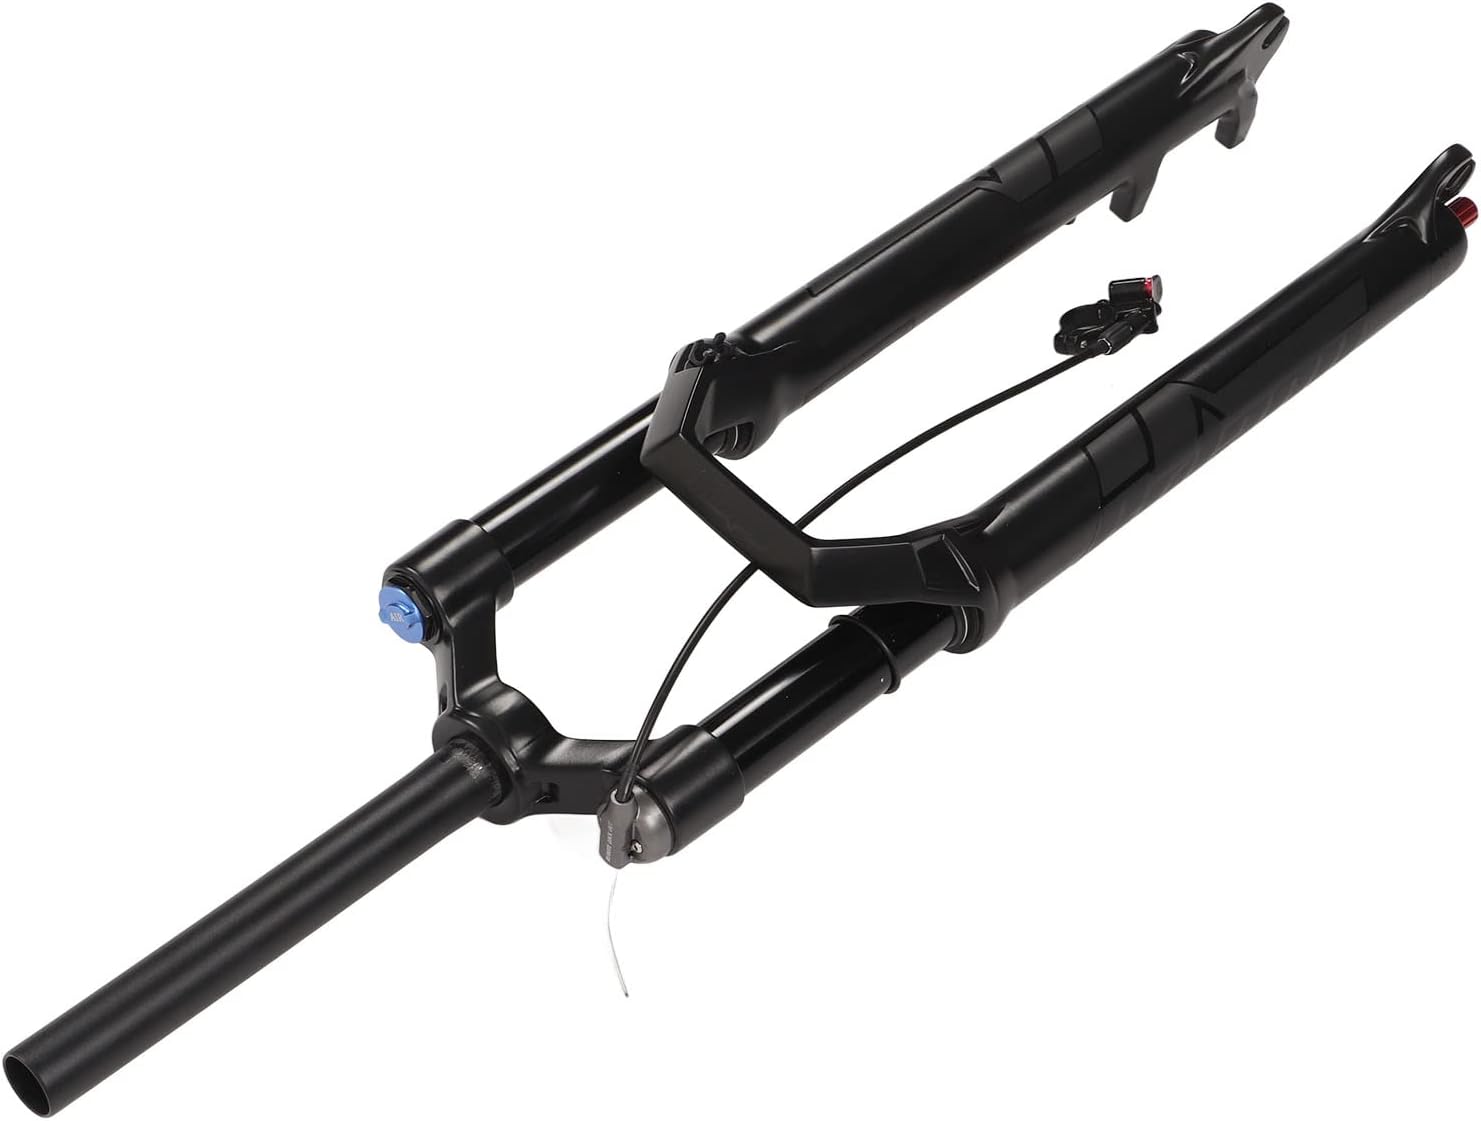
Figure 4: Close-up view of the remote lockout mechanism on the fork crown.
5.2 Air Pressure Adjustment (if applicable):
If your fork model is an air-sprung fork, you can adjust the air pressure to suit your weight and riding style. Locate the air valve (usually under a cap on the top of one of the fork legs) and use a high-pressure shock pump to add or release air. Refer to recommended pressure charts, often found on the fork leg or manufacturer's website.
6. Maintenance
Regular maintenance ensures optimal performance and extends the lifespan of your front fork.
6.1 Cleaning:
- After each ride, especially in wet or dusty conditions, wipe down the stanchions (inner tubes) with a clean, soft cloth.
- Use mild soap and water to clean the exterior of the fork. Avoid high-pressure washers directly on seals.
- Ensure no dirt or debris accumulates around the seals.
6.2 Lubrication:
- Apply a small amount of suspension-specific lubricant to the stanchions periodically, then cycle the fork a few times to distribute it. Wipe off any excess.
- Do not use general lubricants like WD-40, as they can damage seals.
6.3 Inspection:
- Regularly check for any play in the bushings or headset.
- Inspect the stanchions for scratches or damage.
- Check all bolts for proper tightness.
- Ensure the remote lockout cable operates smoothly and is free from fraying.
7. Troubleshooting
This section addresses common issues you might encounter with your front fork.
7.1 Fork Feels Too Stiff or Too Soft:
- Solution: If it's an air fork, adjust the air pressure. Increase pressure for a stiffer feel, decrease for a softer feel. Ensure the lockout is disengaged.
7.2 Lockout Not Engaging or Releasing:
- Solution: Check the remote lockout cable tension. It might be too loose or too tight. Inspect the cable for kinks or damage. Ensure the lever mechanism is clean and functioning correctly.
7.3 Fork Making Unusual Noises:
- Solution: Check for loose components (headset, brake caliper, axle). Clean and lubricate the stanchions. If noises persist, it may indicate an internal issue requiring professional service.
7.4 Loss of Travel or Sag:
- Solution: For air forks, check and adjust air pressure. Inspect seals for leaks. If the issue persists, internal service may be required.
8. Specifications
| Specification | Detail |
|---|---|
| Brand | plplaaoo |
| Model | ZLA258 |
| Item Model Number | plplaaoo6ke4xzc9g0 |
| Material | Mg alloy (fork legs), Aluminum alloy (inner tube) |
| Wheel Size | 29 Inches |
| Steerer Tube Type | Straight |
| Steerer Tube Diameter | 34mm (implied from product title) |
| Stroke (Travel) | 100mm / 3.9in |
| Axle Type | 9mm Quick Release |
| Lockout Type | Wire Control (Remote Lockout) |
| Gross Weight | 2.4 kg / 84.7oz |
| Parcel Dimensions | 80 x 19 x 11 cm |

Figure 5: View of the fork's lower legs and dropouts, where the wheel axle is secured.
9. Warranty and Support
For warranty information and customer support, please refer to the documentation provided with your purchase or contact the retailer. Keep your proof of purchase for any warranty claims.
If you require technical assistance or have questions not covered in this manual, please reach out to the plplaaoo customer service team through the official channels provided by your seller.