1. Introduction
Thank you for choosing the eYotto 12-Inch Illuminated Wall Clock. This manual provides detailed instructions for the proper setup, operation, and maintenance of your new clock. Please read this manual thoroughly before use to ensure optimal performance and longevity of the product.

Image 1.1: eYotto 12-Inch Illuminated Wall Clock overview.
2. Product Features
- Elegant Self-Illuminated Design: Equipped with a light sensor, the clock automatically illuminates in dark environments and turns off in bright conditions.
- Easy-to-Read Display: Features a 12-inch large display with clear numbers and adjustable LED brightness for visibility day and night.
- Silent Non-Ticking Movement: Utilizes precise quartz movements with a silent sweep second hand to ensure a quiet environment suitable for bedrooms, study rooms, and offices.
- Adjustable Night Light Modes: Three switch settings (O/I/II) on the back allow for light off, low brightness, or high brightness in darkness.
- Automatic Light Management: The night light automatically turns off after 5 hours in darkness to conserve battery life. It reactivates for another 5 hours when the environment transitions from dark to bright and back to dark.
- Versatile Decoration: Vintage and retro design complements various interior styles, ideal for home, office, and other spaces.

Image 2.1: The clock features a silent sweep movement for an undisturbed environment.

Image 2.2: Noise level comparison for silent movement.
3. Package Contents
Upon opening the package, please verify that all components are present and undamaged:
- 1 x eYotto 12-Inch Illuminated Wall Clock
- User Manual (this document)
Note: Batteries are not included and must be purchased separately.

Image 3.1: Front view of the product packaging.
4. Setup
4.1 Battery Installation
- Locate the battery compartments on the back of the clock. There are two compartments.
- For the clock movement, insert 1 x AA battery into the designated compartment, ensuring correct polarity (+/-).
- For the backlight function, insert 4 x AA batteries into the larger compartment, ensuring correct polarity (+/-).
- Close both battery compartment covers securely.
4.2 Setting the Time
- Locate the time setting knob on the back of the clock, usually near the single AA battery compartment.
- Rotate the knob to adjust the hour and minute hands to the correct time.
- Ensure the second hand begins to move, indicating the clock is functioning.
4.3 Mounting the Clock
- Choose a suitable location on a wall for mounting.
- Use appropriate wall anchors and screws (not included) for secure installation.
- Hang the clock using the integrated hanging slot on the back.

Image 4.1: Rear view of the clock, highlighting battery compartments and the LED light switch.
5. Operating Instructions
5.1 Light Sensor Functionality
The eYotto wall clock is equipped with a light sensor that detects ambient light levels. When the environment becomes dark, the clock's backlight will automatically activate. When the environment brightens, the backlight will automatically turn off.
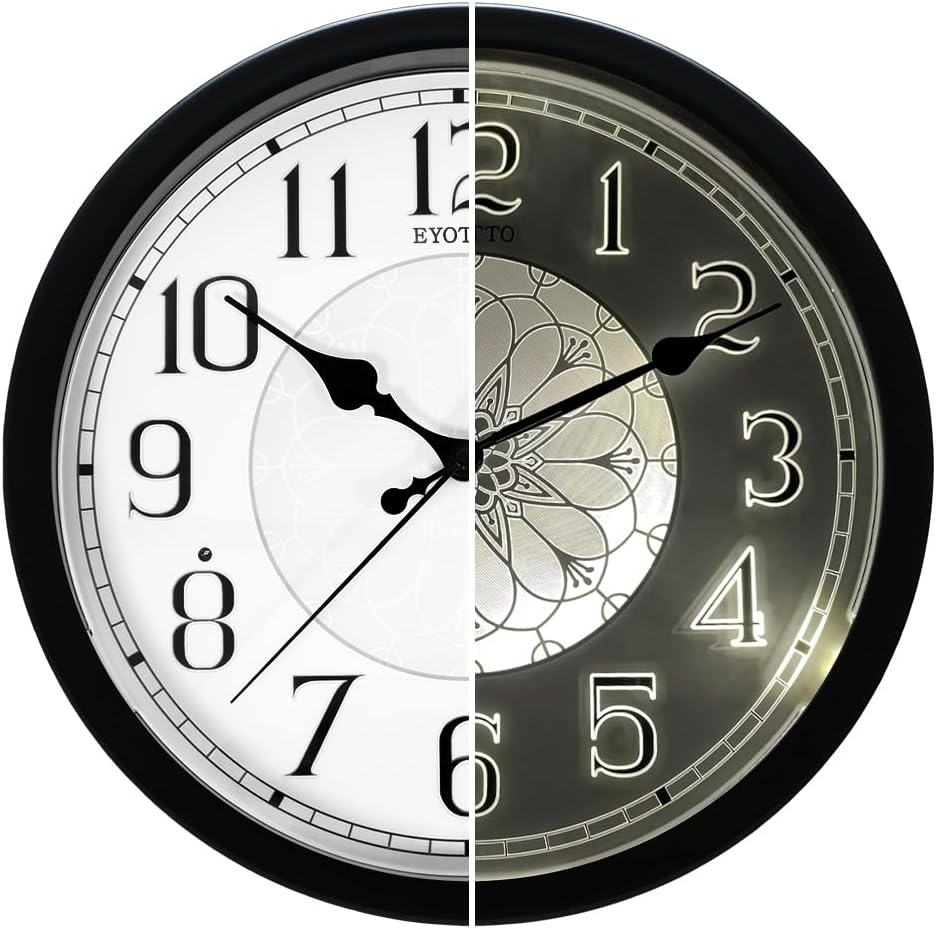
Image 5.1: Demonstration of the clock's automatic illumination in low light.

Image 5.2: Close-up view of the clock face, indicating the light sensor location.
5.2 LED Light Switch Modes
On the back of the clock, there is a switch to control the LED backlight. Select one of the following modes:
- "O" Mode: Turns the LED light off completely.
- "I" Mode: Activates the low-brightness LED mode when it's dark. The light will stay on for 5 hours.
- "II" Mode: Activates the high-brightness LED mode when it's dark. The light will stay on for 5 hours.
To conserve battery life, the night light will automatically turn off after 5 hours in darkness. If the environment transitions from darkness to brightness and then back to darkness, the light will reactivate and function for an additional 5 hours.

Image 5.3: Explanation of the three LED light modes.

Image 5.4: The clock providing illumination in a dark room.
5.3 Product Overview Video
Video 5.1: An overview of the eYotto Night Light Wall Clock, demonstrating its design and features. (Duration: 0:48)
5.4 Illumination Demonstration Video
Video 5.2: A demonstration of the eYotto Illuminated Wall Clock's silent movement and glow-in-the-dark feature. (Duration: 0:32)
6. Maintenance
6.1 Cleaning
To clean the clock, gently wipe the surface with a soft, dry cloth. Avoid using abrasive cleaners, solvents, or chemical sprays, as these can damage the finish or internal components.
6.2 Battery Replacement
Replace batteries when the clock movement becomes erratic or the backlight dims significantly or stops working. Always replace all batteries (1x AA for movement, 4x AA for backlight) at the same time with new, high-quality alkaline batteries to ensure consistent performance.
7. Troubleshooting
| Problem | Possible Cause | Solution |
|---|---|---|
| Clock hands do not move. | Dead or incorrectly installed AA battery for clock movement. | Check battery polarity. Replace the 1x AA battery with a new one. |
| Backlight does not turn on in the dark. |
|
|
| Backlight turns off after a short period. | Automatic 5-hour shut-off feature. | This is normal operation. The light will reactivate if the environment brightens and then darkens again. |
| Clock is making ticking sounds. | Not applicable, this model features a silent sweep movement. | Verify the model. If ticking occurs, contact customer support. |
8. Specifications
| Feature | Detail |
|---|---|
| Brand | eYotto |
| Model Number | 90105A0 |
| Product Dimensions | 12"W x 12"H (approximately 30.5 cm x 30.5 cm) |
| Item Weight | 1.9 Pounds (approximately 0.86 kg) |
| Color | Black and White |
| Display Type | Analog |
| Power Source | Battery Powered |
| Batteries Required | 1 x AA (for clock movement), 4 x AA (for backlight) - Not Included |
| Special Features | Adjustable Brightness, Illuminated, Large Display, Silent Clock, Light Sensor |
| Mounting Type | Wall Mount |
| Material | Plastic |
| Indoor/Outdoor Usage | Indoor |

Image 8.1: Product dimensions of the eYotto wall clock.

Image 8.2: Manufacturer details on the product packaging.
9. Warranty and Support
For warranty information and customer support, please refer to the documentation included with your product packaging or contact eYotto customer service directly. Details regarding specific warranty periods and support procedures are typically provided at the point of purchase or on the manufacturer's official website.