1. Introduction
Thank you for choosing the YUEHISY X3 Wireless Gaming Controller. This manual provides detailed instructions on how to set up, operate, and maintain your new gaming controller. Please read this manual carefully before use to ensure optimal performance and longevity of your device.
2. Product Overview
The YUEHISY X3 is a versatile wireless gaming controller designed for a wide range of devices, including Android and iOS mobile phones, TVs, computers, and VR systems. It features dual vibration feedback, a comfortable ergonomic design, and multiple connection modes for an enhanced gaming experience.

Figure 2.1: YUEHISY X3 Wireless Gaming Controller with a smartphone mounted in the integrated bracket.
This image displays the YUEHISY X3 controller in black with red accents, featuring dual joysticks, a D-pad, action buttons, and central 'HOME', 'SELECT', and 'START' buttons. A smartphone is securely held in the adjustable bracket above the controller, demonstrating its mobile gaming capability.
2.1 Controller Layout

Figure 2.2: Detailed button and component layout of the X3 Controller.
This image provides a close-up view of the controller, highlighting its various buttons and features. It includes the directional pad (D-pad), left and right analog joysticks, A/B/X/Y action buttons, L1/R1 shoulder buttons, L2/R2 triggers, and the central HOME, SELECT, and START buttons. The ergonomic grips are also visible.
- D-Pad: Directional control.
- Left/Right Analog Joysticks: Precise 360-degree movement.
- Action Buttons (A, B, X, Y): Primary game input buttons.
- Shoulder Buttons (L1, R1): Quick access buttons.
- Trigger Buttons (L2, R2): Analog input for nuanced control.
- HOME Button: Power on/off and mode switching.
- SELECT/START Buttons: Game-specific functions.
- LED Indicators: Display connection status and mode.
- Micro USB Port: For charging and wired connection.
3. Specifications
| Item Type | X3 Wireless Bluetooth Game Controller |
| Product Material | ABS |
| Weight | Approx. 221g / 7.8oz |
| Battery Capacity | Lithium Battery 400mAh (Built-in) |
| Charging Time | 2 Hours |
| Use Time | > 20 Hours |
| Connectivity | Bluetooth, Wired, Wireless Receiver |
| Application/Compatibility | Android, iOS, Mobile Phone, TV, Computer, VR (Dual Mode) |
4. Package Contents
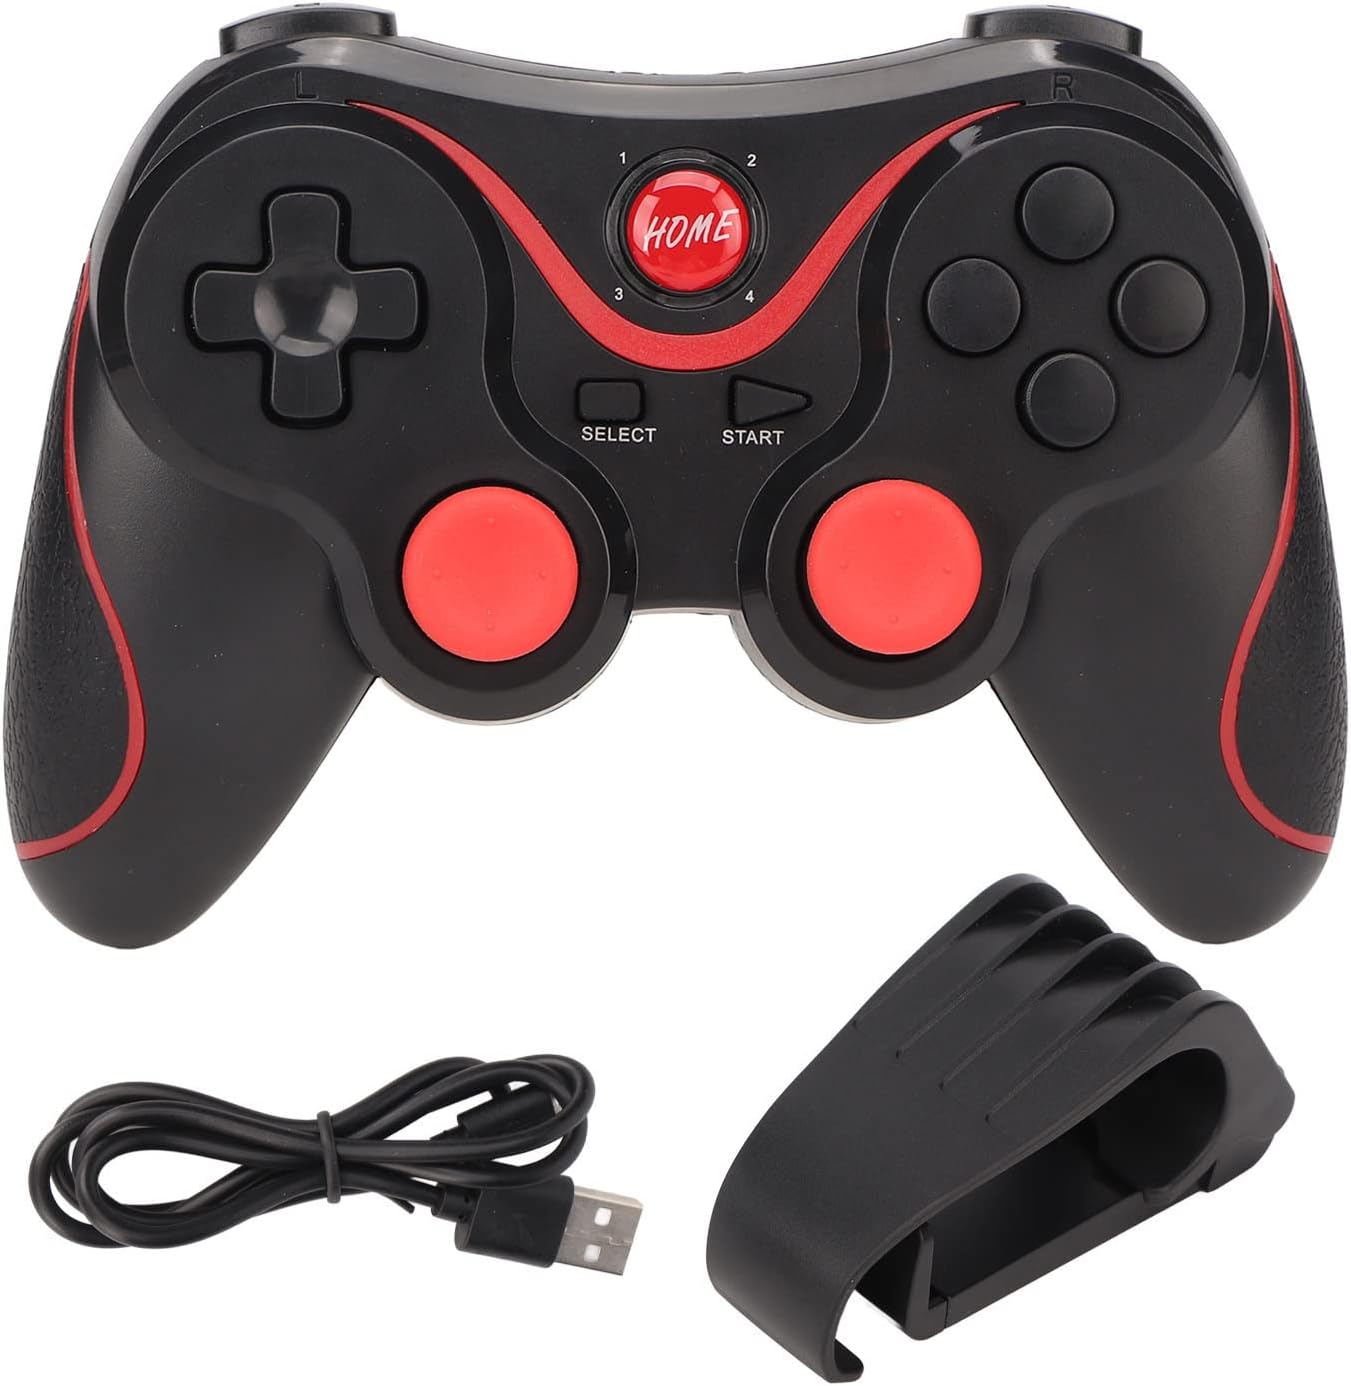
Figure 4.1: Included items in the YUEHISY X3 package.
This image displays the complete package contents: the YUEHISY X3 wireless gaming controller, a Micro USB charging cable, and a detachable phone bracket.
- 1 x Bluetooth Game Controller (YUEHISY X3)
- 1 x Charging Cable (Micro USB)
- 1 x User Manual (Chinese and English)
- 1 x Bracket (for mobile phone mounting)
5. Setup
5.1 Charging the Controller
Before first use, ensure the controller is fully charged. Connect the provided Micro USB charging cable to the controller's charging port and the other end to a USB power source (e.g., computer USB port, USB wall adapter).

Figure 5.1: Micro USB charging port location.
This image shows a close-up of the Micro USB port located on the top edge of the controller, used for charging the internal 400mAh battery and for wired connections.
- The LED indicator will typically show charging status (e.g., blinking while charging, solid when fully charged).
- A full charge takes approximately 2 hours.
5.2 Attaching the Phone Bracket
The detachable bracket allows you to mount your mobile phone directly onto the controller for a portable gaming setup.

Figure 5.2: Controller with detachable phone bracket.
This image displays the YUEHISY X3 controller alongside its black, adjustable phone bracket. The bracket is designed to securely hold a smartphone above the controller, providing an integrated mobile gaming experience.
- Locate the slot on the top center of the controller.
- Align the bracket with the slot and gently push it down until it clicks into place.
- Adjust the bracket to securely hold your smartphone.
5.3 Powering On/Off
- To Power On: Press and hold the HOME button for 1-2 seconds. The LED indicators will light up.
- To Power Off: Press and hold the HOME button for 5 seconds until the LED indicators turn off.
- The controller will automatically power off after a period of inactivity to conserve battery.
6. Operating Instructions
6.1 Bluetooth Connection (Mobile Phones, Tablets, Smart TVs)
- Ensure the controller is powered off.
- Press and hold the HOME button along with a specific mode button (e.g., X + HOME for Android, Y + HOME for iOS, consult the included manual for specific mode combinations) to enter pairing mode. The LED indicators will flash rapidly.
- On your device, enable Bluetooth and search for available devices.
- Select "X3 Gamepad" or similar from the list of found devices.
- Once paired, the LED indicator on the controller will become solid, indicating a successful connection.
Note: Specific button combinations for different modes (Android, iOS, PC) are crucial. Refer to the small printed manual included in your package for precise instructions on entering each mode.
6.2 Wired Connection (PC, Android Devices)
For devices that support USB OTG or standard USB input, you can connect the controller directly via the Micro USB cable.
- Connect one end of the Micro USB cable to the controller's port.
- Connect the other end to a USB port on your PC or compatible Android device (an OTG adapter may be required for some Android devices).
- The controller should be automatically recognized by your device.
6.3 Wireless Receiver Connection (PC, Smart TV)
If your package includes a wireless receiver (dongle), you can use it for a stable wireless connection to PCs or Smart TVs that do not have built-in Bluetooth or for a more reliable connection.
- Plug the wireless receiver into an available USB port on your PC or Smart TV.
- Power on the controller (often with a specific button combination for receiver mode, e.g., A + HOME).
- The controller should automatically connect to the receiver. The LED indicator will become solid.
6.4 Dual Vibration Feedback
The X3 controller features dual vibration motors to provide immersive haptic feedback during gameplay, enhancing your gaming experience. This feature is automatically enabled when supported by the game and connected device.
6.5 Game Compatibility
The controller supports a wide variety of simulators and games that are designed for gamepad input. Ensure your game supports external controllers for optimal functionality.

Figure 6.1: Controller in use, highlighting key features.
This image shows the YUEHISY X3 controller in a gaming context, with a background of a game being played on a large screen. Text overlays emphasize features such as support for many games, smooth control levers, precise buttons, comfortable grip, and multiple modes for improved compatibility and simplified operation.
7. Maintenance
- Cleaning: Use a soft, dry cloth to clean the controller. Do not use harsh chemicals or abrasive materials.
- Storage: Store the controller in a cool, dry place away from direct sunlight and extreme temperatures.
- Battery Care: To prolong battery life, avoid fully discharging the controller frequently. Charge it regularly, even if not in use for extended periods.
- Avoid Drops: Protect the controller from drops and impacts, which can damage internal components.
8. Troubleshooting
- Controller does not power on:
- Ensure the battery is charged. Connect the charging cable and try again.
- Press and hold the HOME button for a longer duration (up to 5 seconds) to ensure it's not just in sleep mode.
- Controller does not connect via Bluetooth:
- Ensure the controller is in the correct pairing mode for your device (e.g., Android, iOS). Refer to Section 6.1.
- Make sure Bluetooth is enabled on your device and it's discoverable.
- Forget previous pairings on your device and try pairing again.
- Restart both the controller and your device.
- Ensure no other Bluetooth devices are interfering.
- Buttons or joysticks are unresponsive:
- Check if the controller is properly connected and in the correct mode for the game.
- Test the controller with another game or device to isolate the issue.
- Ensure the game itself supports gamepad input.
- Recharge the controller. Low battery can sometimes affect performance.
- Vibration feedback is not working:
- Verify that the game you are playing supports vibration feedback.
- Check in-game settings to ensure vibration is enabled.
- Ensure the controller is fully charged.
9. Warranty and Support
The YUEHISY X3 Wireless Gaming Controller comes with a standard manufacturer's warranty. For specific warranty terms and conditions, please refer to the warranty card included in your package or contact YUEHISY customer support directly.
If you encounter any issues not covered in this manual or require further assistance, please contact your retailer or YUEHISY customer service through their official channels. Please have your product model (X3) and purchase information ready when contacting support.


