1. Introduction
This manual provides essential information for the installation, operation, maintenance, and troubleshooting of your CNSTWEI 12.1-inch Carplay Screen Car Radio. This unit is specifically designed for Ford F150 Raptor models manufactured between 2009 and 2012. It features an 8-core CPU, 2GB RAM, 64GB ROM, and integrates functionalities such as Wireless Carplay, Wired Android Auto, GPS navigation, Wi-Fi, FM radio, DSP audio processing, and Bluetooth connectivity, while retaining original steering wheel controls.
2. Safety Information
- Read all instructions carefully before installation and use.
- Professional installation is recommended to prevent damage to the unit or vehicle.
- Do not operate the unit in a way that distracts you from driving. Always prioritize road safety.
- Ensure all wiring is correctly connected to avoid short circuits or electrical hazards.
- Keep the screen clean and free from obstructions.
3. Package Contents
Verify that all items are present in the package:
- 1 x 12.1-inch Car Touchscreen Unit
- 1 x Microphone (MIC)
- 1 x Power Cable
- 1 x CAM Cable
- 1 x GPS Antenna
- 1 x USB Cable
- 1 x AUX Cable
- 1 x User Manual (this document)
- Installation Tools (if included)
4. Compatibility and Model Selection
This product is designed for specific Ford F150 Raptor models from 2009-2012. It is crucial to select the correct model (A or B) based on your vehicle's original radio configuration.
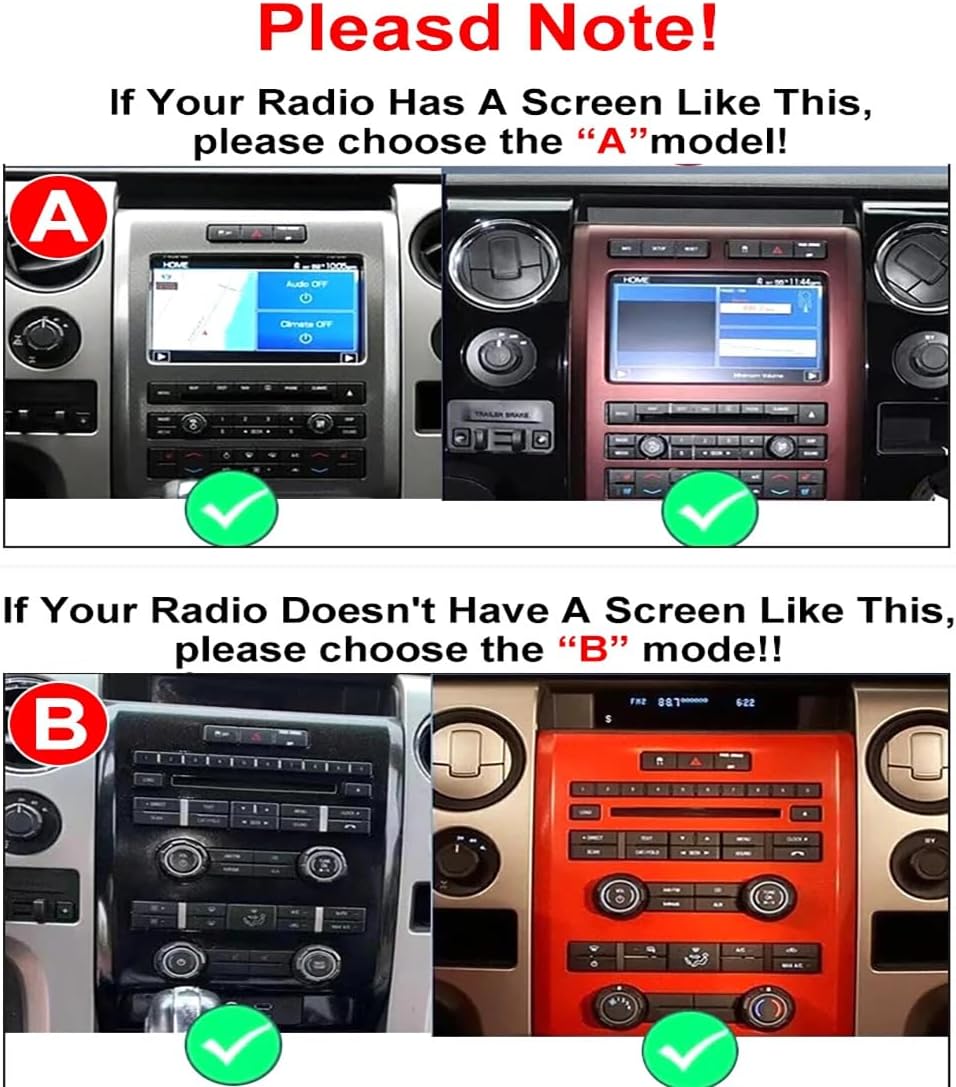
Image: Comparison of 'A' and 'B' model dashboards. If your original radio has a screen, choose 'A' model. If it does not have a screen, choose 'B' model.
Important Note for 2012 F150 Owners: The 2012 F150 model underwent a generational update. This product is not suitable if your central control panel matches the incompatible configurations shown below. Please verify your dashboard before purchase.

Image: Examples of 2012 F150 dashboards that are incompatible with this product.
5. Setup and Installation
Installation of the 12.1-inch Carplay Screen Car Radio involves replacing the factory OEM screen and integrating the new unit with your vehicle's existing systems. Due to the complexity of automotive electronics, professional installation is highly recommended.
5.1 Wiring Diagram
Refer to the detailed wiring diagram for correct connections of power, audio, GPS antenna, USB, and camera inputs.
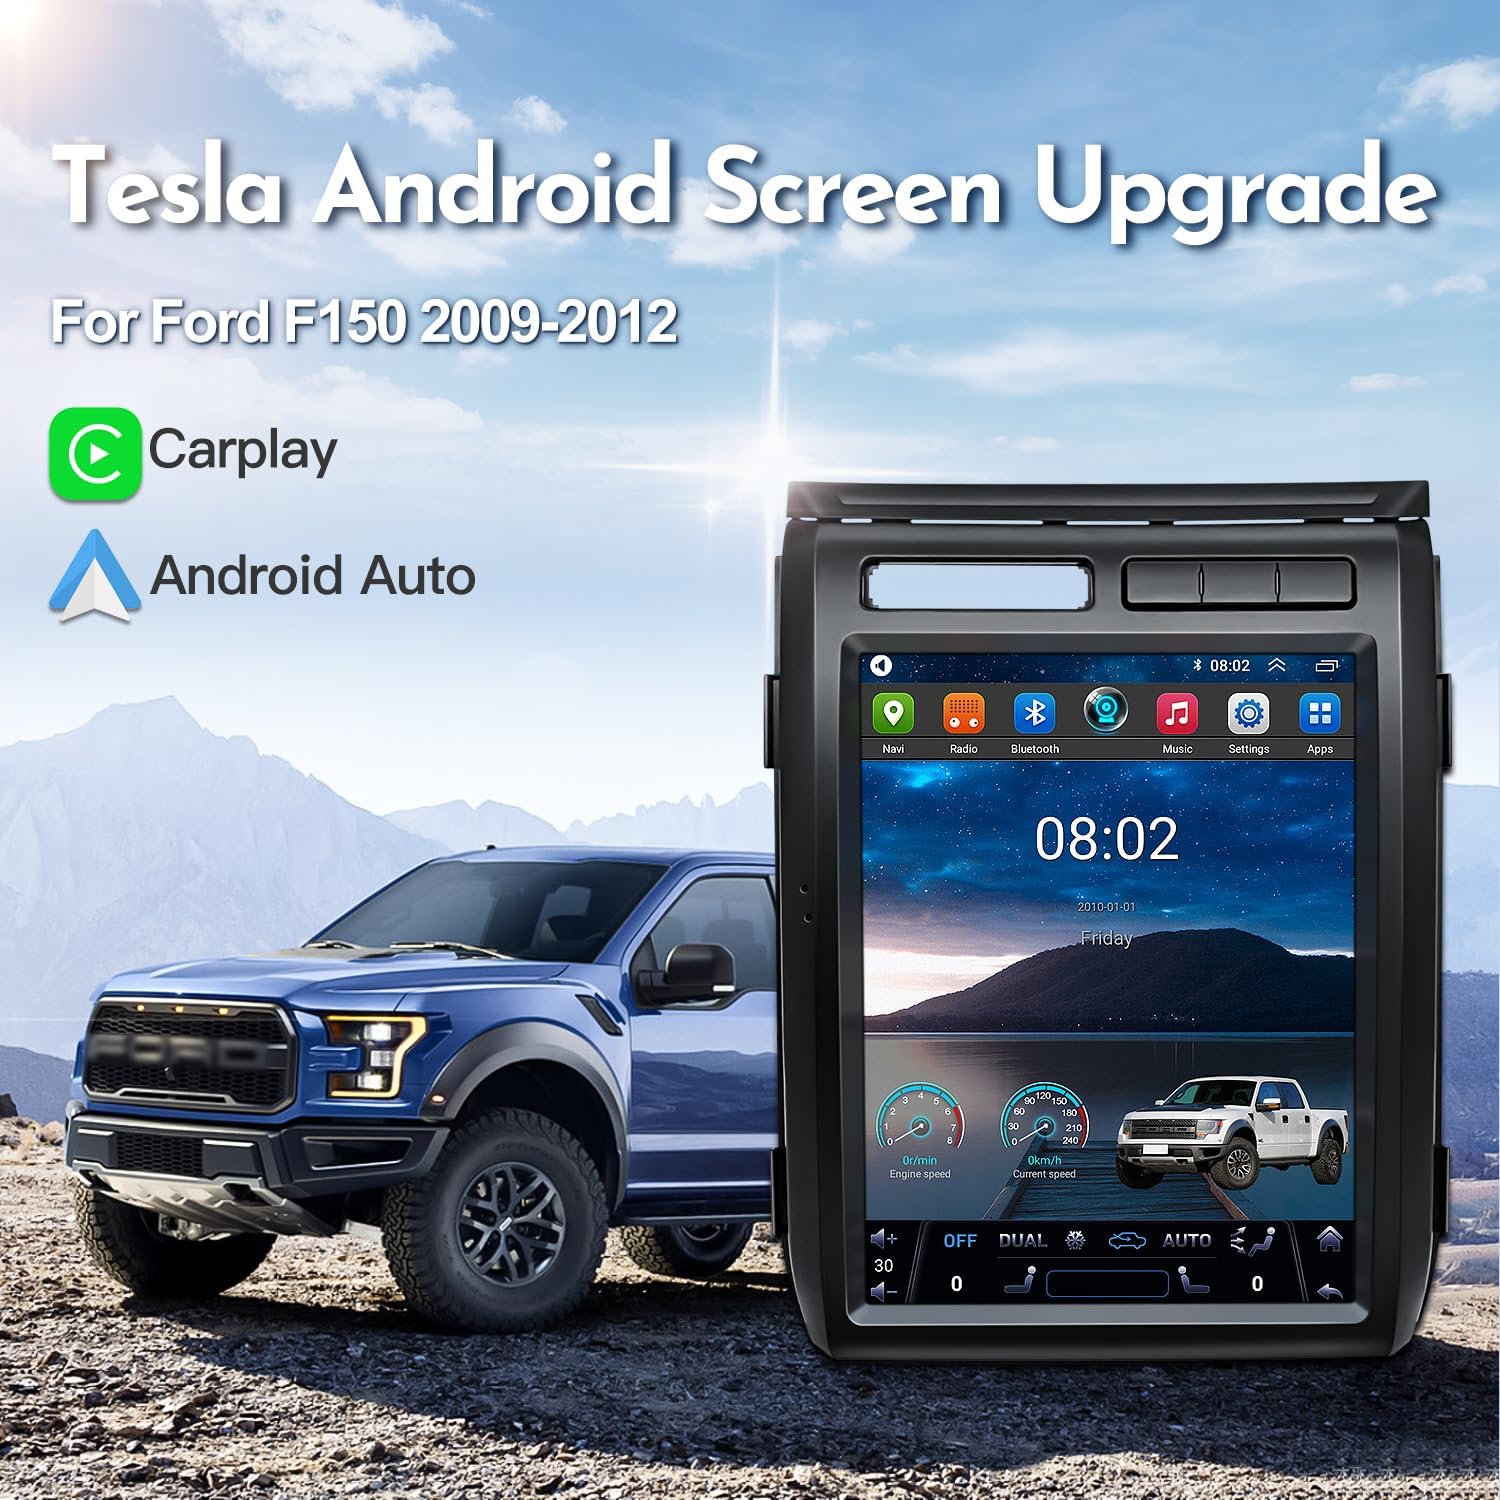
Image: Comprehensive wiring diagram showing connections for power, CANbus, USB, camera, GPS antenna, and radio antenna.
5.2 Installation Overview
The installation process typically involves removing the original radio unit and dashboard trim, connecting the new unit's wiring harness, and securing the new 12.1-inch touchscreen into the dashboard. Ensure all connections are secure before reassembling the dashboard components.

Image: Visual comparison of the Ford F150 Raptor dashboard before and after the installation of the 12.1-inch Carplay screen.
6. Operating Instructions
6.1 Basic Touchscreen Operation
The unit features a 12.1-inch IPS multi-touchscreen with 1024*768 HD resolution. Navigate through menus and applications by tapping, swiping, and pinching gestures, similar to a smartphone or tablet.
6.2 Steering Wheel Control Integration
The unit is designed to retain your vehicle's original steering wheel control functionality. After installation, verify that volume, track skipping, and other controls operate as expected. Configuration may be required in the unit's settings menu.
6.3 Bluetooth Connectivity
To pair your smartphone via Bluetooth 5.0:
- Go to the 'Settings' menu on the car radio.
- Select 'Bluetooth' and ensure it is enabled.
- On your smartphone, search for available Bluetooth devices and select the car radio's name.
- Confirm the pairing code on both devices if prompted.
Once paired, you can stream music, make hands-free calls, and access contacts.
7. Features Overview
7.1 Wireless Carplay & Wired Android Auto
The unit supports both Wireless Carplay and Wired Android Auto, allowing seamless integration with your smartphone for navigation, music, messages, and more. Multiple languages are supported.

Image: Example of Carplay and Android Auto interfaces on the 12.1-inch screen.
7.2 GPS Navigation
With the included GPS antenna, you can utilize your favorite navigation applications directly on the homescreen. The system supports popular map services such as Google Maps, Igo Maps, and Waze.

Image: GPS navigation map interface shown on the 12.1-inch car radio screen.
7.3 DSP Processor
The integrated Digital Signal Processor (DSP) allows for high-precision audio tuning, enhancing the sound quality with multi-dimensional surround sound and lossless audio processing for an improved listening experience.

Image: DSP audio adjustment interface, showing presound and aftersound equalization options.
7.4 Reversing System Support
The unit supports both original factory and aftermarket rearview cameras, providing enhanced safety during reversing maneuvers. It is also compatible with DVR systems.

Image: Rearview camera feed displayed on the 12.1-inch car radio screen, showing parking guidelines.
8. Maintenance
- Screen Cleaning: Use a soft, lint-free cloth to gently wipe the touchscreen. For stubborn smudges, slightly dampen the cloth with water or a screen-safe cleaner. Avoid harsh chemicals or abrasive materials.
- Software Updates: Periodically check for software updates to ensure optimal performance and access to new features. Follow the on-screen instructions for any available updates.
- General Care: Avoid exposing the unit to extreme temperatures, direct sunlight for prolonged periods, or excessive moisture.
9. Troubleshooting
If you encounter issues, consider the following common solutions:
- No Power/Unit Not Turning On: Check all power cable connections. Ensure the vehicle's ignition is on. Verify fuses related to the car radio.
- No Sound: Check speaker connections. Ensure volume is not muted or set to minimum. Verify audio settings in the unit's menu.
- Touchscreen Unresponsive: Perform a soft reset (refer to the unit's specific reset procedure, usually a small reset button or holding the power button).
- GPS Signal Issues: Ensure the GPS antenna is properly installed and has a clear view of the sky.
- Bluetooth Pairing Problems: Ensure Bluetooth is enabled on both the unit and your smartphone. Delete previous pairings and attempt to re-pair.
- Carplay/Android Auto Not Connecting: For wired connections, try a different USB cable. For wireless, ensure Wi-Fi and Bluetooth are active on your phone and the unit.
- Original Functions Not Working: Verify all CANbus and original wiring connections. Ensure the unit's settings are configured to retain OEM functions.
Many problems are often resolved by ensuring correct cable connections and settings. If issues persist, please contact customer support.
10. Specifications
| Feature | Specification |
|---|---|
| Brand | CNSTWEI |
| Model | B model 2+64GB |
| Screen Size | 12.1 inches |
| Display Type | IPS Touchscreen with 2.5D Multi-Touch |
| Resolution | 1024*768 HD |
| Operating System | Android 15 |
| CPU | 8 Core |
| RAM | 2GB DDR |
| ROM | 64GB |
| Connectivity | Bluetooth 5.0, Wi-Fi |
| Special Features | Built-in Wireless Carplay, Wired Android Auto, GPS, DSP, Touchscreen |
| Compatible Devices | Smartphone |
| Audio Output Mode | Stereo |
| Video Encoding | H.264, H.265/HEVC |
| Connector Type | 3.5mm Jack, USB |
11. Warranty and Support
11.1 Warranty Information
This product comes with a 1-year warranty from the date of purchase. The warranty covers manufacturing defects and malfunctions under normal use. Please retain your proof of purchase for warranty claims.
11.2 Customer Support
We are committed to providing professional technical support and excellent customer service. If you encounter any problems during installation or use, or have questions regarding the product, please do not hesitate to contact us via Amazon email. We aim to respond to all inquiries within 24 hours and assist you in resolving any issues.