
Introduction
This manual provides detailed instructions for the installation, operation, and maintenance of your Zomolither Android 15 Car Stereo Radio. Designed specifically for Mazda 5 models from 2005 to 2010, this head unit features a 9-inch HD touchscreen, wireless Apple CarPlay, Android Auto, GPS navigation, Bluetooth, FM/RDS radio, and more. Please read this manual thoroughly before installation and use to ensure proper functionality and safety.
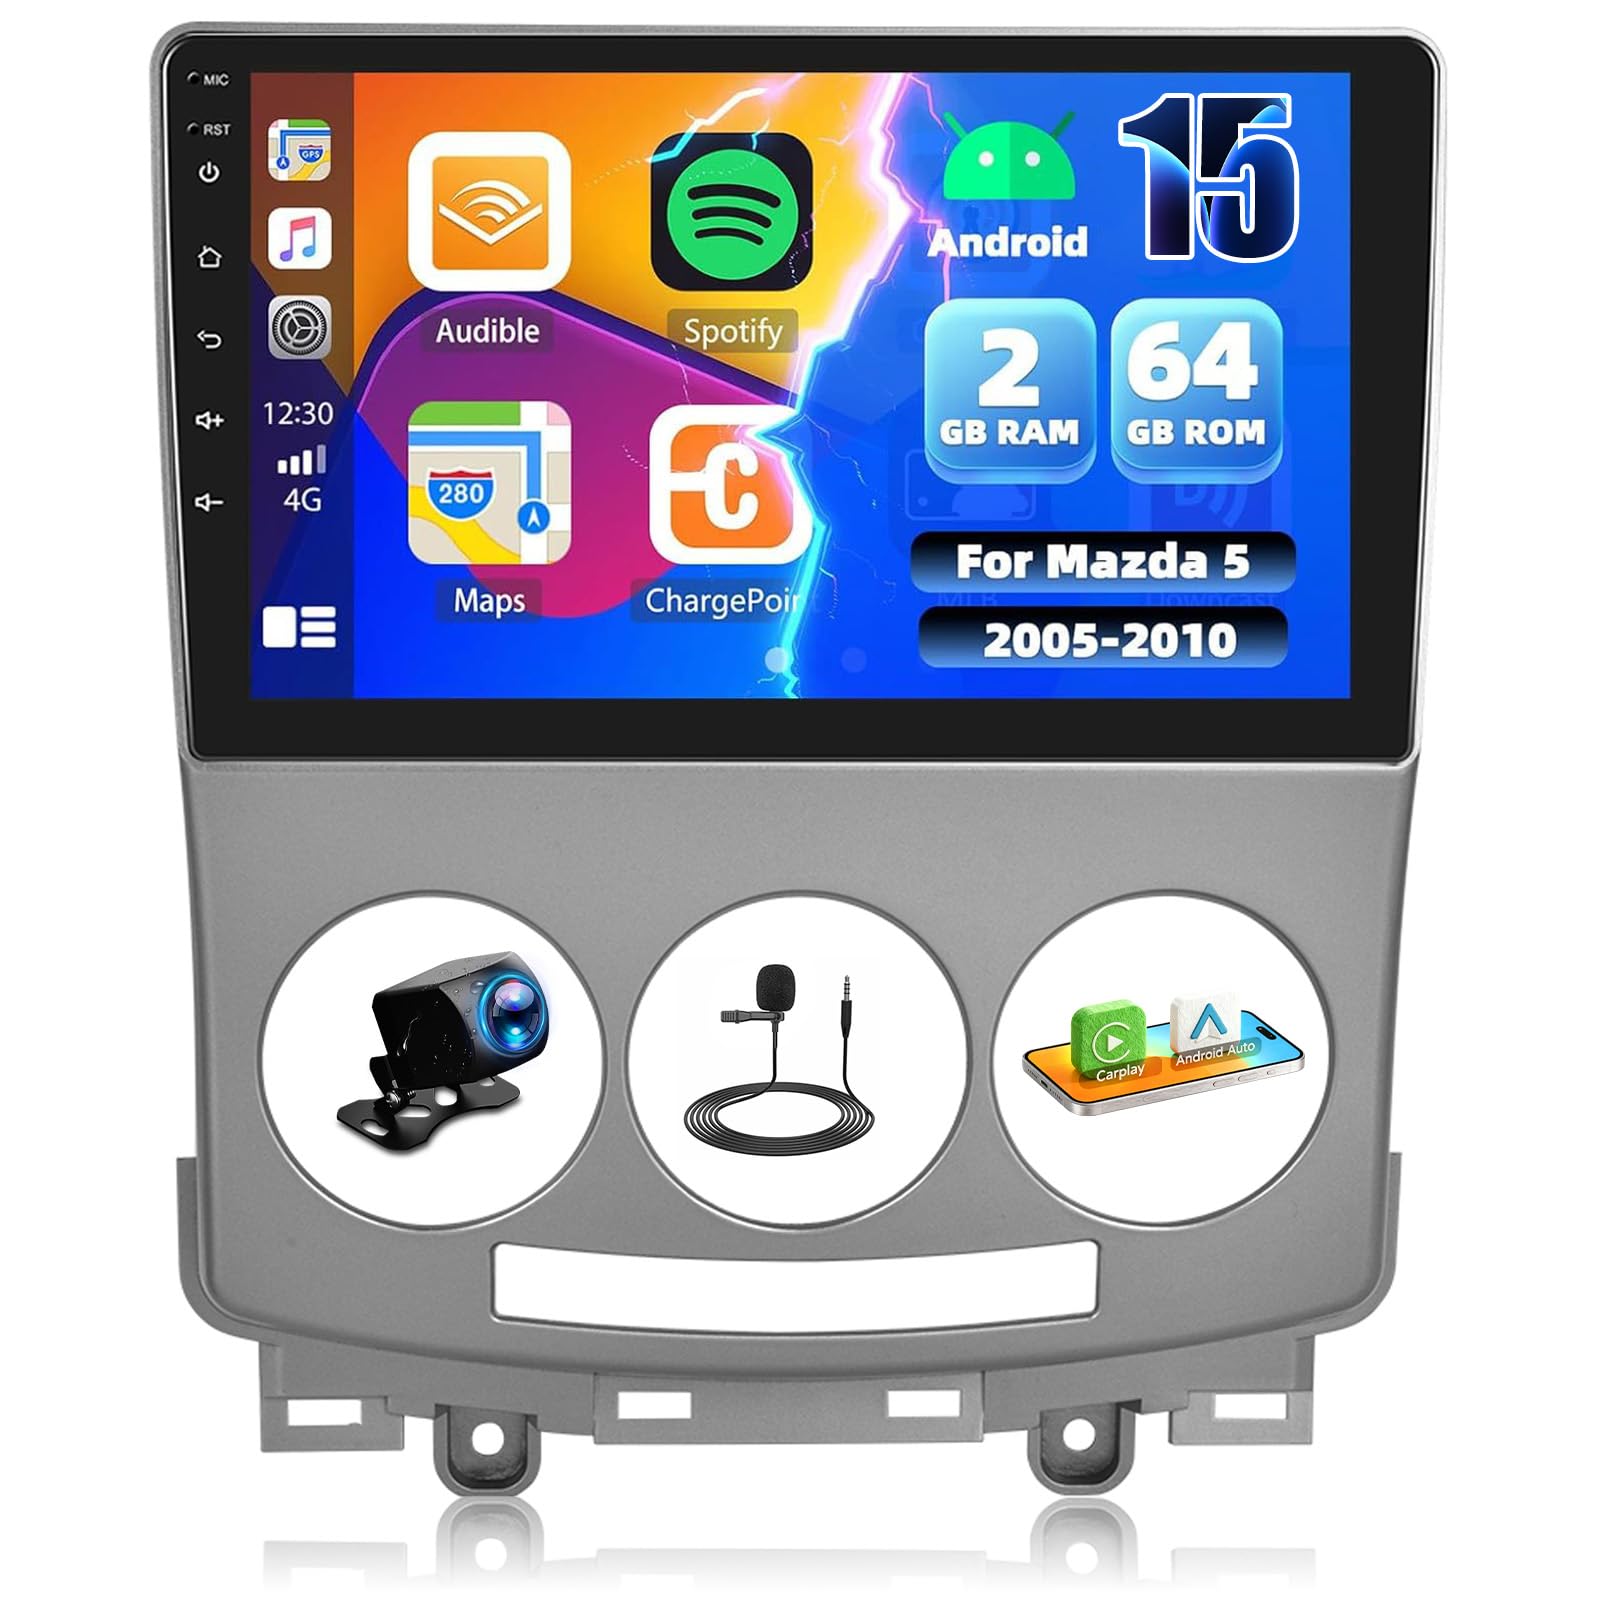
Image: Comparison of the Mazda 5 dashboard before and after the Zomolither Android Car Stereo installation. The new unit features a larger touchscreen and modern interface.
What's in the Box
Verify that all components are present before beginning installation:
- 1x Android radio for Mazda 5
- 1x Antenna
- 1x Microphone (MIC)
- 2x USB cables
- 1x Backup camera
- 1x Cam-in cable
- 1x Power cable
- 1x RCA cable
- Installation Tool
- User Manuals

Image: Detailed view of the package contents, illustrating the main unit dimensions and all accessories.
Setup and Installation
Professional installation is recommended. Ensure the vehicle's battery is disconnected before starting the installation process.
- Remove Original Head Unit: Carefully remove the existing car stereo and dashboard trim. Refer to your vehicle's service manual for specific instructions on removing the Mazda 5's original head unit.
- Connect Wiring Harness: Connect the provided power cable and RCA cable to the new Zomolither head unit. Match the connectors to the vehicle's wiring harness. Ensure all connections are secure.
- Install GPS Antenna: Mount the GPS antenna in a location with a clear view of the sky, such as on the dashboard or under the windshield, to ensure optimal signal reception.
- Connect USB Cables: Route the USB cables to a convenient location, such as the glove compartment or center console, for easy access to USB devices.
- Install Backup Camera (Optional): If installing the AHD backup camera, mount it at the rear of the vehicle. Connect the camera's video cable to the "CAM-IN" port on the head unit and the power cable to the vehicle's reverse light circuit.
- Connect External Microphone: Plug in the external microphone for improved call quality during Bluetooth hands-free operation. Position it near the driver for best performance.
- Mount New Head Unit: Secure the Zomolither head unit into the dashboard opening. Reinstall any removed trim pieces.
- Reconnect Battery: Reconnect the vehicle's battery.
- Initial Power On and Test: Turn on the vehicle's ignition and power on the head unit. Test all functions, including radio, Bluetooth, GPS, and camera (if installed).

Image: The Zomolither 9-inch HD touchscreen head unit, ready for installation.
Operating Instructions
1. Wireless Apple CarPlay & Android Auto
The unit supports both wireless and wired connections for Apple CarPlay and Android Auto. This allows for voice control of phone calls, GPS navigation, music, and more.
- Wireless Connection: Enable Bluetooth and Wi-Fi on your smartphone. Pair your phone with the head unit via Bluetooth. Follow the on-screen prompts to activate CarPlay or Android Auto wirelessly.
- Wired Connection: Connect your smartphone to the head unit using a USB cable. The system will automatically detect and launch CarPlay or Android Auto.

Image: The car stereo displaying the Apple CarPlay interface, showing navigation, music, and communication apps.
Video: Demonstrates the connection process for Apple CarPlay and Android Auto, showing how to set up a personal hotspot and connect the car stereo.
2. Bluetooth Hands-Free & Audio Streaming
Connect your smartphone via Bluetooth for hands-free calling and wireless audio streaming.
- Pairing: Go to the Bluetooth settings on the head unit and your phone. Search for available devices on your phone and select the head unit's name (e.g., "Zomolither Car Stereo"). Confirm the pairing code if prompted.
- Hands-Free Calls: Once paired, you can answer, make, and end calls directly from the head unit's touchscreen. The built-in microphone and external microphone ensure clear communication.
- Audio Streaming: Play music from your phone through the car's speakers. Control playback (play/pause, skip tracks) from the head unit.

Image: The Bluetooth interface on the car stereo, showing options for hands-free calls and music streaming.
3. GPS Navigation
The unit comes with a built-in GPS module and supports both online and offline navigation maps.
- Offline Maps: North America offline maps are pre-installed. Access them through the navigation application.
- Online Maps: Connect the head unit to Wi-Fi (e.g., via your phone's hotspot) to use online navigation apps like Google Maps for real-time traffic information and updated maps.

Image: The GPS navigation screen showing a map with a highlighted route and turn-by-turn directions.
4. FM/RDS Radio
Enjoy clear radio signals with the built-in FM/RDS tuner.
- Tuning: Use the touchscreen to scan for stations or manually tune to your preferred frequencies.
- RDS Functionality: Radio Data System (RDS) displays station information, song titles, and artist names where available.

Image: The FM/RDS radio interface, displaying current frequency and station details.
5. Equalizer (EQ) Settings
Customize your audio experience with the built-in equalizer.
- Adjustments: Access the EQ settings to fine-tune bass, treble, and other audio frequencies.
- Sound Field: Adjust the sound field to optimize audio for different seating positions within the vehicle.

Image: The audio equalizer interface, allowing users to adjust sound profiles and speaker balance.
6. Mirror Link
Mirror Link allows you to display your smartphone's screen directly onto the head unit's 9-inch touchscreen.
- Connection: Connect your iOS or Android smartphone via USB or Wi-Fi. Follow the on-screen instructions to establish the Mirror Link connection.
- Usage: Once connected, your phone's screen content will be mirrored, allowing you to interact with your phone's apps through the car stereo display.

Image: The Mirror Link feature in action, showing a smartphone screen duplicated on the car stereo display.
7. Split Screen Functionality
The split-screen feature allows you to run two applications simultaneously on the 9-inch display.
- Activation: While an app is open, long-press the recent apps button or drag an app to one side of the screen to activate split-screen mode. Select a second app to fill the other half.
- Benefits: Navigate with GPS on one side while controlling music or another app on the other side.
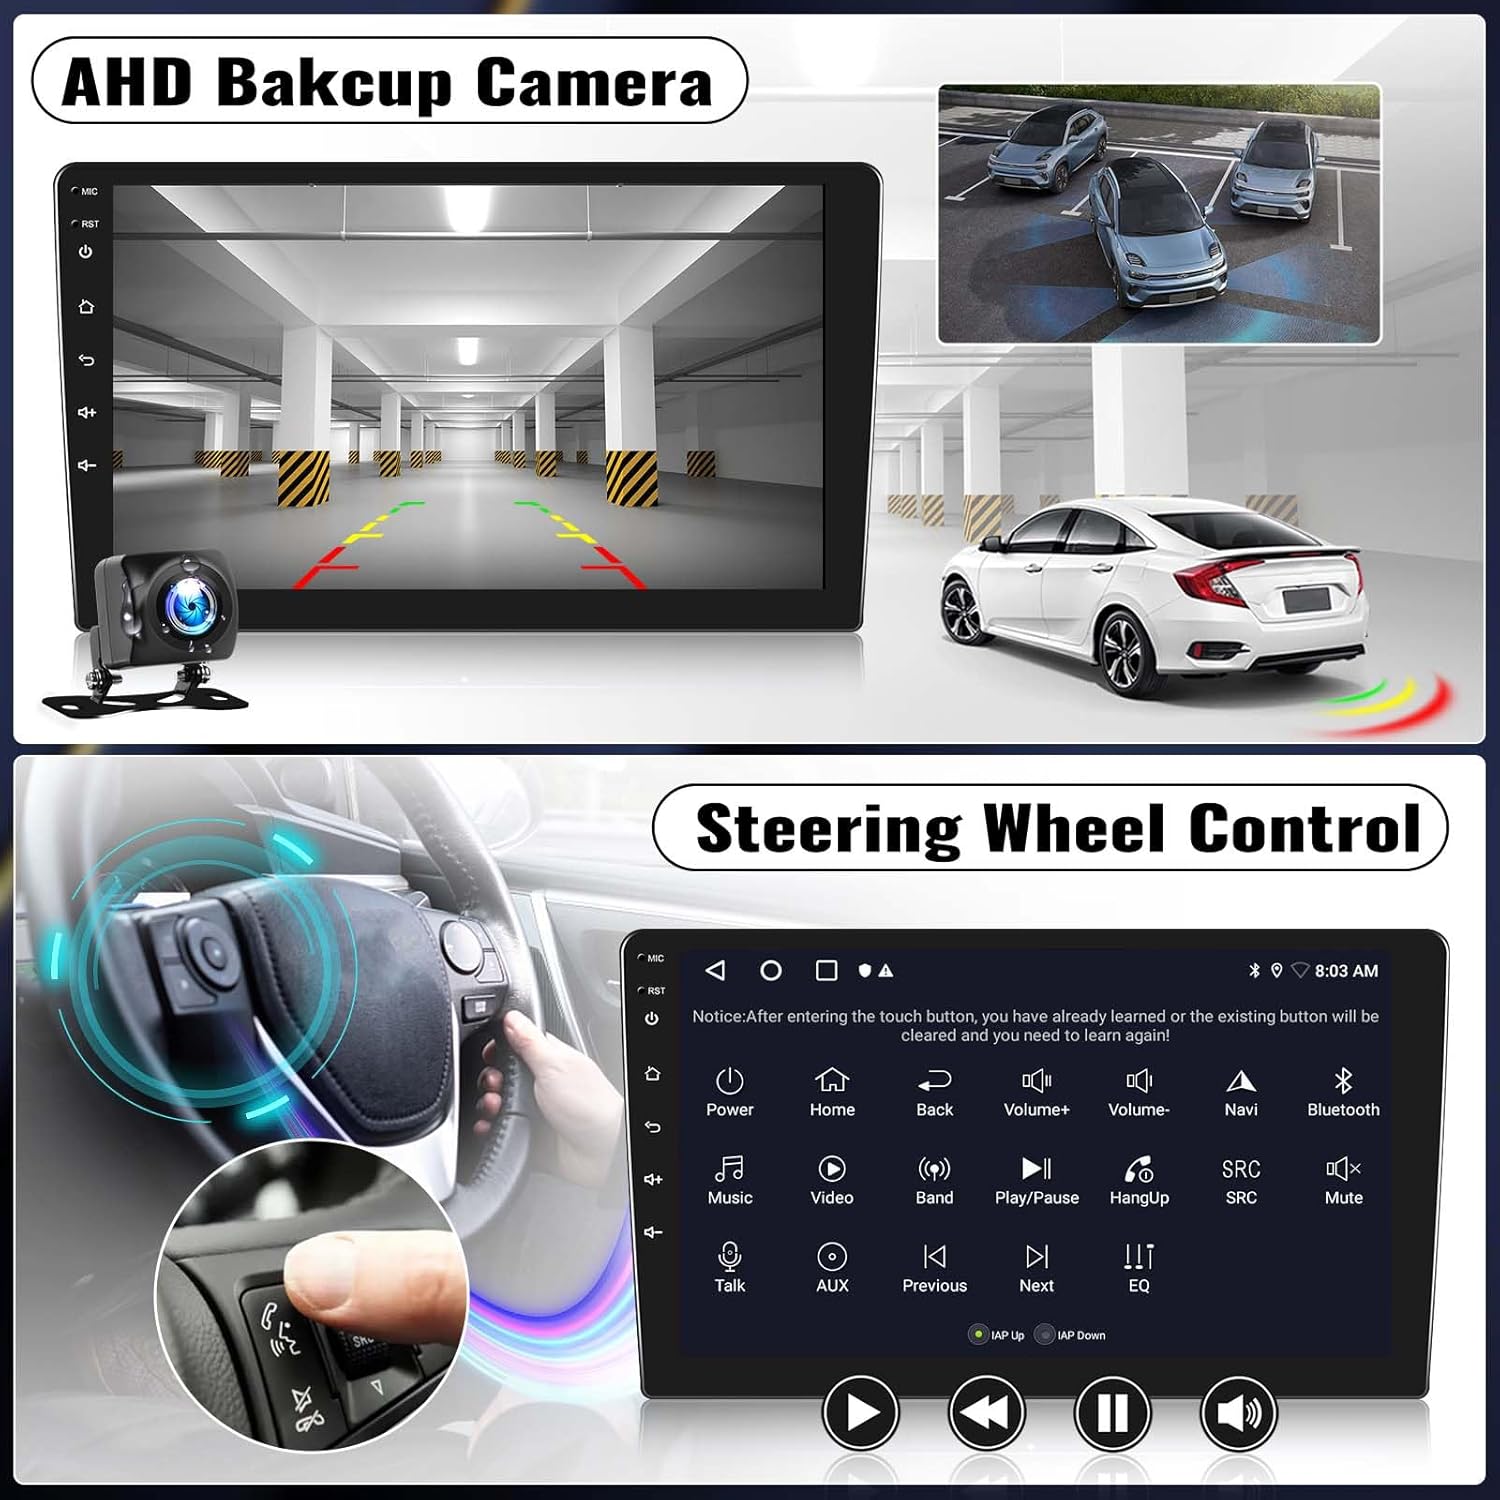
Image: The split-screen feature, demonstrating navigation and a web browser running concurrently.
8. AHD Backup Camera Input
The included AHD backup camera provides a clear view of the area behind your vehicle when reversing.
- Automatic Display: When the vehicle is shifted into reverse gear, the head unit automatically switches to display the backup camera feed.
- Features: The camera offers a wide viewing angle, night vision capabilities, and is waterproof for reliable performance in various conditions.

Image: The backup camera display on the car stereo, showing a clear rear view with parking assist lines.
9. Steering Wheel Control (SWC)
Integrate your vehicle's existing steering wheel controls with the head unit for convenient operation.
- Configuration: Access the SWC settings in the head unit's menu. Follow the on-screen instructions to map your steering wheel buttons to various functions (e.g., volume, track skip, mode change).
- Safety: This feature enhances driving safety by allowing control of the stereo without taking your hands off the steering wheel.

Image: The steering wheel control setup screen, illustrating how to program buttons for various functions.
10. Customizable UI Themes
Personalize your head unit's appearance with 26 different user interface (UI) desktop themes.
- Selection: Navigate to the UI settings menu to browse and select from the available themes.
- Enhancement: Change the look and feel of your stereo to match your preferences or vehicle interior.

Image: A selection of 26 customizable UI themes available on the car stereo, allowing for personalized aesthetics.
Maintenance
- Screen Cleaning: Use a soft, lint-free cloth to gently wipe the touchscreen. For stubborn smudges, slightly dampen the cloth with water or a screen-safe cleaner. Avoid harsh chemicals or abrasive materials.
- Software Updates: Periodically check for software updates through the system settings or the manufacturer's website to ensure optimal performance and access to new features.
- General Care: Keep the unit free from dust and debris. Avoid exposing it to extreme temperatures or direct sunlight for prolonged periods.
Troubleshooting
| Problem | Possible Cause | Solution |
|---|---|---|
| Unit does not power on. | Loose power connection, blown fuse, vehicle battery issue. | Check all power cable connections. Inspect vehicle fuses. Ensure vehicle battery is charged. |
| No sound from speakers. | Incorrect wiring, volume too low, mute activated, speaker issues. | Verify speaker wiring. Increase volume. Check if mute is active. Test with different audio sources. |
| GPS signal lost or inaccurate. | Antenna obstruction, poor placement, software issue. | Ensure GPS antenna has a clear view of the sky. Reposition antenna if necessary. Restart the navigation app or unit. |
| Bluetooth connection unstable. | Interference, phone compatibility, incorrect pairing. | Ensure phone is within range. Unpair and re-pair the device. Update phone's Bluetooth software. |
| Backup camera not displaying. | Incorrect wiring, camera power issue, faulty camera. | Check camera video and power connections. Ensure vehicle is in reverse. Test camera with an alternative display if possible. |
| Touchscreen unresponsive. | Software glitch, screen damage. | Restart the unit. If issue persists, perform a factory reset (refer to settings menu). If still unresponsive, contact support. |
Specifications
- Brand: Zomolither
- Model Name: For Mazda 5 2005-2010
- Operating System: Android 15
- Screen Size: 9 inches
- Display Type: LCD, Capacitive Touchscreen
- Resolution: 1024*600 HD
- RAM: 2GB
- ROM: 64GB
- Power Output: 4x45W
- Connectivity: Bluetooth, USB, Wi-Fi
- Special Features: Wireless CarPlay, Android Auto, Mirror Link, GPS Navigation (North America offline maps included), FM/RDS Radio, EQ, Steering Wheel Control (SWC), AHD Backup Camera Input, 26 UI Themes, Split Screen
- Included Components: Android radio, Antenna, Microphone, USB cables, Backup camera, Cam-in cable, Power cable, RCA cable

Image: Visual representation of the 1024x600 HD screen, highlighting its clarity and wide viewing angles.
Warranty Information
The Zomolither Android Car Stereo comes with a 1-Year Warranty from the date of purchase. This warranty covers manufacturing defects and malfunctions under normal use. Please retain your proof of purchase for warranty claims. The warranty does not cover damage caused by improper installation, misuse, accidents, or unauthorized modifications.
Customer Support
For technical assistance, troubleshooting, or warranty inquiries, please contact Zomolither customer support:
- Email: Zomolither@126.com
- Online Support: Refer to the Zomolither official store on Amazon for additional resources and FAQs.

Image: Zomolither brand commitment to quality and customer satisfaction.