1. Introduction
Thank you for choosing the PhoenixCrest 26 Inch Electric e Bike. This manual provides essential information for the safe assembly, operation, and maintenance of your new electric bicycle. Please read this manual thoroughly before your first ride to ensure optimal performance and safety.
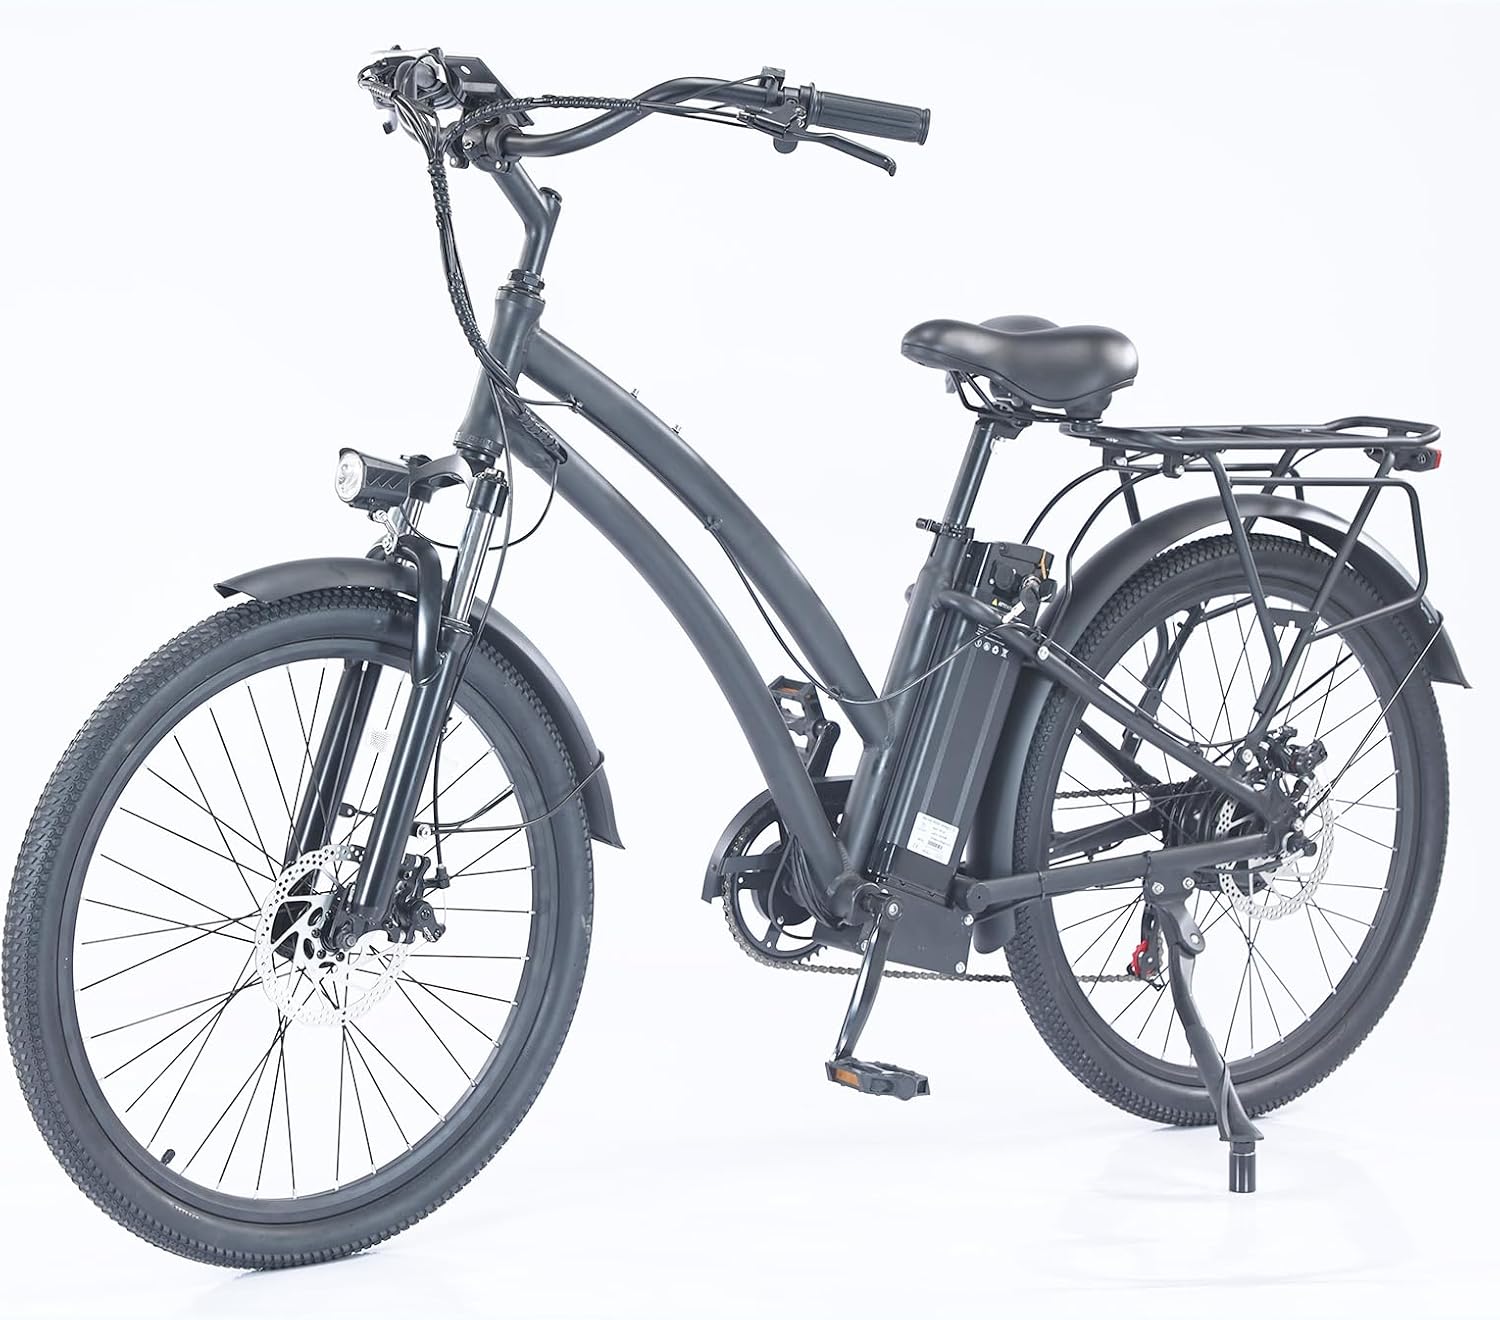
Figure 1.1: The PhoenixCrest 26 Inch Electric e Bike in Dark Gray, showcasing its overall design with front suspension, rear rack, and integrated battery.
2. Safety Information
Your safety is paramount. Always wear a helmet and appropriate safety gear when riding. Adhere to all local traffic laws and regulations. Perform a pre-ride inspection before each use.
2.1 Battery Safety
- The 48V 13Ah lithium-ion battery is UL-certified for safety.
- Do not expose the battery to extreme temperatures or direct sunlight for prolonged periods.
- Use only the charger provided by PhoenixCrest.
- Do not attempt to open or modify the battery pack.
- Ensure the battery is securely locked in place before riding.
2.2 Riding Safety
- Always check tire pressure, brake function, and battery charge level before riding.
- Be aware of your surroundings and ride defensively.
- Avoid riding in adverse weather conditions, such as heavy rain or snow, if possible.
- The bike is equipped with a comprehensive lighting system; use it during low light conditions.
3. Components Overview
Familiarize yourself with the main components of your PhoenixCrest Electric e Bike:
3.1 Powerful Brushless Motor
The bike features a 500W brushless motor with a peak output of 750W, providing strong acceleration and assistance for climbing hills. It enables a maximum speed of up to 28 MPH.
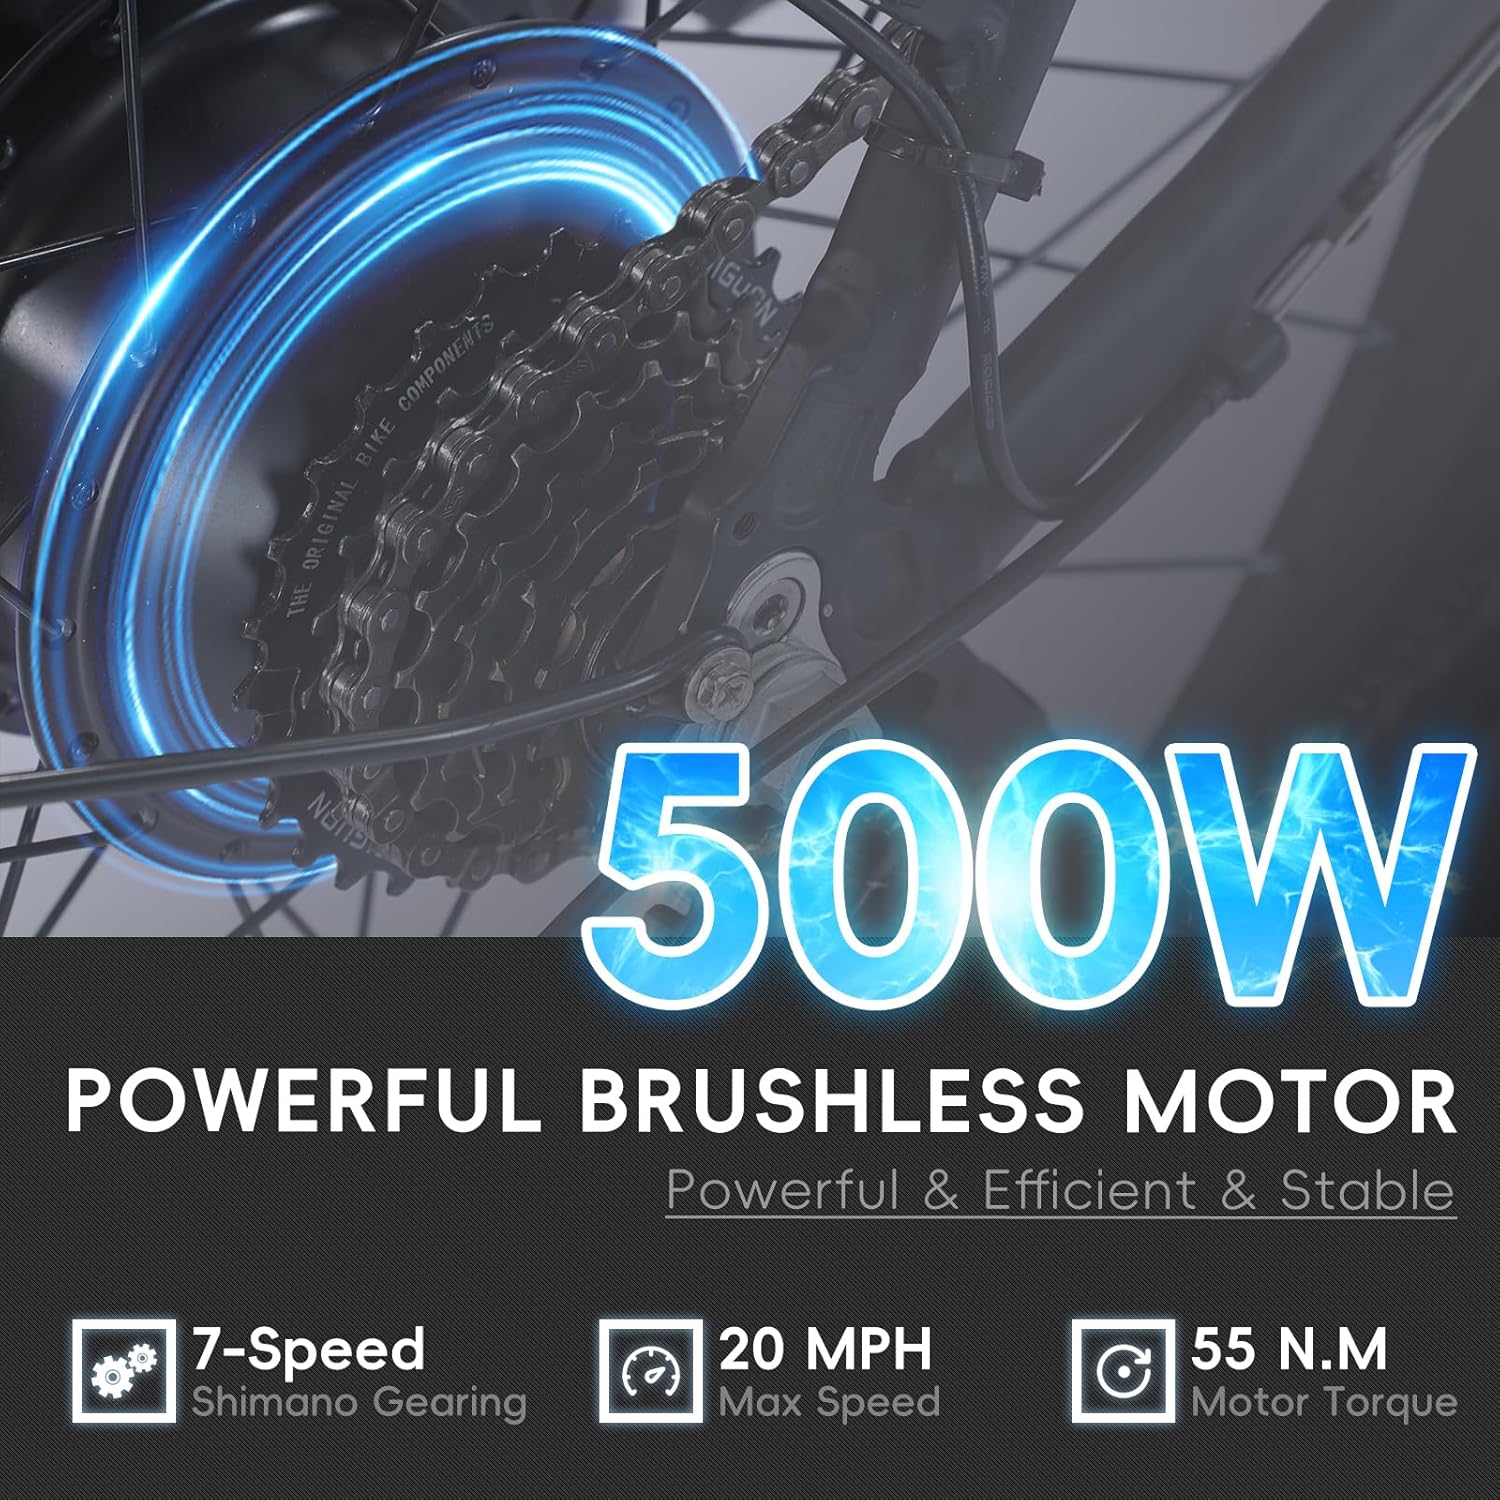
Figure 3.1: Close-up view of the 500W brushless motor integrated into the rear wheel hub, highlighting its powerful and efficient design.
3.2 Removable Lithium-Ion Battery
Equipped with a UL-certified 48V 13Ah waterproof lithium-ion battery, offering a range of up to 50 miles on a single charge. Its removable design allows for convenient charging off the bike.

Figure 3.2: Illustration of the 48V 13Ah lithium-ion battery pack, emphasizing its capacity and removable feature for easy charging.
3.3 Smart LCD Control Panel
The handlebar-mounted LCD panel displays essential riding information, including battery status, real-time speed, and cycling mileage (odometer).

Figure 3.3: The Smart LCD Control Panel mounted on the handlebars, showing digital readouts for speed, battery level, and odometer.
3.4 Enhanced Riding Features
The bike is equipped with a lockable front fork suspension for improved comfort on varied terrains, mechanical disc brakes for reliable stopping power, a comfortable seat, and a high-bright headlamp for visibility.

Figure 3.4: A collage of key features including the lockable front fork suspension, mechanical disc brakes, comfortable seat, and high-bright headlamp.
3.5 Puncture-Resistant Tires
The 26" x 2.35" puncture-resistant tires feature a raised tread design for enhanced ground traction and braking efficiency, suitable for various riding surfaces including snow, beach, mountain trails, and city roads.

Figure 3.5: Close-up of the 2.35-inch fat tire, illustrating its tread pattern and suitability for diverse terrains like snow, sand, mountains, and city streets.
3.6 Dimensions and Capacity
The bike is designed for adult riders with a recommended height of 5'7"-6'7". It weighs approximately 78 lbs and has a maximum seat capacity of 220 lbs. Key dimensions are provided for reference.

Figure 3.6: Diagram illustrating the key dimensions of the e-bike, including handlebar height, wheel diameter, total length, and minimum seat height, along with recommended rider height and weight capacity.
4. Setup and Assembly
Your PhoenixCrest Electric e Bike comes mostly pre-assembled for a hassle-free setup. While specific instructions may vary, the general steps for final assembly are as follows:
- Unpacking: Carefully remove all components from the packaging. Retain packaging for future transport or storage.
- Handlebar Installation: Attach the handlebars to the stem, ensuring they are centered and tightened securely.
- Front Wheel Installation: Install the front wheel, ensuring the disc brake rotor is correctly aligned with the caliper.
- Pedal Installation: Identify left (L) and right (R) pedals. Thread them into the crank arms carefully. Note that the left pedal has a reverse thread.
- Seat Post and Saddle: Insert the seat post into the frame and adjust the saddle height for comfortable riding. Ensure the quick-release lever is securely closed.
- Fender and Rack Attachment: Secure any remaining fenders and the rear cargo rack. Important: Regularly inspect all fasteners, especially on fenders, to ensure they are secure and prevent loosening during rides.
- Battery Insertion: Insert the fully charged battery into its compartment and lock it securely.
- Pre-Ride Check: Before your first ride, perform a thorough check of all bolts, nuts, and quick releases. Verify brake function, tire pressure, and ensure the chain is properly seated.
5. Operating Instructions
5.1 Powering On/Off
- To power on the bike, press and hold the power button on the LCD control panel.
- To power off, press and hold the power button again.
5.2 Pedal Assist System (PAS)
- The bike features a pedal assist system. As you pedal, the motor provides assistance.
- Use the '+' and '-' buttons on the control panel to adjust the level of pedal assistance (typically 0-5 levels). Level 0 provides no assistance, while higher levels provide more power.
5.3 Throttle Operation
- The bike may also be equipped with a throttle for power on demand, allowing you to ride without pedaling.
- Twist the throttle grip to engage the motor. Release the throttle to disengage.
- Always be mindful of your speed and surroundings when using the throttle.
5.4 Gear Shifting
- The 7-speed Shimano gearing system allows you to adjust your pedaling effort to suit terrain and speed.
- Shift gears smoothly by pedaling lightly while operating the shifter.
5.5 Braking
- The bike is equipped with dual-disc brakes for effective stopping power.
- Apply both front and rear brakes simultaneously for balanced and controlled stopping.
5.6 Lighting System
- The integrated headlamp and taillight enhance visibility.
- Consult your LCD panel manual for specific instructions on how to activate and control the lights.
6. Maintenance
Regular maintenance ensures the longevity and safe operation of your e-bike.
6.1 General Cleaning
- Clean the bike regularly with a damp cloth. Avoid high-pressure washing directly on electrical components.
- Keep the chain clean and lubricated.
6.2 Battery Care
- Charge the battery fully after each ride, or at least once a month if not in use.
- Store the battery in a cool, dry place, away from direct sunlight.
- Do not allow the battery to fully discharge for extended periods.
6.3 Tire Maintenance
- Check tire pressure before each ride. Recommended pressure is typically indicated on the tire sidewall.
- Inspect tires for wear, cuts, or embedded objects.
6.4 Brake Inspection
- Regularly check brake pads for wear and replace them when necessary.
- Ensure brake levers provide firm and consistent braking action. Adjust brake cables if needed.
6.5 Fastener Checks
- Periodically check all bolts, nuts, and quick releases for tightness. Pay particular attention to critical areas like the handlebars, wheels, and seat post.
- Ensure the rear fender mounting is secure. If it uses a rivet, consider having it professionally replaced with a bolt for enhanced durability and safety to prevent loosening or detachment during rides.
7. Troubleshooting
This section addresses common issues you might encounter with your e-bike.
| Problem | Possible Cause | Solution |
|---|---|---|
| Bike does not power on | Battery not charged or not properly seated; loose electrical connection. | Ensure battery is fully charged and securely locked. Check all visible cable connections. |
| Motor not assisting | PAS level set to 0; brake levers engaged; motor connection issue. | Increase PAS level. Ensure brake levers are fully released. Check motor cable connection. |
| Horn activates unexpectedly/continuously | Short circuit in wiring; faulty horn button. | Inspect horn wiring for damage or shorts, especially where cables might rub. If the issue persists, consult a qualified technician. |
| Reduced range | Low tire pressure; riding in high assist modes; battery degradation. | Inflate tires to recommended pressure. Use lower assist modes when possible. Battery capacity naturally decreases over time. |
| Brakes feel spongy or weak | Worn brake pads; loose brake cable; air in hydraulic system (if applicable). | Inspect and replace brake pads. Adjust brake cable tension. For hydraulic brakes, bleeding may be required by a professional. |
If you encounter issues not listed here or if solutions do not resolve the problem, please contact PhoenixCrest customer support.
8. Specifications
Key technical specifications for your PhoenixCrest Electric e Bike:
| Feature | Specification |
|---|---|
| Bike Type | Electric Bike |
| Model Name | beach e bike |
| Age Range | Adult |
| Color | Dark Gray |
| Size | 26 inch |
| Motor Power | 500W Brushless (Peak 750W) |
| Battery | 48V 13Ah Lithium-Ion (UL-certified) |
| Max Speed | Up to 28 MPH |
| Range per Charge | Up to 50 Miles |
| Number of Speeds | 7 |
| Frame Material | Metal / Aluminum |
| Suspension Type | Front |
| Brake Style | Disc |
| Tire Size | 26" x 2.35" |
| Item Weight | 97 Pounds |
| Max Load Capacity (Rear Rack) | 220 lbs |
| Assembly Required | Yes |
9. Warranty and Support
9.1 Warranty Information
The PhoenixCrest 26 Inch Electric e Bike comes with a 30-day manufacturer's warranty. This warranty covers defects in materials and workmanship under normal use. Please retain your proof of purchase for warranty claims. The warranty does not cover damage due to misuse, accidents, or unauthorized modifications.
9.2 Customer Support
For any questions, technical assistance, or warranty claims, please contact PhoenixCrest customer support. You can typically find contact information on the product packaging or through the retailer where you purchased the bike.