Introduction
This manual provides detailed instructions for the assembly, operation, and maintenance of your ZUOYA GMK104 Mechanical Keyboard Barebones Kit. Please read thoroughly before use to ensure proper functionality and longevity of your device.
What's in the Box
- GMK104 Keyboard Kit (Barebones)
- USB Cable (Type-C)
- 2.4Ghz Receiver
- Keycap Puller
Key Features
- DIY Customization: Barebones kit for personalized mechanical keyboard assembly.
- Multimedia TFT Display & Knob: Customizable GIF display, real-time information (time, battery, connection mode), and multi-function knob for volume and screen control.
- 104 Keys NKRO Layout: Full-size layout with Numpad, arrow keys, and anti-ghosting for accurate input.
- Triple Mode Connection: Supports Bluetooth 5.0, 2.4GHz wireless, and wired (Type-C) connectivity.
- 4000mAh Battery: Rechargeable battery for extended wireless use.
- Hot-Swappable PCB: Compatible with 3-pin and 5-pin mechanical switches without soldering.
- VIA Programmable: Customize key remapping and layer configurations using the VIA interface.
- Gasket-Mounted Design: Enhances typing comfort and sound profile.
- Mac/Windows Compatibility: Supports both operating systems.
- 16.8 Million South-facing RGB Backlit: Multiple preset lighting modes and programmable RGB effects.
Setup Guide
1. Installing Switches and Keycaps
The GMK104 is a barebones kit, meaning switches and keycaps are not pre-installed. You will need to purchase compatible 3-pin or 5-pin mechanical switches and keycaps separately.
- Carefully align each mechanical switch with the hot-swap sockets on the PCB.
- Press down firmly until the switch clicks into place. Ensure the pins are straight to avoid bending.
- Once all switches are installed, place your desired keycaps onto the switches. Use the provided keycap puller for easy installation and removal.

Image: The ZUOYA GMK104 barebones keyboard kit, ready for switch and keycap installation.

Image: An exploded view showing the gasket-mounted layers of the GMK104 keyboard kit.
2. Initial Connection
Before first use, it is recommended to fully charge the keyboard using the provided USB Type-C cable.
- Connect the USB Type-C cable to the keyboard's port and the other end to your computer's USB port.
- The keyboard will automatically enter wired mode and begin charging.
Operating Instructions
1. Connectivity Modes
The GMK104 supports three connection modes: Wired, 2.4GHz Wireless, and Bluetooth 5.0.
- Wired Mode: Connect the keyboard directly to your device using the USB Type-C cable. The keyboard will automatically detect and switch to wired mode.
- 2.4GHz Wireless Mode: Insert the 2.4GHz USB receiver into your device's USB port. Toggle the switch on the back of the keyboard to 2.4G mode. The keyboard should connect automatically.
- Bluetooth Mode: Toggle the switch on the back of the keyboard to Bluetooth mode. On your device, search for "GMK104" in the Bluetooth settings and pair. The keyboard supports up to three Bluetooth devices (BT1, BT2, BT3) which can be switched via function keys (refer to key combination section).
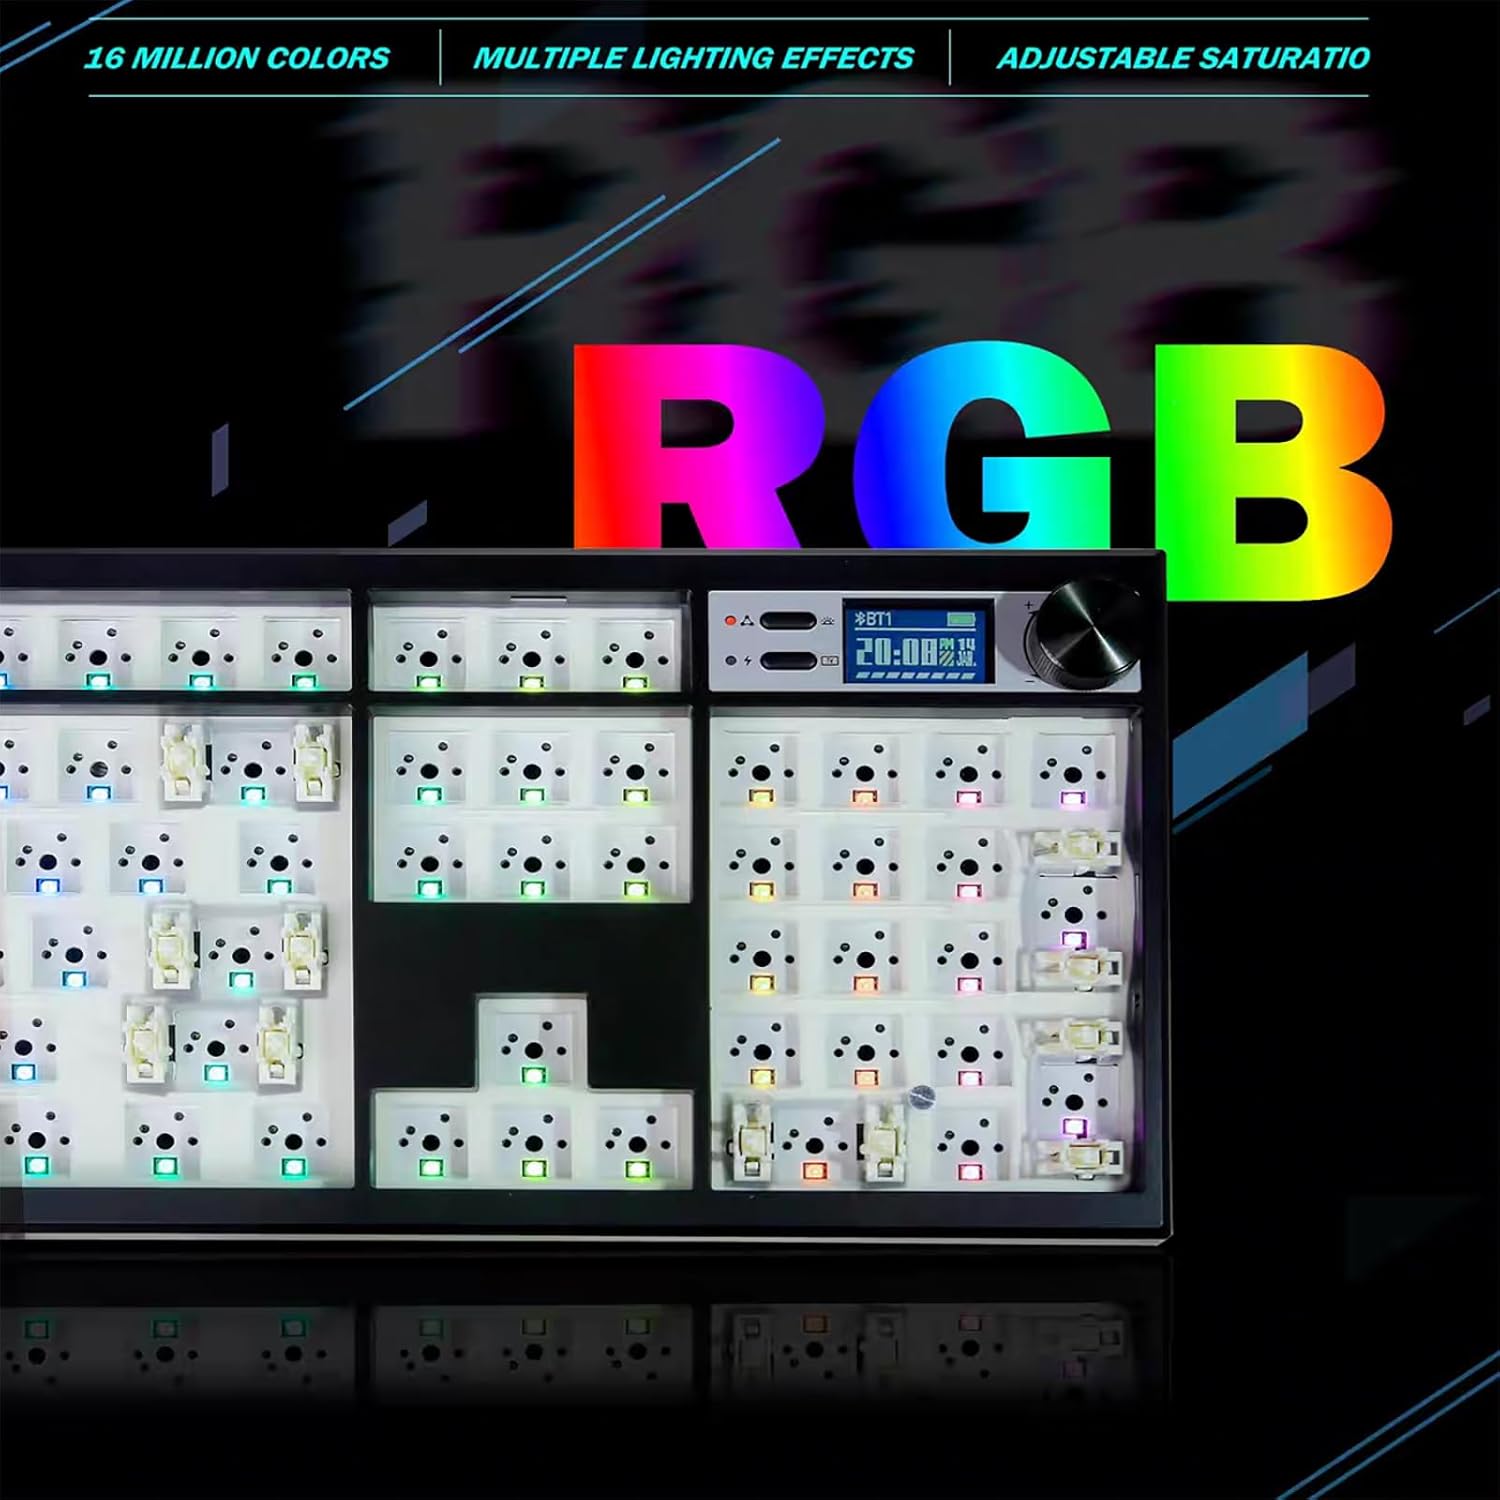
Image: The GMK104 keyboard connected to multiple devices via its triple mode connectivity.
2. Multimedia TFT Display & Knob
The integrated TFT display shows real-time information and can be customized. The metal knob controls various functions.
- Knob Function: Rotate the knob to adjust volume. Press the knob to mute/unmute audio or to cycle through screen display options.
- Customizing Display: Use the VIA software (see section 3) to upload custom GIFs or configure display settings.

Image: Close-up of the multifunctional knob and TFT display on the GMK104 keyboard.
3. VIA Programming
The GMK104 is VIA programmable, allowing for extensive customization of key assignments, macros, and lighting effects.
- Download the VIA software from the official website.
- Connect the keyboard to your computer in wired mode.
- Open the VIA software. The software should automatically detect your GMK104 keyboard.
- Use the intuitive interface to remap keys, create macros, and configure lighting layers.

Image: Screenshot of the VIA software interface showing key remapping for the GMK104 keyboard.
Note: Ensure your keyboard is in wired mode for VIA programming. Some users have reported issues with VIA/QMK firmware without proper instructions; ensure you follow official guides for flashing firmware.
4. RGB Backlighting
The keyboard features 16.8 million colors with south-facing RGB LEDs and multiple lighting effects.
- Cycle through preset RGB modes using specific key combinations (refer to the quick start guide included in the box).
- Customize individual key lighting and create dynamic effects using the VIA software.

Image: The GMK104 keyboard displaying vibrant RGB backlighting.
Maintenance
- Cleaning: Use a soft, dry cloth to clean the keyboard surface. For deeper cleaning, remove keycaps and use compressed air to clear debris.
- Battery Care: To prolong battery life, avoid fully discharging the keyboard frequently. Charge when the battery indicator on the TFT screen shows low power.
- Switch Replacement: When replacing switches, use the provided switch puller tool. Gently pull the switch straight up to avoid damaging the PCB sockets.
Troubleshooting
- Keyboard Not Responding:
- Ensure the keyboard is charged.
- Check the connection mode switch (Wired, 2.4G, BT) is correctly set.
- For wireless modes, ensure the receiver is properly inserted or Bluetooth is paired.
- Try connecting via wired mode to rule out wireless connectivity issues.
- Key Chattering/Double Input:
- This can sometimes be caused by overly sensitive switches or a specific switch malfunction.
- Identify the problematic switch and try replacing it with a new one.
- Ensure switches are fully seated in their sockets.
- VIA Software Not Detecting Keyboard:
- Ensure the keyboard is connected via USB cable (wired mode).
- Verify you have the latest version of the VIA software.
- Check for any specific driver requirements for your operating system.
- RGB Lights Not Working/Incorrect:
- Check brightness settings via the knob or VIA software.
- Ensure no conflicting lighting profiles are active in VIA.
Specifications
| Feature | Detail |
|---|---|
| Model Name | GMK104 Keyboard Kit |
| Brand | ZUOYA |
| Layout | Full Size (104 Keys with Numpad) |
| Connectivity | 2.4Ghz, Bluetooth 5.0, Wired USB-C (Triple-Mode) |
| Battery Capacity | 4000mAh |
| Hot-Swappable | Yes, 3-pin and 5-pin switches |
| Backlighting | 16.8 Million RGB, South-facing LEDs |
| Programmability | VIA Software |
| Mounting Style | Gasket-Mounted |
| Compatible Devices | Gaming Console, Laptop, PC, Projector, Smartphone |
| Item Weight | 2.44 pounds |
| Package Dimensions | 19.8 x 10.94 x 2.09 inches |
Official Product Videos
GMK104 Hot Swappable Barebones Keyboard + Jelly Pink Keycaps
Video: A demonstration of the ZUOYA GMK104 barebones keyboard with Jelly Pink keycaps, showcasing its hot-swappable nature and aesthetic appeal.
DIY ZUOYA GMK104 Mechanical Gaming Keyboard Kit
Video: A guide on how to assemble and customize the ZUOYA GMK104 Mechanical Gaming Keyboard Kit, highlighting the DIY process.
DIY Your Own Keyboard-GMK104 Custom RGB Barebones Keyboard
Video: A showcase of the customization possibilities with the GMK104 Custom RGB Barebones Keyboard, encouraging users to build their own unique keyboard.
ZUOYA GMK104 Barebones Keyboard Kit with Retro Keycaps!
Video: Demonstrates the ZUOYA GMK104 Barebones Keyboard Kit paired with retro-style keycaps, highlighting its versatility in design.
ZUOYA GMK104 Mechanical Gaming Keyboard Kit - product show
Video: A product showcase of the ZUOYA GMK104 Mechanical Gaming Keyboard Kit, detailing its features and design.
Warranty and Support
For warranty information and technical support, please refer to the official ZUOYA website or contact their customer service directly. Keep your purchase receipt for warranty claims.


