Introduction
This manual provides detailed instructions for the assembly, operation, and maintenance of your VASAGLE UKKS014K01V1 Kitchen Baker's Rack. Please read all instructions carefully before assembly and use to ensure safe and proper functionality of the product.
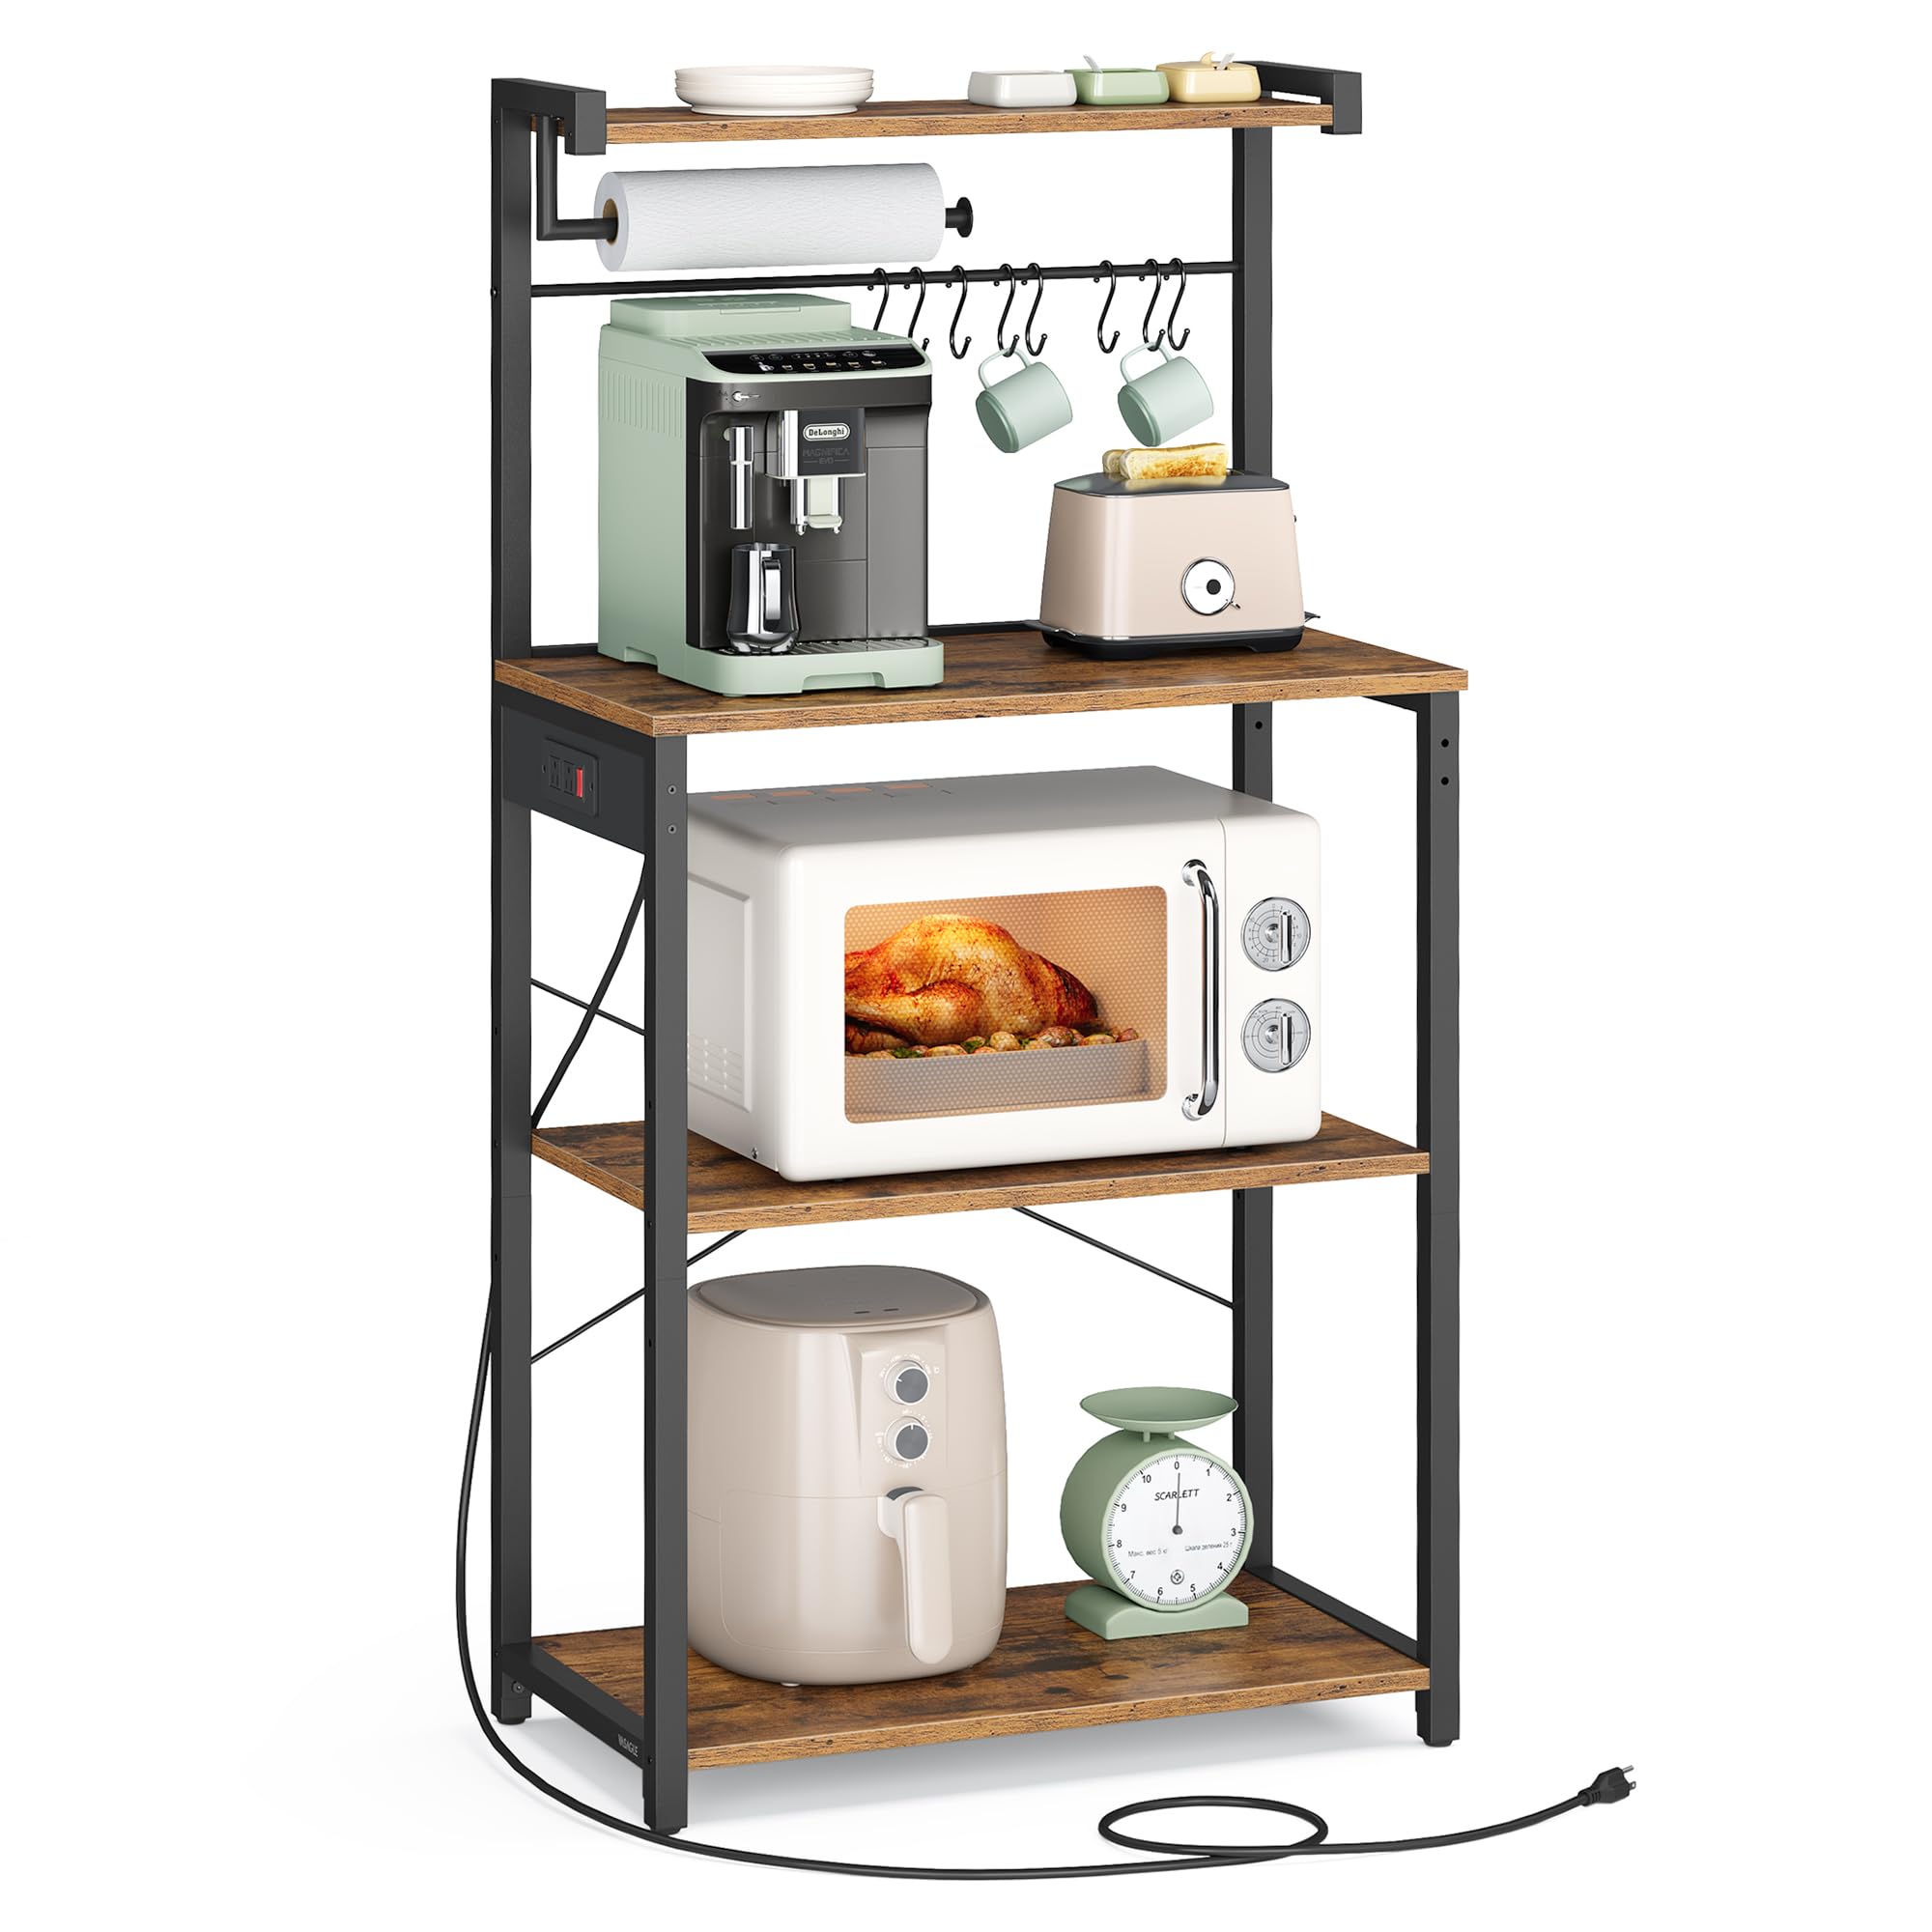
Image: The VASAGLE UKKS014K01V1 Kitchen Baker's Rack, showcasing its rustic brown shelves and ink black metal frame, designed for kitchen storage.
Safety Information
- Always secure the kitchen rack to the wall using the included anti-tip kit to prevent tipping.
- Ensure all screws and fasteners are tightened securely before use. Periodically check for loose connections.
- Do not overload shelves. Refer to the 'Specifications' section for weight limits.
- Keep children and pets away from the unit during assembly.
- The built-in power strip is designed for kitchen appliances. Do not exceed the maximum power rating.
Package Contents
Verify that all components are present before beginning assembly:
- 1 x Baker's Rack Frame (various metal parts)
- 4 x Shelves (particleboard)
- 1 x Power Outlet Strip
- 1 x Accessory Kit (screws, Allen wrench, cable ties)
- 1 x Anti-Tip Kit (strap, wall anchors)
- 8 x S-Hooks
- 1 x Paper Towel Holder
- 1 x Instruction Manual
Setup and Assembly
Follow these steps for proper assembly. It is recommended to have two people for certain steps.
- Assemble the Base Frames: Connect the metal frame pieces for the base using the provided screws and Allen wrench. Ensure all connections are snug but do not overtighten until all parts are aligned.
- Attach Lower Shelves: Secure the lower shelves to the assembled base frames. Use the designated screws for each shelf.
- Install Cross Braces: Attach the X-shaped cross braces to the rear of the unit to enhance stability.
- Assemble Upper Frame: Connect the remaining metal frame pieces to form the upper structure of the rack.
- Attach Top Shelf: Secure the top shelf to the upper frame.
- Install Power Outlet: Mount the power outlet strip to the designated slot on the side of the main worktop. Ensure it is firmly screwed in.
- Attach Paper Towel Holder and S-Hooks: Install the paper towel holder and hang the S-hooks on the bar beneath the top shelf.
- Adjustable Feet: Screw in the adjustable feet at the bottom of the rack. Adjust them to ensure the rack is stable and level on uneven floors.
- Anti-Tip Kit Installation: For safety, attach the anti-tip kit to the top rear of the rack and secure it to a wall stud.

Image: Customizable storage with an adjustable middle shelf, offering three height options to accommodate items of varying sizes, from small kitchen essentials to larger appliances.

Image: Close-up of the flexible built-in power strip, featuring two AC outlets, an on/off switch, and overload protection for safe appliance use.

Image: An overview of the all-in-one storage features, including a top storage shelf, paper towel holder, 8 S-hooks for hanging utensils, and a spacious worktop.

Image: A detailed view of the integrated paper towel holder, designed for easy access and convenience in the kitchen.
Assembly Video Guide
Video: Official VASAGLE assembly guide for the Coffee Bar Baker's Rack with Power Outlet, demonstrating step-by-step construction.
Video: Official VASAGLE video showcasing the assembly of the Coffee Bar Kitchen Shelf, providing visual instructions for setup.
Operating Instructions
- Power Outlet: Plug the rack's power cord into a wall outlet. Use the red on/off switch on the power strip to control power to connected appliances. The two AC outlets are suitable for small kitchen appliances like coffee makers, blenders, or toasters.
- Adjustable Shelf: The lower middle shelf can be adjusted to three different height options. To adjust, remove the shelf, unscrew the support bars, reposition them to the desired height, and re-secure the shelf.
- S-Hooks: Utilize the 8 S-hooks to hang mugs, utensils, or other small kitchen tools for easy access.
- Paper Towel Holder: Slide a standard roll of paper towels onto the designated holder for convenient dispensing.
Maintenance
- Cleaning: Wipe the surfaces of the rack with a dry cloth. For stubborn stains, use a slightly damp cloth and mild detergent, then dry immediately. Avoid abrasive cleaners or harsh chemicals.
- Inspection: Periodically check all screws and connections to ensure they remain tight. Retighten if necessary.
- Power Strip Care: Keep the power strip clean and dry. Do not expose it to liquids.
Troubleshooting
- Wobbly Rack: If the rack feels unstable, ensure all screws are fully tightened. Adjust the leveling feet at the bottom of the unit to compensate for uneven floors.
- Missing Parts: If any parts are missing upon arrival, please contact customer support with your product model number and a description of the missing components.
- Power Outlet Not Working: Check if the power cord is securely plugged into both the rack and the wall outlet. Ensure the red on/off switch on the power strip is in the 'on' position. Verify the wall outlet is functional by testing with another appliance.
- Difficulty Assembling: Review the assembly video and step-by-step instructions. Ensure you are using the correct screws for each part. Do not force parts together.
Specifications
| Feature | Detail |
|---|---|
| Model Name | Kitchen Bakers Rack with Power Outlet |
| Model Number | UKKS014K01V1 |
| Dimensions (D x W x H) | 15.7" x 23.6" x 55.1" (40cm x 60cm x 140cm) |
| Material | Engineered Wood (Particleboard), Alloy Steel |
| Number of Shelves | 4 |
| Weight Capacity | 300 Pounds (Total) |
| Power Outlet | 2 AC Outlets, On/Off Switch, Overload Protection |
| Power Cord Length | 4.9 ft (1.5 m) |
| Special Features | Adjustable Middle Shelf, 8 S-Hooks, Paper Towel Holder, Adjustable Feet |
| Assembly Required | Yes |

Image: Technical drawing illustrating the dimensions and weight capacities of each shelf for the VASAGLE Baker's Rack.
Warranty and Support
For warranty information or product support, please refer to the contact details provided with your purchase documentation or visit the official VASAGLE website. Keep your purchase receipt for warranty claims.


