1. Product Overview
This manual provides instructions for the installation and maintenance of the Eopzol TTI300001067 Replacement Contact Plate Holder. This component is designed to replace the original contact plate holder in compatible Ryobi lawn mower models, ensuring proper electrical connection and functionality.
2. Safety Information
WARNING:
- Always disconnect the power source (remove battery or unplug from mains) before attempting any installation, maintenance, or repair on your lawn mower.
- Wear appropriate personal protective equipment, including safety glasses and gloves.
- If you are unsure about any step, consult a qualified technician.
- Keep children and bystanders away from the work area.
- Ensure all connections are secure before restoring power to the mower.
3. Package Contents
- 1 x Eopzol TTI300001067 Contact Plate Holder
4. Compatibility
This replacement contact plate holder is compatible with the following Ryobi lawn mower models:
- Ryobi P1100
- Ryobi P1102
- Ryobi P1108VNM
- Ryobi RYi2322EVNM
It replaces original part number TTI300001067.
5. Installation Instructions
Follow these general steps for replacing the contact plate holder. Specific disassembly and reassembly procedures may vary slightly depending on your exact Ryobi lawn mower model. Refer to your mower's original service manual for detailed instructions if available.
5.1. Preparation
- Disconnect Power: Ensure the lawn mower is completely powered off. For battery-powered models, remove the battery pack. For corded models, unplug the power cord from the outlet.
- Clear Work Area: Move the mower to a clean, well-lit, and stable work area.
- Gather Tools: You may need screwdrivers, wrenches, or other basic hand tools depending on your mower's construction.
5.2. Locating and Removing the Old Contact Plate Holder
- Access the Component: Carefully disassemble the necessary covers or housing components of your lawn mower to gain access to the contact plate holder. This is typically located near the battery compartment or motor assembly.
- Identify Connections: Note the orientation and connections of the existing contact plate holder. Taking a photograph before disconnection can be helpful.
- Disconnect Wires: Carefully disconnect any wires or terminals attached to the old contact plate holder.
- Remove Old Holder: Unscrew or unclip the old contact plate holder from its mounting position.
5.3. Installing the New Contact Plate Holder

Figure 1: Front view of the Eopzol TTI300001067 Contact Plate Holder, showing the main body and electrical contacts.
- Position New Holder: Place the new Eopzol TTI300001067 Contact Plate Holder into the mounting position, ensuring it is correctly oriented.
- Secure Holder: Fasten the new holder using the original screws or clips. Ensure it is firmly seated and does not wobble.
- Reconnect Wires: Reconnect all wires and terminals to the new contact plate holder, matching the connections noted during removal. Ensure all connections are tight and secure.

Figure 2: Side view of the contact plate holder, highlighting the mounting points and overall dimensions.
5.4. Reassembly and Testing
- Reassemble Mower: Carefully reassemble any covers or housing components that were removed. Ensure all fasteners are tightened appropriately.
- Restore Power: Reinsert the battery pack or plug the power cord back into the outlet.
- Test Functionality: Attempt to start the lawn mower to verify that the new contact plate holder is functioning correctly and the mower operates as expected.
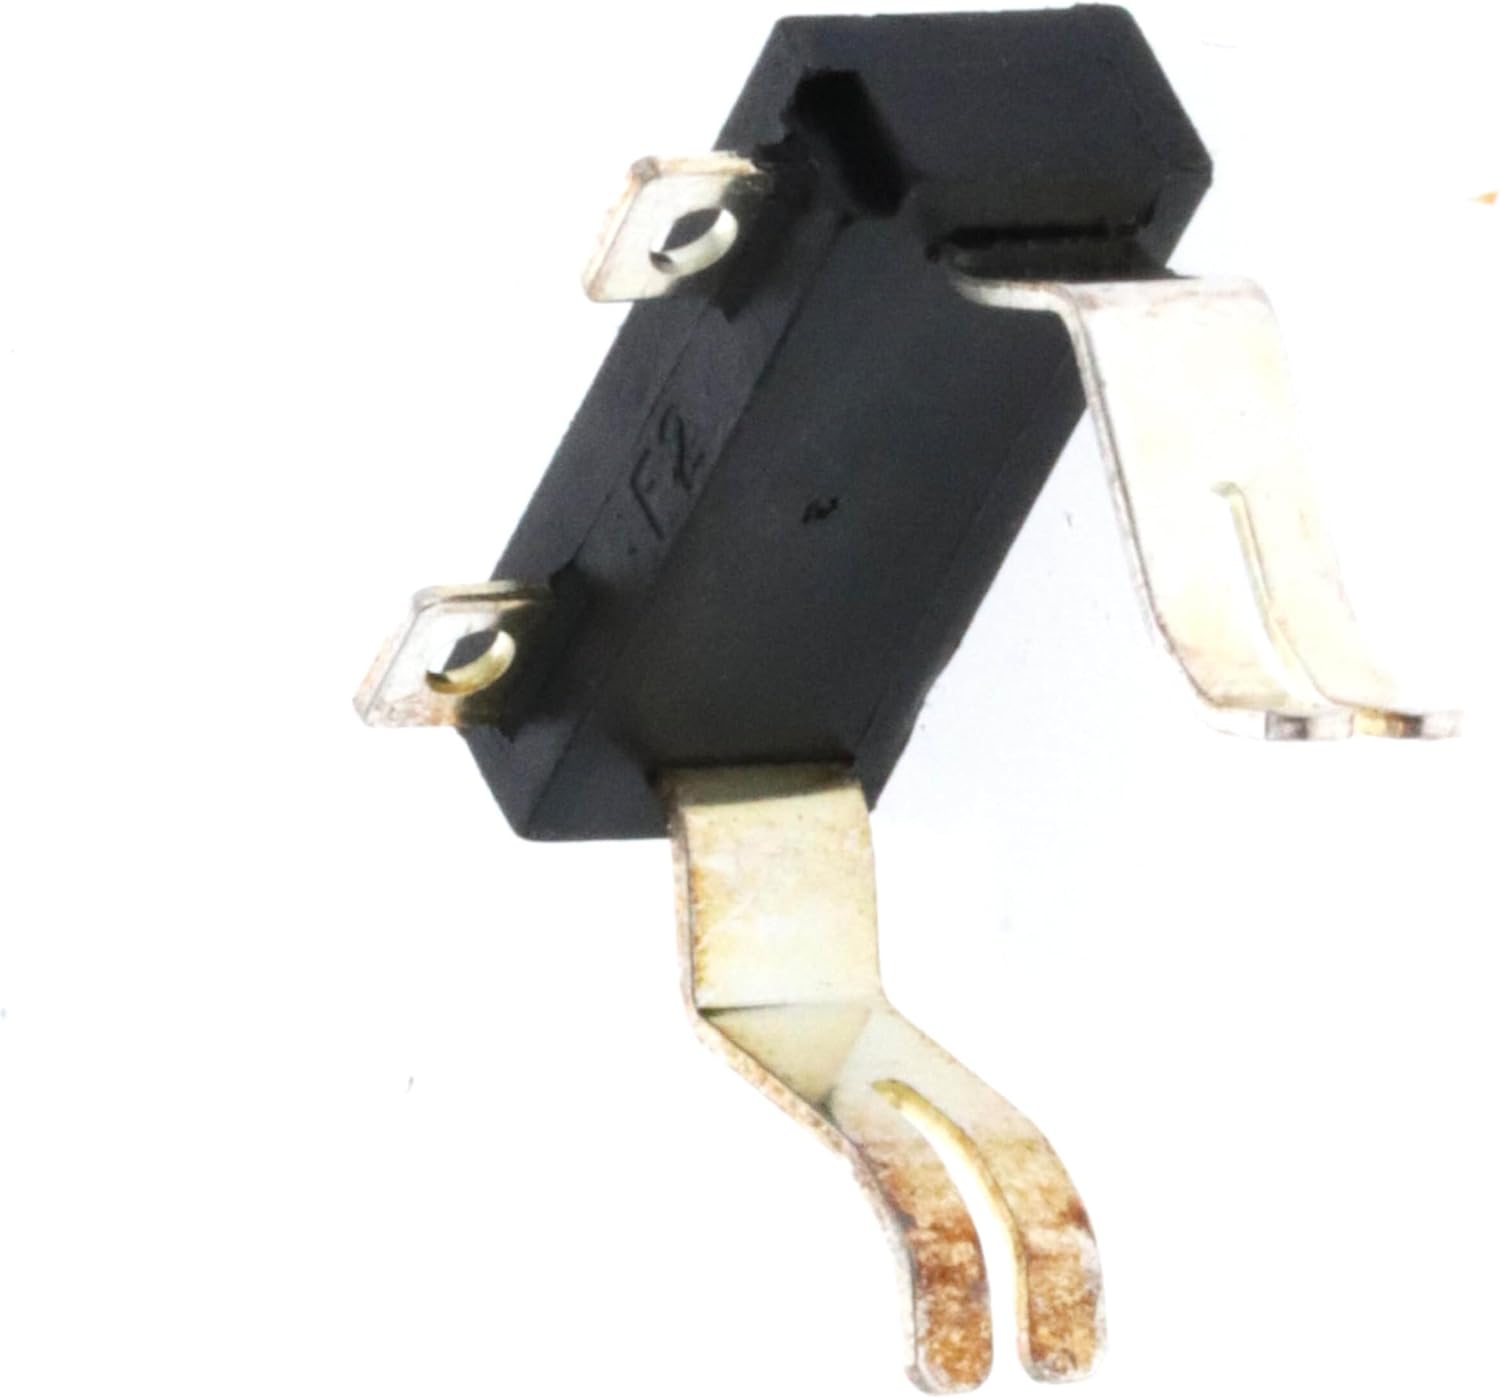
Figure 3: Angled view of the contact plate holder, showing the design of the electrical terminals.
6. Operating Principle
The contact plate holder is a crucial electrical component within your lawn mower's power system. Its primary function is to securely hold the electrical contacts that facilitate the flow of power, typically from the battery or power cord to the motor and other electrical systems. A properly functioning contact plate holder ensures reliable power delivery, which is essential for the mower's starting and continuous operation.
7. Maintenance
The Eopzol TTI300001067 Contact Plate Holder is designed for durability and typically requires minimal maintenance. However, periodic inspection can help ensure its longevity and proper function:
- Visual Inspection: During other mower maintenance, visually inspect the contact plate holder for any signs of damage, corrosion, or loose connections.
- Cleanliness: Keep the area around the contact plate holder free from dirt, debris, and moisture, which can interfere with electrical connections.
- Secure Connections: Ensure all wires connected to the holder remain tight and secure.
8. Troubleshooting
If your lawn mower does not operate correctly after replacing the contact plate holder, consider the following:
- Power Connection: Double-check that the battery is fully charged and properly inserted, or that the power cord is securely plugged into a working outlet.
- Wire Connections: Verify that all wires are correctly and securely connected to the new contact plate holder, matching the original configuration.
- Component Orientation: Ensure the contact plate holder is installed in the correct orientation.
- Other Components: If the issue persists, the problem may lie with another component of the lawn mower's electrical system or motor. Consult your mower's original troubleshooting guide or a professional technician.
9. Specifications
| Attribute | Detail |
|---|---|
| Part Number | TTI300001067 |
| Manufacturer | Eopzol |
| Compatible Models | Ryobi P1100, P1102, P1108VNM, RYi2322EVNM |
| Product Dimensions | Approximately 1 x 1 x 1 inches (2.54 x 2.54 x 2.54 cm) |
| Item Model Number | EG18225 |
10. Warranty and Support
Every Eopzol product is backed by a 30-day Money-back Guarantee and an 18-Month Worry-free Warranty.
If you have any questions regarding compatibility, installation, or product performance, please contact Eopzol customer support. When contacting support, please provide your lawn mower's model and serial number for accurate assistance.