M5Z7D2263
Generic 7W COB Downlight LED Recessed Ceiling Light User Manual
Model: M5Z7D2263
1. Introduction
This manual provides detailed instructions for the installation, operation, and maintenance of your Generic 7W COB Downlight LED Recessed Ceiling Light. Please read this manual thoroughly before installation and retain it for future reference.
The 7W COB Downlight is a high-efficiency LED lighting solution designed for various indoor applications, including hotel and engineering lighting. It features high color rendering (CRI > 80) and a 55mm mounting aperture for recessed installation.
2. Safety Information
- Always disconnect power at the circuit breaker before installing or servicing the fixture.
- Installation should be performed by a qualified electrician in accordance with all local electrical codes.
- Do not install in areas with excessive moisture or direct water exposure unless the product is specifically rated for such environments.
- Ensure the fixture is securely mounted to prevent falling.
- Do not attempt to modify the fixture. Any modifications may void the warranty and create safety hazards.
- Avoid looking directly into the light source when illuminated, as it may cause eye strain.
3. Package Contents
Verify that all components are present before beginning installation:
- 1 x 7W COB Downlight LED Recessed Ceiling Light

Image 1: The 7W COB Downlight LED Recessed Ceiling Light, showing its compact design and mounting clips.
4. Specifications
| Power | 7W |
| Voltage | AC85-265V |
| Light Source | COB LED |
| Color Temperature | Natural Light (4000K) - This model Also available: Warm Light (3000K), White Light (6000K) |
| Color Rendering Index (CRI) | > 80 |
| Luminous Flux | 680LM |
| Mounting Aperture | 55 mm |
| Overall Diameter | 65 mm |
| Height | 53 mm |
| Material | Aluminum |
| Installation Type | Embedded (Recessed) |
| Average Life Expectancy | Approximately 50,000 hours |
| Certifications | CE, RoHS |

Image 2: Product dimensions, showing a diameter of 65mm, height of 53mm, and a required mounting aperture of 55mm.
5. Installation Instructions
Important: Ensure power is OFF at the circuit breaker before proceeding with installation.
- Prepare the Ceiling: Cut a circular hole in the ceiling with a diameter of 55mm (approximately 2.17 inches). Ensure there is sufficient clearance above the ceiling for the fixture's height (53mm).
- Connect Wiring: Connect the AC85-265V power supply wires to the fixture's input wires. Ensure proper polarity (Live to Live, Neutral to Neutral, Ground to Ground, if applicable) and secure all connections with appropriate wire connectors.
- Insert Fixture: Gently push the spring clips on the sides of the downlight upwards. Insert the downlight into the prepared ceiling hole. The spring clips will automatically secure the fixture in place against the ceiling.
- Final Check: Ensure the fixture is flush with the ceiling and securely installed.
- Restore Power: Turn on the power at the circuit breaker.
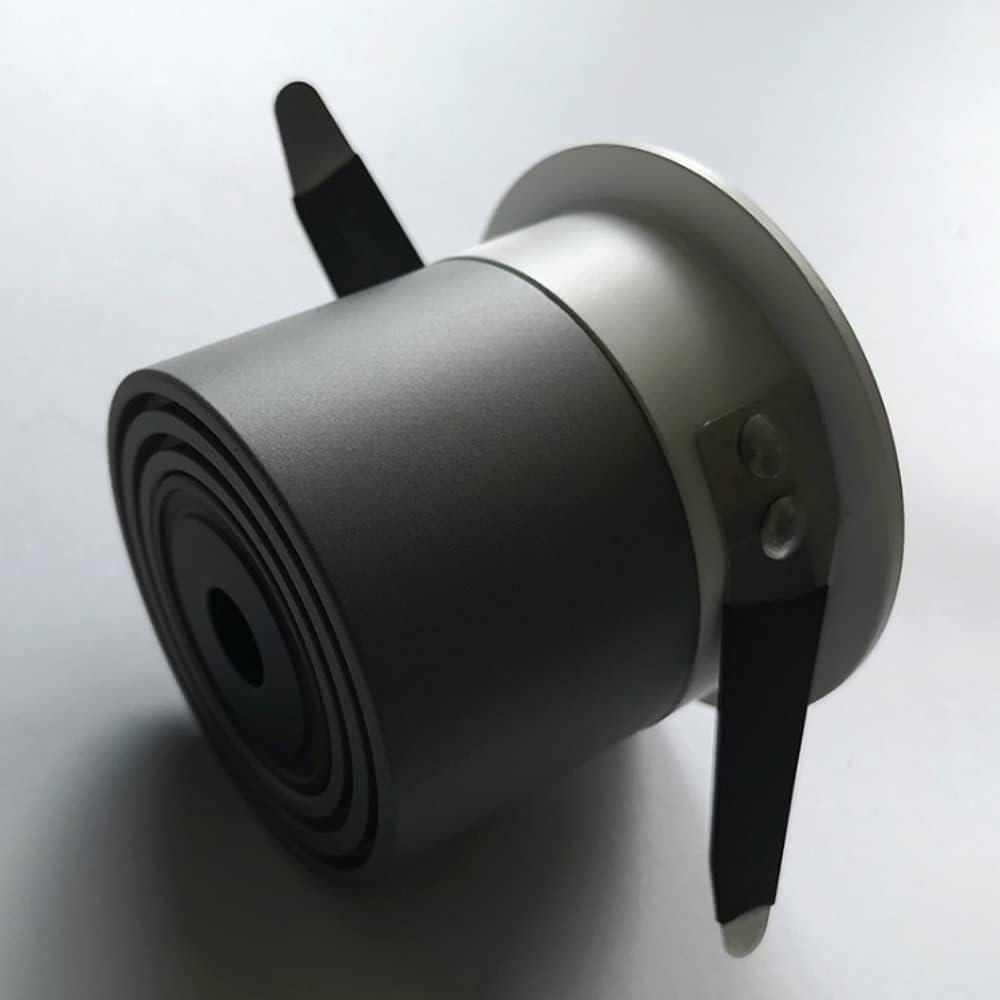
Image 3: Rear view of the downlight, illustrating the aluminum housing designed for effective heat dissipation.
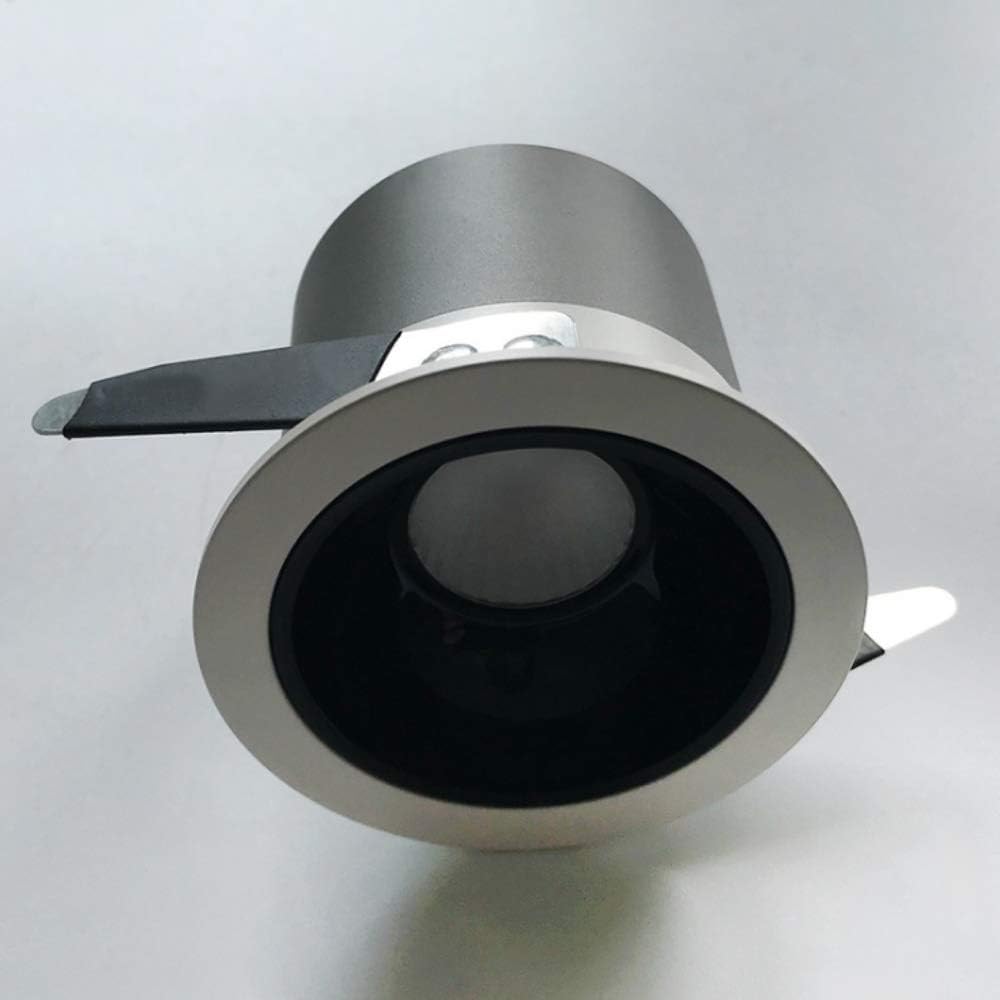
Image 4: Front view of the downlight, highlighting the COB LED and the spring-loaded mounting clips.
6. Operating Instructions
The 7W COB Downlight operates by connecting to a standard AC85-265V electrical circuit. Once properly installed and powered, the light will illuminate.
- Turning On/Off: Control the light using a standard wall switch connected to the circuit.
- Dimming (Optional): This fixture is compatible with most dimmers. If dimming functionality is desired, ensure a compatible dimmer switch is installed in the circuit. Refer to the dimmer switch's instructions for proper operation.

Image 5: Example of the downlight installed in a modern living room, providing ambient lighting.
7. Maintenance
The 7W COB Downlight is designed for long-term, low-maintenance operation. Follow these guidelines for optimal performance:
- Cleaning: Ensure power is off before cleaning. Use a soft, dry, or slightly damp cloth to wipe the surface of the fixture. Do not use abrasive cleaners, solvents, or harsh chemicals, as these can damage the finish or electrical components.
- Inspection: Periodically inspect the fixture for any signs of damage or loose connections. If any issues are found, disconnect power and consult a qualified electrician.
- No User-Serviceable Parts: The LED light source is integrated and not designed to be replaced by the user. Do not attempt to disassemble the fixture.

Image 6: Detailed view of the COB LED module and the multi-layered heat sink structure, indicating efficient thermal management.
8. Troubleshooting
| Problem | Possible Cause | Solution |
|---|---|---|
| Light does not turn on. |
|
|
| Light flickers or dims unexpectedly. |
|
|
| Light is not securely mounted. |
|
|
If troubleshooting steps do not resolve the issue, please contact customer support.
9. Warranty and Support
This product comes with a guaranteed quality assurance. If you have any questions or encounter issues, please contact our customer support team. We aim to respond to all inquiries within 12 hours to ensure a satisfactory experience.
For support, please refer to the contact information provided at the point of purchase or on the product packaging.
Ask a question about this manual
Ask about setup, troubleshooting, compatibility, parts, safety, or missing instructions. Manuals+ will review the question and use this page’s manual context to help answer it.