1. Introduction
This manual provides instructions for the setup, operation, and maintenance of your Lafocuse Large Digital Wall Clock. This 15.5-inch LED display clock features time, date, week, and temperature display, dual alarms with snooze, adjustable brightness, and remote control functionality. Please read these instructions carefully before use.
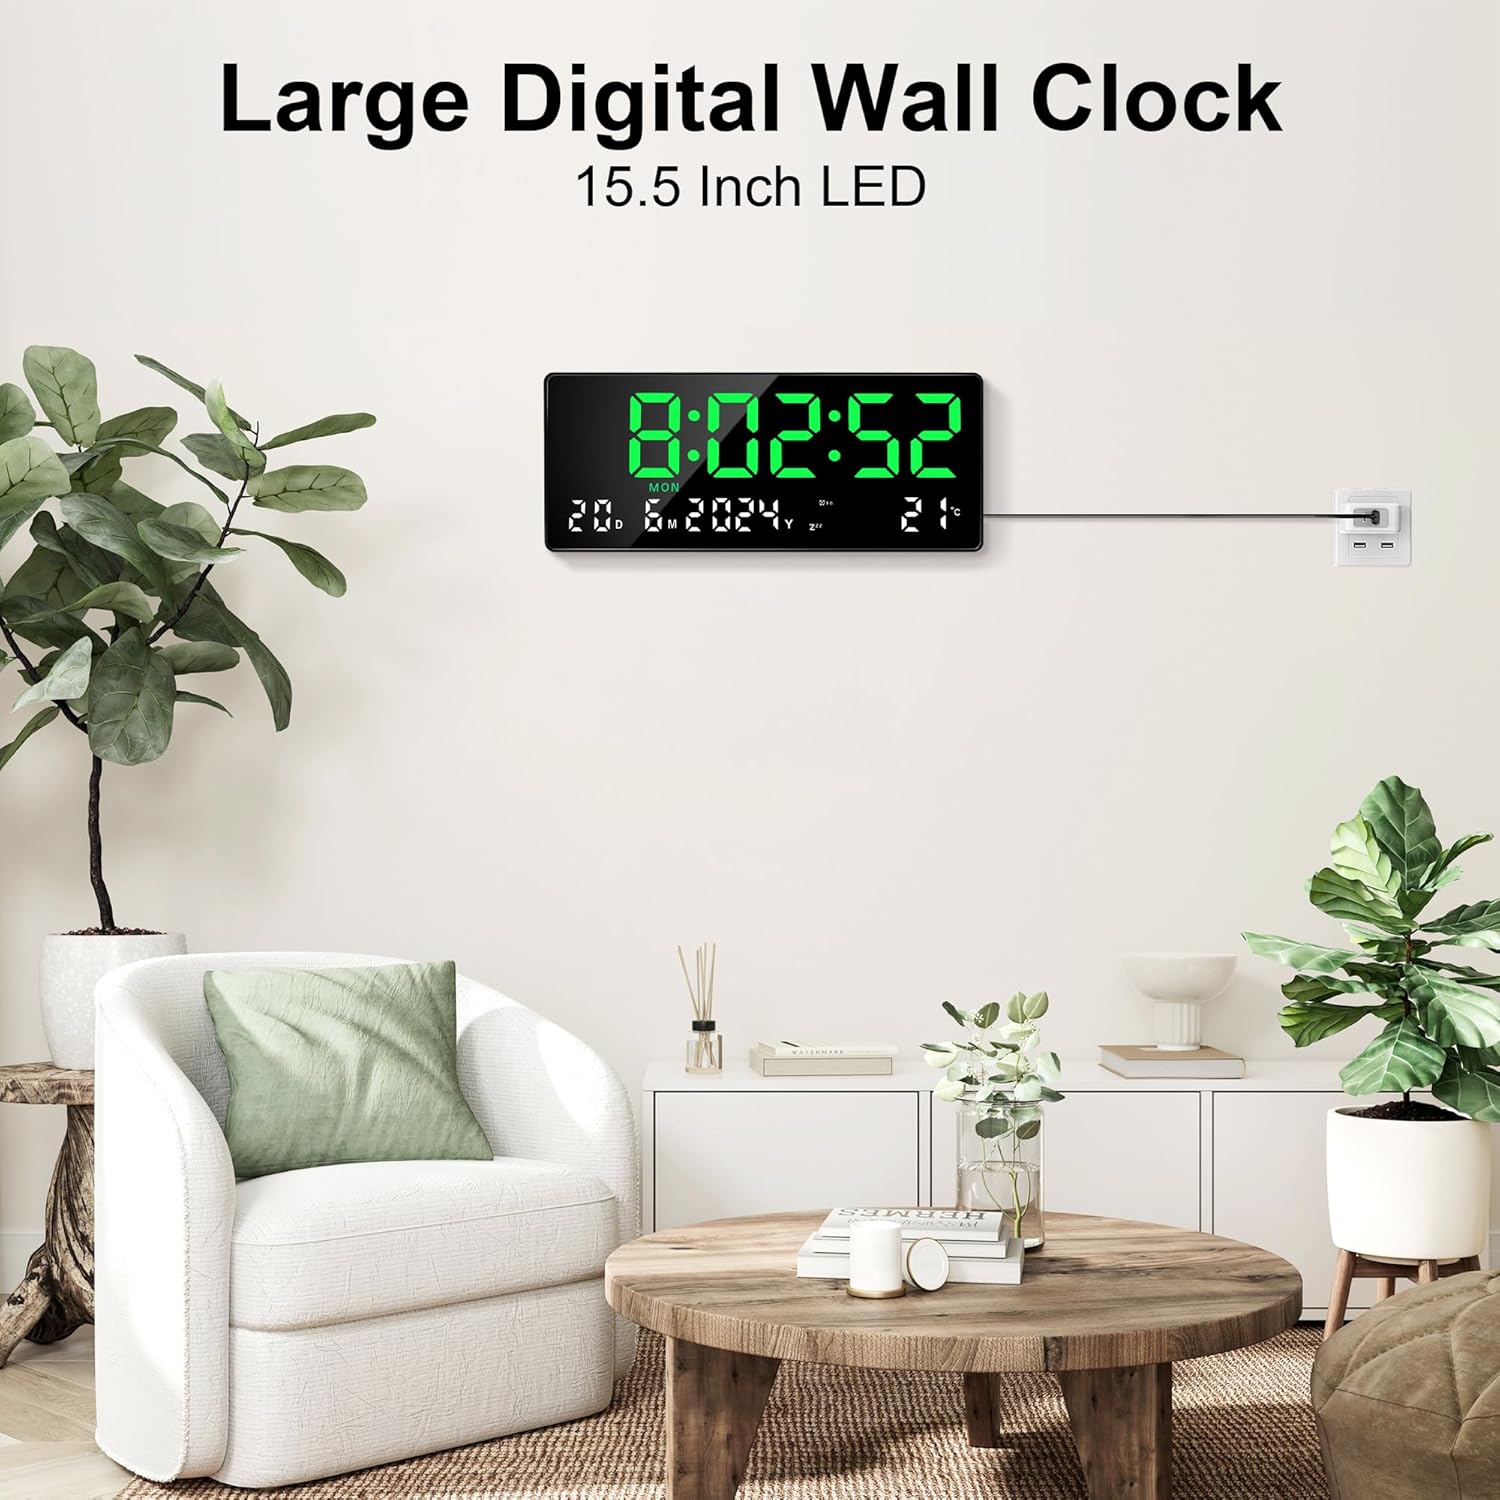
Figure 1.1: Lafocuse Large Digital Wall Clock in a living room environment.
2. Package Contents
Verify that all items are present in the package:
- Lafocuse Large Digital Wall Clock
- Remote Control
- Power Cable (2 meters)
- Detachable Stand
- User Manual (this document)

Figure 2.1: Overview of clock components and included accessories.
3. Product Overview
The clock features a large LED display for clear visibility. The back of the clock includes control buttons and connection ports.
3.1 Front Display Features
- Time Display: Hours, minutes, and seconds.
- Date Display: Day, month, and year.
- Week Display: Day of the week.
- Temperature Display: Current ambient temperature.
- Alarm Indicators: Icons to show active alarms.
3.2 Back Panel Components
Refer to Figure 2.1 for the location of these components:
- Set Button: Used to enter and confirm settings.
- Up Button: Used to increase values or navigate up.
- Down Button: Used to decrease values or navigate down.
- Exit Button: Used to exit settings mode.
- Hook Holes: For wall mounting.
- Stand Jack: For attaching the detachable stand.
- Power Cable Port: For connecting the power cable.
- Battery Compartment: Houses the memory battery (Lithium Metal, included) to retain settings during power interruptions.
4. Setup
4.1 Power Connection
- Insert the small end of the provided power cable into the Power Cable Port on the back of the clock.
- Plug the other end of the power cable into a standard electrical outlet.
- The clock will power on and display the default time. The internal memory battery ensures that settings are retained if power is temporarily lost.

Figure 4.1: Clock powered by cord on a desk.
4.2 Remote Control Preparation
The remote control requires batteries (typically 2x AAA, not explicitly stated in product info, but common for remotes). Ensure batteries are correctly installed before use.
5. Mounting and Placement
The clock offers both wall-mounting and desk-placement options.
5.1 Wall Mounting
- Identify a suitable location on a wall.
- Install two screws or nails into the wall, spaced to align with the Hook Holes on the back of the clock (refer to Figure 2.1).
- Carefully hang the clock onto the installed screws/nails. Ensure it is secure.
5.2 Desk Placement
- Locate the Detachable Stand.
- Insert the stand into the Stand Jack on the back of the clock (refer to Figure 2.1).
- Place the clock on a flat, stable surface.

Figure 5.1: Wall hanging and desk placement options.
6. Operating Instructions
All settings can be adjusted using the provided remote control.

Figure 6.1: Using the remote control to adjust clock settings.
6.1 Setting Time and Date
- Press the 'SET' button on the remote control to enter setting mode. The hour digits will flash.
- Use the 'UP' or 'DOWN' buttons to adjust the hour.
- Press 'SET' again to move to the minute setting. Adjust with 'UP' or 'DOWN'.
- Continue pressing 'SET' to cycle through year, month, day, and week settings, adjusting each with 'UP' or 'DOWN'.
- After setting the week, press 'SET' one more time to exit setting mode, or press the 'EXIT' button at any point.
6.2 12/24 Hour Format
Press the '12/24H' button on the remote control to switch between 12-hour and 24-hour time formats.
6.3 Temperature Unit (°C/°F)
Press the '°C/°F' button on the remote control to switch the temperature display between Celsius and Fahrenheit.

Figure 6.2: Switching between 12/24H time format and °C/°F temperature units.
6.4 Alarm Setting (Alarm 1 & Alarm 2)
- Press the 'ALARM' button on the remote control. 'AL1' will appear, and the hour digits for Alarm 1 will flash.
- Use 'UP' or 'DOWN' to set the desired hour for Alarm 1.
- Press 'ALARM' again to set the minutes for Alarm 1. Adjust with 'UP' or 'DOWN'.
- Press 'ALARM' a third time to set Alarm 2 (repeat steps for hour and minute).
- Press 'ALARM' a fourth time to activate/deactivate Alarm 1, and a fifth time for Alarm 2. An alarm icon will appear on the display when an alarm is active.
- Press 'EXIT' to leave alarm setting mode.
6.5 Snooze Function
When an alarm sounds, press the 'SNOOZE' button on the remote control. The alarm will pause and sound again after the set snooze duration. The snooze duration can be set from 1 to 99 minutes during alarm setup (refer to the alarm setting steps for snooze duration adjustment, typically after setting alarm minutes).
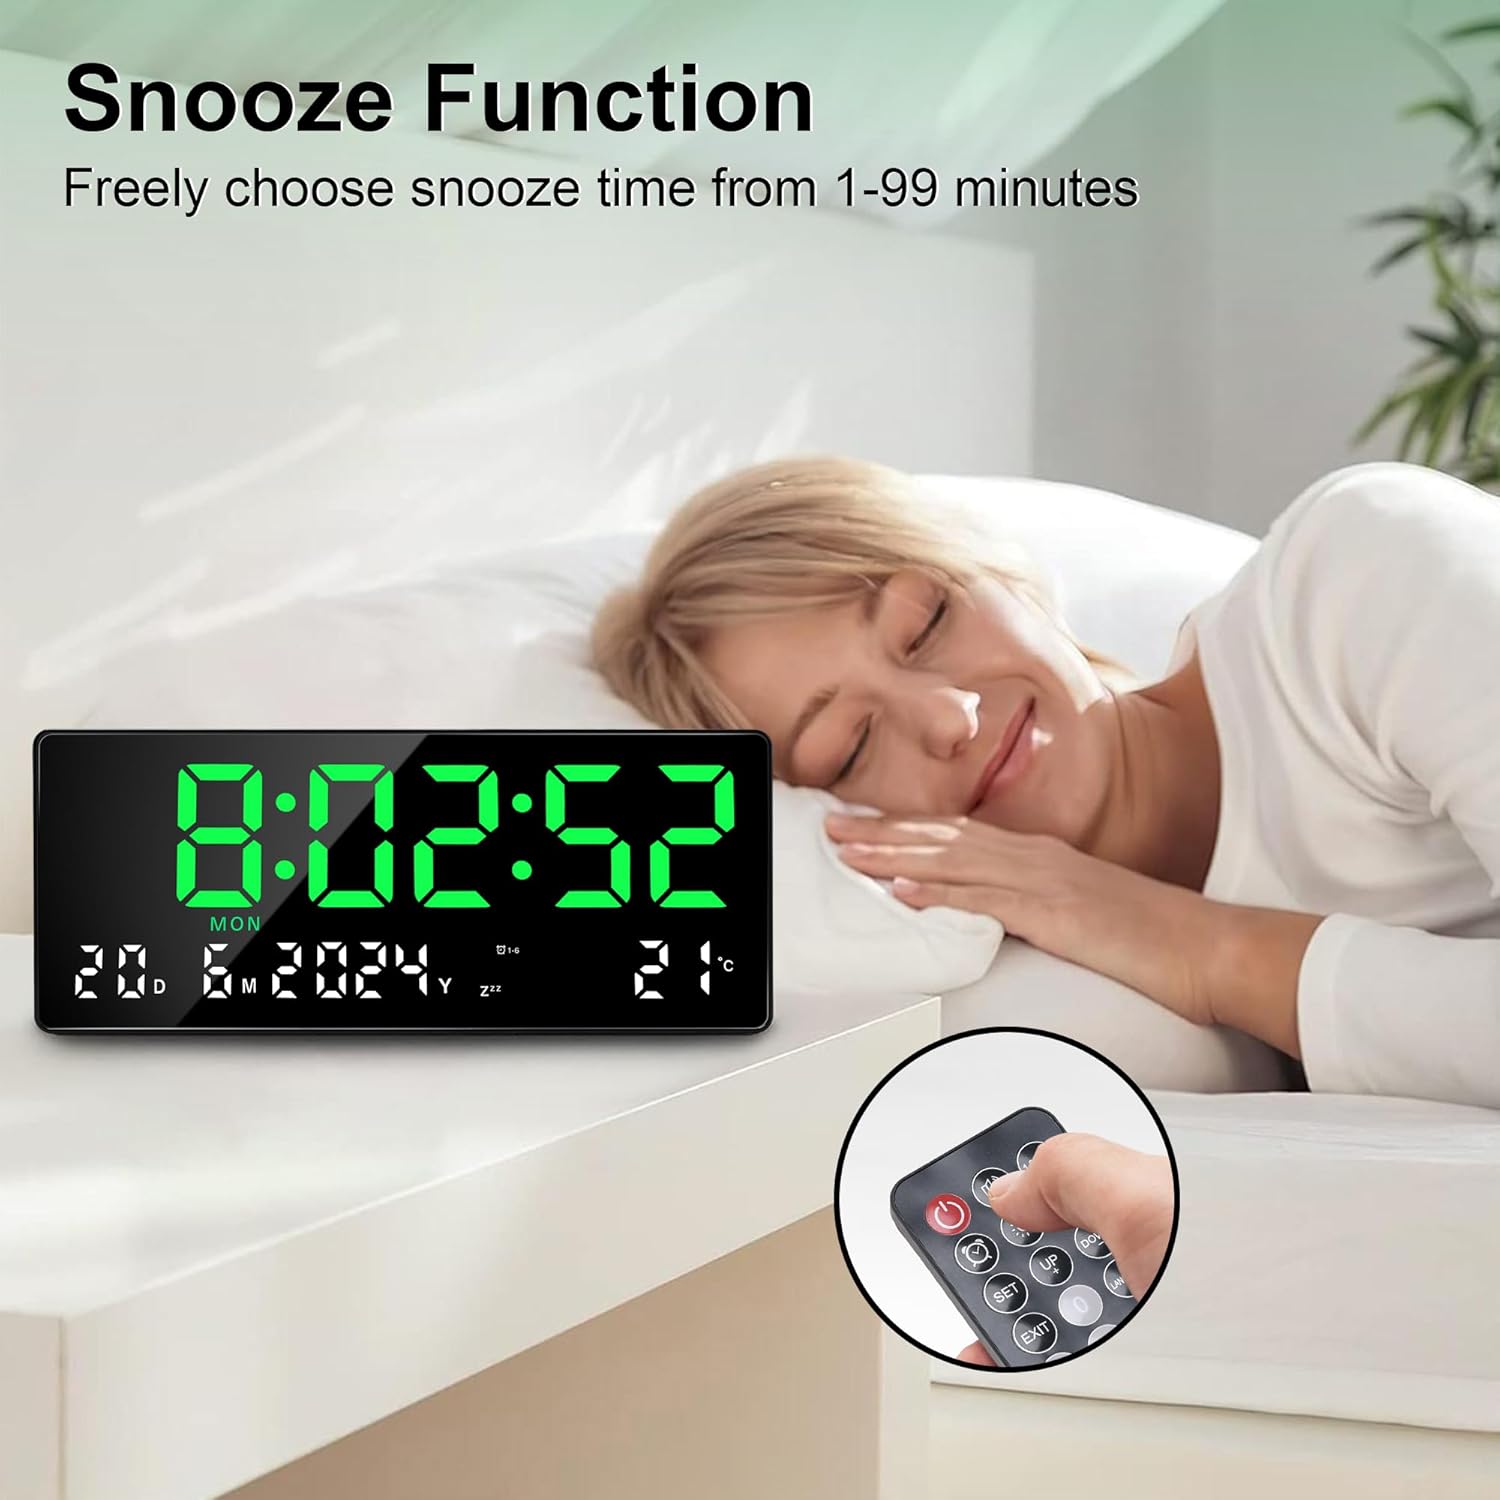
Figure 6.3: Activating the snooze function.
6.6 Brightness Adjustment
The clock features 3 levels of brightness and an option to turn off the screen completely.
- Press the 'LIGHT' button on the remote control to cycle through the brightness levels (100%, 60%, 30%).
- Continue pressing 'LIGHT' to reach the 'OFF' state, which turns off the display while the clock continues to function internally.

Figure 6.4: Adjustable brightness levels and screen off option.
7. Maintenance
7.1 Cleaning
To clean the clock, gently wipe the display and casing with a soft, dry cloth. Do not use abrasive cleaners or solvents, as these may damage the surface.
7.2 Memory Battery Replacement
The clock uses a Lithium Metal battery for memory backup. If the clock consistently loses time or settings after a power interruption, the memory battery may need replacement. Consult a qualified technician for battery replacement to avoid damage to the device.
8. Troubleshooting
| Problem | Possible Cause | Solution |
|---|---|---|
| Clock does not power on. | Power cable not connected or faulty outlet. | Ensure power cable is securely connected to the clock and a working electrical outlet. Test the outlet with another device. |
| Remote control not working. | Remote batteries are dead or incorrectly inserted. Obstruction between remote and clock. | Replace remote control batteries. Ensure correct polarity. Remove any obstructions. Point remote directly at the clock. |
| Clock loses settings after power outage. | Memory battery is low or depleted. | The internal memory battery may need replacement. Contact support for assistance. |
| Alarm does not sound. | Alarm is not activated or volume is too low (if adjustable). | Ensure the alarm icon is displayed, indicating it is active. (Note: This clock does not specify adjustable alarm volume). |
9. Specifications
| Feature | Detail |
|---|---|
| Brand | Lafocuse |
| Model Number | ZH0164A |
| Display Type | LED |
| Screen Size | 15.5 Inches |
| Product Dimensions (W x H) | 14.25" x 6.1" (36.2 cm x 15.5 cm) |
| Power Source | Cord Powered |
| Material | Plastic |
| Special Features | Multifunctional display (time, date, week, temp), Wall & Desk clock, Remote control, 2 Alarms, Snooze, Adjustable Brightness |
| Memory Battery | 1 Lithium Metal battery (included) |
10. Warranty and Support
For warranty information or technical support, please refer to the documentation provided at the time of purchase or contact Lafocuse customer service through the retailer where the product was purchased. Keep your purchase receipt for warranty claims.