
Introduction
This manual provides detailed instructions for the setup, operation, maintenance, and troubleshooting of your Bietrun WXM28A Wireless In-Ear Monitor System. Please read this manual thoroughly before using the product to ensure proper functionality and to maximize its performance.
Box Contents
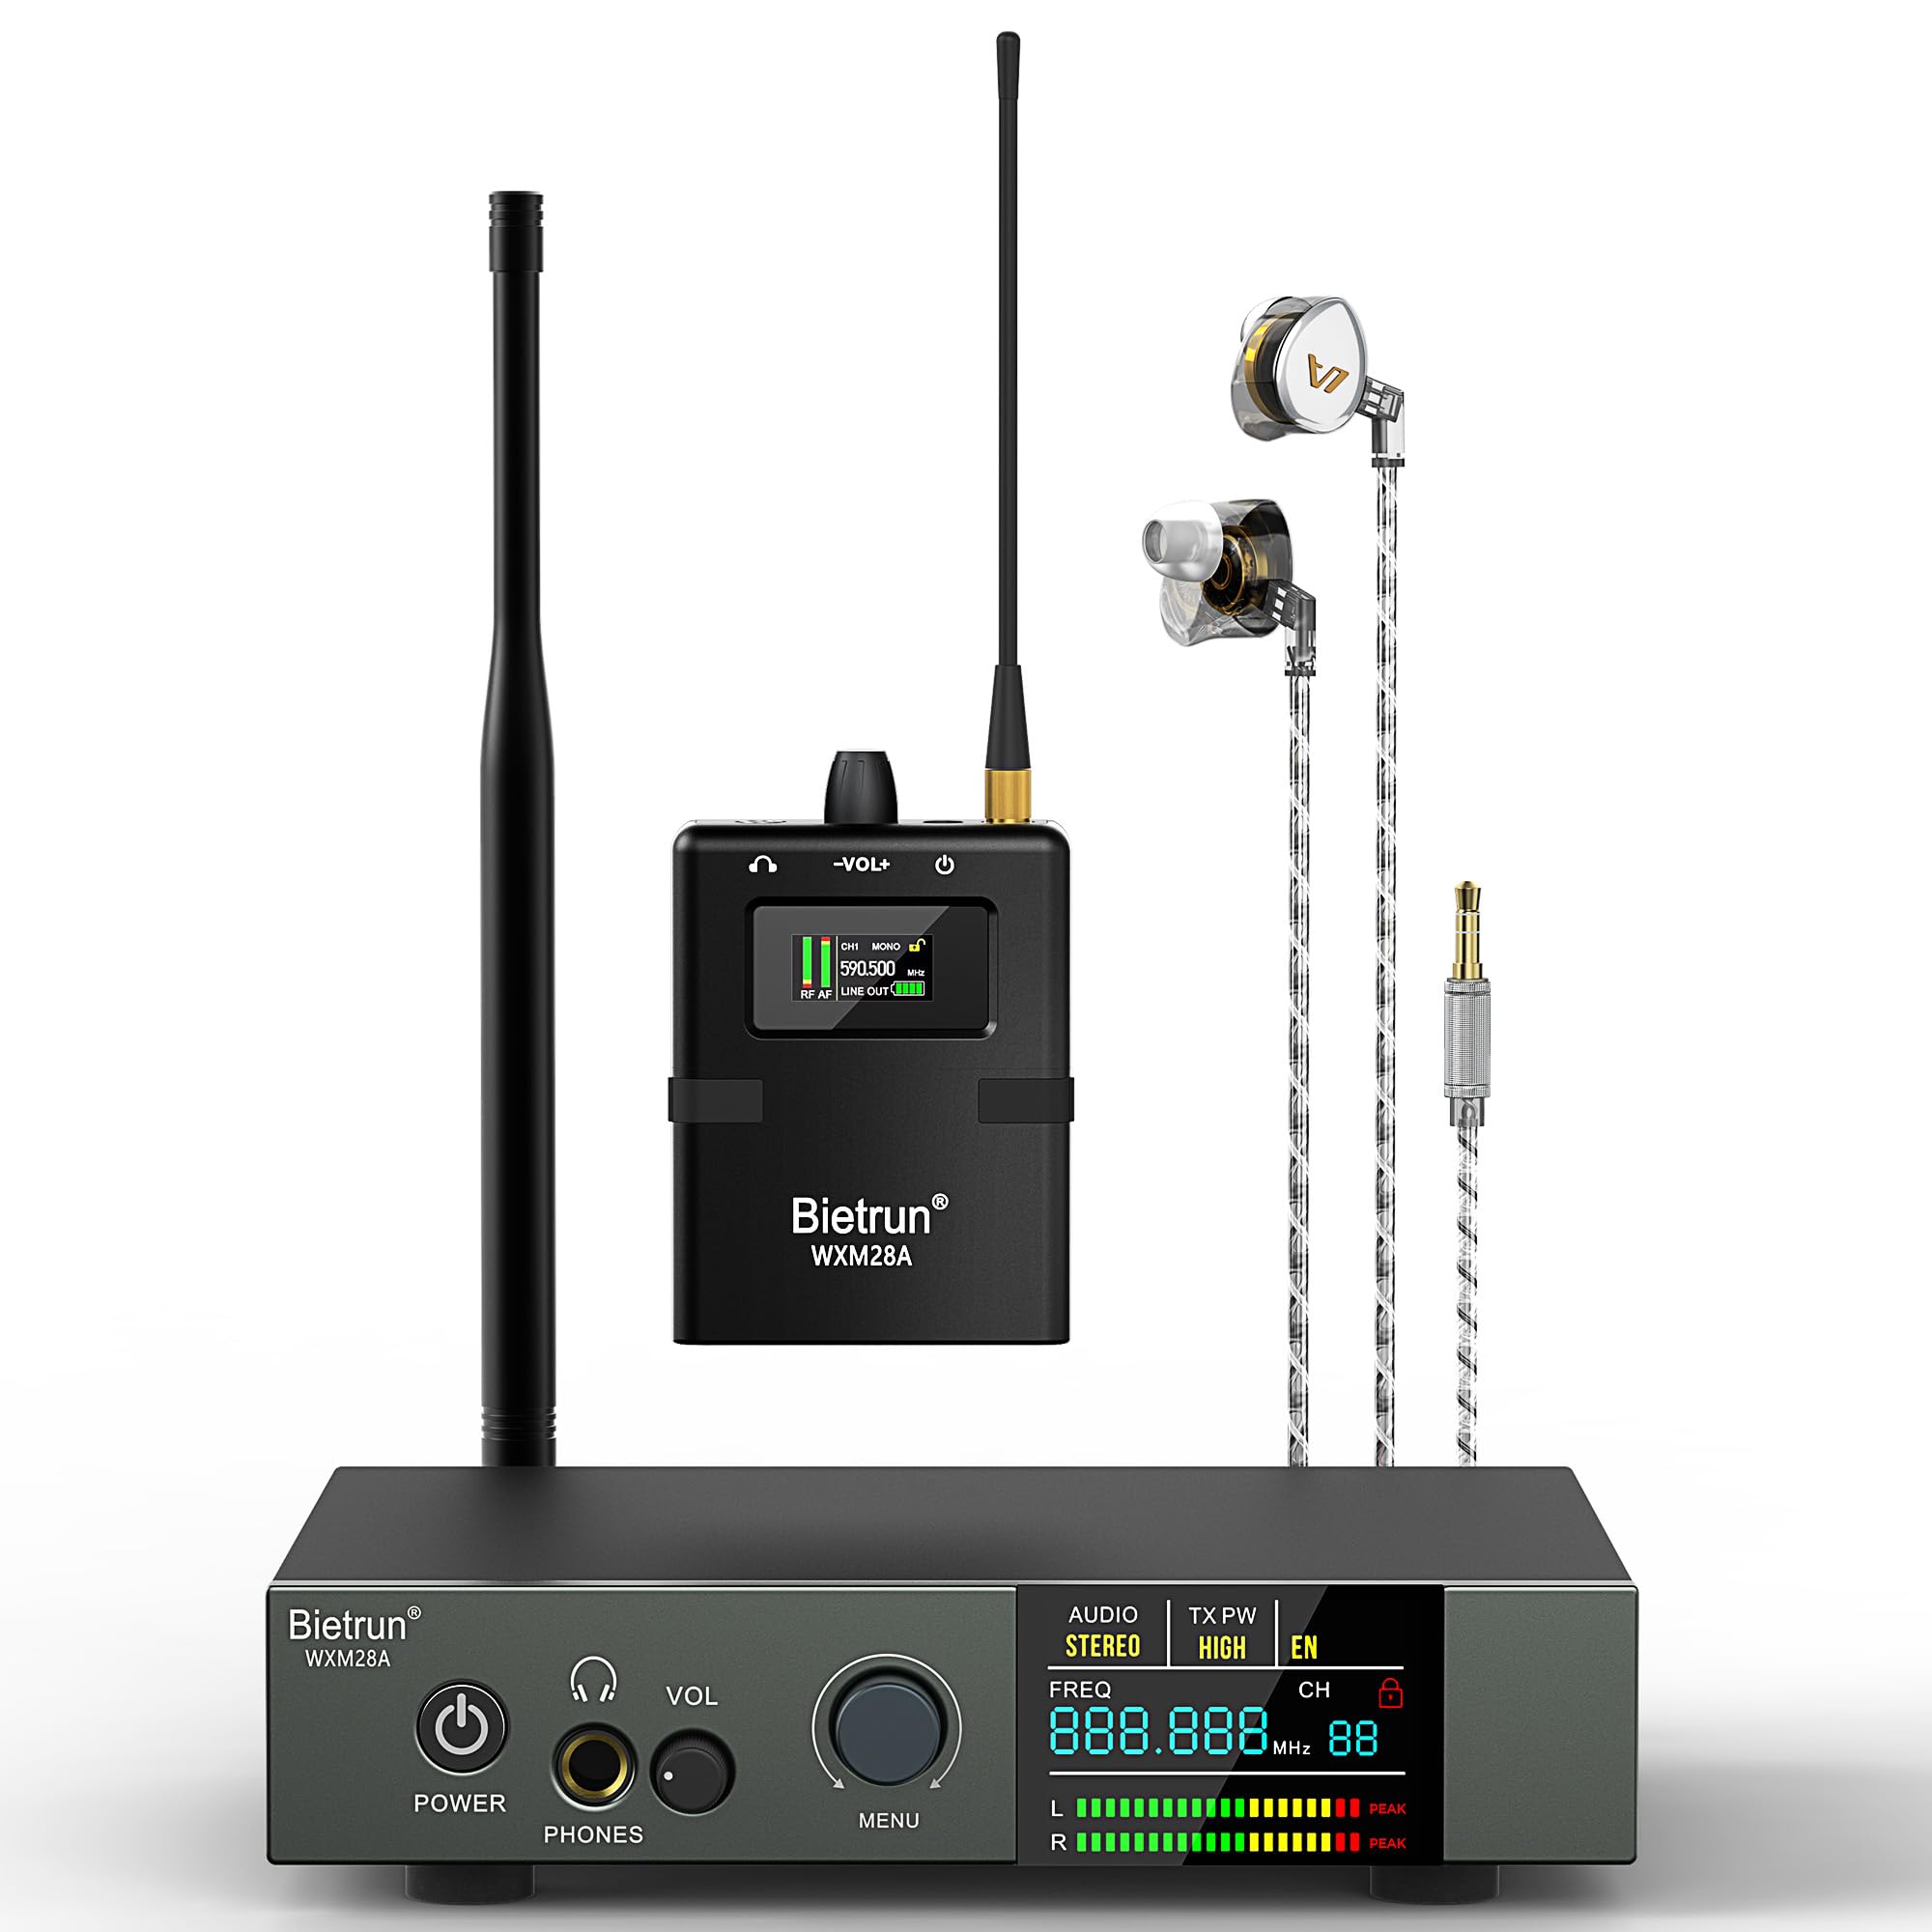
Carefully unpack your Bietrun WXM28A system and verify that all items listed below are included:
- 1 x Wireless IEM Transmitter
- 1 x UHF Bodypack Receiver
- 1 x Earphone
- 1 x Power Adapter
- 1 x Antenna
- 1 x 3.5mm to dual 6.35mm audio cable
- 1 x 3.5mm to 6.35mm adapter
- 1 x User Manual (this document)

This image lists the contents of the Bietrun WXM28A system package and provides the dimensions of both the wireless transmitter and the bodypack receiver.
Setup
1. Transmitter Overview and Connections
The wireless transmitter serves as the central hub for your audio input. Familiarize yourself with its controls and ports.
This image displays the front and rear panels of the Bietrun WXM28A wireless transmitter, highlighting its various controls and connection ports, including power, headphone output, volume, menu knob, LCD screen, DC input, PAD switches, 1/4" TS/XLR inputs, loop outputs, and antenna connection.
- Power Connection: Connect the provided power adapter to the 'DC 12V' input on the rear panel of the transmitter and plug it into a power outlet.
- Antenna Installation: Screw the antenna securely into the 'ANT' connector on the rear panel. Ensure it is upright for optimal signal transmission.
- Audio Input: Connect your audio source (e.g., mixer, audio interface) to the 'INPUT 1' and 'INPUT 2' ports on the rear panel. These are combo jacks supporting both 1/4" TS (unbalanced) and XLR (balanced) inputs. Use the 'PAD 1' and 'PAD 2' switches to attenuate high-level input signals if distortion occurs.
- Loop Outputs: The 'OUTPUTS' (Loop Out) allow you to copy the original input signal to other devices for additional monitoring or daisy-chaining.
A close-up view of the transmitter's rear panel, detailing the 1/4" TS and XLR combo inputs, PAD switches, and loop outputs for versatile connectivity.
2. Bodypack Receiver Setup
The bodypack receiver is designed for portable monitoring.

This image shows the bodypack receiver, detailing its power switch, volume control knob, antenna, OLCD screen, menu button, and the battery compartment for two AA batteries.
- Battery Installation: Press the two raised buttons in the middle part of the receiver to release the battery cover. Insert two AA batteries, observing correct polarity. Close the cover securely.
- Earphone Connection: Plug the provided in-ear earphones into the 3.5mm headphone jack on the bodypack receiver.

This image demonstrates the auto-pairing process between the transmitter and receiver when on the same channel, and illustrates how to install AA batteries into the bodypack receiver.
3. Initial Power On and Pairing
- Power On Transmitter: Press the 'POWER' button on the front panel of the transmitter. The LCD screen will illuminate.
- Power On Receiver: Slide the 'Power Switch' on the bodypack receiver to the ON position. The OLCD screen will illuminate.
- Automatic Pairing: The system is designed for automatic pairing. Ensure both the transmitter and receiver are set to the same channel and frequency. The receiver's OLCD screen will display 'RF' and 'AF' indicators when a stable connection is established.
Operating Instructions
1. Transmitter Controls
- Volume (VOL): Adjusts the headphone output volume on the transmitter.
- MENU Button/Knob: Short press to enter settings. Rotate to adjust values. Press again to confirm and exit. The TFT full-color screen displays real-time system status.
- Frequency/Channel Selection: Use the MENU knob to navigate and select desired frequency and channel. The system offers 10 selectable channels.
- Gain Control: Adjust input gain via the menu to optimize audio levels and prevent distortion.
- Stereo/Mono Mode: Select between Stereo and Mono monitoring modes via the menu.
2. Bodypack Receiver Controls

This image illustrates the bodypack receiver's OLCD screen displaying channel and frequency, along with its stepless volume control, mono/stereo switch, and ergonomic in-ear earphones.
- Volume Control Knob: Adjusts the listening volume of the earphones.
- MENU Button: Accesses the receiver's settings menu.
- UP/DOWN Keys: Navigate menu options and adjust values.
- Mono/Stereo Switch: Toggles between mono and stereo monitoring modes.
- Squelch Setting: Adjust squelch level via the menu to reduce unwanted background noise when no signal is present.
3. Monitoring Modes
- Mono Mode: Provides a single, combined audio signal to both ears. Ideal for clear, focused sound and consistent mix reliability.
- Stereo Mode: Delivers a rich, immersive experience with enhanced spatial detail, allowing for precise localization of instruments and vocals.
Maintenance
- Cleaning: Use a soft, dry cloth to clean the surfaces of the transmitter and receiver. Do not use liquid cleaners or solvents.
- Storage: Store the system in a cool, dry place away from direct sunlight and extreme temperatures when not in use.
- Battery Care: Remove batteries from the bodypack receiver if it will not be used for an extended period to prevent leakage.
Troubleshooting
1. No Sound from Receiver
- Ensure the receiver is powered on and has fresh batteries.
- Verify the earphones are securely plugged into the receiver's 3.5mm jack.
- Check the volume level on both the receiver and the transmitter.
- Confirm the transmitter is powered on and receiving an audio input signal.
- Ensure the transmitter and receiver are on the same channel and frequency.
2. Interference or Poor Signal Quality
- Change the operating channel on both the transmitter and receiver to avoid interference from other wireless devices.
- Ensure the transmitter's antenna is properly installed and oriented.
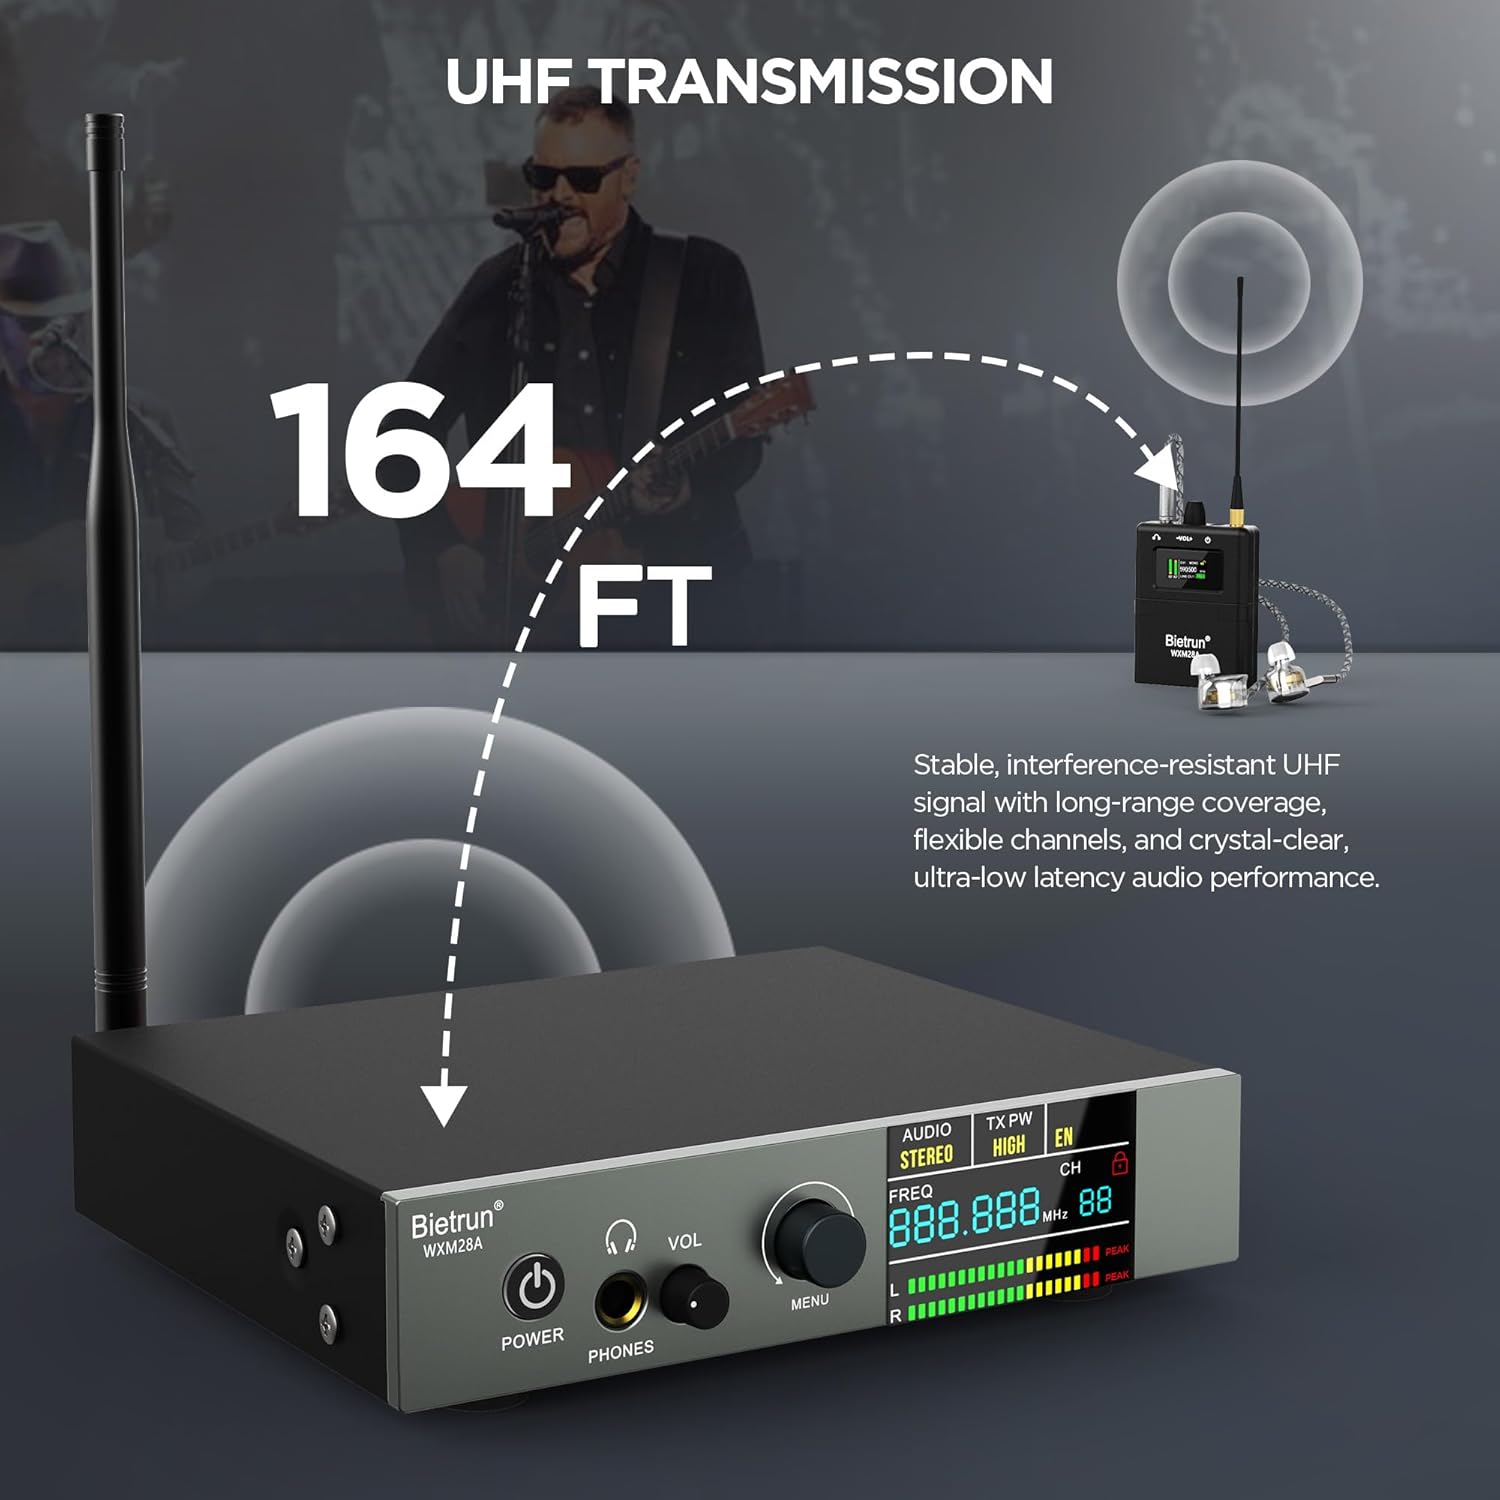
- Reduce the distance between the transmitter and receiver. The optimal range is up to 164 feet (line of sight).
- Avoid physical obstructions (walls, large metal objects) between the transmitter and receiver.
- Adjust the squelch level on the receiver to filter out weak signals or noise.
3. Pairing Issues
- Ensure both the transmitter and receiver are powered on.
- Manually set the transmitter and receiver to the same channel and frequency.
- Power cycle both devices and attempt pairing again.
Specifications
| Feature | Specification |
|---|---|
| Brand | Bietrun |
| Model Number | WXM28A |
| Color | Black |
| Ear Placement | In Ear |
| Form Factor | In Ear |
| Impedance | 47000 Ohms |
| Connectivity Technology | UHF, Wireless |
| Wireless Technology | UHF |
| Frequency Response | 20 Hz - 20,000 Hz |
| Audio Driver Type | Dynamic Driver |
| Noise Control | Active Noise Cancellation |
| Control Type | Button Control, Push Button |
| Headphone Jack | 3.5 mm Jack |
| Enclosure Material | Metal Transmitter, Plastic Receiver |
| Power Source | DC 12V (Transmitter), 2x AA Batteries (Receiver) |
| Wireless Range | 140 to 164 feet (line of sight) |
| Digital Audio Processing | 24-bit/192kHz |
| Signal-to-Noise Ratio (SNR) | 100dB |
| Number of Channels | 10 Selectable |
Warranty Information
The Bietrun WXM28A Wireless In-Ear Monitor System comes with a 1 Year Warranty from the date of purchase. This warranty covers manufacturing defects and ensures the product meets its specified performance standards under normal use. Please retain your proof of purchase for warranty claims.
Extended protection plans may be available for purchase separately:
- 2-Year Protection Plan
- 3-Year Protection Plan
For details on warranty claims or extended protection, please refer to the documentation provided at the time of purchase or contact customer support.
Customer Support
If you encounter any issues not covered in this manual or require further assistance, please contact Bietrun customer support. Refer to the contact information provided with your product packaging or visit the official Bietrun website for support resources.

This image showcases various professional applications for the Bietrun WXM28A system, including street performance, stage performance, public speaking, and church services.