
Introduction
Thank you for choosing the KADIGANG Industrial Pipe Black Wall Mounted Clothes Rack. This product is designed to provide a sturdy, space-saving, and stylish solution for organizing your garments in various environments, including bedrooms, boutiques, and laundry rooms. Please read this manual carefully before assembly and use to ensure proper installation and long-term satisfaction.
Safety Information
- Always ensure the wall surface is suitable for mounting and can support the weight of the rack and its contents. Consult a professional if unsure.
- Use appropriate wall anchors and screws for your specific wall type (e.g., drywall, concrete, wood studs).
- Do not overload the rack beyond its intended capacity.
- Keep small parts away from children during assembly to prevent choking hazards.
- Periodically check all connections and mounting points to ensure they remain secure.
Package Contents
Please verify that all components are present before beginning assembly. If any parts are missing or damaged, please contact customer support.

Image: All components of the KADIGANG Industrial Pipe Clothes Rack laid out on a carpeted floor, including various lengths of black pipes, elbows, T-connectors, and wall flanges.
- Long Pipe Sections (Vertical Supports)
- Short Pipe Sections (Horizontal Rods)
- Elbow Connectors
- T-Connectors
- Wall Flanges
- Mounting Hardware (Screws, Wall Anchors)
- Instruction Manual
Setup and Installation
Follow these steps carefully for a secure and stable installation.
Step 1: Plan Your Layout
Determine the desired location for your clothes rack. Consider the height, width, and clearance needed for hanging garments. Ensure the wall is structurally sound.

Image: A diagram illustrating the overall dimensions of the clothes rack, including height (86.61 inches), width (39.37 inches), and depth (11.81 inches) of the wall-mounted structure.
Step 2: Assemble the Pipe Sections
Begin by connecting the pipe sections according to the diagram. Screw the pipes into the T-connectors and elbow connectors. Ensure all connections are hand-tightened securely.

Image: Close-up views of the rack's components, highlighting the sturdy structure of the pipe connections, the ease of assembly, the robust wall flange base, and the heavy-duty metal pipe material.
Step 3: Attach Wall Flanges
Attach the wall flanges to the ends of the assembled pipe structure where it will meet the wall. These flanges will be used to secure the rack to the wall.
Step 4: Mark Drilling Points
Hold the assembled rack against the wall in the desired position. Use a pencil to mark the drilling points through the holes in the wall flanges. Use a level to ensure the rack is straight.
Step 5: Drill Holes and Install Anchors
Drill pilot holes at the marked points. Insert appropriate wall anchors if drilling into drywall or plaster. For wood studs, drill pilot holes slightly smaller than the screw diameter. For concrete, use masonry drill bits and concrete anchors.
Step 6: Mount the Rack
Align the wall flanges with the drilled holes and secure the rack to the wall using the provided screws. Tighten all screws firmly, but do not overtighten to avoid damaging the wall or the rack components.

Image: Detailed views showing the robust pipe fittings, a securely mounted wall flange with screws, and the smooth, rust-resistant finish of the black industrial pipes.
Operating Instructions
Once securely installed, your KADIGANG clothes rack is ready for use.
- Hanging Garments: Use standard hangers to place clothes on the horizontal rods. Distribute weight evenly across the rods to maintain stability.
- Weight Capacity: The rack is designed for heavy-duty use. However, avoid concentrating excessive weight in one area.
- Versatile Use: This rack is suitable for various clothing items, from shirts and jackets to pants and dresses.
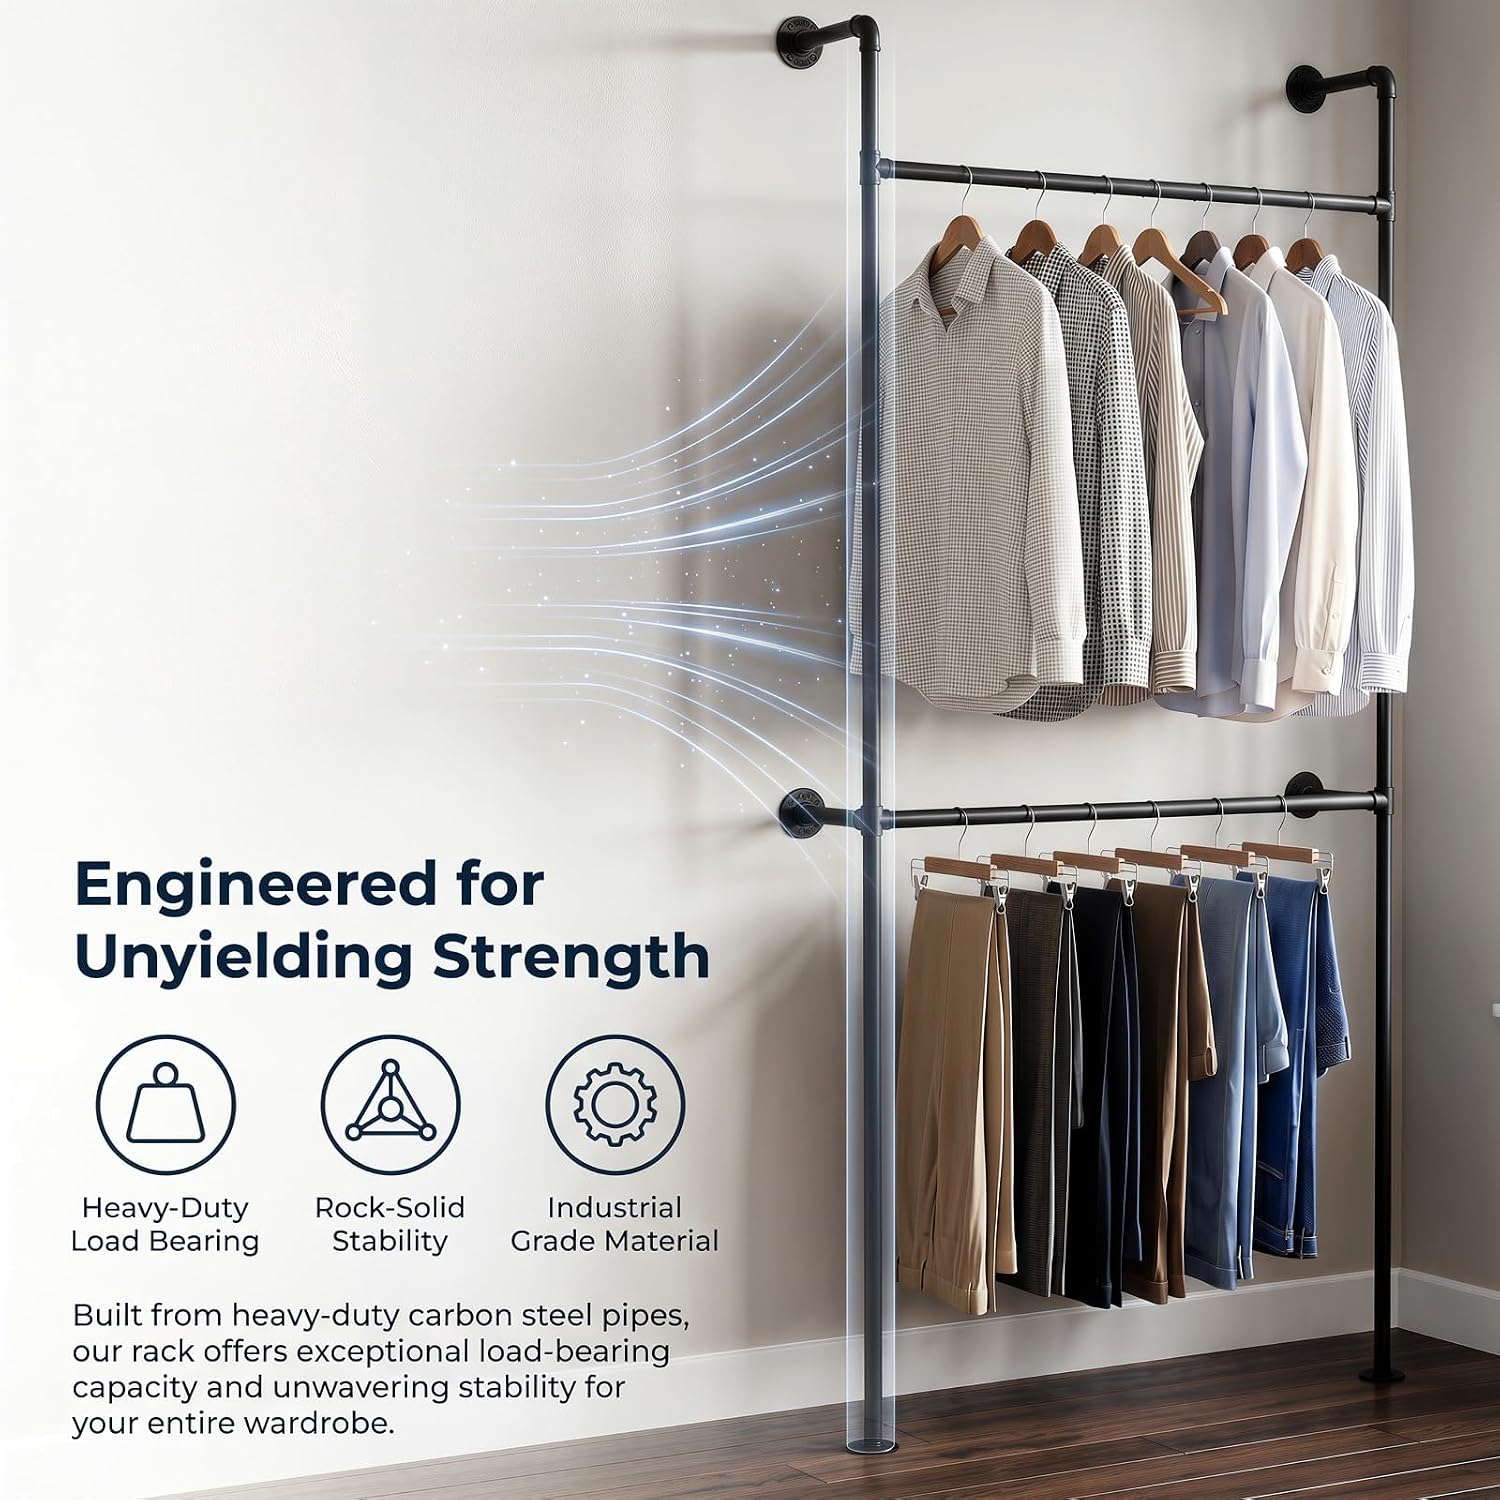
Image: The KADIGANG clothes rack installed, showcasing its heavy-duty load-bearing capacity and rock-solid stability with various garments hanging on both rods.
Maintenance
To ensure the longevity and appearance of your clothes rack, follow these simple maintenance guidelines:
- Cleaning: Wipe the pipes and fittings with a soft, damp cloth. Avoid abrasive cleaners or harsh chemicals that could damage the finish.
- Inspection: Periodically check all screws and connections for tightness. Re-tighten if necessary.
- Rust Prevention: The rack features a rust-resistant finish. However, avoid prolonged exposure to excessive moisture to prevent potential corrosion.
Troubleshooting
| Problem | Possible Cause | Solution |
|---|---|---|
| Rack feels unstable or wobbly. | Loose wall mounting screws or pipe connections. Incorrect wall anchors for wall type. | Ensure all wall mounting screws are tight. Check all pipe connections and tighten them. Verify that appropriate wall anchors were used. |
| Pipes do not align correctly during assembly. | Pipes not fully screwed into connectors. | Unscrew and re-thread pipes into connectors, ensuring they are fully engaged. |
| Difficulty screwing pipes together. | Cross-threading or debris in threads. | Ensure pipes are aligned straight before screwing. Check threads for any obstructions. |
Specifications
- Brand: KADIGANG
- Model: 2Rod-39.37"W
- Color: Black
- Material: Iron (Metal)
- Product Dimensions (D x W x H): 11.8" x 39.4" x 86.6"
- Installation Type: Wall Mounted
- Additional Features: Heavy Duty, Space Saver
- UPC: 721545880550
Warranty Information
For warranty details and claims, please refer to the product packaging or contact KADIGANG customer support directly. Keep your purchase receipt as proof of purchase.
Customer Support
If you encounter any issues or have questions regarding your KADIGANG Industrial Pipe Black Wall Mounted Clothes Rack, please contact our customer support team. Refer to the contact information provided on the product packaging or the seller's website for assistance.