1. Introduction
The RUIX NC360 is a high-performance All-In-One (AIO) CPU liquid cooler designed to provide efficient thermal management for your processor. Featuring a 360mm radiator, a high-speed ceramic bearing pump, and three PWM ARGB fans, this cooler ensures stable operation and vibrant lighting effects. It is compatible with a wide range of Intel and AMD sockets, making it suitable for various modern desktop builds.

Image: The RUIX NC360 ARGB AIO CPU Liquid Cooler showcasing its illuminated fans and pump head.
2. Safety Information
- Always disconnect power from your computer before installation or maintenance.
- Handle components with care to avoid damage.
- Ensure proper grounding to prevent electrostatic discharge (ESD).
- Do not open the liquid cooler's sealed loop; it contains coolant that should not be ingested or come into contact with skin.
- Keep out of reach of children.
- Refer to your motherboard manual for specific fan and RGB header locations.
3. Package Contents
Verify that all components are present before beginning installation:
- RUIX NC360 AIO Liquid Cooler (Radiator, Pump/Cold Plate, Tubing)
- 3x 120mm ARGB PWM Fans
- Mounting Hardware for Intel Sockets (LGA 1851/1700/1200/115X/2011)
- Mounting Hardware for AMD Sockets (AM5/AM4)
- Thermal Paste (pre-applied or in a tube)
- Fan Splitter Cable
- ARGB Controller/Cables (if included)
- User Manual (this document)
4. Setup and Installation
This section provides general installation guidelines. Specific steps may vary slightly depending on your PC case and motherboard. Always refer to your motherboard's manual for detailed information on CPU cooler installation.
4.1 Preparation
- Ensure your computer is powered off and unplugged from the wall outlet.
- Open your PC case and remove any existing CPU cooler. Clean the CPU surface thoroughly of any old thermal paste using isopropyl alcohol.
- Identify the correct mounting hardware for your CPU socket (Intel or AMD).

Image: The RUIX NC360 supports multiple platforms including Intel LGA 1700/1200/115X/2011 and AMD AM4/AM5.
4.2 Installing the Radiator and Fans
- Attach the three 120mm ARGB PWM fans to the radiator using the provided screws. Ensure the fan airflow direction is appropriate for your case (typically exhausting air out of the case or drawing cool air in).
- Mount the radiator assembly to an available 360mm fan mount location in your PC case (e.g., top, front). Secure it with the appropriate screws.

Image: Overview of the RUIX NC360 installation process, highlighting key features like the rotatable pump head and durable tubing.
4.3 Mounting the Pump/Cold Plate
- Install the correct backplate (if required for your socket) behind the motherboard.
- Attach the appropriate standoffs to the motherboard around the CPU socket.
- If thermal paste is not pre-applied, apply a small pea-sized amount to the center of your CPU's integrated heat spreader (IHS).
- Carefully place the pump/cold plate assembly onto the CPU, aligning the mounting holes.
- Secure the pump/cold plate with the provided thumb screws or nuts, tightening them in a cross pattern until snug. Do not overtighten.
- The pump head can be rotated 360 degrees to ensure the RUIX logo is correctly oriented after installation.

Image: The pure copper heatsink base designed for rapid heat transfer from the CPU.
4.4 Cable Connections
- Connect the pump's 3-pin or 4-pin power cable to the motherboard's dedicated AIO_PUMP or CPU_FAN header. Consult your motherboard manual for the correct header.
- Connect the ARGB fan cables to the included fan splitter, then connect the splitter to an available 4-pin PWM fan header on your motherboard.
- Connect the ARGB lighting cables from the fans and pump to the motherboard's 3-pin 5V ARGB header (not 4-pin 12V RGB). If your motherboard lacks an ARGB header, use the included ARGB controller (if applicable).
- Ensure all cables are routed neatly and do not interfere with fan blades or other components.

Image: An example of the RUIX NC360 AIO cooler installed in a PC, demonstrating its ARGB lighting effects.
5. Operating Instructions
Once installed, the RUIX NC360 operates automatically based on your motherboard's fan control settings. The PWM fans adjust their speed according to CPU temperature, providing optimal cooling performance and noise levels.
5.1 ARGB Lighting Control
The ARGB lighting of the pump and fans can be controlled via your motherboard's RGB software (e.g., ASUS Aura Sync, MSI Mystic Light Sync, GIGABYTE RGB Fusion 2.0, ASRock Polychrome Sync). Connect the ARGB cables to the motherboard's 3-pin 5V ARGB header to enable software control. If your motherboard does not support ARGB, an optional external controller may be used (if included with your specific package).

Image: The pump head features an infinite mirror design and supports various motherboard ARGB synchronization software.
6. Maintenance
Regular maintenance helps ensure optimal performance and longevity of your RUIX NC360 AIO cooler.
- Dust Cleaning: Periodically clean dust from the radiator fins and fan blades using compressed air. Ensure fans are held stationary during cleaning to prevent damage to bearings.
- Tubing Inspection: Visually inspect the nylon-sleeved tubing for any signs of kinks, damage, or leaks. The durable construction is designed for long-term reliability.
- Pump Check: Listen for any unusual noises from the pump. A high-speed ceramic bearing pump is designed for quiet and stable operation.
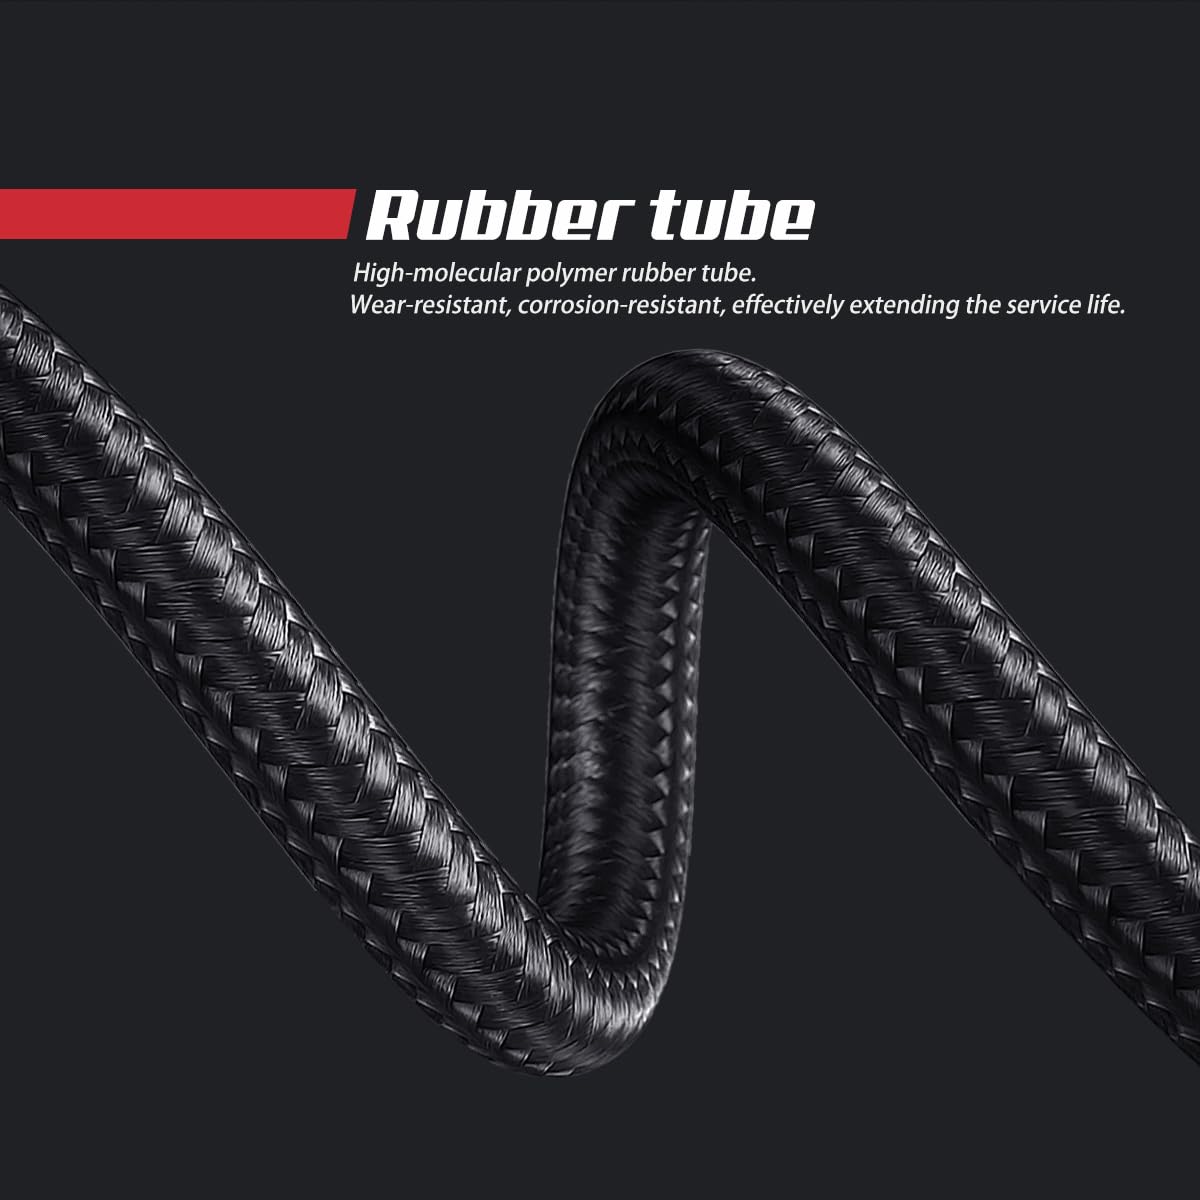
Image: The high-molecular polymer rubber tube with nylon sleeving, designed for wear and corrosion resistance.
7. Troubleshooting
| Problem | Possible Cause | Solution |
|---|---|---|
| High CPU Temperatures |
|
|
| ARGB Lighting Not Working |
|
|
| Excessive Noise |
|
|
8. Specifications
| Feature | Detail |
|---|---|
| Model | NC360 |
| Cooling Method | Liquid (Water) |
| Radiator Size | 360mm |
| Pump Speed | 3300 RPM (Ceramic Bearing) |
| Fan Type | 120mm PWM ARGB Fans |
| Fan Speed | Up to 1800 RPM (PWM Controlled) |
| Noise Level | 36 Decibels (Max) |
| Air Flow Capacity | 78.5 Cubic Feet Per Minute (CFM) |
| Compatible Sockets | Intel: LGA 1851 / 1700 / 1200 / 115X / 2011 AMD: AM5 / AM4 |
| Material | Aluminum, Copper, Plastic |
| Product Dimensions | 17.9"L x 5.6"W x 7.8"H |
| Item Weight | 4.73 pounds |

Image: Detailed specifications for the included cooling fans, highlighting PWM control and airflow.

Image: The water-cooled radiator featuring low hydraulic resistance and optimized fin arrays for enhanced thermal performance.
9. Warranty and Support
RUIX products are manufactured to high quality standards. For warranty information, technical support, or customer service inquiries, please refer to the official RUIX website or contact your retailer. Keep your proof of purchase for warranty claims.
You can visit the official RUIX Store for more information: RUIX Store on Amazon