Introduction
This manual provides essential information for the installation, operation, and maintenance of your new backlit laptop keyboard. This keyboard is designed as a replacement part for specific CLEVO laptop models. Please read these instructions carefully before proceeding with installation or use to ensure proper function and longevity of the product.
Product Overview
The keyboard features a German (GR) layout and includes a frame for integration into your laptop. It is backlit, providing visibility in low-light conditions.
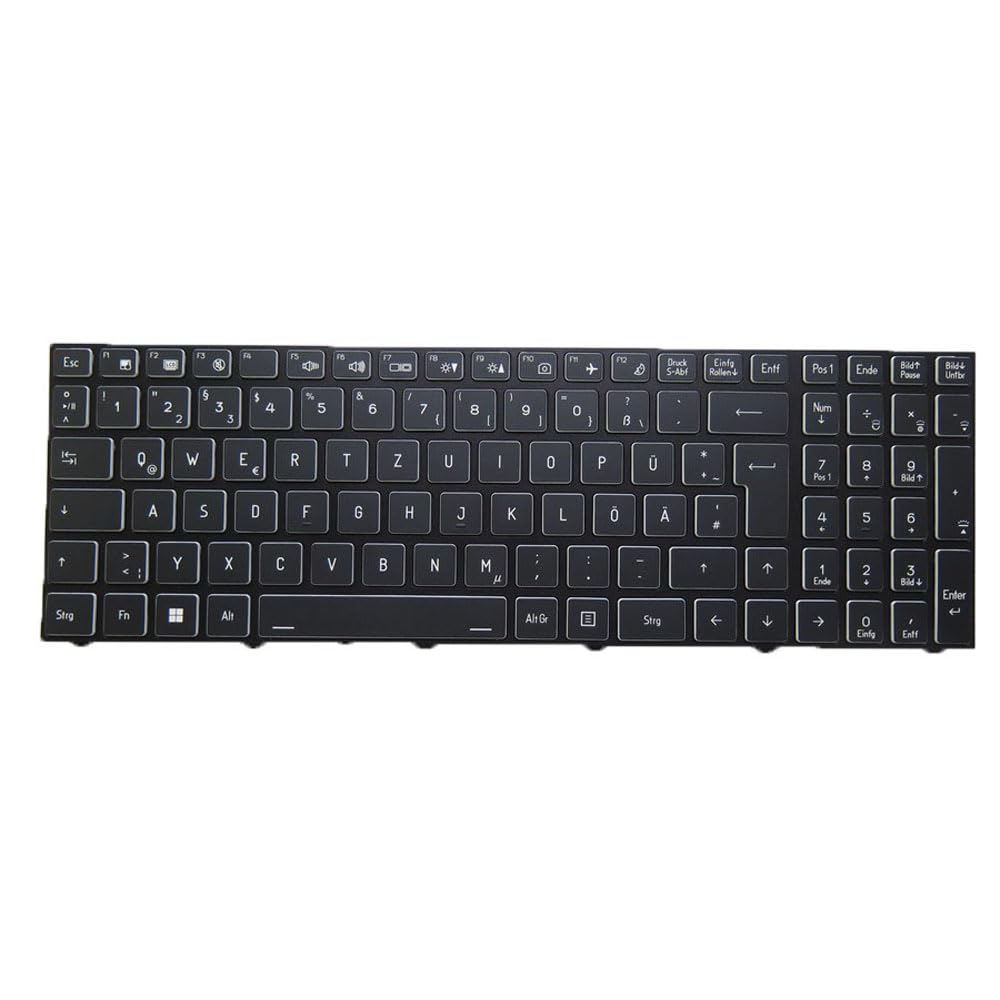
Image 1: Underside view of the replacement laptop keyboard. This image displays the metal frame, key switch mechanisms, and the flexible ribbon cable connector for the laptop's motherboard.
Compatibility Check
Before installation, it is critical to verify that this keyboard is compatible with your specific laptop model. This keyboard is designed for CLEVO models:
- NH55ACQ
- NH55AFW
- NH55DCQ
- NH55DDW
- NH55DP
- NH55DPQ
Always compare your original keyboard's part number and physical appearance with the replacement part to ensure a match. Disassembly pictures of your existing keyboard can aid in this verification process.
Installation
Keyboard replacement in laptops typically involves disassembling parts of the laptop chassis. Due to the complexity and potential risk of damage to internal components, professional installation by a qualified technician is highly recommended.
General Installation Guidelines (for reference only):
- Power Off: Ensure the laptop is completely powered off and disconnected from any power source. Remove the battery if it is external.
- Disassembly: Carefully disassemble the laptop components (e.g., bottom cover, palm rest, or top case) as required to access the keyboard. Refer to your laptop's specific service manual for detailed steps.
- Disconnect Old Keyboard: Gently disconnect the ribbon cable(s) of the old keyboard from the motherboard. Remove any screws or clips securing the old keyboard.
- Remove Old Keyboard: Carefully lift and remove the old keyboard from its housing.
- Install New Keyboard: Position the new keyboard into the laptop's keyboard tray. Ensure it sits flush and all mounting points align.
- Connect New Keyboard: Carefully connect the new keyboard's ribbon cable(s) to the corresponding connectors on the motherboard. Ensure the connection is secure and properly seated.
- Reassembly: Reassemble the laptop components in reverse order of disassembly.
- Test: Power on the laptop and test all keys, including the backlight function, to ensure proper operation before fully securing all screws.
Disclaimer: Improper installation can lead to damage to the keyboard or the laptop. The manufacturer is not responsible for damages incurred due to incorrect installation.
Operation
Once installed, the keyboard functions as a standard laptop keyboard. The backlight feature typically activates automatically in low-light conditions or can be controlled via specific function key combinations (e.g., Fn + Fx, where 'x' is a specific key, depending on your laptop model). Refer to your laptop's user manual for specific backlight control instructions.
Maintenance
To ensure the longevity and optimal performance of your keyboard:
- Cleaning: Use a soft, lint-free cloth slightly dampened with water or a mild cleaning solution to clean the keycaps. Avoid excessive moisture. Compressed air can be used to remove dust and debris from between the keys.
- Avoid Spills: Protect the keyboard from liquid spills, which can cause permanent damage.
- Gentle Use: Avoid excessive force when typing or cleaning.
Troubleshooting
If you encounter issues with your keyboard, consider the following:
- Keyboard Not Responding:
- Ensure the ribbon cable(s) are securely connected to the motherboard.
- Restart your laptop.
- Check device drivers in your operating system.
- Backlight Not Working:
- Verify that the backlight function is enabled via your laptop's function keys or system settings.
- Ensure the backlight ribbon cable (if separate) is properly connected.
- Specific Keys Not Working:
- Check for any physical obstructions or debris under the keycap.
- If multiple keys in a specific area are not working, it might indicate a connection issue or a faulty keyboard.
If problems persist after basic troubleshooting, professional assistance may be required.
Specifications
| Brand | Generic |
| Item Type | Laptop Keyboard |
| Layout | German (GR) |
| Color | Black with Frame |
| Backlight | Yes |
| Compatible Models | CLEVO NH55ACQ, NH55AFW, NH55DCQ, NH55DDW, NH55DP, NH55DPQ |
| Item Weight | 0.3 Kilograms |
Warranty Information
This product comes with a 90-day warranty from the date of purchase. The warranty covers manufacturing defects. It does not cover damage caused by improper installation, misuse, accidents, or unauthorized modifications. Please retain your proof of purchase for warranty claims.
Customer Support
For further assistance, technical support, or warranty inquiries, please contact your retailer or the product manufacturer. When contacting support, please provide your product model number and purchase details.


