LJBIPY6SEPSQUI7N
Generic Tubeless Bicycle Valves User Manual
Model: LJBIPY6SEPSQUI7N
Introduction
This manual provides comprehensive instructions for the installation, operation, maintenance, and troubleshooting of your new Generic Tubeless Bicycle Valves. Designed for high performance and durability, these valves ensure a secure, anti-leak seal for your bicycle tires, suitable for both MTB and road bikes.

Image: A close-up of the tubeless valve stem positioned next to the front wheel of a bicycle, illustrating its intended application.
Setup and Installation
Proper installation is crucial for optimal performance and to prevent air leaks. Follow these steps carefully:
- Prepare the Rim: Ensure your bicycle rim is clean and free of debris. If converting to tubeless, ensure tubeless rim tape is properly installed and sealed.
- Insert the Valve: Push the valve stem through the valve hole in the rim from the inside. Ensure the rubber base of the valve seats firmly against the rim bed.
- Secure the Valve: Thread the locking nut onto the valve stem from the outside of the rim. Hand-tighten the nut firmly to create a secure seal. Avoid over-tightening, which can damage the valve or rim.
- Install Tire and Sealant: Mount your tubeless tire onto the rim. Add the recommended amount of tubeless sealant through the valve stem (with the valve core removed) or directly into the tire before fully seating the second bead.
- Inflate Tire: Reinstall the valve core. Inflate the tire to the desired pressure. You may hear popping sounds as the tire beads seat against the rim.
- Check for Leaks: Rotate the wheel to distribute the sealant. Check for any air leaks around the valve stem and tire beads.

Image: A person's hands are shown carefully installing or adjusting a tubeless valve stem on a bicycle wheel, demonstrating the practical application of the product.
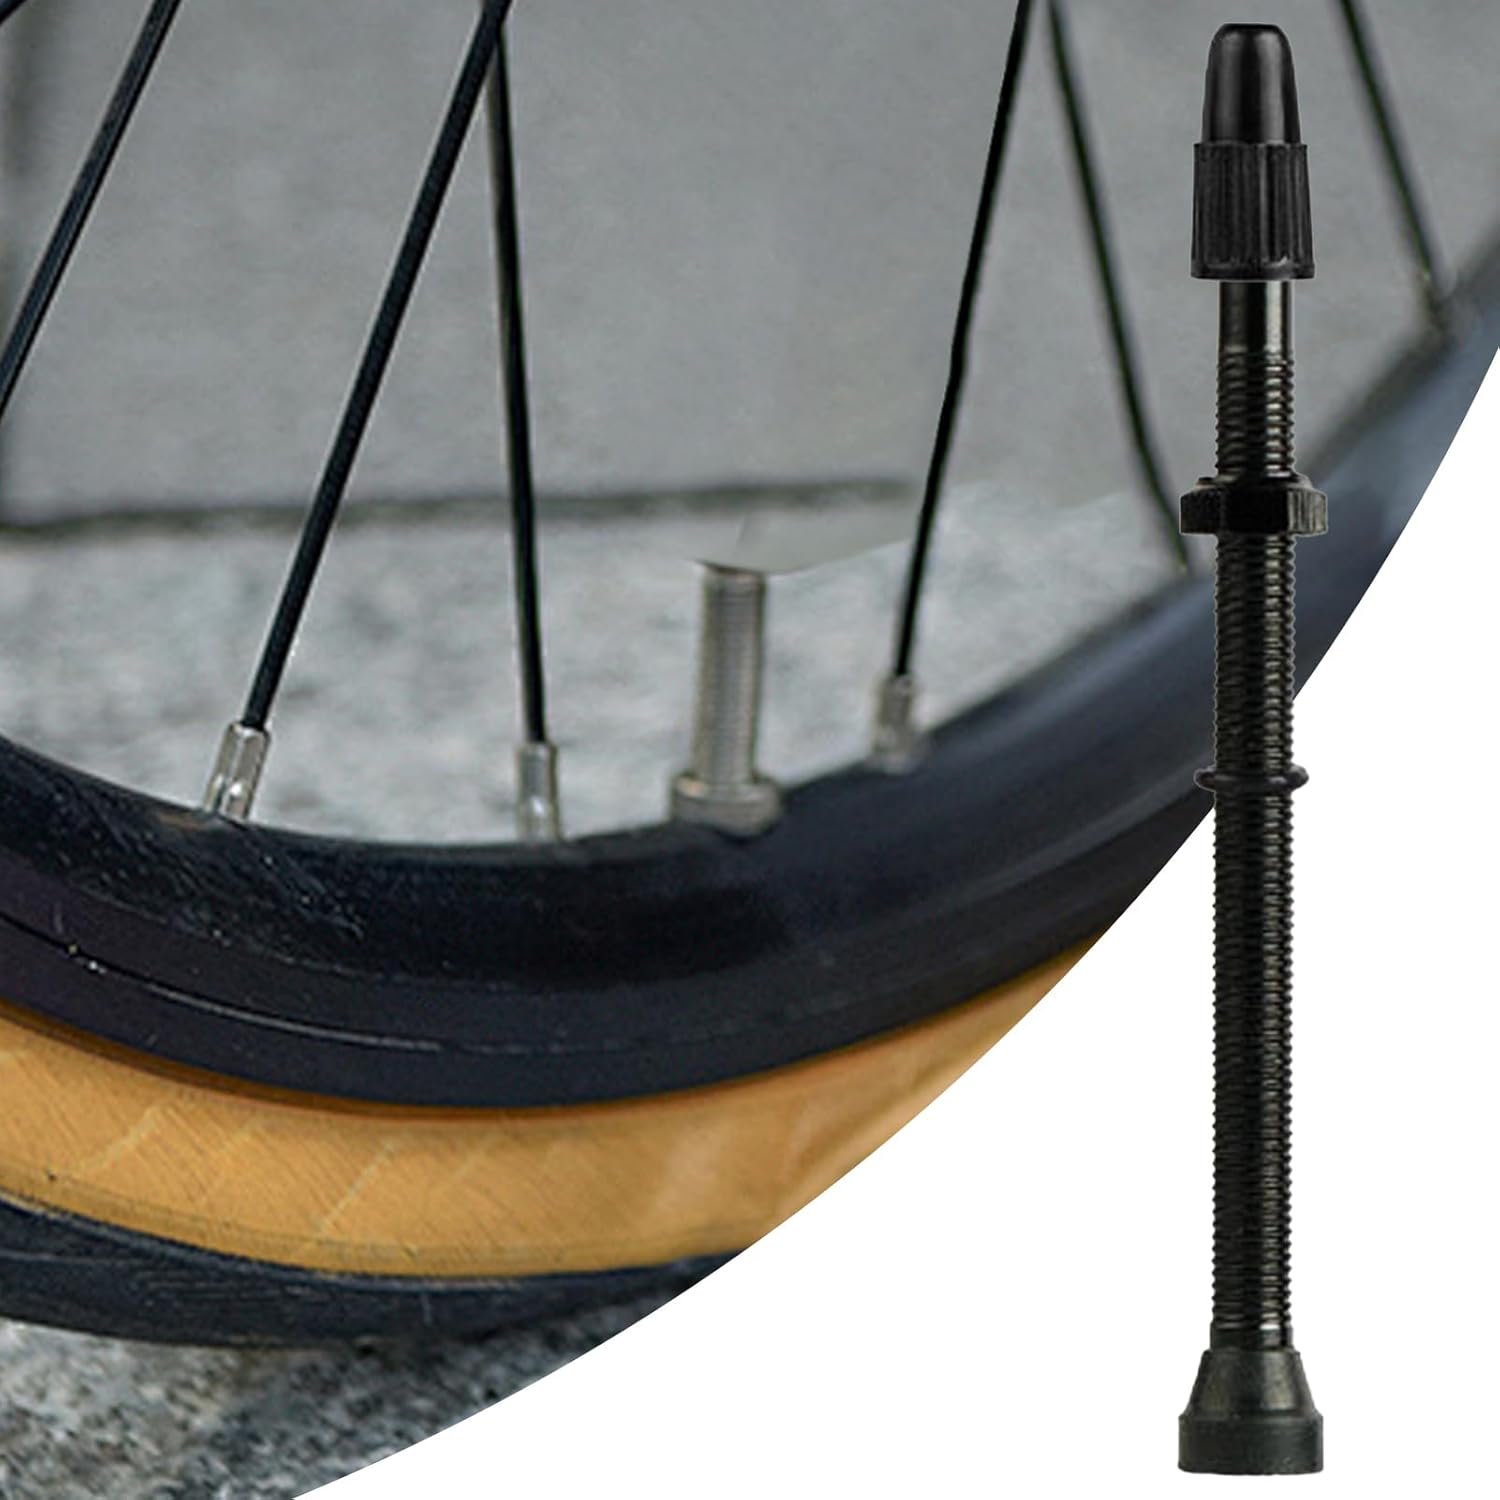
Image: A detailed view of the tubeless valve stem securely installed through the valve hole of a bicycle rim, highlighting the threaded locking nut and the valve cap.
Operation
Once installed, the tubeless valves operate similarly to standard Presta valves. They are designed to maintain an airtight seal for your tubeless tire system.
- Inflating Tires: Unscrew the valve cap and then unscrew the small knurled nut at the top of the valve stem. Press down briefly to release any residual air pressure. Attach a Presta-compatible pump head and inflate to your desired pressure. Once inflated, tighten the knurled nut and replace the valve cap.
- Adding Sealant: To add or refresh tubeless sealant, first deflate the tire. Unscrew and remove the valve core using a valve core tool (not included). Inject sealant directly into the valve stem using a sealant injector. Reinstall the valve core and inflate the tire.
- Checking Pressure: Use a reliable pressure gauge to check tire pressure regularly.

Image: The tubeless valve stem is displayed alongside a cross-section of a bicycle tire and rim, illustrating how the valve integrates with the tubeless setup.
Maintenance
Regular maintenance ensures the longevity and performance of your tubeless valves:
- Clean Valve Stems: Periodically clean the exterior of the valve stems and caps to remove dirt and grime.
- Check Valve Cores: Valve cores can become clogged with sealant over time. If you experience difficulty inflating or a slow leak, remove the valve core and clean it with a small brush or replace it if necessary.
- Inspect Rubber Base: When changing tires or performing major maintenance, inspect the rubber base of the valve for cracks or damage. Replace the valve if any damage is observed.
- Lubricate Threads: A small amount of grease on the valve stem threads can make it easier to tighten the locking nut and remove the valve core.
Troubleshooting
| Problem | Possible Cause | Solution |
|---|---|---|
| Air Leak at Valve Base | Loose locking nut, damaged rubber base, improper rim tape. | Tighten locking nut. Inspect and replace valve if rubber base is damaged. Re-tape rim if necessary. |
| Difficulty Inflating | Clogged valve core, valve core not fully unscrewed. | Remove and clean or replace valve core. Ensure valve core is fully unscrewed before inflating. |
| Slow Air Leak | Insufficient sealant, small puncture, porous tire sidewall. | Add more sealant. Inspect tire for punctures. |
Specifications
- Product Name: Tubeless Valve Stem
- Material: Aluminum alloy + Copper + Rubber
- Color: Black
- Product Dimensions (Length): Available in 40, 60, 80, 100, 120 mm (This specific model is 80 mm)
- Applicable Models: Bicycles (MTB and Road Bikes)
- Item Weight: Approximately 9.07 g
- Package Dimensions: 15.01 x 2.01 x 2.01 cm
- Model Number: LJBIPY6SEPSQUI7N

Image: A clear depiction of the tubeless valve stem with a measurement indicating its length as 8cm (3.14 inches), corresponding to the 80mm variant.
Warranty and Support
For any questions regarding your Generic Tubeless Bicycle Valves, please refer to the seller's return and support policies on the platform where the product was purchased. Please retain your proof of purchase for any warranty claims.
Ask a question about this manual
Ask about setup, troubleshooting, compatibility, parts, safety, or missing instructions. Manuals+ will review the question and use this page’s manual context to help answer it.