
Introduction
This manual provides essential information for the safe and effective installation, operation, and maintenance of your new Generic Refrigerator Freezer Ice Maker Replacement. Please read these instructions thoroughly before beginning installation or use to ensure proper function and to prevent damage to the appliance or injury to yourself.
This ice maker is designed as a replacement part for various refrigerator models from Whirlpool, KitchenAid, and Kenmore. Refer to the compatibility list provided with your purchase to confirm suitability for your specific refrigerator model.
Safety Information
WARNING: Risk of Electric Shock. Disconnect power before servicing.
- Always disconnect the refrigerator from the power supply before attempting any installation, maintenance, or repair. Failure to do so can result in serious injury or death.
- Wear appropriate personal protective equipment, such as gloves, during installation to prevent injury from sharp edges or components.
- Ensure all electrical connections are secure and properly insulated after installation.
- If you are unsure about any step of the installation process, consult a qualified appliance technician.
- Keep children and pets away from the work area during installation.
Package Contents
Verify that all components are present and undamaged before proceeding with installation.
- 1 x Ice Maker Assembly
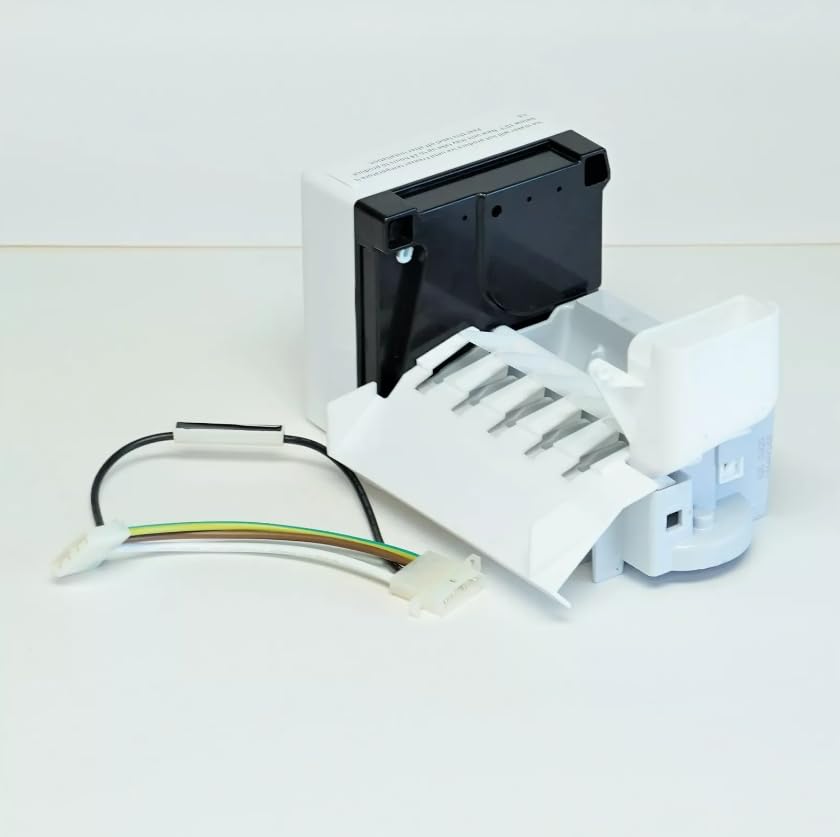
Image: The complete ice maker assembly, showing the main unit, ice mold, and ice ejector arm.
Setup and Installation
Follow these general steps for replacing your refrigerator's ice maker. Specific steps may vary slightly depending on your refrigerator model. Always refer to your refrigerator's original service manual if available.
- Disconnect Power: Unplug the refrigerator from the electrical outlet or turn off the circuit breaker supplying power to the refrigerator.
- Access the Freezer Compartment: Open the freezer door and locate the existing ice maker. You may need to remove the ice bucket and any shelves or bins obstructing access.
- Disconnect Water Line (if applicable): If your ice maker has a direct water line connection within the freezer, carefully disconnect it. Be prepared for a small amount of residual water.
- Remove Old Ice Maker:
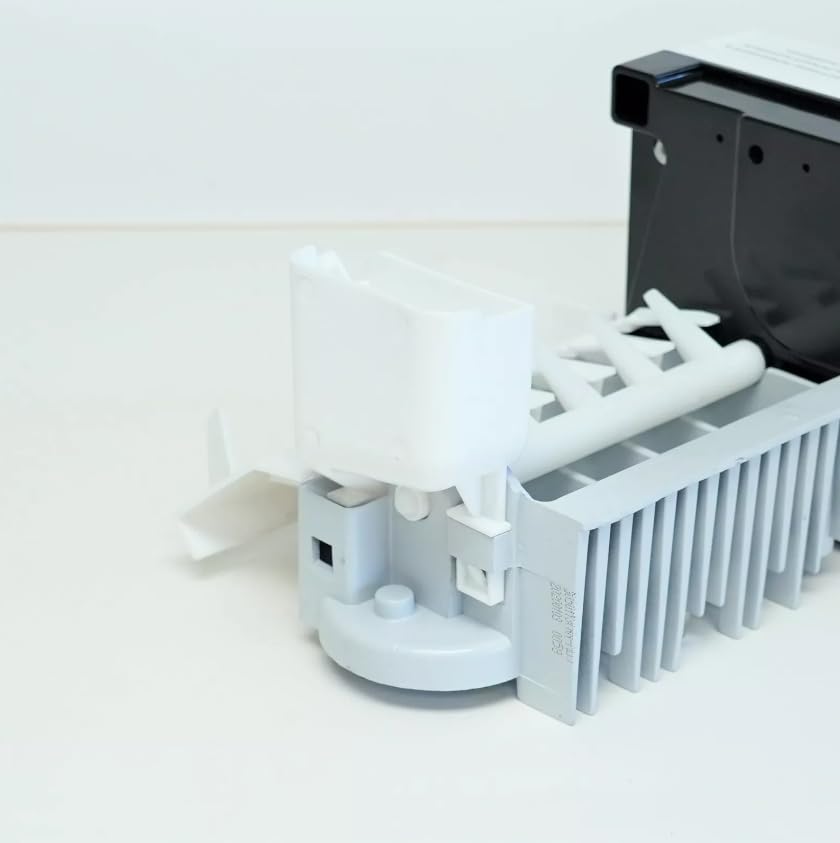
Image: A detailed view of the ice maker's internal mechanism, including the ice mold and ejector fingers, which are crucial for ice production.
Typically, ice makers are secured by screws or clips. Carefully remove these fasteners. Disconnect the electrical wire harness from the old ice maker. Note the orientation and connection points for reinstallation.

Image: A close-up of the white electrical connector with multiple pins, highlighting the connection point for the ice maker's power and control signals.
- Install New Ice Maker:
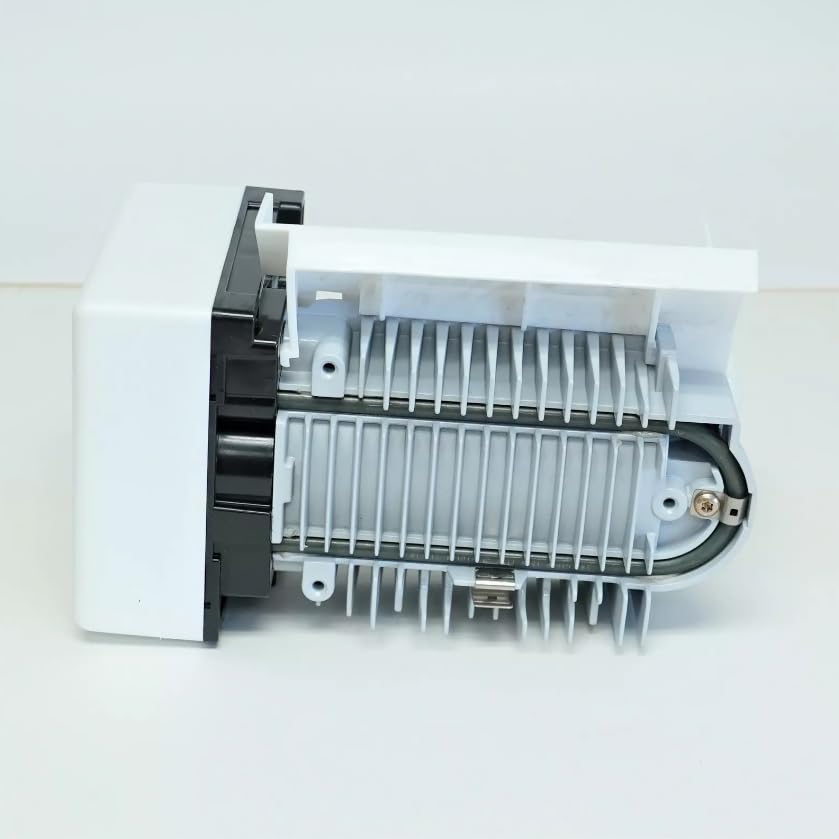
Image: The underside of the ice maker, revealing the heat exchange fins and a heating element, which assist in releasing ice from the mold.
Connect the electrical wire harness to the new ice maker, ensuring a firm connection. Mount the new ice maker using the screws or clips removed earlier. Ensure it is securely fastened and level.
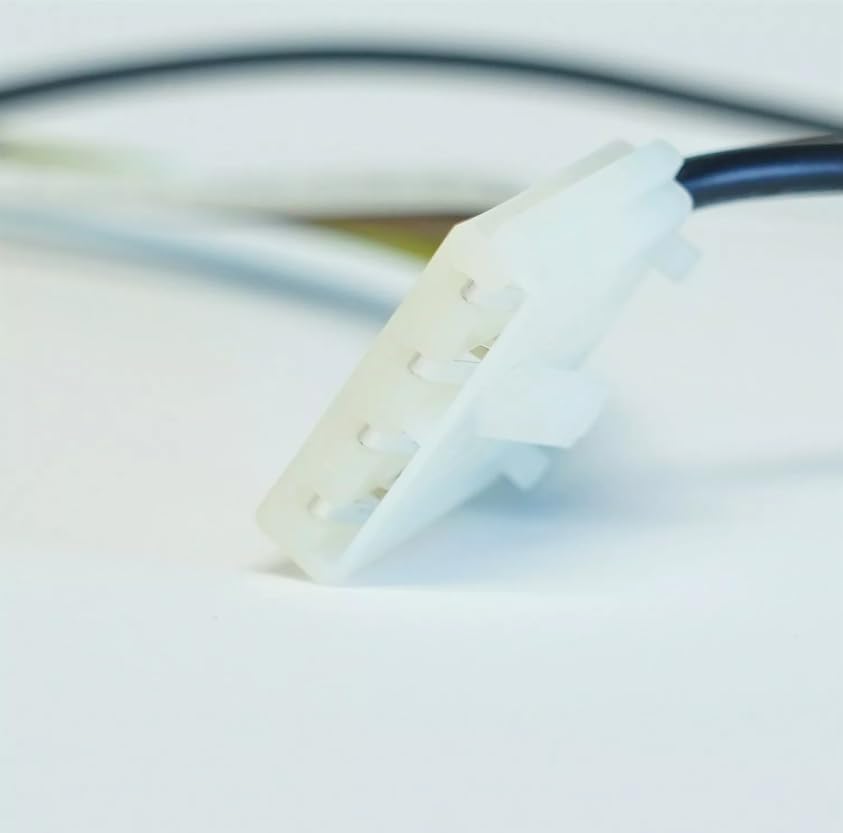
Image: An alternative view of the electrical connector, showing the wire colors (white, brown, green, black) leading into the connector housing.
- Reconnect Water Line (if applicable): Reconnect the water line to the new ice maker. Ensure there are no leaks.
- Replace Components: Reinstall any shelves, bins, or the ice bucket that were removed.
- Restore Power: Plug the refrigerator back into the electrical outlet or turn on the circuit breaker.
Operating Instructions
After installation, allow the ice maker to cycle through its initial ice production process.
- Initial Fill: The ice maker will automatically fill with water once the refrigerator reaches its operating temperature and the freezer compartment is cold enough. This may take several hours.
- First Batch of Ice: Discard the first two to three batches of ice to flush out any air or impurities from the water line and the new ice maker.
- Normal Operation: The ice maker will continue to produce ice automatically as needed, sensing the ice level in the ice bucket.
- Ice Level Arm: Ensure the ice level sensing arm (bail arm) is not obstructed and can move freely. If the ice bucket is full, the arm will rise, stopping ice production until ice is removed.
Maintenance
Regular maintenance helps ensure optimal performance and longevity of your ice maker.
- Cleaning: Periodically clean the ice bucket and the ice maker's exterior with a mild soap and water solution. Rinse thoroughly and dry before reinstallation. Do not use abrasive cleaners.
- Water Filter: If your refrigerator has a water filter, ensure it is replaced according to the manufacturer's recommendations to maintain water quality and prevent mineral buildup in the ice maker.
- Check Water Line: Occasionally inspect the water supply line for kinks, leaks, or damage.
Troubleshooting
If your ice maker is not functioning as expected, refer to the following common issues and solutions:
| Problem | Possible Cause | Solution |
|---|---|---|
| No ice production |
|
|
| Small or hollow ice cubes |
|
|
| Ice tastes bad or has odor |
|
|
If these troubleshooting steps do not resolve the issue, please contact the seller or a qualified appliance technician for further assistance.
Specifications
| Feature | Detail |
|---|---|
| Brand | Generic |
| Model Name | Ice Maker |
| Model Number | GD2SHAXMQ00 |
| Part Number | GD2SHAXMQ00 |
| Included Components | Ice Maker |
| Number of Items | 1 |
| ASIN | B0F79PZTP2 |
Warranty and Support
For specific warranty information regarding this replacement ice maker, please refer to the documentation provided at the time of purchase or contact the seller directly. Warranty terms may vary.
If you require technical assistance or have questions not covered in this manual, please contact the seller through your purchase platform for support.