Introduction
This manual provides essential instructions for the safe and proper use, installation, and maintenance of your BONANO Fingerprint Gun Safe Model 1H-145F. Please read this manual thoroughly before operating the safe to ensure optimal performance and security. Keep this manual for future reference.
Important Safety Information
- Always store firearms unloaded and locked.
- Keep keys and access codes in a secure location, away from the safe and out of reach of children.
- Ensure the safe is properly mounted and secured to prevent tipping.
- Do not store flammable materials or liquids inside the safe.
- This safe is designed to deter theft and unauthorized access, but it is not fireproof or floodproof.
Package Contents
Verify that all items listed below are included in your package:
- 1 x BONANO Rifle Gun Safe
- 2 x Emergency Keys
- 2 x Interior Cabinet Keys
- 5 x Mounting Screws
- 1 x Magnetically Attached LED Light
- 1 x Emergency Battery Box
- 1 x Instruction Manual
Specifications
| Brand | BONANO |
| Model Number | 1H-145F |
| Product Dimensions | 11.81"D x 13.78"W x 57.09"H |
| Lock Type | Biometric, Electronic Combination Lock, Key |
| Material | Alloy Steel |
| Special Features | Alarm System, Anti-Theft, Biometric Fingerprint, Removable Shelf, Sensor Light |
| Mounting Type | Floor Mount |
| Alarm | Audible |
Setup Guide
1. Initial Opening and Battery Installation
For the first opening or in an emergency, use the emergency key to unlock the safe. Insert the key into the keyhole, turn it, and then turn the handle to open the door.

Image Description: This image illustrates the four methods to open the BONANO gun safe: Fingerprint + Handle, Emergency Key + Handle, Fingerprint + Handle (likely Code + Handle), and Emergency Battery Box + Code + Handle. It shows the biometric keypad, keyhole, and handle.
Once the door is open, locate the battery compartment on the inside of the door. Insert 4*AA batteries, ensuring correct polarity. Close the battery cover.
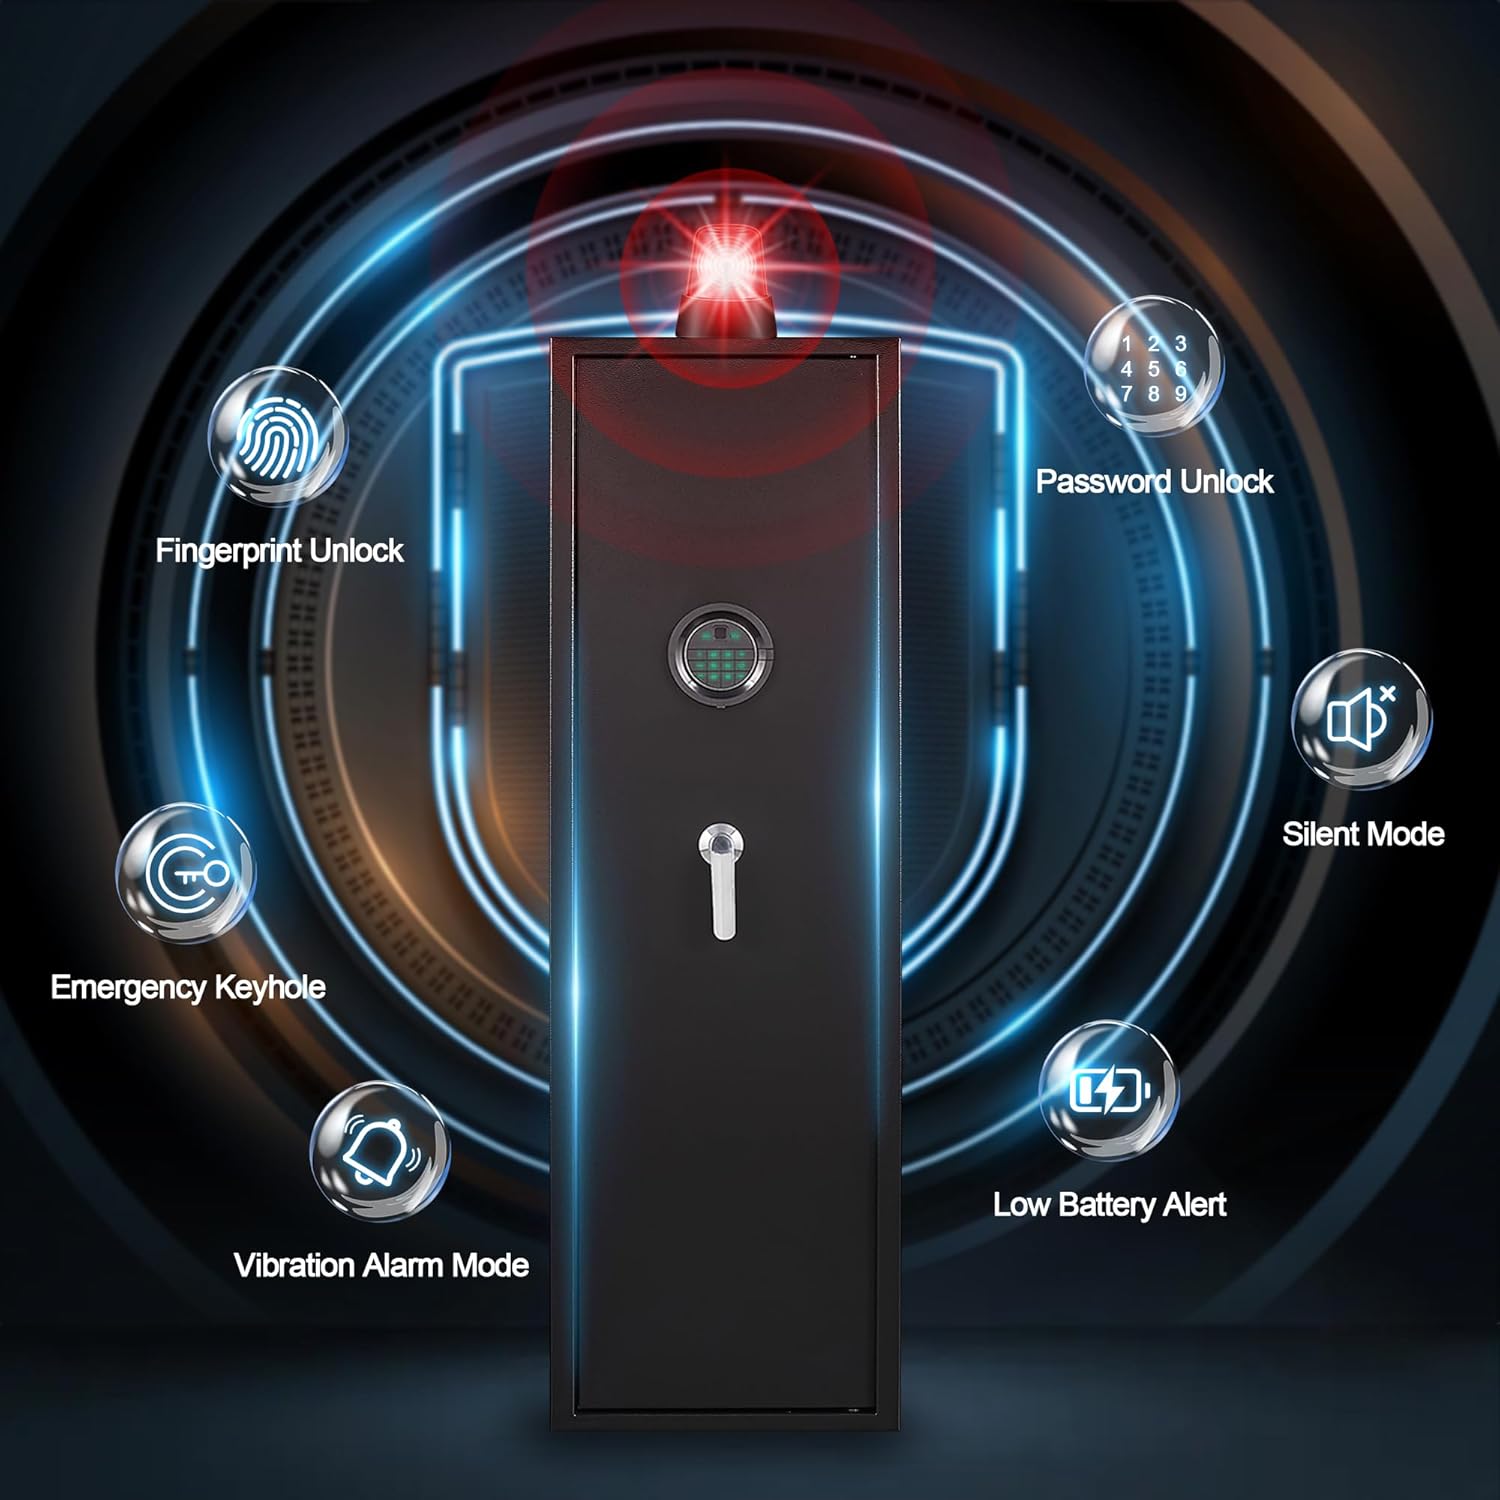
Image Description: A hand is shown inserting four AA batteries into the battery compartment, which is located on the inside of the safe door. The compartment is covered by a black plastic panel.
2. Mounting the Safe
The safe is designed for floor or wall mounting to enhance security and prevent tipping. Use the provided mounting screws. There are 3 pre-drilled holes on the back and 2 on the bottom of the safe.

Image Description: This diagram illustrates the three steps for mounting the safe: drilling holes in the wall, inserting expansion screws, and then attaching the safe to the wall. A warning icon emphasizes the importance of securing the safe to prevent tipping or theft.
Warning: To prevent the cabinet from tipping over or being stolen, it is highly recommended to secure the gun cabinet to the wall or floor.
3. Interior Configuration
The safe includes a removable shelf and an adjustable gun support frame for flexible storage. The interior cabinet has its own key for additional security for smaller items.

Image Description: This image highlights various product details of the safe's interior: a steel inner cabinet, the setting button, a removable shelf, an LED light, a gun support frame, and solid locking bolts.

Image Description: This image provides a detailed view of the safe's interior dimensions (Height: 57.09", Width: 13.78", Depth: 11.81") and lists included accessories: Instruction Manual, Emergency Key, Inner Cabinet Key, Magnetic Induction Light, Expansion Screws, and Emergency Battery Box.
Operating Instructions
1. Setting Your PIN Code
- With the safe door open, press the Setting Button located on the inside edge of the door.
- On the keypad, enter your desired new PIN code (6-8 digits).
- Press "#" to confirm.
- Re-enter the new PIN code.
- Press "#" again to finalize. The safe will emit a confirmation sound.
Note: If an incorrect code is entered, the safe will indicate an error. Repeat the steps carefully.
2. Setting Your Fingerprint
- With the safe door open, press the Setting Button.
- Place your finger on the fingerprint scanner.
- Lift and re-place your finger on the scanner five times, adjusting the angle slightly each time to ensure a comprehensive scan.
- The safe will emit a confirmation sound upon successful registration.
Note: You can register multiple fingerprints for different users.
3. Opening the Safe
- Using PIN Code: Enter your PIN code followed by "#". Turn the handle to open.
- Using Fingerprint: Place your registered finger on the scanner. Turn the handle to open.
- Using Emergency Key: Insert the emergency key, turn it, then turn the handle to open.
- Emergency Battery Box with Code: If batteries are depleted, connect the emergency battery box to the external power port. Enter your PIN code, then turn the handle to open.
4. Silent Mode
To activate Silent Mode (disables keypad sounds):
- Press and hold the "*" button for approximately three seconds. The safe will confirm activation.
To deactivate Silent Mode:
- Press and hold the "*" button for approximately three seconds again. The safe will confirm deactivation.
5. Alarm System
The safe features a dual alarm system:
- Incorrect Entry Alarm: If 5 incorrect PIN codes or fingerprints are entered consecutively, the alarm will activate for 60 seconds.
- Vibration Alarm: If the safe is shaken violently or an attempted break-in is detected, the alarm will activate. To enable this mode, press "9" on the keypad.
To stop an active alarm, enter a correct PIN code or use a registered fingerprint.

Image Description: This image highlights the safe's security features: Fingerprint Unlock, Password Unlock, Silent Mode, Low Battery Alert, Vibration Alarm Mode, and Emergency Keyhole. The safe is depicted with a red alarm light at the top.
6. Resetting the System
To reset the safe's system (clears all registered codes and fingerprints), press and hold the Setting Button for 2-3 seconds until a confirmation sound is heard. You will then need to set new codes and fingerprints.
7. Magnetic Induction Lamp
The included magnetic induction lamp can be placed inside the safe to provide illumination when the door is opened.
8. Interior Cabinet
The small interior cabinet provides an additional layer of security for sensitive items. It can be locked and unlocked using the dedicated interior cabinet keys.
Product Operation Video
Watch this official video for a visual guide on operating your BONANO Fingerprint Gun Safe.
Video Description: An operational guide for the BONANO 145F Gun Cabinet, demonstrating initial setup, battery installation, code setting, fingerprint registration, silent mode activation, alarm system features, and emergency access methods. The video visually walks through each step of using the safe's electronic and biometric functions.
Maintenance
- Cleaning: Wipe the safe's exterior with a soft, damp cloth. Avoid abrasive cleaners.
- Battery Replacement: Replace batteries promptly when the low battery alert is indicated. Always use 4*AA alkaline batteries.
- Key Storage: Store emergency keys and interior cabinet keys in a secure location outside the safe.
Troubleshooting
| Problem | Possible Cause | Solution |
|---|---|---|
| Safe does not open with PIN/fingerprint. | Incorrect entry, low batteries, or system error. | Re-enter code/fingerprint carefully. Replace batteries. Use emergency key. |
| Alarm sounds unexpectedly. | Vibration alarm activated, or multiple incorrect entries. | Enter correct PIN/fingerprint to stop. Check if vibration alarm is enabled. |
| Keypad is unresponsive. | Depleted batteries. | Use the emergency battery box or emergency key to open and replace internal batteries. |
Warranty and Customer Support
BONANO provides 7x24 after-sales service and technical support for all your gun safe needs. For any questions, concerns, or assistance, please contact our customer service team.
Refer to your purchase documentation or the BONANO website for specific warranty details and contact information.