Flydew T15
Flydew RV Tire Pressure Monitoring System (TPMS) - T15 User Manual
Model: T15 | Brand: Flydew
Introduction
The Flydew T15 RV Tire Pressure Monitoring System (TPMS) is designed to provide real-time tire pressure and temperature data, enhancing driving safety for various vehicles including RVs, trucks, SUVs, MPVs, and sedans. This system features advanced sensors that update every 0.3 seconds, a clear LCD display, and multiple alarm modes to alert you to potential tire issues.
The system supports both PSI/BAR and °F/°C unit switching for universal compatibility and offers dual charging options (solar and USB) for continuous operation.
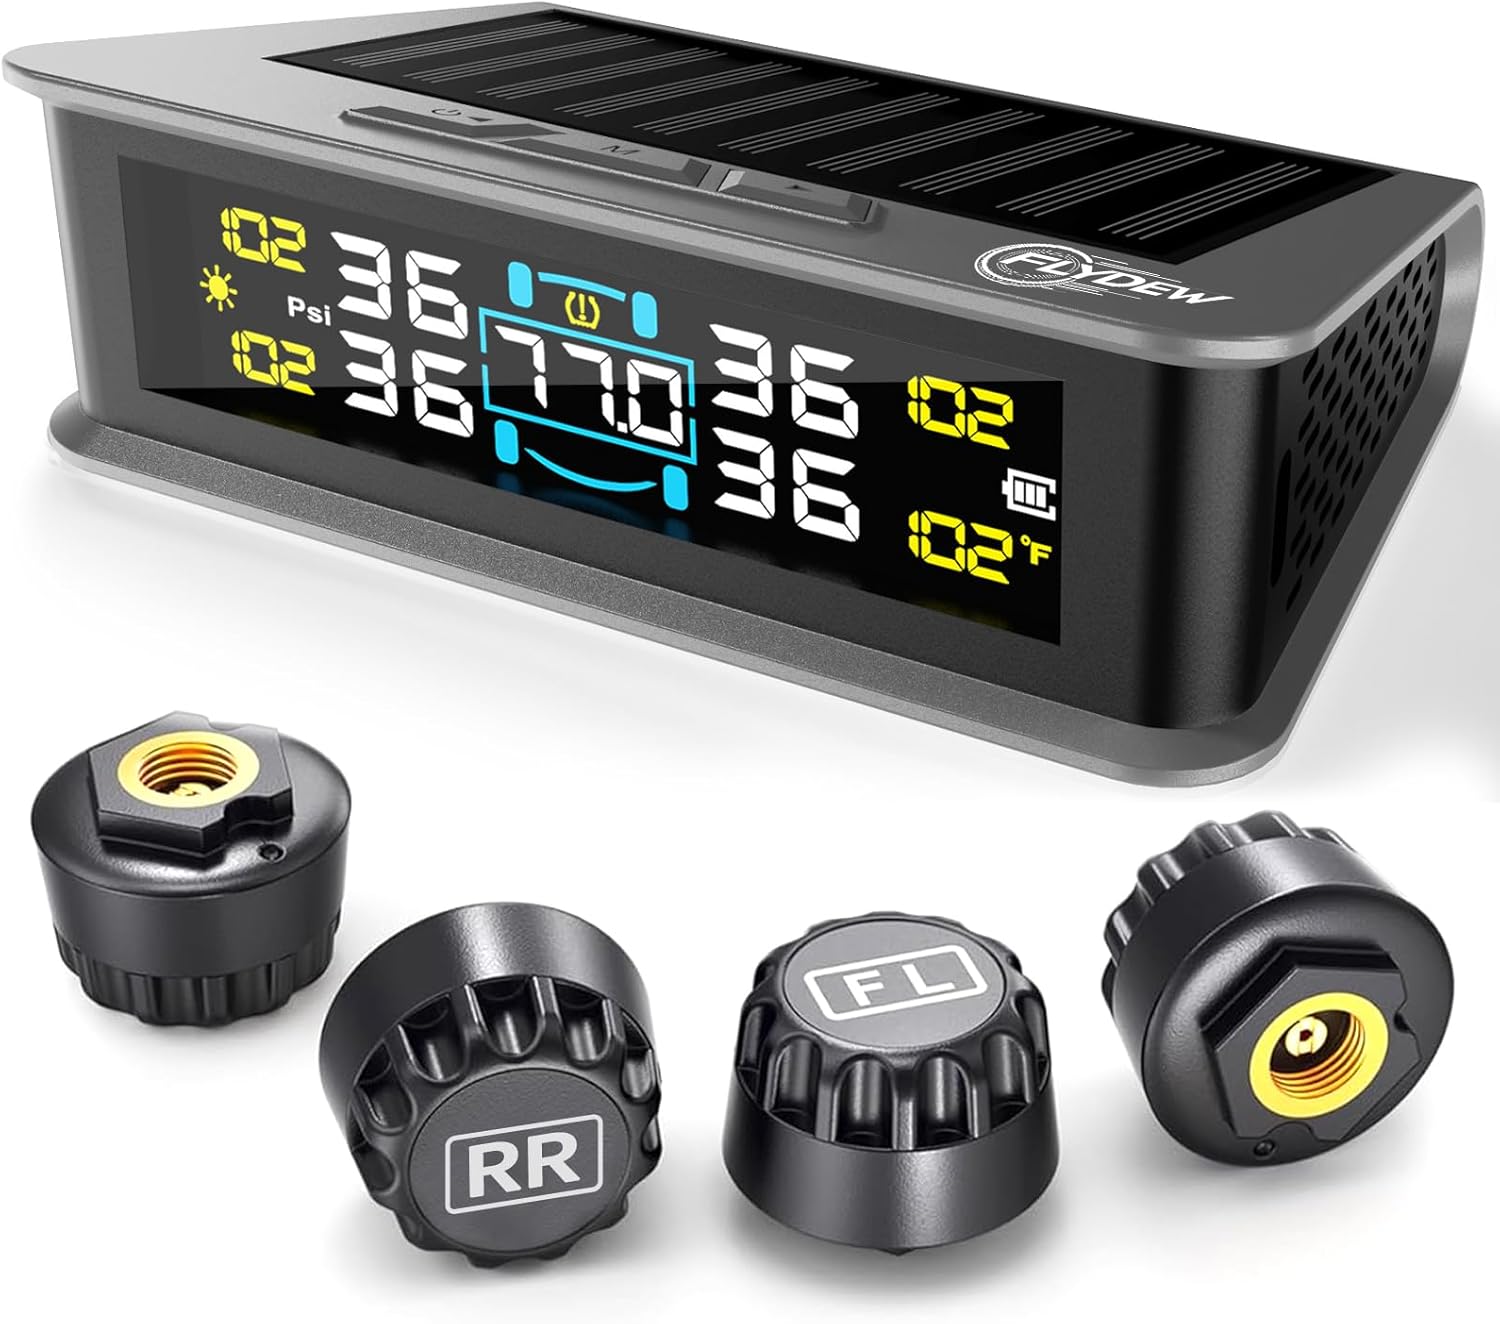
Image: The Flydew T15 TPMS display unit with its solar panel and four external tire sensors, labeled for different wheel positions.
What's in the Box

Image: An exploded diagram illustrating the contents of the Flydew T15 TPMS package, including the display, sensors, and accessories.
- 1x Main Display Unit
- 4x External TPMS Sensors
- 4x Valve Stem Caps (Hex Nuts)
- 1x Wrench
- 1x USB Cable
- 1x Double-sided Tape
- 1x User Manual (this document)
Setup and Installation
The Flydew T15 TPMS is designed for quick and easy external sensor installation without requiring tire removal.

Image: A five-step visual guide demonstrating the installation process for the external tire sensors, from powering on the display to performing a soap water leak test.
- Power On Display: Press and hold the power button on the display unit for 3 seconds to turn it on.
- Attach Hex Nuts: Screw one hex nut onto each of the four valve stems. Do not tighten them fully yet.
- Install Sensors: Install the sensors onto the valve stems in the correct positions: Left Front (LF) → Right Front (RF) → Left Rear (LR) → Right Rear (RR). Ensure the sensors are screwed on firmly.
- Lock Tight: Use the provided wrench to tighten the hex nuts anticlockwise against the sensors. This prevents vibration loosening and provides a secondary seal.
- Soap Water Test: Apply soapy water around the sensor and valve stem connection. Check for bubbles, which indicate a leak. If bubbles appear, re-tighten the sensor and nut.
Critical Note: The hex nuts are mandatory. They provide anti-vibration protection, prevent sensor loosening at high speeds, reinforce the air-tight connection, and shield valve stems from damage.
Operating Instructions
Display Overview

Image: A detailed diagram highlighting the different sections of the LCD display, including tire pressure, temperature, battery level, and unit indicators.
The high-resolution color LCD automatically adjusts brightness for optimal visibility day or night. It refreshes every 6 seconds, providing continuous monitoring of all connected tires.
Alarm Modes

Image: An illustration showing the display unit alongside icons representing the six alarm conditions: Fast Air Loss, High Pressure, Low Pressure, High Temperature, Low Battery, and Sensor Disconnection.
The system features 6 advanced alarm modes to alert you to critical tire conditions:
- High Pressure: Alerts when tire pressure exceeds the set upper limit.
- Low Pressure: Alerts when tire pressure drops below the set lower limit.
- High Temperature: Alerts when tire temperature exceeds the set limit.
- Fast Air Loss: Detects rapid pressure drops.
- Sensor Disconnection: Indicates a sensor is no longer communicating with the display.
- Low Battery: Alerts when a sensor's battery is low.
You can customize alert thresholds (0-87 PSI / 0-6 BAR) via the LCD menu to suit different vehicle loads or driving conditions. The system supports instant unit switching between PSI/BAR and °F/°C.
Charging and Power Management

Image: A split image showing the display unit charging via its integrated solar panel during the day and connected via USB-C for charging at night or in low light conditions.
The Flydew T15 TPMS offers dual charging options:
- Solar Power: The integrated solar panel charges the display unit during daylight hours, providing eco-friendly and continuous power.
- USB-C Charging: For periods of low sunlight or extended use, the display can be charged via the included USB-C cable.
The system features smart power management:
- Auto-Sleep: The display intelligently powers off 3 minutes after the engine is shut down to conserve energy.
- Auto-Wake: The display automatically reactivates upon engine ignition or vehicle movement, ensuring it's ready when you are.

Image: A split image showing the TPMS display in a parked car, illustrating its sleep mode after 5 stationary minutes, and its instant wake-up upon engine vibration or touch.
Maintenance
Sensor Battery Replacement
The external TPMS sensors use long-lasting CR1632 batteries (included). These batteries typically offer 6+ months of operation with smart sleep mode and have a total lifespan of approximately 2 years. When a low battery alert is triggered, replace the sensor battery promptly.
To replace a sensor battery:
- Unscrew the sensor from the valve stem.
- Carefully open the sensor casing (refer to the sensor's specific design for opening mechanism, usually a twist or small pry).
- Remove the old CR1632 battery and insert a new one, ensuring correct polarity.
- Close the sensor casing securely and re-install it on the valve stem following the setup instructions.
General Care
- Keep the display unit clean and free from dust. Use a soft, dry cloth for cleaning.
- Ensure the solar panel on the display unit is not obstructed to allow for efficient charging.
- Periodically check sensor connections for tightness, especially after driving on rough terrain.
Troubleshooting
If you encounter issues with your Flydew T15 TPMS, consider the following common solutions:
- No Sensor Reading: Ensure the display unit is powered on. Check if sensors are installed correctly and tightened. Verify sensor batteries are not depleted.
- Inaccurate Readings: Confirm sensors are installed on the correct tire positions. Compare readings with a reliable manual tire gauge.
- Display Not Charging: Ensure the solar panel is exposed to sunlight. If using USB, check the cable and power source connection.
- Alarm Triggered: Identify the specific alarm on the display. Check the corresponding tire's pressure and temperature. Address the underlying issue (e.g., inflate tire, allow to cool).
For persistent issues or advanced troubleshooting, please refer to the support section.
Specifications

Image: The TPMS display and sensors are depicted in scenarios like desert heat, ice and snow, wet roads, and gravel/dirt, highlighting their resilience across diverse environments.
| Feature | Detail |
|---|---|
| Model | T15 |
| Brand | Flydew |
| Item Weight | 6.7 ounces |
| Product Dimensions | 6.89 x 5.47 x 1.65 inches |
| Sensor Battery Type | CR1632 (included) |
| Display Charging | Solar / USB-C |
| Pressure Accuracy | ±2 PSI |
| Temperature Accuracy | ±3°F |
| Update Frequency | 0.3 seconds (sensors), 6 seconds (display) |
| Alarm Modes | 6 (High/Low Pressure, High Temp, Sensor Disconnection, Low Battery, Sensor Fault) |
| Pressure Range | 0-87 PSI / 0-6 BAR (customizable thresholds) |
| Compatibility | RVs, Trucks, SUVs, MPVs, Sedans (under 50ft) |
Support
For any questions, assistance, or troubleshooting not covered in this manual, please contact our professional customer support team. We are dedicated to ensuring your satisfaction and safety.
Please refer to the product packaging or the official Flydew website for the most current contact information.
Ask a question about this manual
Ask about setup, troubleshooting, compatibility, parts, safety, or missing instructions. Manuals+ will review the question and use this page’s manual context to help answer it.