1. Introduction
This manual provides essential information for the safe and efficient operation of your POWLAND 120A MPPT Solar Charge Controller. Please read this manual thoroughly before installation and use to ensure proper functionality and longevity of the device. This controller is designed to manage power flow from your solar panels to your battery bank, optimizing charging efficiency and protecting your batteries.

Figure 1: Front view of the POWLAND 120A MPPT Solar Charge Controller, showing the LCD display and control buttons.
2. Safety Instructions
- Always connect the battery first, then the solar panels, and finally the load. Disconnect in the reverse order.
- Ensure all wiring is correctly polarized and securely connected to prevent damage to the controller, batteries, or other components.
- Install the controller in a well-ventilated area, away from flammable materials and direct sunlight.
- Do not attempt to repair or modify the controller. Refer all servicing to qualified personnel.
- Wear appropriate personal protective equipment, including eye protection, when working with batteries and electrical systems.
- Ensure proper cable sizing for all connections to prevent overheating and power loss.
3. Product Features
The POWLAND 120A MPPT Solar Charge Controller incorporates advanced technology for optimal solar energy management:
- Universal 12V-96V Auto-Sensing Compatibility: Automatically detects and adapts to 12V, 24V, 36V, 48V, 60V, 72V, 84V, and 96V battery systems.
- High Efficiency MPPT Technology: Achieves up to 98% conversion efficiency by dynamically tracking the maximum power point of solar panels, extracting up to 30% more energy compared to conventional PWM controllers.
- Comprehensive Multi-Protection Functions: Includes safeguards against reverse polarity, overload, open-circuit, over-temperature, overvoltage, and overdischarge to protect your system components.
- Intelligent 3-Stage Charging: Utilizes bulk, absorption, and float charging stages to optimize battery health and extend lifespan by up to 50%.
- Wide Battery Type Compatibility: Supports LiFePO4, AGM, GEL, and flooded lead-acid batteries.
- Smart LCD Dashboard with Real-Time Monitoring: Provides instant visibility into PV input voltage/current, battery temperature/status, charging mode/stage, and system warnings. Includes a precision battery temperature sensor for climate-compensated charging.
- Maximum PV Input Voltage: Supports up to 230VDC solar input.

Figure 2: Key features of the controller, including high MPPT efficiency, maximum PV input voltage, and universal voltage compatibility.
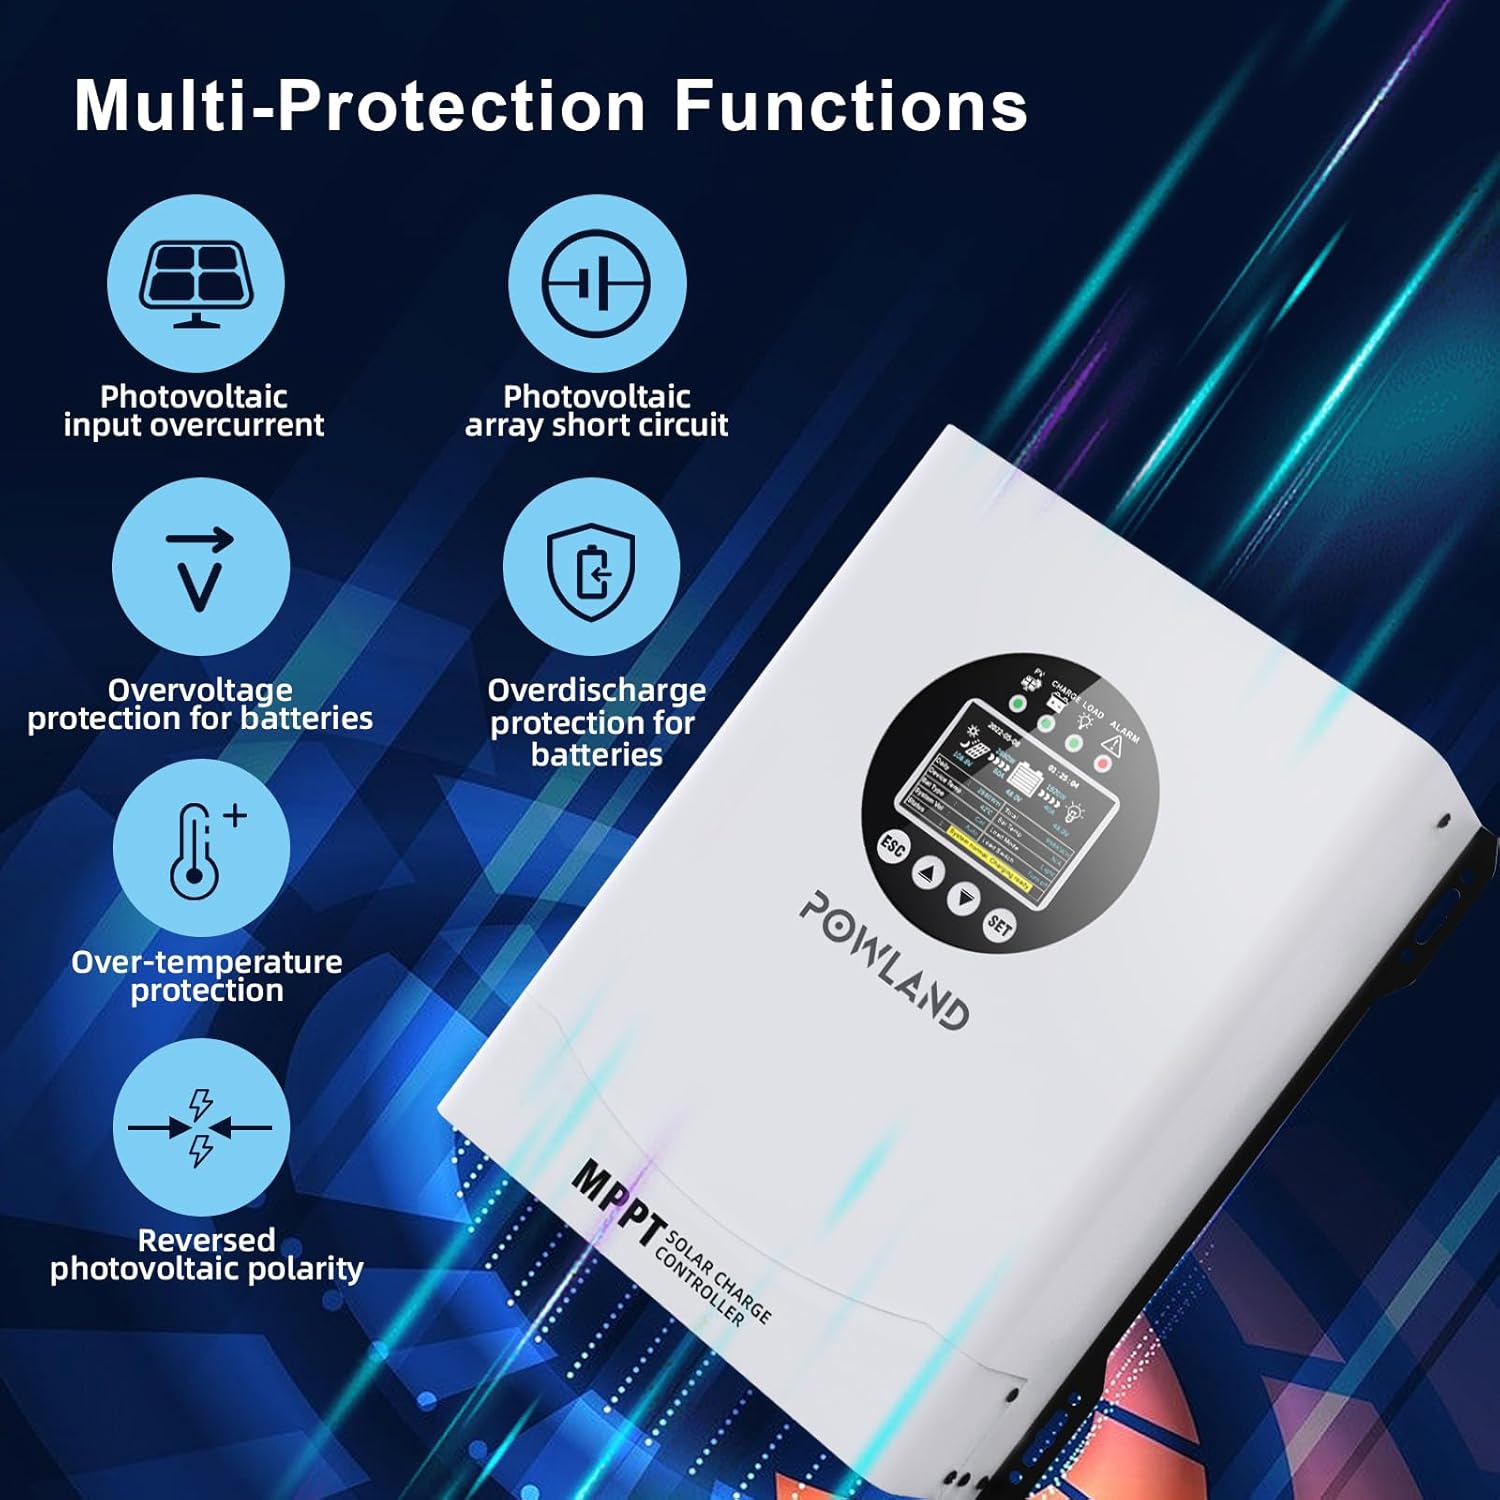
Figure 3: Visual representation of the multi-protection functions, including photovoltaic input overcurrent, array short circuit, overvoltage, overdischarge, over-temperature, and reversed polarity protection.
4. Package Contents
Upon unpacking, please verify that all items listed below are present and undamaged:
- POWLAND 120A MPPT Solar Charge Controller
- RS485 cables
- User Manual (this document)
5. Installation
5.1 Mounting Location
Choose a mounting location that is:
- Indoors, protected from direct sunlight, high temperatures, and moisture.
- Well-ventilated to allow for heat dissipation.
- Accessible for wiring, inspection, and maintenance.
- Close to the battery bank but in a separate, well-ventilated compartment if possible, to avoid exposure to battery gases.
5.2 Wiring Sequence
Follow this wiring sequence carefully to prevent damage:
- Connect the Battery: Connect the positive and negative terminals of the battery bank to the corresponding battery terminals on the charge controller. Ensure correct polarity. The controller will automatically detect the battery voltage.
- Connect the Solar Panels: Connect the positive and negative leads from your solar panel array to the corresponding PV input terminals on the charge controller. Ensure correct polarity.
- Connect the DC Load (Optional): If using a DC load directly from the controller, connect its positive and negative leads to the load terminals. Note that the load output is typically for smaller DC loads and may have current limitations.
Warning: Incorrect wiring polarity can severely damage the controller and other components. Always double-check connections before applying power.

Figure 4: A typical solar connection diagram illustrating the wiring order from solar panels to the controller, then to the battery and DC load.
6. Operation
6.1 LCD Display Overview
The controller features a backlit LCD screen for real-time monitoring and configuration. Refer to the diagram below for button functions and indicator lights.

Figure 5: Detailed view of the LCD display and control buttons.
- Solar panel indicator light
- Charging light
- Load indicator light
- Warning light
- Return / Load switch on/off button (ESC)
- Page up button
- Page down button
- Confirm key / Set key (SET)
6.2 Basic Navigation and Settings
Use the Page Up and Page Down buttons to scroll through different display screens, showing various system parameters like PV voltage, battery voltage, charging current, and temperature.
To enter the settings menu, press and hold the SET button. Use the Page Up and Page Down buttons to navigate through settings, and SET to confirm changes. The ESC button typically returns to the previous screen or exits the menu.
6.3 Battery Type Selection
It is crucial to select the correct battery type for optimal charging and battery longevity. The controller supports:
- LiFePO4
- AGM
- Lithium (general)
- GEL
- SLD (Sealed Lead-Acid)
- FLD (Flooded Lead-Acid)
Access the battery type setting through the menu and select the type that matches your installed battery bank. Refer to your battery manufacturer's specifications for recommended charging parameters.

Figure 6: Compatible battery types for the controller, including LiFePO4, AGM, Lithium, GEL, SLD, and FLD.
7. Maintenance
Regular maintenance ensures the long-term performance and safety of your solar charge controller:
- Inspect Connections: Periodically check all wiring connections for tightness and corrosion. Loose connections can cause overheating and poor performance.
- Clean the Controller: Keep the controller clean and free of dust and debris. Ensure ventilation openings are not obstructed. Use a dry cloth for cleaning.
- Monitor Performance: Regularly check the LCD display for normal operation and any warning indicators. Compare readings with expected values.
- Battery Inspection: Follow your battery manufacturer's maintenance guidelines.
8. Troubleshooting
If you encounter issues, refer to the following common problems and solutions:
| Problem | Possible Cause | Solution |
|---|---|---|
| No display/No power | Battery not connected or low voltage; reversed battery polarity; loose connections. | Check battery connections and voltage. Ensure correct polarity. Tighten all terminals. |
| No charging from PV | Solar panels not connected; low sunlight; PV input voltage too low/high; reversed PV polarity. | Check PV connections and polarity. Verify sunlight conditions. Ensure PV voltage is within controller's operating range. |
| Load not working | Load not connected; load current exceeds controller rating; load output disabled. | Check load connections. Ensure load current is within limits. Enable load output via settings if applicable. |
| Warning/Error indicator | Overvoltage, overcurrent, over-temperature, or other system fault. | Refer to the LCD display for specific error codes or messages. Address the underlying issue (e.g., reduce PV input, improve ventilation). |
If the problem persists after attempting these solutions, please contact technical support.
9. Specifications
| Feature | Detail |
|---|---|
| Model | 120A MPPT |
| Brand | POWLAND |
| Battery Voltage | 12V/24V/36V/48V/60V/72V/84V/96V Auto |
| Max PV Input Voltage | 230VDC |
| Max PV Input Power (12V System) | 1440W |
| Max PV Input Power (24V System) | 2880W |
| Max PV Input Power (36V System) | 4320W |
| Max PV Input Power (48V System) | 5760W |
| Max PV Input Power (60V System) | 7200W |
| Max PV Input Power (72V System) | 8640W |
| Max PV Input Power (84V System) | 10080W |
| Max PV Input Power (96V System) | 11520W |
| Charging Current | 120A |
| MPPT Tracking Efficiency | Up to 98% |
| Display Type | LCD |
| Item Weight | 11.64 pounds |
| Package Dimensions | 16.14 x 12.48 x 6.61 inches |
| Included Components | 120A MPPT controller, RS485 cables |
10. Warranty and Support
Your POWLAND 120A MPPT Solar Charge Controller is designed for reliable performance. For any technical assistance, installation queries, or troubleshooting, our dedicated 24/7 technical support team is available. Please email us for immediate assistance.
For warranty information, please refer to the documentation provided with your purchase or contact customer support.


