1. Introduction
Thank you for purchasing the Boden Stark 1450W Digital Air Fryer. This manual provides essential information for the safe and efficient operation, maintenance, and troubleshooting of your appliance. Please read this manual thoroughly before first use and retain it for future reference.
2. Important Safety Instructions
- Always place the air fryer on a stable, heat-resistant surface, away from walls and other appliances to allow for proper air circulation.
- Do not immerse the appliance, cord, or plug in water or any other liquid.
- Ensure the voltage indicated on the appliance corresponds to your local mains voltage before connecting.
- Supervise children closely when the appliance is in use.
- Do not operate the air fryer if the plug, power cord, or the appliance itself is damaged.
- Unplug the air fryer from the outlet when not in use and before cleaning. Allow it to cool down completely before handling.
- Do not fill the basket with oil, as this may cause a fire hazard.
- Hot air is released through the air outlet vent. Keep your hands and face at a safe distance from the steam and air outlet openings.
- Do not cover the air inlet or air outlet openings while the appliance is operating.
- Use only original accessories and parts provided by the manufacturer.
3. Product Overview
Familiarize yourself with the components of your Boden Stark Digital Air Fryer.

Figure 3.1: Front view of the Boden Stark Digital Air Fryer, showcasing the digital control panel and handle.

Figure 3.2: Angled front view of the air fryer, highlighting its compact design and grey finish.
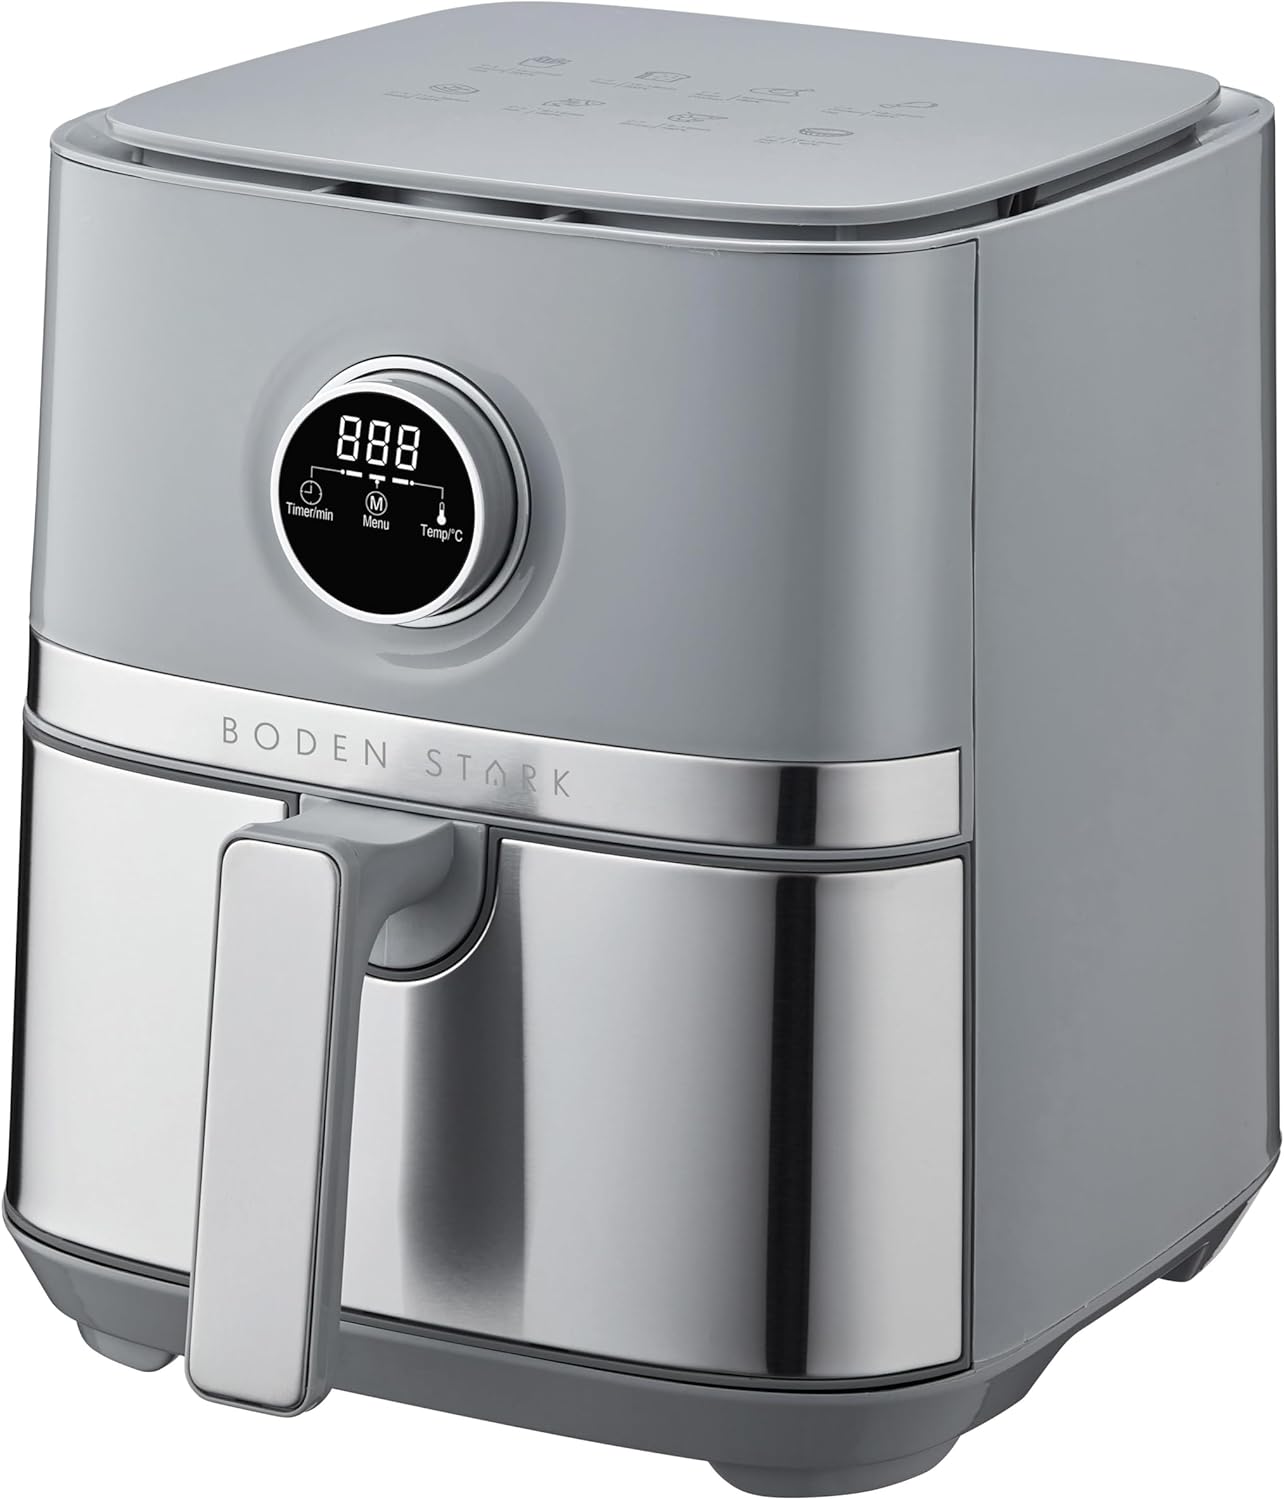
Figure 3.3: Side view of the air fryer, showing the smooth casing and handle.

Figure 3.4: Rear view of the air fryer, displaying the air outlet vent for heat dissipation.

Figure 3.5: Top-down view into the air fryer basket, showing the removable crisper plate.

Figure 3.6: The air fryer basket and its removable non-stick crisper plate, shown separately for cleaning and assembly.

Figure 3.7: View of the air fryer's interior cavity with the cooking basket removed, showing the heating element area.

Figure 3.8: The air fryer with its cooking basket partially pulled out, demonstrating easy access to food.
Components:
- Digital Control Panel (Timer, Menu, Temperature)
- Air Inlet
- Air Outlet Vent
- Handle
- Cooking Basket
- Removable Non-Stick Crisper Plate
- Power Cord
- Non-Slip Feet
4. Setup and First Use
Before First Use:
- Remove all packaging materials, stickers, and labels from the appliance.
- Clean the cooking basket and crisper plate thoroughly with hot water, dish soap, and a non-abrasive sponge. Rinse and dry completely.
- Wipe the inside and outside of the appliance with a damp cloth.
- Place the air fryer on a stable, level, and heat-resistant surface. Ensure there is at least 10 cm of free space around the back and sides of the appliance.
- It is recommended to run the air fryer for about 10-15 minutes on its highest temperature setting without food to burn off any manufacturing residues. A slight odor may be present during this process; this is normal.
5. Operating Instructions
Basic Operation:
- Prepare Food: Place the crisper plate into the cooking basket. Place your ingredients into the cooking basket. Do not overfill the basket to ensure even cooking.
- Insert Basket: Slide the cooking basket back into the air fryer until it clicks into place.
- Power On: Plug the power cord into a grounded wall outlet. The digital display will illuminate.
- Set Temperature and Time:
- Use the Menu button to cycle through preset cooking functions or to manually adjust settings.
- Use the Temp/°C button to adjust the temperature (80°C to 200°C).
- Use the Timer/min button to adjust the cooking time (up to 60 minutes).
- Adjust values using the + and - buttons (if present, or implied by digital interface).
- Start Cooking: Press the Start/Pause button (or the central button on the display) to begin the cooking cycle.
- Shake Basket (Optional): For some foods, it is recommended to shake the basket halfway through the cooking time to ensure even browning. Carefully pull out the basket, shake, and reinsert. The air fryer will resume cooking automatically.
- Finish Cooking: The air fryer will beep when the set cooking time has elapsed. Carefully pull out the basket and transfer the cooked food to a serving plate.
- Power Off: Unplug the appliance from the wall outlet after use.
6. Cooking Guide
The following table provides general guidelines for cooking various types of food. Cooking times and temperatures may vary based on food quantity, size, and desired crispness. Always ensure food is cooked thoroughly to safe internal temperatures.
| Food Item | Temperature (°C) | Time (minutes) | Notes |
|---|---|---|---|
| Frozen Fries (thin) | 180-200 | 15-20 | Shake halfway |
| Chicken Wings | 180 | 20-25 | Flip halfway |
| Fish Fillets | 160-180 | 10-15 | |
| Vegetables (e.g., broccoli) | 180 | 10-12 | Lightly oil, shake halfway |
| Small Pastries | 160 | 8-12 | Check frequently |
7. Cleaning and Maintenance
Clean the air fryer after every use to prevent food residue buildup and maintain optimal performance.
Cleaning Steps:
- Unplug and Cool: Always unplug the air fryer and allow it to cool down completely before cleaning.
- Clean Basket and Crisper Plate: Remove the cooking basket and crisper plate. Wash them in hot water with dish soap and a non-abrasive sponge. The non-stick coating allows for easy cleaning. Alternatively, these parts may be dishwasher safe (check product specifications for confirmation).
- Clean Interior: Wipe the interior of the appliance with a damp cloth. For stubborn residue, use a mild detergent. Avoid abrasive cleaners or metal scouring pads.
- Clean Exterior: Wipe the exterior of the air fryer with a damp cloth. Do not use harsh chemicals or abrasive materials.
- Heating Element: If necessary, gently clean the heating element with a soft brush to remove any food particles. Ensure the appliance is completely cool and unplugged.
- Dry Thoroughly: Ensure all parts are completely dry before reassembling and storing the air fryer.
8. Troubleshooting
Refer to this section for common issues and their solutions.
| Problem | Possible Cause | Solution |
|---|---|---|
| Air fryer does not turn on. | Not plugged in; power outlet issue; basket not fully inserted. | Ensure the power cord is securely plugged into a working outlet. Push the cooking basket fully into the appliance. |
| Food is not cooked evenly. | Basket is overfilled; food not shaken/flipped. | Do not overfill the basket. Shake or flip food items halfway through cooking. |
| White smoke coming from the appliance. | Grease residue from previous use; fatty ingredients. | Clean the basket and crisper plate thoroughly after each use. For fatty foods, absorb excess oil with a paper towel. |
| Food is not crispy. | Too much moisture; insufficient cooking time/temperature. | Pat food dry before air frying. Increase cooking time or temperature slightly. Ensure not to overcrowd the basket. |
9. Specifications
- Brand: Boden Stark
- Model Number: BS-DAF04
- Power: 1450 Watts
- Capacity: 5 Liters
- Temperature Control: 80°C - 200°C
- Timer: Up to 60 minutes
- Material: Stainless Steel (and other durable materials)
- Color: Grey
- Item Weight: 5.3 kg
- Product Dimensions: 35.5D x 33.5W x 29.5H cm
- Special Features: Temperature Control, Timer, Non-stick Pot, Non-slip Feet
10. Warranty and Support
For warranty information, product support, or service inquiries, please refer to the warranty card included with your purchase or contact Boden Stark customer service directly. Keep your proof of purchase for warranty claims.
Contact details can typically be found on the official Boden Stark website or on the product packaging.